How to Clean Foggy Headlights at Home: DIY Methods That Last
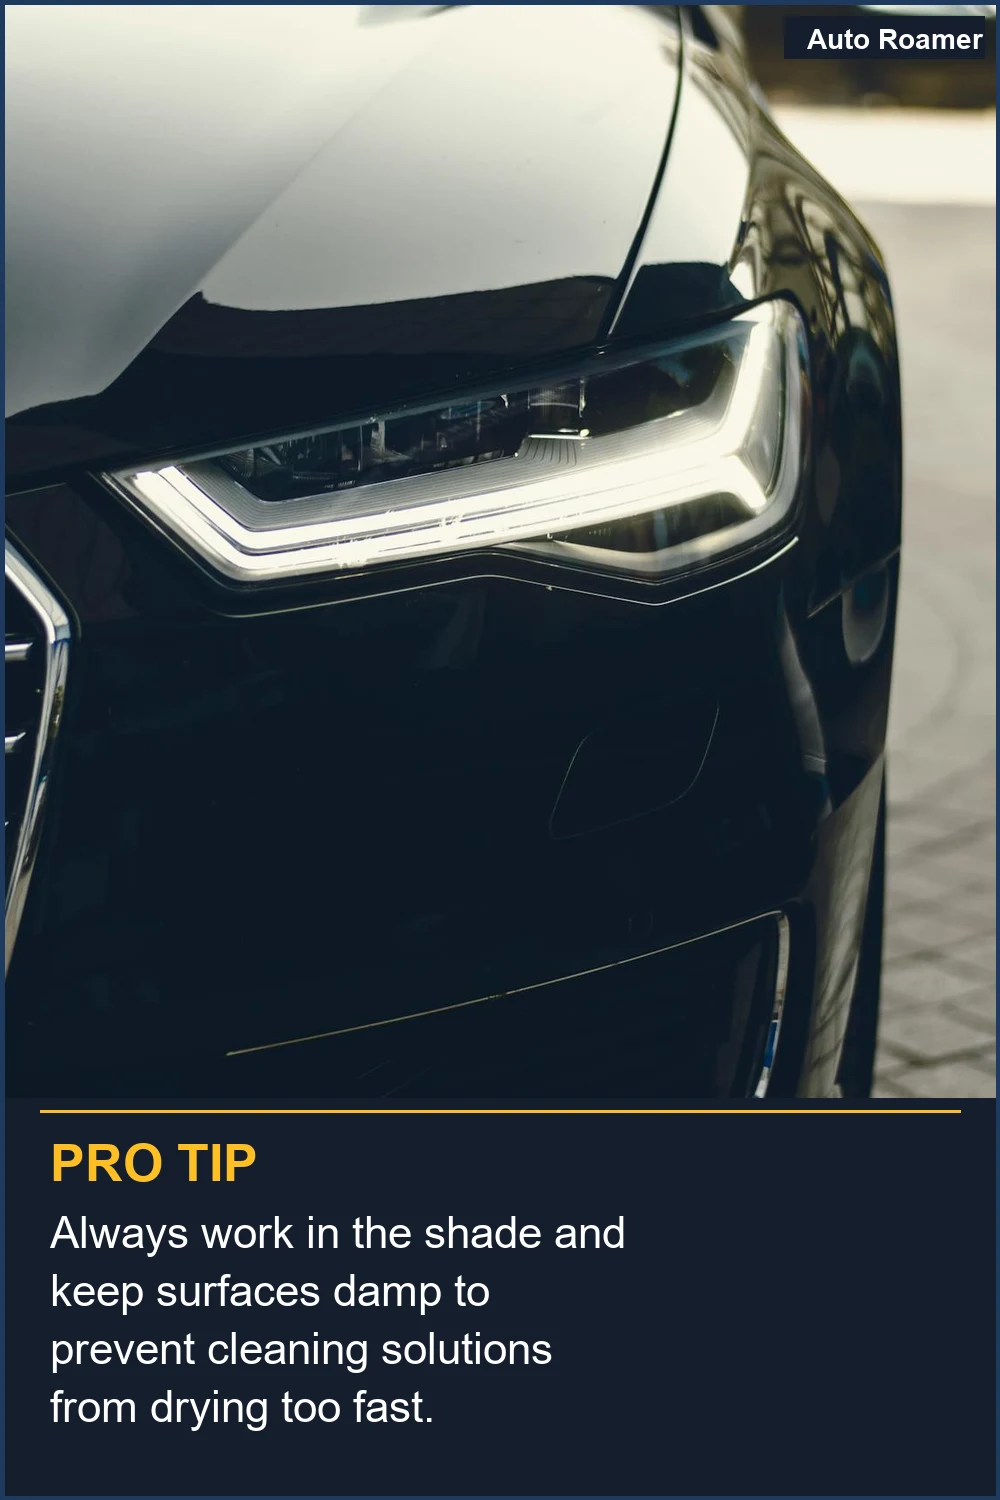
Foggy, yellowed headlights? We've all been there, staring down a dim road. UV exposure degrades the polycarbonate clear coat, causing that haze. To clean foggy headlights and get your visibility back, you'll need a few simple supplies. We've found that a basic headlight restoration diy kit, often costing around $20-$30, can make a huge difference.
The sun beat down, and as dusk settled, you flicked on your headlights. Instead of piercing the darkness, a dim, yellowish haze greeted you. You can barely see the road ahead, and it's not the bulbs - it's the lenses themselves that have turned cloudy and yellowed, a common problem that significantly impairs visibility Headlight Yellowing And UV Damage Explained - Pro Tint Utah. This isn't just an aesthetic issue; it's a safety hazard, reducing your ability to see and be seen, especially in adverse conditions DIY Guide: How to Clean Foggy Headlights at Home. Fortunately, you don't need to head to a professional for a full headlight restoration. We can tackle this common problem right at home with a few basic supplies. These DIY methods for cleaning foggy headlights at home can bring back clarity and improve your nighttime driving significantly.
The Short Answer
The real challenge with foggy, yellowed headlights isn't just cleaning them; it's preventing them from degrading again. UV exposure breaks down the polycarbonate clear coat, and without a proper seal, any cleaning effort will be short-lived.
Think of your headlights like your skin: they're protected by a clear coat that shields the underlying plastic from the sun's harsh UV rays. Over time, this coating oxidizes and breaks down, causing that familiar haze and yellowing. This isn't just cosmetic; it drastically reduces light output, making night driving dangerous Headlight Yellowing And UV Damage Explained - Pro Tint Utah. The fundamental problem is that the protective layer is gone, and we need to either restore it or replace it.
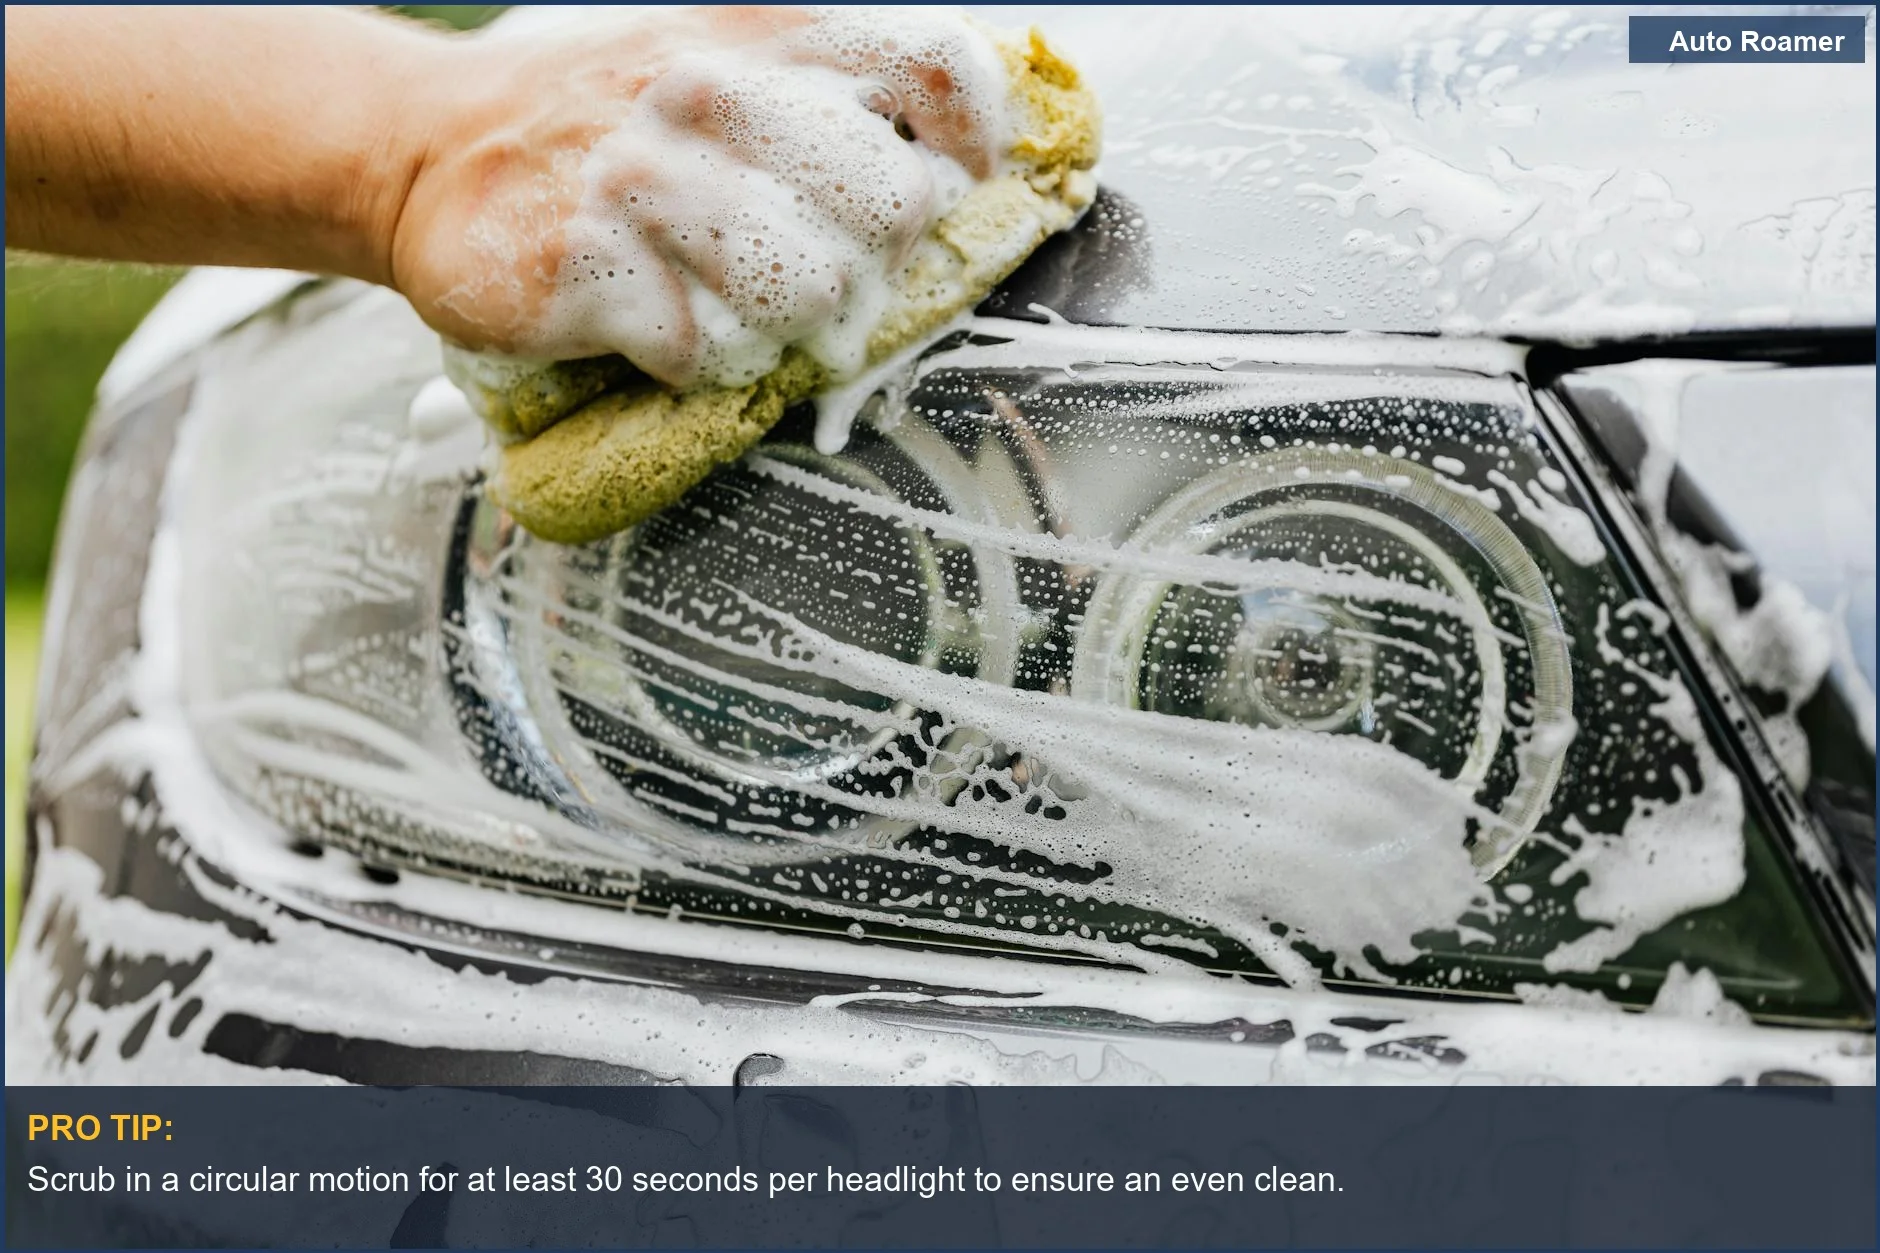
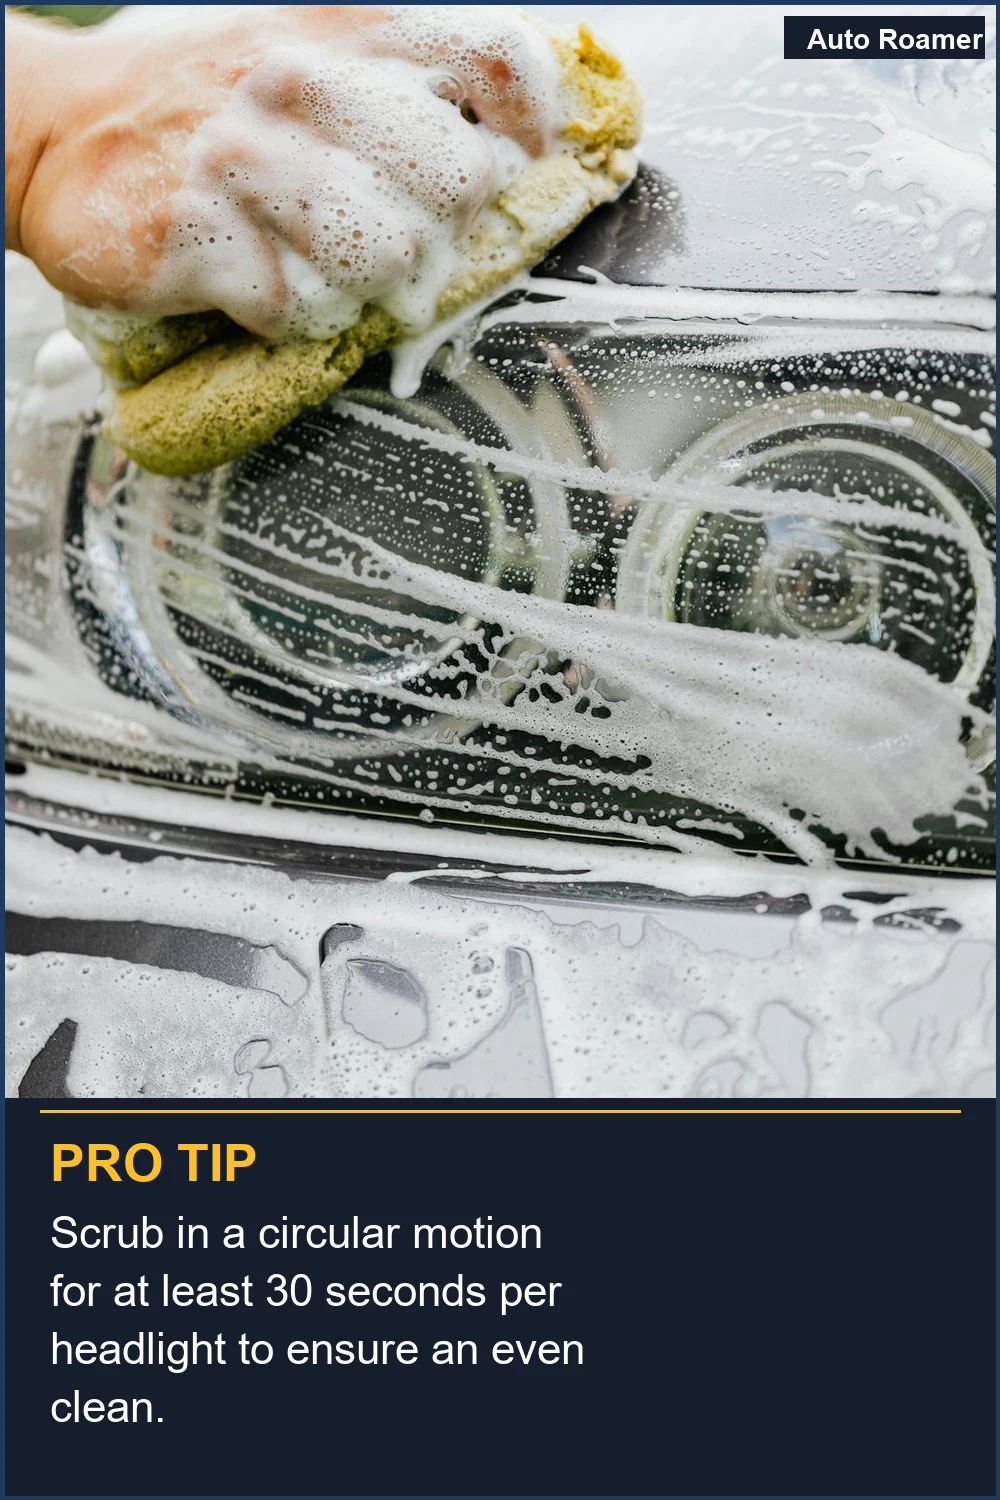
For a quick, albeit temporary, fix, toothpaste can work because its mild abrasives can scrub away some surface oxidation. We've seen it offer a noticeable improvement, but it's a cosmetic band-aid. The clarity from toothpaste typically only lasts about 2 weeks Clean Your Headlights With Toothpaste. This is because it doesn't address the underlying degradation or provide any lasting protection against future UV damage.
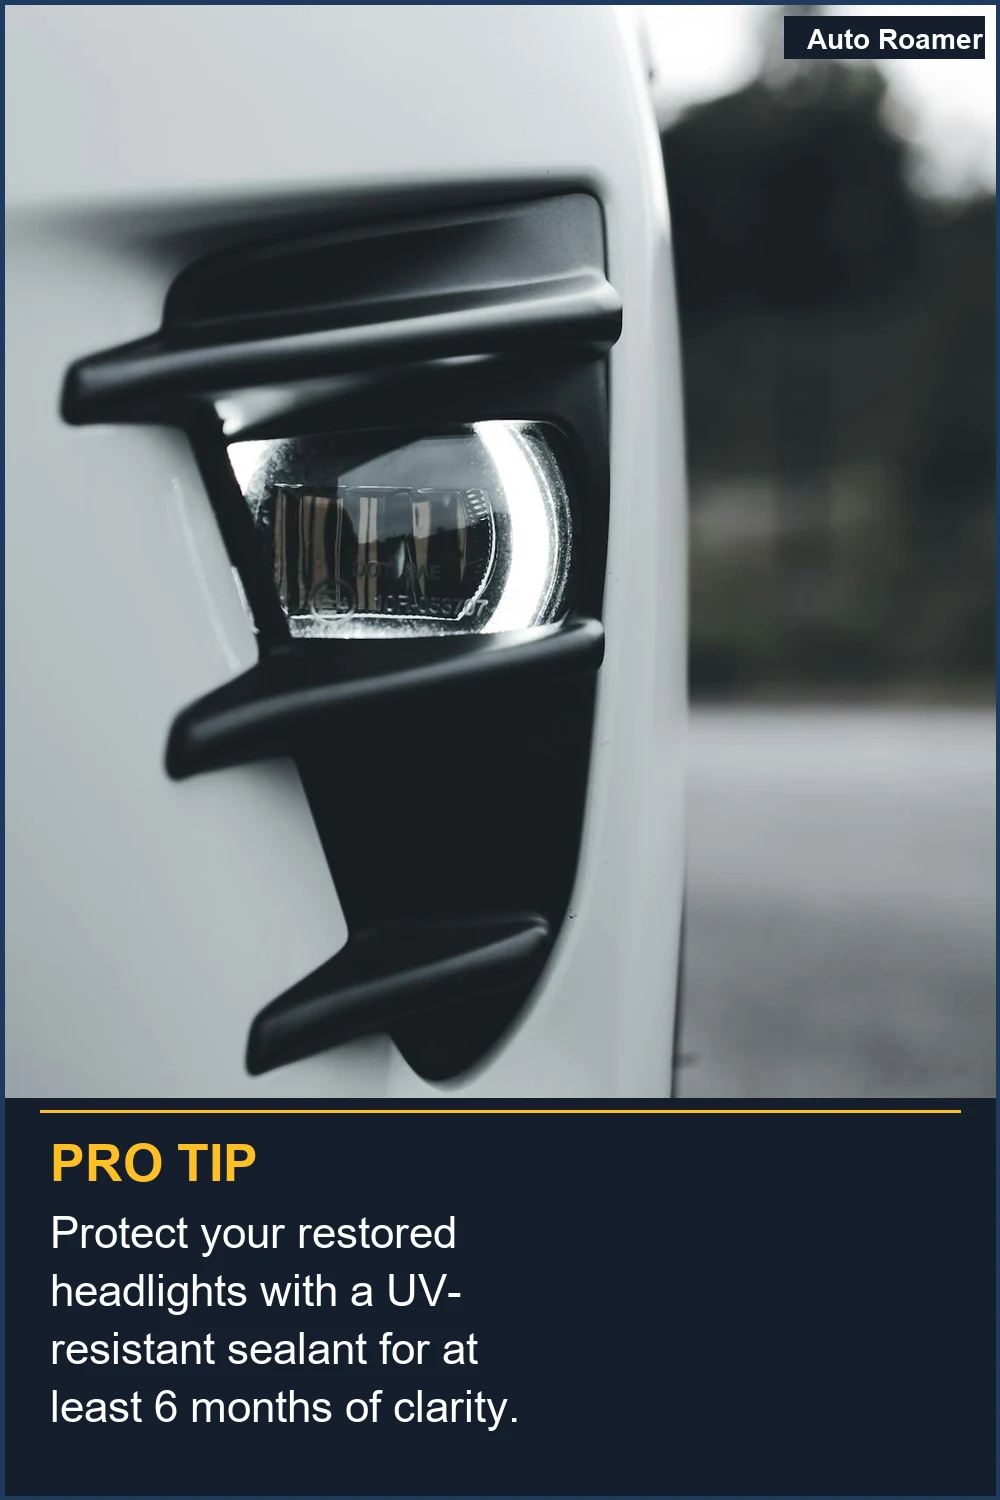
A more robust solution involves physical abrasion and sealing. Using fine-grit sandpaper, typically found in a headlight restoration kit, you can carefully remove the damaged clear coat. This process is crucial for getting back to a clear plastic surface. After sanding, the absolute key step that most DIYers skip is applying a UV-resistant clear coat sealant. This sealant acts like sunscreen for your headlights, preventing them from yellowing again for 1-2 years DIY Guide: How to Clean Foggy Headlights at Home. Without this, your effort will be wasted within weeks.
When tackling foggy headlights, remember the framework: UV degradation is the culprit, and sealing is the solution. While toothpaste offers a 2-week fix, a proper sanding and sealing process can provide a 1-2 year improvement, making it the practical choice for a lasting yellowed headlights fix.
What You Need to Know

How to Handle This
What This Looks Like in Practice
- 2008 Honda Accord, Heavily Yellowed Headlights: On this Accord, a toothpaste method was attempted first. While it offered a temporary improvement, the yellowing returned quickly. A headlight restoration kit, which included sanding and a UV sealant, provided a much more durable fix that lasted significantly longer Clear Winner!! Headlight Restoration Methods Compared - YouTube.
- 2015 Toyota Camry, Light Haze: For a Camry with only a light haze, a simple solution was sufficient. A paste made from baking soda and water, scrubbed with a cloth, was enough to clear up the lenses. This method is quick and effective for minor oxidation What can I use to clean headlights at home? - Facebook.
- 2005 Ford F-150, Pitted Lenses: This F-150 presented a more challenging case with pitted and heavily oxidized lenses. Mild abrasives like toothpaste were completely ineffective. A full wet sanding restoration process, starting with coarser grits and progressing to finer ones, followed by a UV sealant, was the only approach that yielded lasting results DIY Guide: How to Clean Foggy Headlights at Home.
- New Mazda CX-5 with Glass Headlights: Cars equipped with glass headlights, like this newer Mazda CX-5, typically require zero maintenance for hazing or yellowing. The polycarbonate plastic used in most modern vehicles is susceptible to UV degradation, which glass is not Headlight Yellowing And UV Damage Explained - Pro Tint Utah.
Mistakes That Cost People
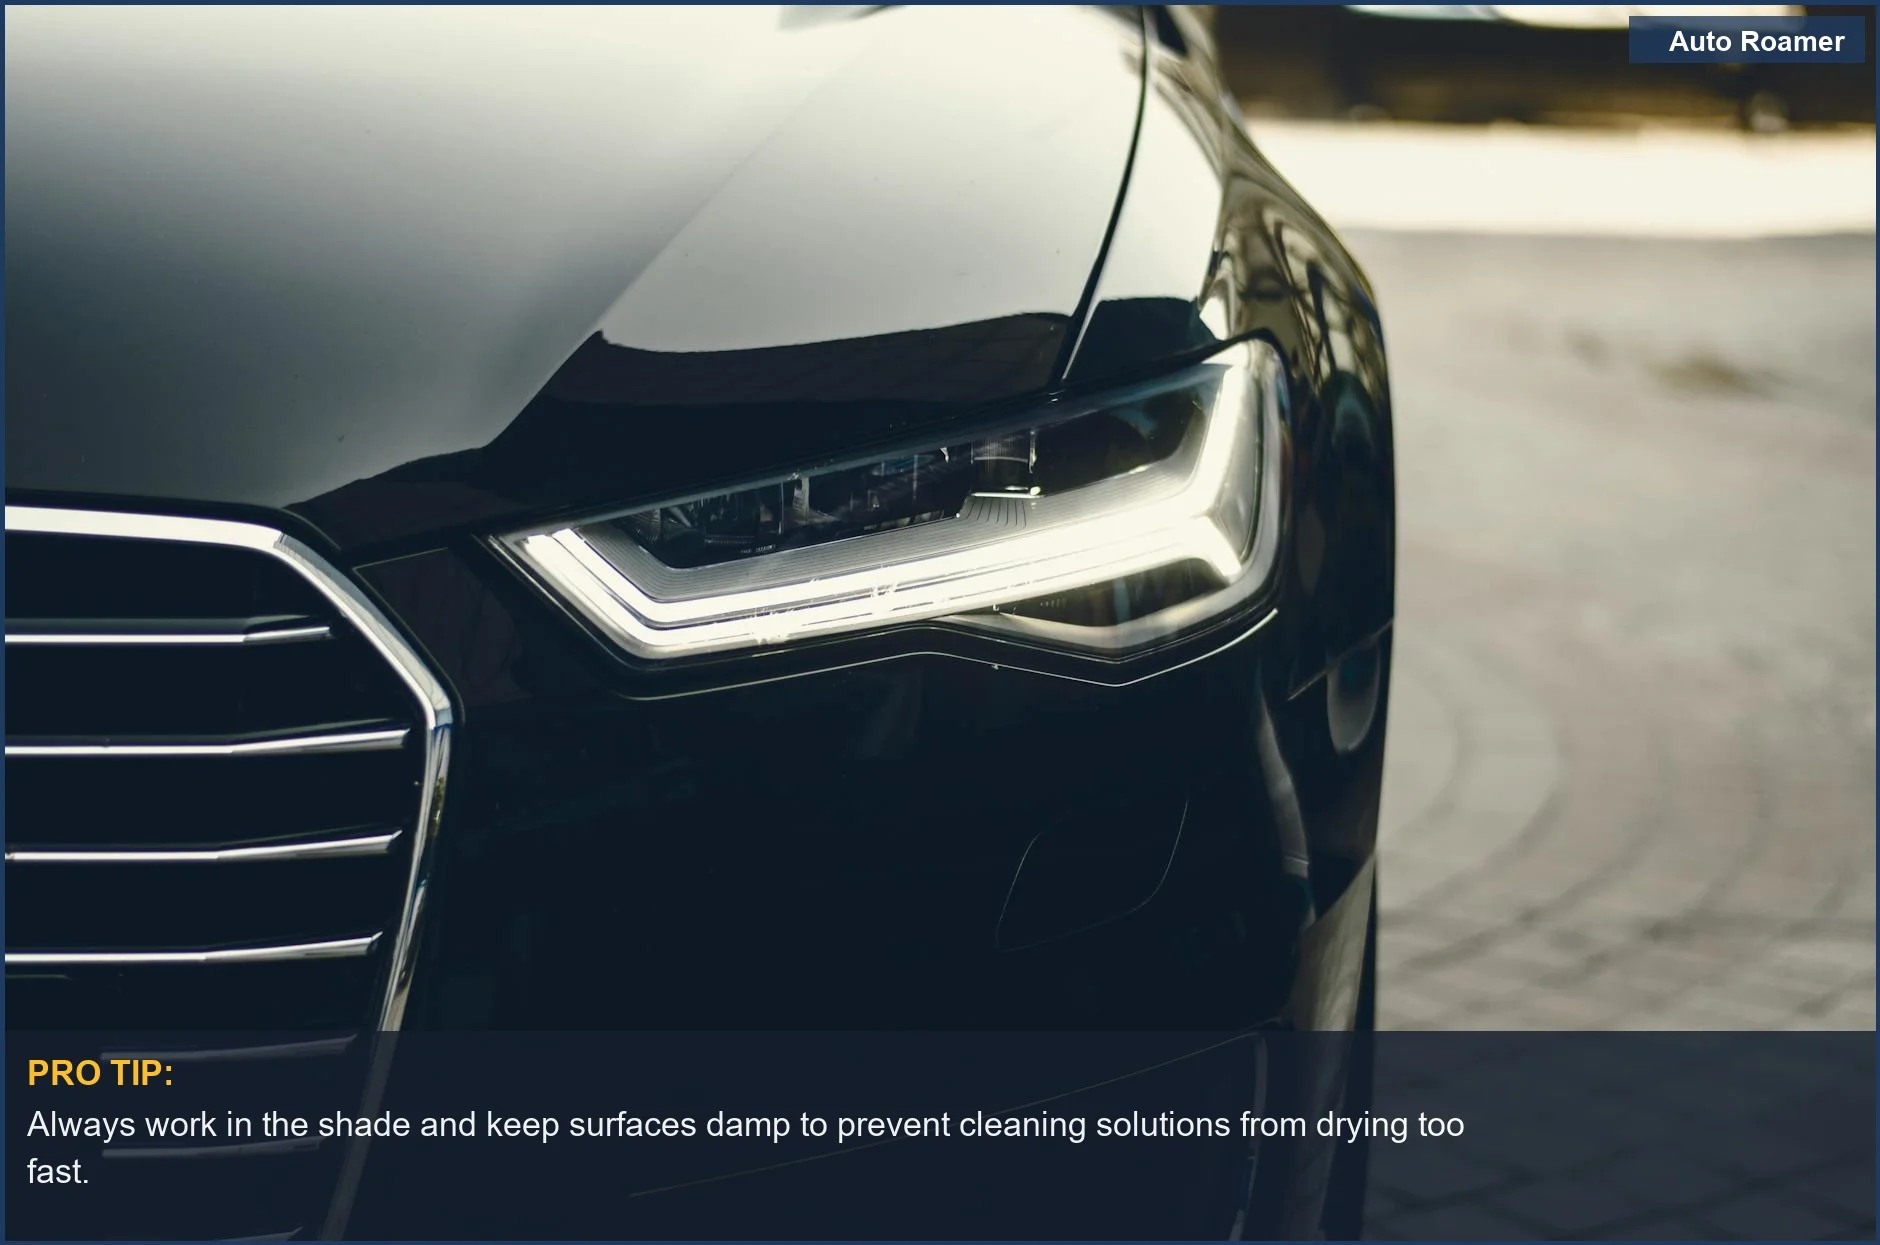
Mistakes That Cost People Household glass cleaner, often containing ammonia, will damage your headlights' polycarbonate lens. Instead of clearing them, you'll accelerate their degradation DIY Guide: How to Clean Foggy Headlights at Home. Similarly, bug spray or DEET dissolves the plastic surface, leading to a permanently pitted lens DIY Guide: How to Clean Foggy Headlights at Home. Skipping the UV sealant after restoration is a critical error. Immediate improvement fades within weeks as unprotected plastic re-oxidizes under sunlight, making DIY fixes fail long-term DIY Guide: How to Clean Foggy Headlights at Home. Restoring only one headlight creates a mismatched appearance, making the entire car look neglected. Always restore both for a consistent look DIY Guide: How to Clean Foggy Headlights at Home. Sanding dry instead of wet causes permanent damage. Dry sanding generates excessive heat, leading to deep scratches impossible to polish out. Always keep the surface wet to lubricate and prevent micro-scratches Apply THIS Trick to Your Foggy Headlights and Make Them Shine .... For newer vehicles with LED or complex housings, internal fogging may occur, unfixable from the outside. Condensation inside the headlight assembly indicates a faulty seal or the need for replacement, especially if the unit isn't designed for easy disassembly Apply THIS Trick to Your Foggy Headlights and Make Them Shine ....
Key Takeaways
- The key to lasting headlight restoration diy isn't just cleaning; it's the UV clear coat sealant. Without it, your efforts to clean foggy headlights will be undone in weeks Cleaning Headlights with Toothpaste: Why It Doesn't Work.
- A quality headlight restoration kit, around $20 and including a UV clear coat, outperforms household hacks like toothpaste or baking soda for longevity and clarity Clear Winner!! Headlight Restoration Methods Compared - YouTube.
- Methods like using toothpaste, involving 5-10 minutes of rubbing DIY Guide: How to Clean Foggy Headlights at Home, lack the crucial protective layer against future yellowing and hazing from UV damage Headlight Yellowing And UV Damage Explained - Pro Tint Utah.
- A kit with a proper UV clear coat can last 1-2 years, offering a more cost-effective and durable solution for yellowed headlights
Ensuring your headlights are clear is essential, especially when you need to navigate safely in heavy fog conditions.
Frequently Asked Questions
Why do my car's headlights get all foggy and yellow?
Seriously, does toothpaste actually work on foggy headlights?
How long does a DIY headlight restoration usually last?
Can I just use WD-40 to clean my headlights?
Will my foggy headlights make me fail my vehicle inspection?
Sources
- What can I use to clean headlights at home?
- How to defog / clear up the headlights in this car? : r/howto - Reddit
- Apply THIS Trick to Your Foggy Headlights and Make Them Shine ...
- cleaning-headlights-with-toothpaste-why-it-doesn
- Headlight Restoration using Toothpaste - YouTube
- DIY Guide: How to Clean Foggy Headlights at Home
- Clean Your Headlights With Toothpaste
- Clear Winner!! Headlight Restoration Methods Compared - YouTube
- Headlight Yellowing And UV Damage Explained - Pro Tint Utah