Safety Precautions When Using a Portable Jump Starter
A dead battery at the worst possible moment is a universal driving experience. A portable jump starter in the vehicle turns that experience from a two-hour roadside wait into a five-minute inconvenience - but only if you know how to use it correctly.
A dead battery at the worst possible moment is a universal driving experience. A portable jump starter in the vehicle turns that experience from a two-hour roadside wait into a five-minute inconvenience - but only if you know how to use it correctly. Improper use of a jump starter can damage vehicle electronics, damage the jump starter itself, or in rare cases cause safety issues. This guide covers the complete, correct procedure for using one of these little lifesavers.
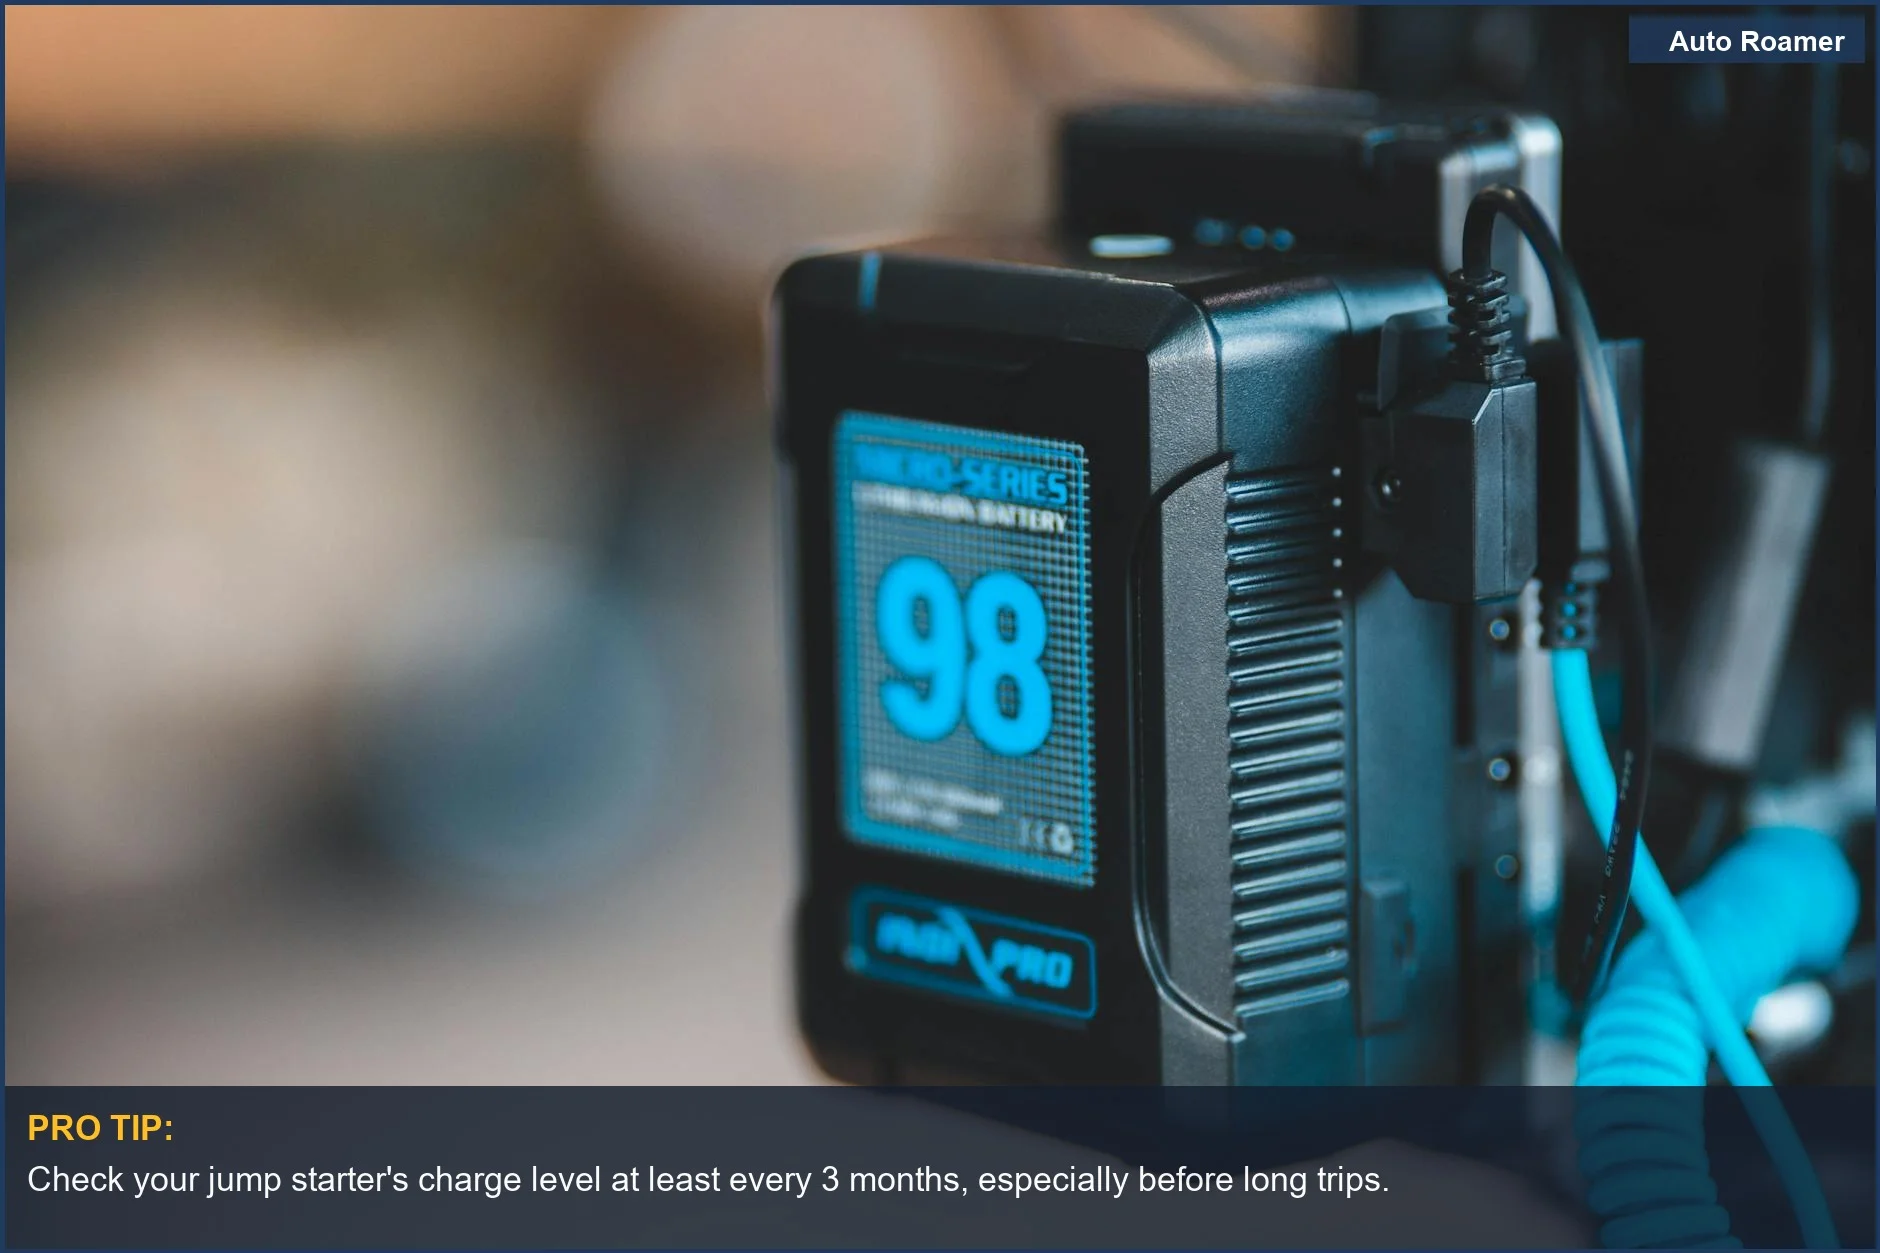
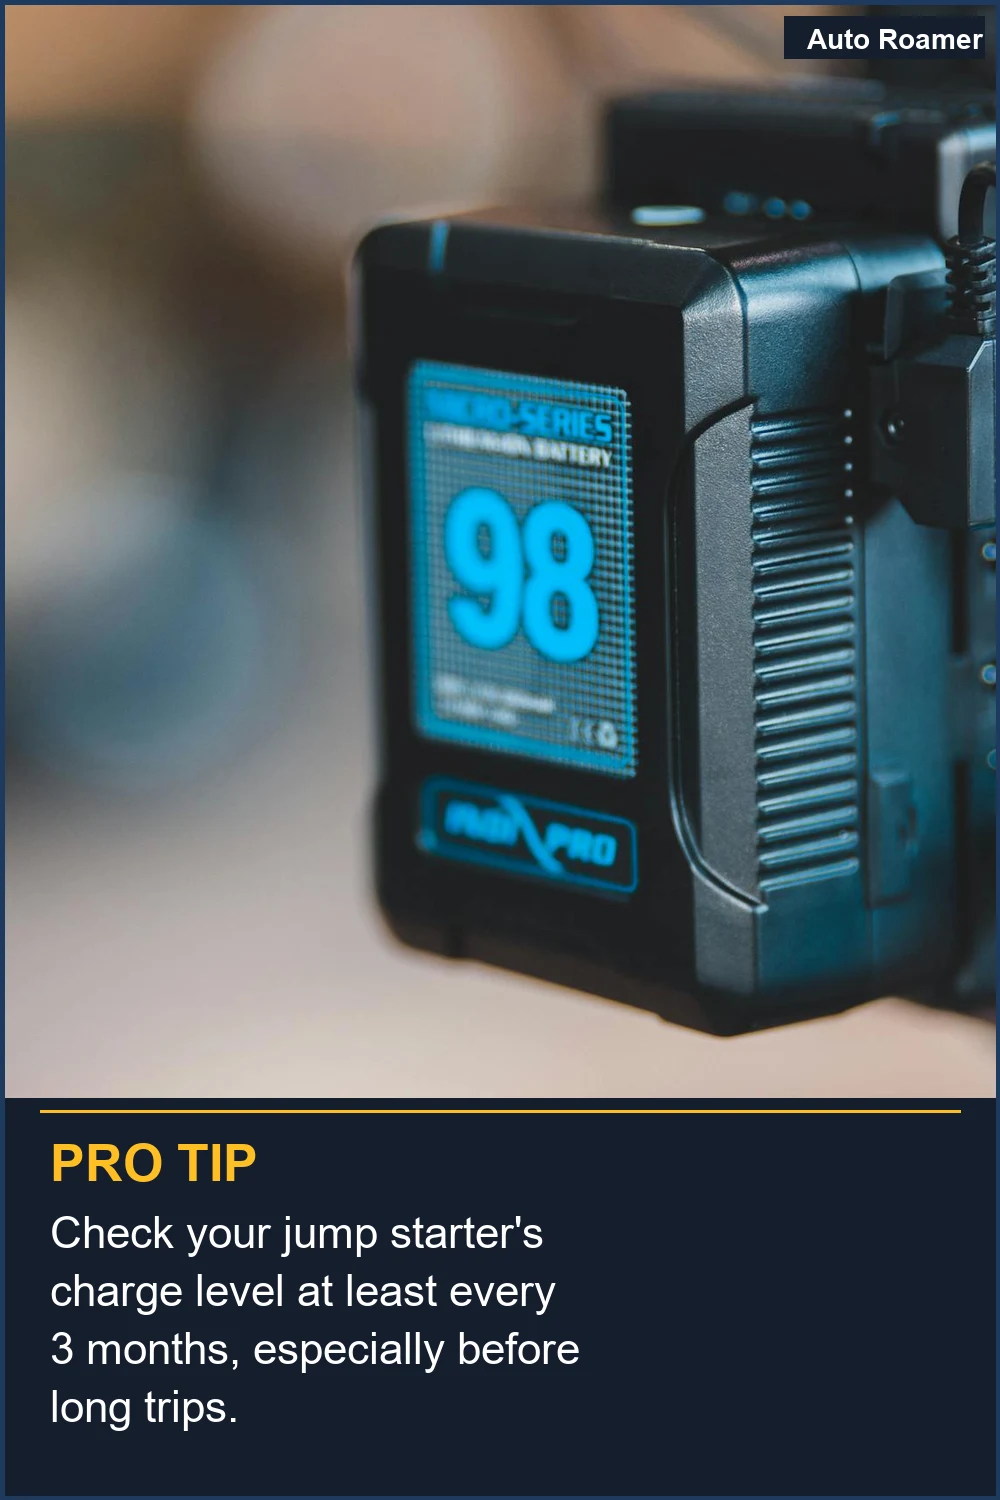
Battery Tender jump starters represent the current generation of lithium-based portable starting solutions. The instructions in this guide apply across the lineup, with specific notes for certain models' unique dual-function capability. Before you even think about needing one, the most important step happens: ensuring it is charged when you need it. A jump starter stored in a glove compartment for 18 months with no maintenance may be too depleted to start anything.
Check charge status quarterly - most units have LED battery level indicators. Recharge the jump starter if it shows below 50% charge. Store at 50-80% charge for longest battery longevity - storing at 100% for extended periods accelerates lithium cell degradation. Keep the unit at room temperature when possible - temperature extremes reduce available power. Brilliant engineering, right?
Some models eliminate this concern by doubling as a smart battery charger, meaning they are regularly plugged in and topped off as part of your normal charging routine.
The Core Answer
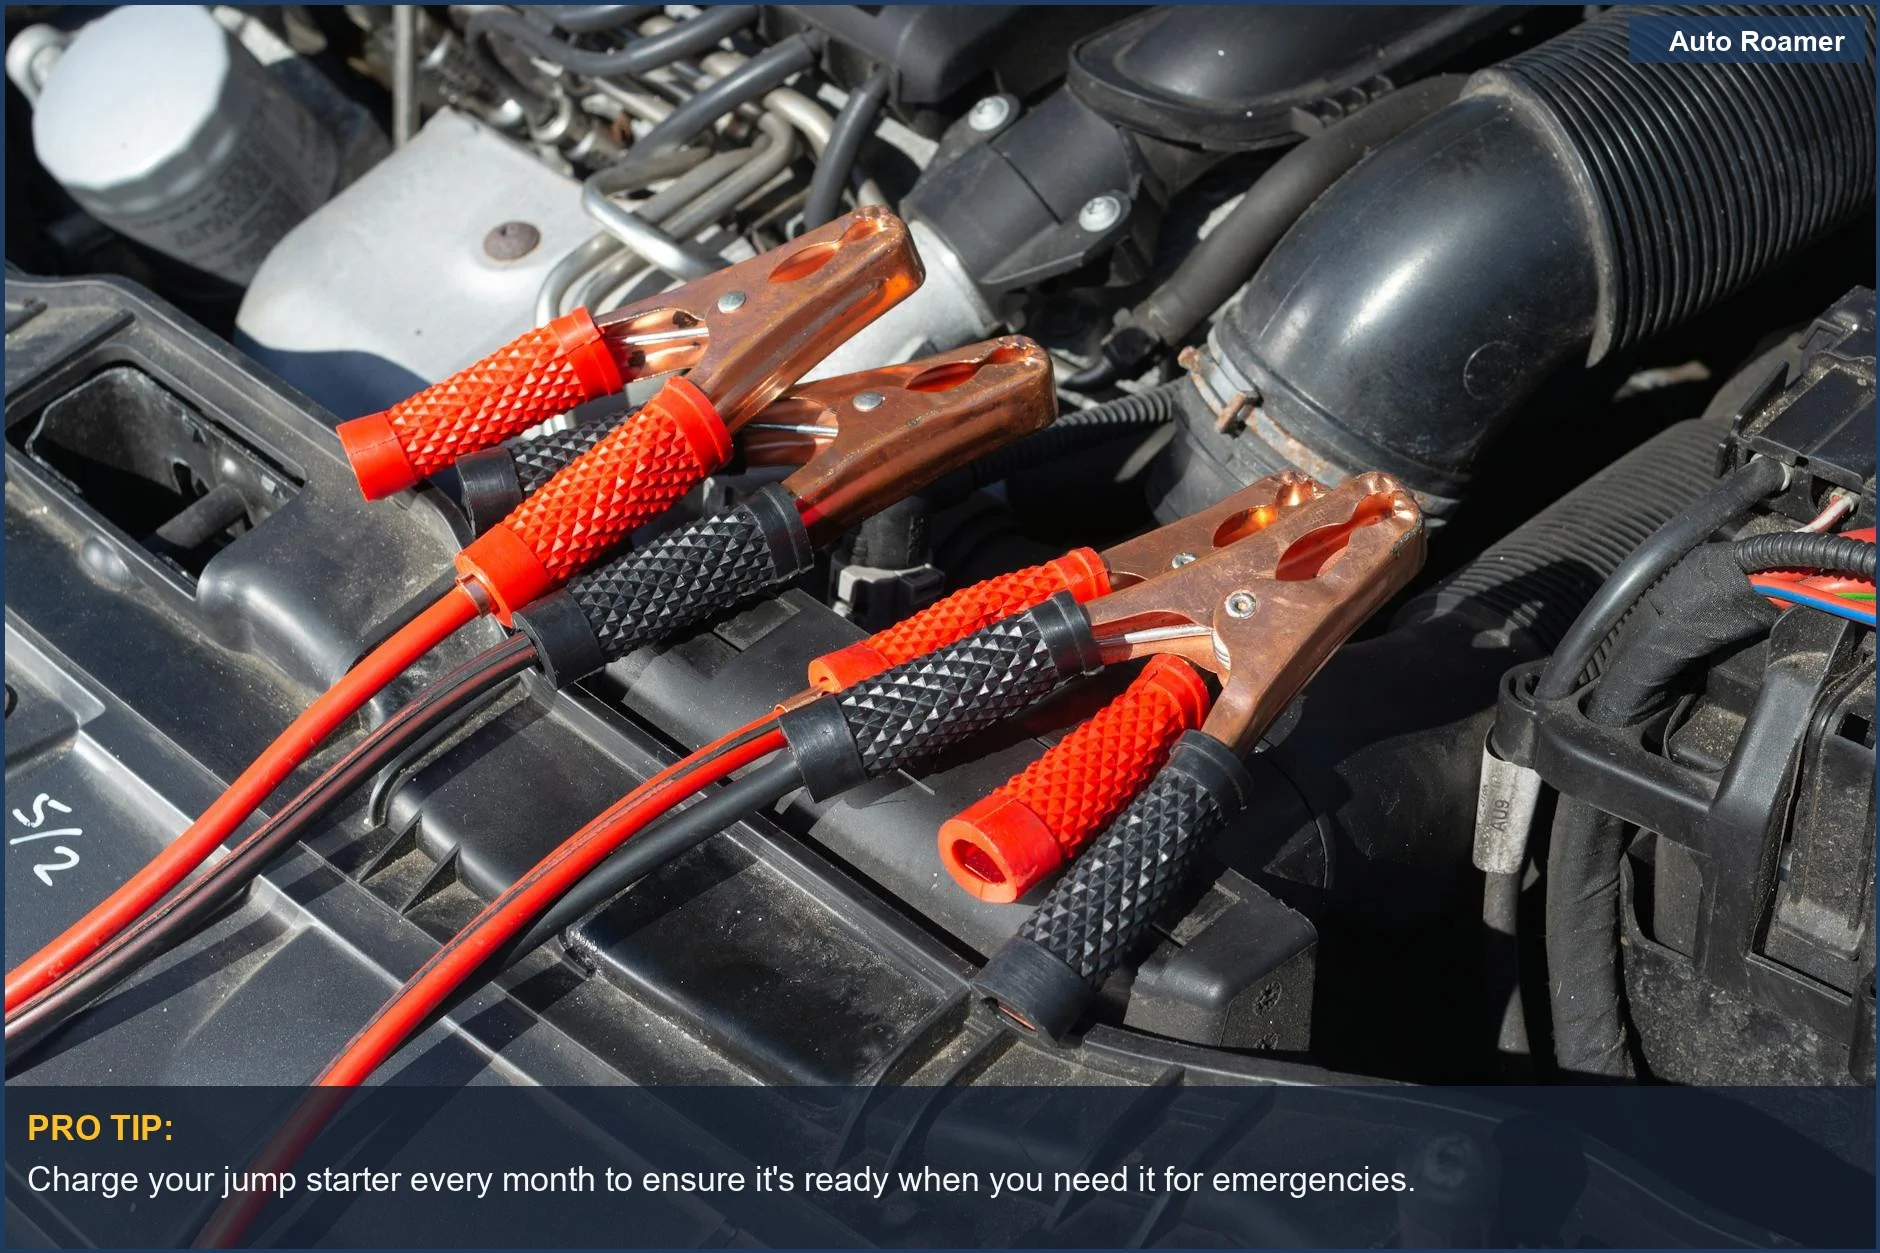
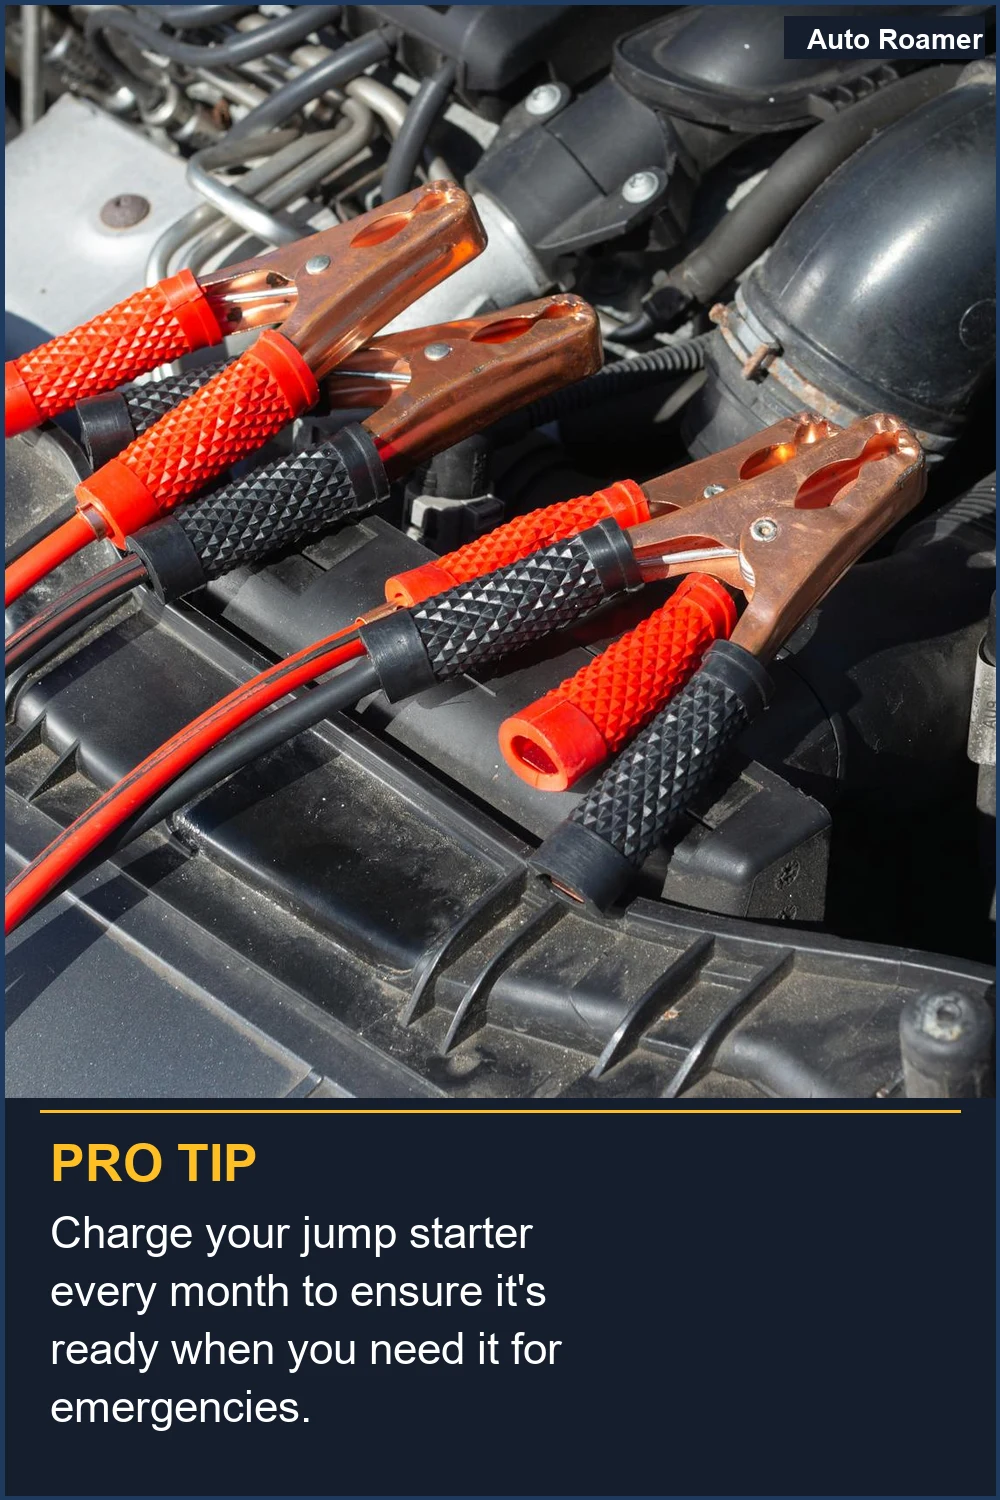
Before you even touch a jump starter, read the damn manual. Seriously, I learned this the hard way in a Walmart parking lot in Ohio after my truck decided it was done for the day. That little booklet is your best friend. It tells you the specific sequence for connecting and disconnecting the clamps, which is crucial. You always connect the positive (red) clamp to the positive terminal on the dead battery first, then the negative (black) clamp to a clean, unpainted metal surface on your car's engine block or chassis, away from the battery. This is to prevent sparks near the battery, which can be dangerous. Northern Tool is pretty clear on this. Connecting the negative directly to the negative terminal of a dead battery can cause a spark that ignites hydrogen gas from the battery. Rookie mistake, and one I thankfully only made once by reading ahead. The real move is to ground yourself away from the source of potential explosion. After connecting the clamps, turn on the jump starter. Most units have an indicator light to show a successful connection. Don't just assume it's working. Wait a minute or two after connecting the starter to the battery before trying to start your car. This gives the jump starter time to transfer some power. If your car doesn't start after a few tries, disconnect the jump starter and let it cool down. Trying to force it can overheat the jump starter or your car's starter motor. I fried a cheap one trying to jump my old Civic in a blizzard. Scosche mentions watching for warning lights, which is basically the device telling you 'I'm working, genius.' When disconnecting, do the reverse of connecting: remove the negative clamp first, then the positive. This is the opposite of the connection order and just as important for safety. LINE-X stresses this point. Reversing the polarity during connection is a quick way to fry your car's electronics, and trust me, replacing a car's computer is way more expensive than a jump starter. Always ensure the clamps are firmly attached to the terminals and that they are clean for good contact. I learned this the hard way when my first jump attempt failed because the clamps were loose on a corroded terminal. The honest version: you need a working jump starter, a dead car, and a clear head. Everything else is just detail. Make sure the portable starter is placed in a secure area where it cannot accidentally fall into the engine bay. I once had a jump box slide off the fender and land precariously close to a fan belt. Close call. Battery Tender says to inspect the battery for cracks or leaks before hooking up, which is smart. You don't want to be messing with a compromised battery. Always wear protective eyewear, just in case. It's a small step that can prevent a big problem. Clore Automotive also recommends removing jewelry, like rings, when working around a battery. Good advice. I once saw a ring get caught on a terminal and it wasn't pretty.Why This Matters for Your Setup
Making the Right Choice
Frequently Asked Questions
How much does it cost to get a shop to jump my car versus buying a jump starter myself?
Do I really need one of those fancy jump starters, or can I just use jumper cables with another car?
What if I connect the jump starter and my car still won't start?
Can using a portable jump starter permanently damage my car's electronics?
I heard you shouldn't store jump starters in your car because they can explode. Is that true?
🏅 Looking for Gear Recommendations?
Check out our tested gear guides for products that work with this setup:
Sources
- How To Use a Jump Starter Safely: A Step-by-Step Guide
- Using a Portable Jump Starter: Step-by-Step Guide
- Lithium Jump Starters: Safe, Smart and Effective Usage Tips
- How To Safely Use A Portable Jump Starter
- Can I store a battery jump starter (lithium) in my glove ...
- PORTABLE JUMP BOXES | Safety and Risk Services
- How to Use a Jump Starter Safely: Step-by-Step Guide