First, the Basics
Trying to hardwire a dashcam for off-grid camping usually means you want 24/7 surveillance without draining your starter battery. This isn't some luxury; it's about avoiding a cracked windshield or a stolen catalytic converter in the middle of nowhere. I've seen too many 'simple' installs end with dead batteries or fried electronics. The goal is constant power with a low-voltage cutoff, not just a clean cable run.
You're looking at managing parasitic draw on a 12V system when the alternator isn't spinning. Most YouTube guides gloss over the real failure modes.
The Short Answer
Hardwiring a dashcam for off-grid power means tapping into both constant and switched 12V lines, routing cables to minimize fatigue, and managing parasitic draw to protect your primary battery. Your dashcam needs a dedicated hardwire kit with a low-voltage cutoff (LVC) to prevent deep discharge. Without proper LVC, a 60Ah lead-acid battery can be drained to a non-start condition by a 250mA draw in less than 10 days of continuous operation.
The core issue is power delivery and battery protection. A dashcam's 'parking mode' demands continuous current, even when the engine is off. This means you need a connection to a 'constant-on' 12V fuse, which is always live, unlike the 'accessory-on' circuits that only activate with the ignition. Fail to isolate this, and your battery is toast. Source Type S explains the basic hookups.
Mechanical stress on the wiring is another failure point. Vibrations from rough roads, constant thermal cycling from sun exposure, and poorly secured cables can lead to insulation abrasion and eventual short circuits. This isn't theoretical; I've pulled harnesses where the insulation was worn through from rubbing against a sharp metal edge after 15,000 miles. Think about the cumulative shear forces.
Your chosen hardwire kit must have an adjustable low-voltage cutoff. This critical piece of circuitry monitors your battery's voltage and cuts power to the dashcam if it drops below a pre-set threshold, typically 11.8V for a lead-acid battery. Without it, the dashcam will happily pull current until your battery is permanently damaged or too weak to start the engine. A dead battery in the backcountry is a really bad day.
Thermal management of the dashcam unit itself is also a factor. Direct sunlight can push internal temperatures past 150 degrees F, accelerating component degradation and reducing overall lifespan. The materials used in cheaper cameras can outgas plastics at these temperatures, leading to lens fogging or adhesive failure. VIOFO hardwire installs often discuss camera placement to mitigate this.
Finally, grounding is not optional. A poor ground connection increases circuit resistance, leading to voltage drop and potential intermittent operation. The ground wire needs to be secured to a clean, unpainted metal chassis point with a self-tapping screw or an existing bolt. Don't rely on painted surfaces; paint is an insulator. That 0.5 ohm resistance can turn into heat and unreliable power.
This isn't just about 'installing' a camera; it's about integrating a new electrical load into a tightly engineered system without introducing new failure modes. Every connection is a potential point of failure. You're adding components that will experience continuous mechanical and thermal stress.
The Reality Check
The real fun starts when you dive into specific vehicle electrical systems. Not all 12V sources are created equal. Modern vehicles, like a 2026 Subaru Outback, use complex body control modules (BCMs) that monitor current draw on every circuit. Adding a continuous load to a circuit not designed for it can trigger diagnostic trouble codes or even put the BCM into a limp mode. Subaru owners frequently run into these issues.
Fuse box locations vary wildly. Some are under the dash, others in the engine bay, some even in the trunk. The interior fuse box is usually preferred for hardwiring a dashcam because the wiring runs are shorter and less exposed to engine heat and road grit. However, accessing these can sometimes mean removing trim panels, which are prone to breaking plastic clips if not handled carefully. Those clips are a one-time use component.
Finding a suitable constant 12V source requires a multimeter. You're looking for a fuse that shows 12V even with the ignition off. Common candidates are fuses for interior lights, power seats, or the horn. For the switched 12V, look for circuits like the radio or cigarette lighter, which only activate with the ignition. VIOFO A329S installs show this process.
The gauge of wire in your hardwire kit matters. Undersized wire will experience greater resistance, leading to voltage drop and heat generation, especially over longer runs to a rear camera. Most dashcam kits use 22AWG or 24AWG wire, which is adequate for the typical 200-500mA draw but can be marginal if the camera has multiple modules or high current accessories.
| Component | How It Fails | Symptoms | Fix Cost |
|---|---|---|---|
| Fuse Tap (Add-a-Fuse) | Poor pin contact, thermal fatigue from arcing | Intermittent power, blown fuses, melted plastic | $5 for new tap, $180 for dealer diagnosis |
| Ground Connection | Corrosion, loose bolt, painted surface | Intermittent power, camera resets, no power | $0-$10 (clean/re-attach), $150 for shop time |
| Low Voltage Cutoff (LVC) | Malfunction, incorrect setting, no LVC in kit | Dead battery, reduced battery lifespan | $30-$50 for new kit with LVC, $200 for battery |
| Cable Routing | Abrasion against sharp edges, pinched wires | Short circuit, camera power loss, blown fuses | $0-$20 (tape/reroute), $300+ for wiring harness repair |
That 'fix cost' column? That's what happens when you don't understand the physics of the install. The $5 fuse tap failure isn't just $5; it's the diagnostic time to figure out why your camera randomly drops power. This is why I always preach understanding the failure modes. You're not just connecting wires; you're building a reliable circuit under dynamic conditions.
How to Handle This
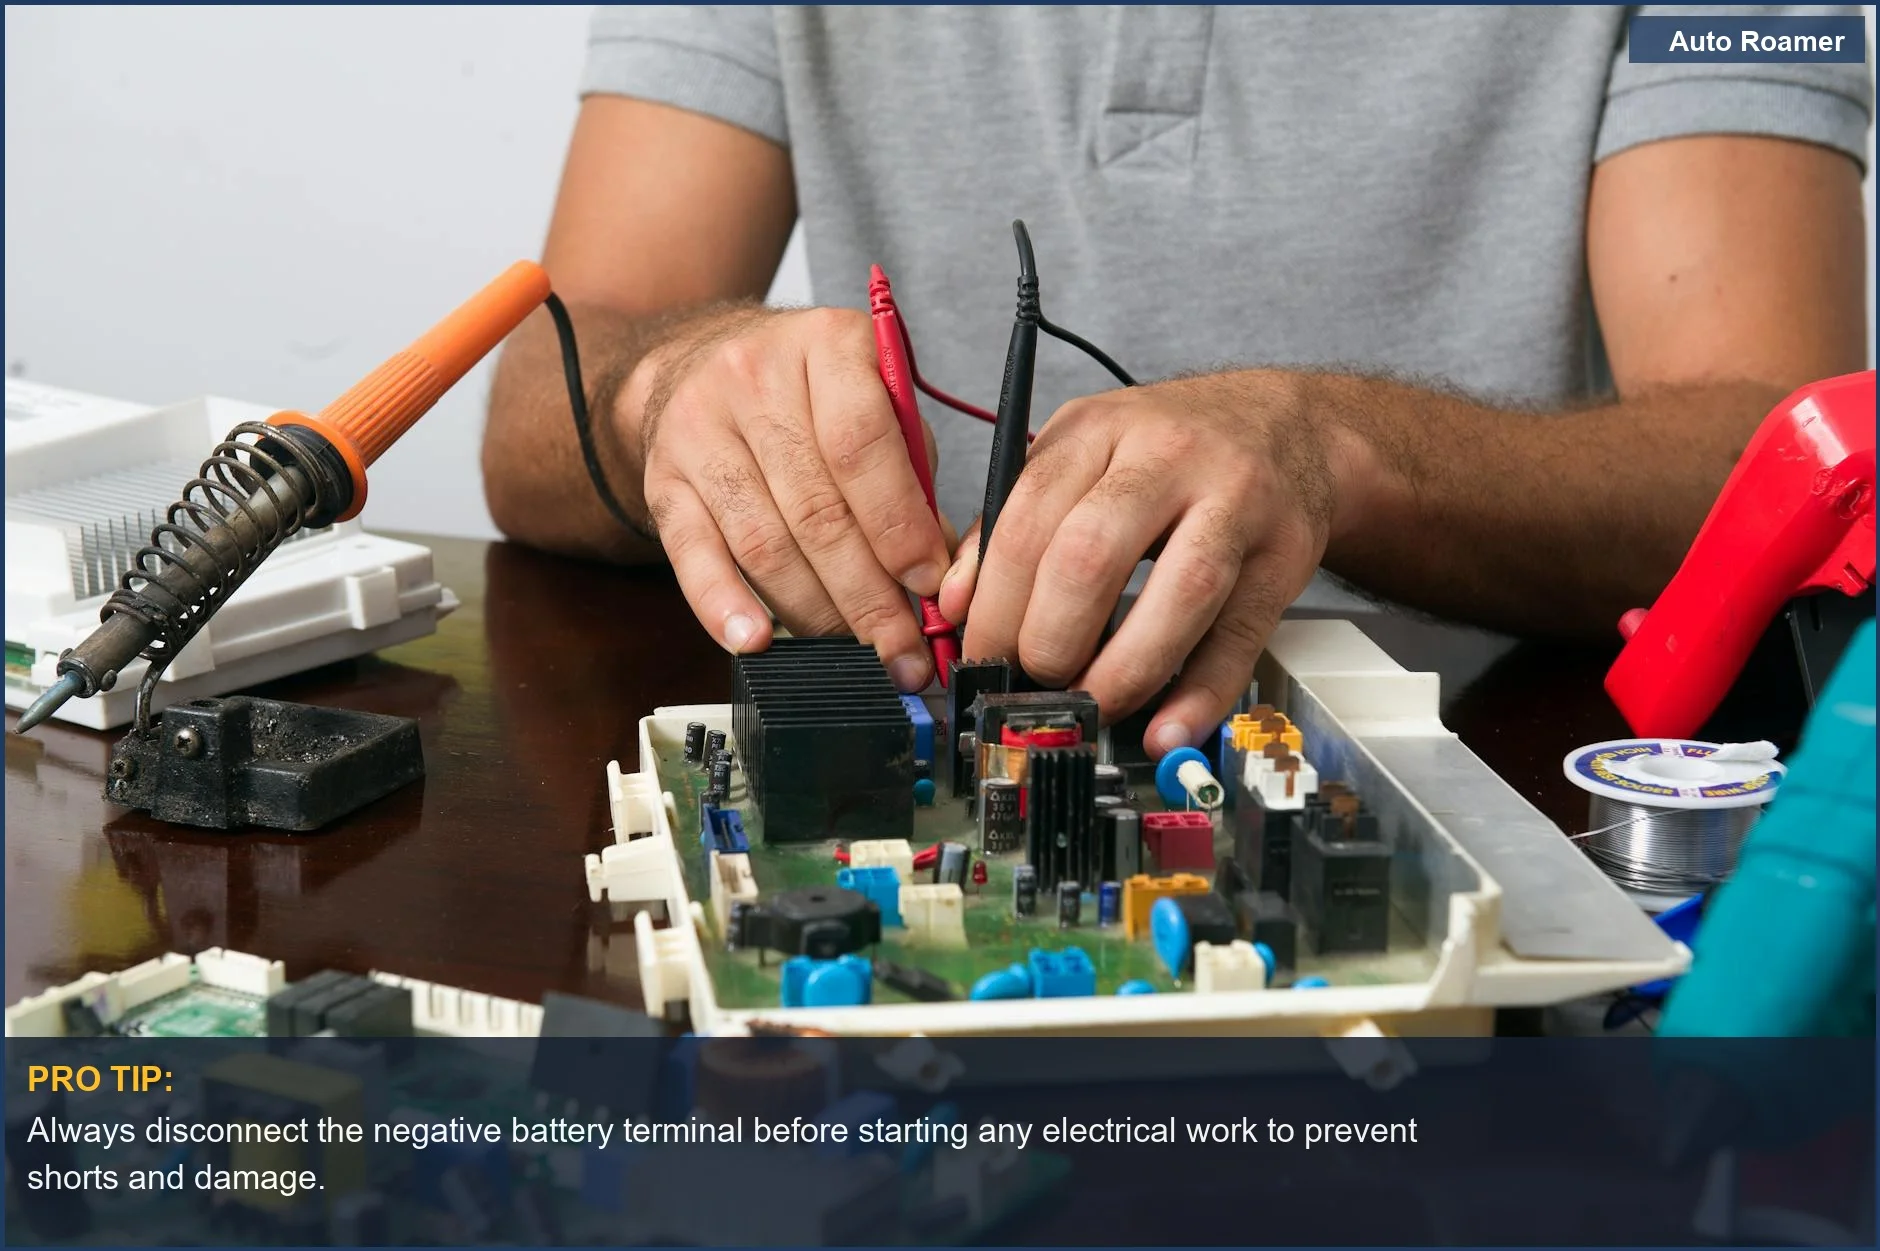
Okay, so you're actually doing this. First, disconnect your negative battery terminal. Seriously. You're working with live circuits. Don't be a hero. A 12V short can weld a wrench to a chassis point and ruin your day, or worse, your car's electronics. VIOFO A119M Pro installs often skip this critical step.
- Locate your fuse box. Consult your vehicle's owner's manual. Most cars have one under the driver's side dash, sometimes behind a small access panel. Pop it open. This is where the magic happens.
- Identify constant and switched fuses. With your multimeter, probe the exposed metal contacts on the top of each fuse. You need two: one that reads 12V with the ignition off (constant power, e.g., interior lights) and one that reads 0V with ignition off, then 12V with ignition on (switched power, e.g., radio, cigarette lighter). Always use a fuse that is rated for a lower amperage than your dashcam's hardwire kit, usually 5A or 10A.
Don't tap into critical safety systems like airbags or ABS; that's just asking for trouble.
- Install the fuse taps. For each chosen fuse, remove the original fuse. Insert it into the lower slot of the fuse tap. Then, insert a new, lower-amperage fuse (e.g., 2A or 3A for the dashcam) into the upper slot of the tap. Plug the tap into the empty fuse slot. The fuse tap's pigtail wire connects to your hardwire kit. This is a common method, as Type S guides illustrate.
- Connect the ground wire. Find a clean, unpainted metal bolt or screw on the chassis near the fuse box. Use a crimp-on ring terminal for the hardwire kit's ground wire and secure it firmly. A loose ground is an intermittent connection waiting to happen. Ensure the contact surface is bare metal; scrape off any paint if necessary.
- Route the power cable. Starting from the fuse box, run the power cable up the A-pillar, tucking it under the trim. Use a trim removal tool to avoid damaging plastic. Guide the cable along the headliner to the dashcam's mounting location, typically near the rearview mirror. Secure it with zip ties every 6-8 inches where possible to prevent vibration-induced abrasion. Reddit users often discuss A-pillar routing.
- Test the system. Reconnect the negative battery terminal. Turn on the ignition and ensure the dashcam powers on. Turn off the ignition and verify parking mode activates (if applicable). Check your hardwire kit's LVC settings, usually via DIP switches or an app. I always set mine to 12.0V or 12.2V just to be safe, especially with older batteries. Better safe than stranded.

What This Looks Like in Practice
I've seen these installs go sideways in surprising ways. Here are a few:
- The 'Phantom Drain' Classic: A guy hardwired his dashcam to the dome light fuse on his 2015 F-150, thinking it was constant. It was, but the BCM kept that circuit active for 30 minutes after door close. His dashcam's LVC was set to 11.8V. The truck's 70Ah battery was dead in 4 days of parking mode. He needed a jump start, then a new battery because of the deep discharge cycles.
The problem was not the dashcam, but the unexpected circuit behavior.
- The 'Zip Tie Gone Rogue': On a 2018 Honda Civic, the dashcam cable was zip-tied too tightly to the steering column support. Over 6 months, the vibration caused the zip tie to rub through the cable's insulation, creating an intermittent short. This blew the camera's fuse every few weeks. The symptom was random camera shutdowns. Found it by tracing the wire and feeling the abrasion. A common issue with ignoring mechanical stress points.
YouTube videos often show clean installs but don't mention the long-term wear.
- The 'Grounding Nightmare': A camper installed a dashcam in his 2020 Toyota Tacoma. He grounded it to a painted bolt head in the passenger footwell. The paint acted as an insulator, leading to a high-resistance ground. The camera would randomly reboot, especially over bumps. The voltage drop at the camera was 0.5V, causing brownouts. Sanded the paint off, reattached. Problem solved. It's always the simple things.
- The 'Cheap Fuse Tap Failure': A client's 2022 Hyundai Elantra had a hardwired dashcam that kept blowing its fuse. Turned out the cheap fuse tap had 0.2mm of play in the fuse holder. Road vibrations caused micro-arcing between the fuse blade and the terminal, generating heat and weakening the fuse link until it popped. Replaced with a higher quality tap, problem vanished. Cost $3 for the tap, $120 for my time.
Road Angel guides don't often detail these minor component failures.
Mistakes That Cost People
Here are the screw-ups I see consistently, costing people time and money:
| Mistake | Why It Fails | Diagnostic Symptoms | Costly Outcome |
|---|---|---|---|
| No Low-Voltage Cutoff (LVC) | Continuous parasitic draw on battery | Dead battery, reduced battery lifespan, no engine start | $200+ for new battery, tow bill |
| Tapping Airbag or ABS Fuses | Interferes with safety system, triggers DTCs | Warning lights on dash, system malfunction, BCM errors | $500+ for dealer diagnostics and BCM reset |
| Poor Ground Connection | High circuit resistance, voltage drop, intermittent power | Camera reboots, flickering, no power, corrupted files | $150 for shop to find/fix, unreliable recordings |
| Not Securing Cables Properly | Vibration, abrasion, shear forces on insulation | Short circuits, blown fuses, intermittent power loss | $300+ for wiring repair, fire risk |
| Over-Amperage Fuse Tap | Original circuit unprotected, potential fire hazard | Melted wiring, component damage, no circuit protection | $1000+ for electrical system repair |
| Ignoring Vehicle-Specific Wiring | BCM interference, unexpected circuit behavior | Phantom draws, BCM error codes, vehicle system faults | $250+ for dealer diagnostics, system reprogramming |
| Using Cheap Hardwire Kits | Poor component quality, unreliable LVC, thin wires | Intermittent operation, premature failure, battery drain | $50-$100 for replacement kit, repeated install time |
That 'no LVC' one is a classic. People think 'I'll just turn it off.' You won't. You'll forget, the battery will drain, and you'll be stuck. A 300mA draw on a 60Ah battery will kill it in about 8 days to a non-start condition, assuming a 50% depth of discharge. If you let it go lower, you're looking at permanent capacity loss. Some guides try to make it seem simple, but the details matter.
This isn't just about functionality; it's about preserving your vehicle's electrical integrity.

Key Takeaways
Hardwiring a dashcam for off-grid use isn't just about getting power to the camera; it's about understanding the electrical and mechanical systems of your vehicle. Ignoring the failure modes will always cost you more in the long run than doing it right the first time. The dealer isn't going to care that your cheap fuse tap caused a BCM fault.
- Prioritize a Low-Voltage Cutoff (LVC): This is non-negotiable. A hardwire kit with an adjustable LVC protects your battery from deep discharge, preventing permanent damage and ensuring your vehicle starts. Don't skimp here; it's cheaper than a new battery or a tow.
- Secure Your Connections: Every wire, every fuse tap, every ground point must be mechanically sound. Vibration is the enemy of electrical integrity. Use zip ties, electrical tape, and proper crimp terminals to prevent abrasion and loose connections.
Facebook groups are full of people asking why their camera randomly dies.
- Use a Multimeter for Fuse Identification: Guessing which fuse is constant or switched is a recipe for disaster. A $15 multimeter will save you hours of troubleshooting and prevent potential damage to your vehicle's sensitive electronics. Test, don't assume.
- Understand Your Vehicle's Specifics: Modern cars have complex BCMs. Tapping into the wrong circuit can lead to diagnostic codes or unexpected parasitic draws.
Consult your vehicle's manual and research specific fuse box layouts for your make and model. Every vehicle is different.
This isn't just a dashcam install. It's a small-scale electrical engineering project. Treat it with the respect it deserves, and you won't be stranded in the middle of nowhere with a dead battery.

