Setting the Scene
Hardwiring a dash cam into your 2026 Volkswagen Camper Van means ditching the cigarette lighter adapter for a cleaner, more permanent setup. This isn't about fancy tech; it's about making sure your camera runs when you need it, even when the engine's off, and without a dangling wire messing up your view. My first attempt involved a mess of wires that looked like a bird's nest. I learned quickly that a clean install is worth the extra 30 minutes.
The Core Answer
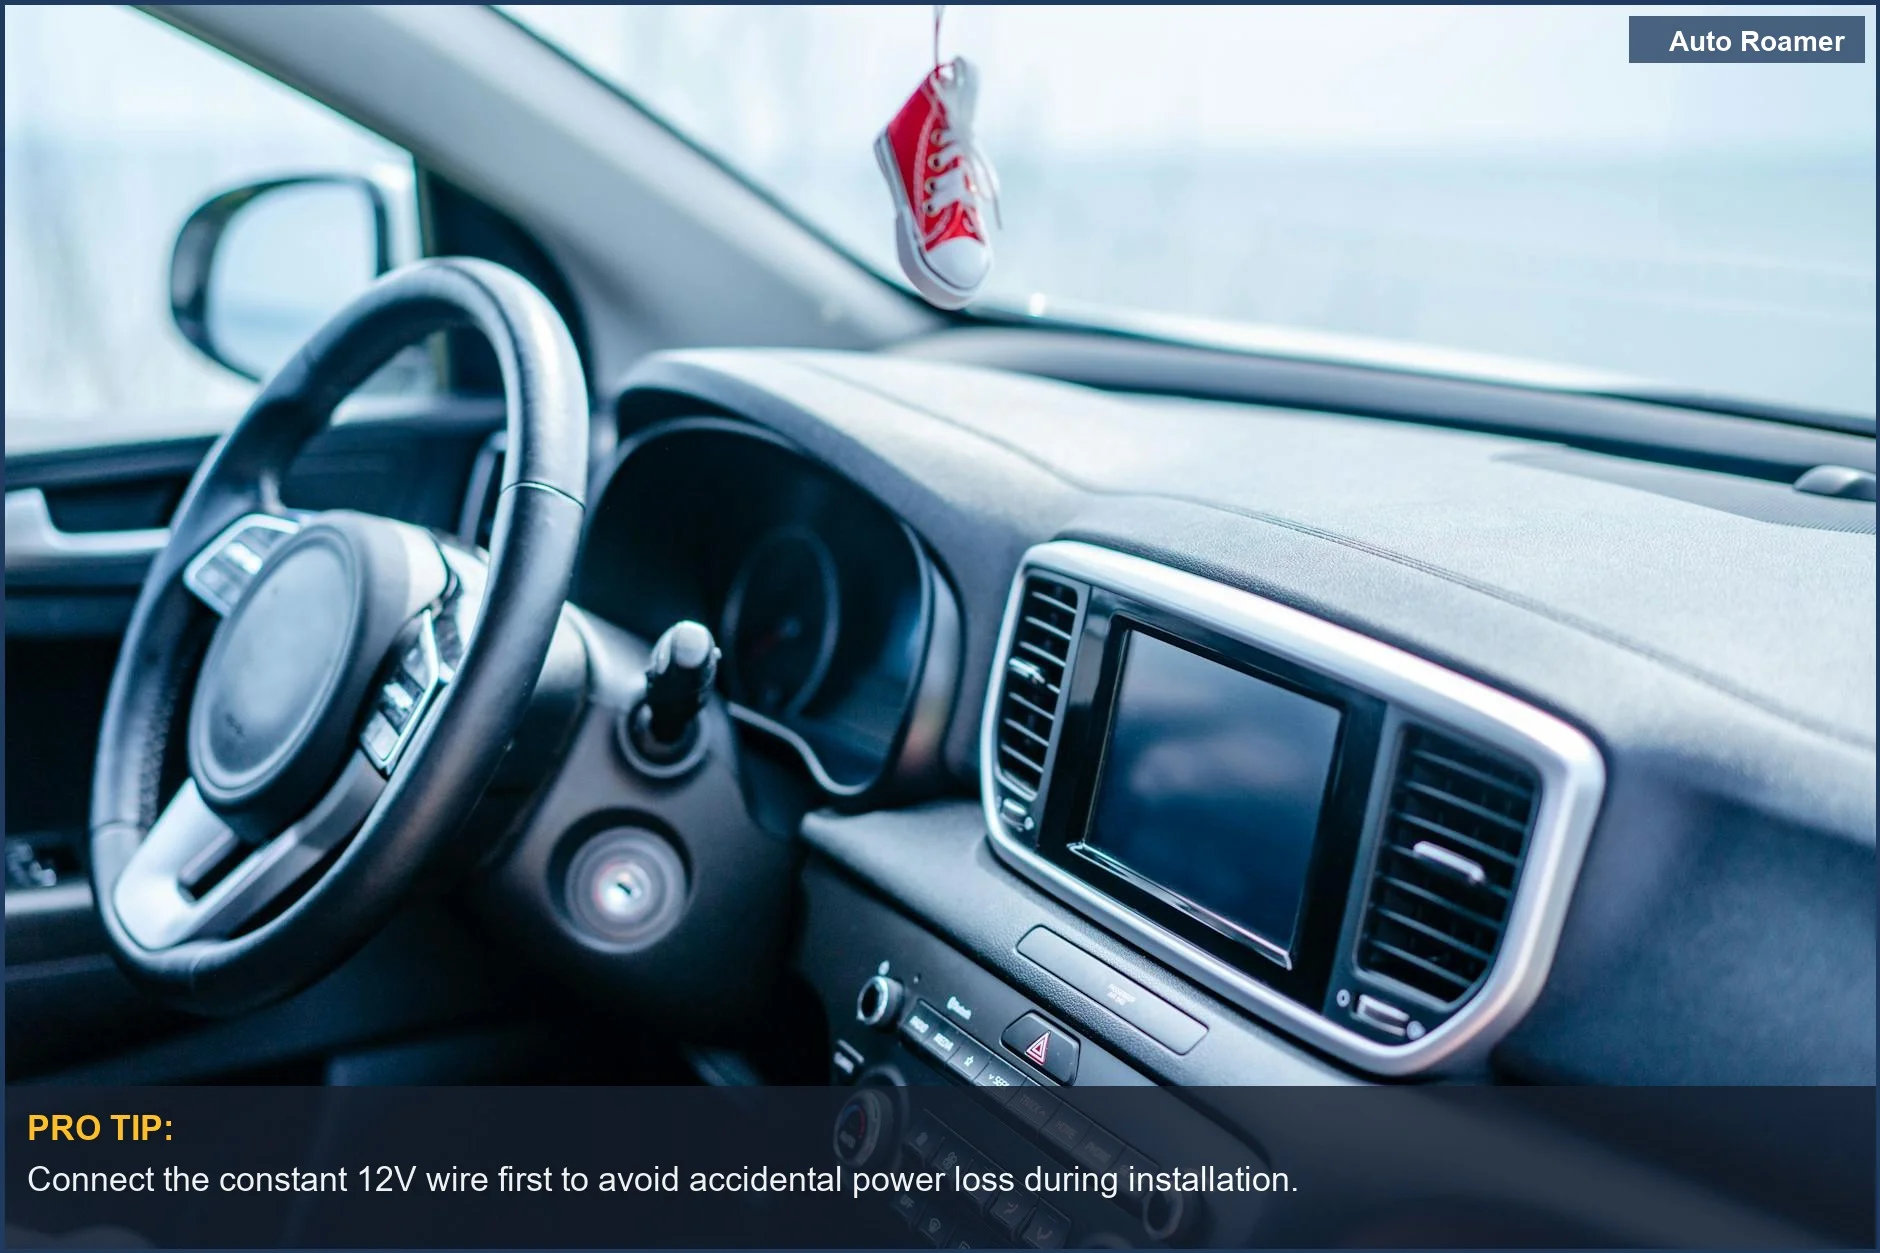
Hardwiring a dash cam involves tapping into your vehicle's electrical system to provide a constant or ignition-switched power source. This means connecting three wires: a constant 12V power, an ignition-switched 12V power, and a ground. The constant 12V allows the camera to record in parking mode, while the ignition-switched power turns it on and off with the engine. This setup is pretty standard across many vehicles, including the T6.1 models.
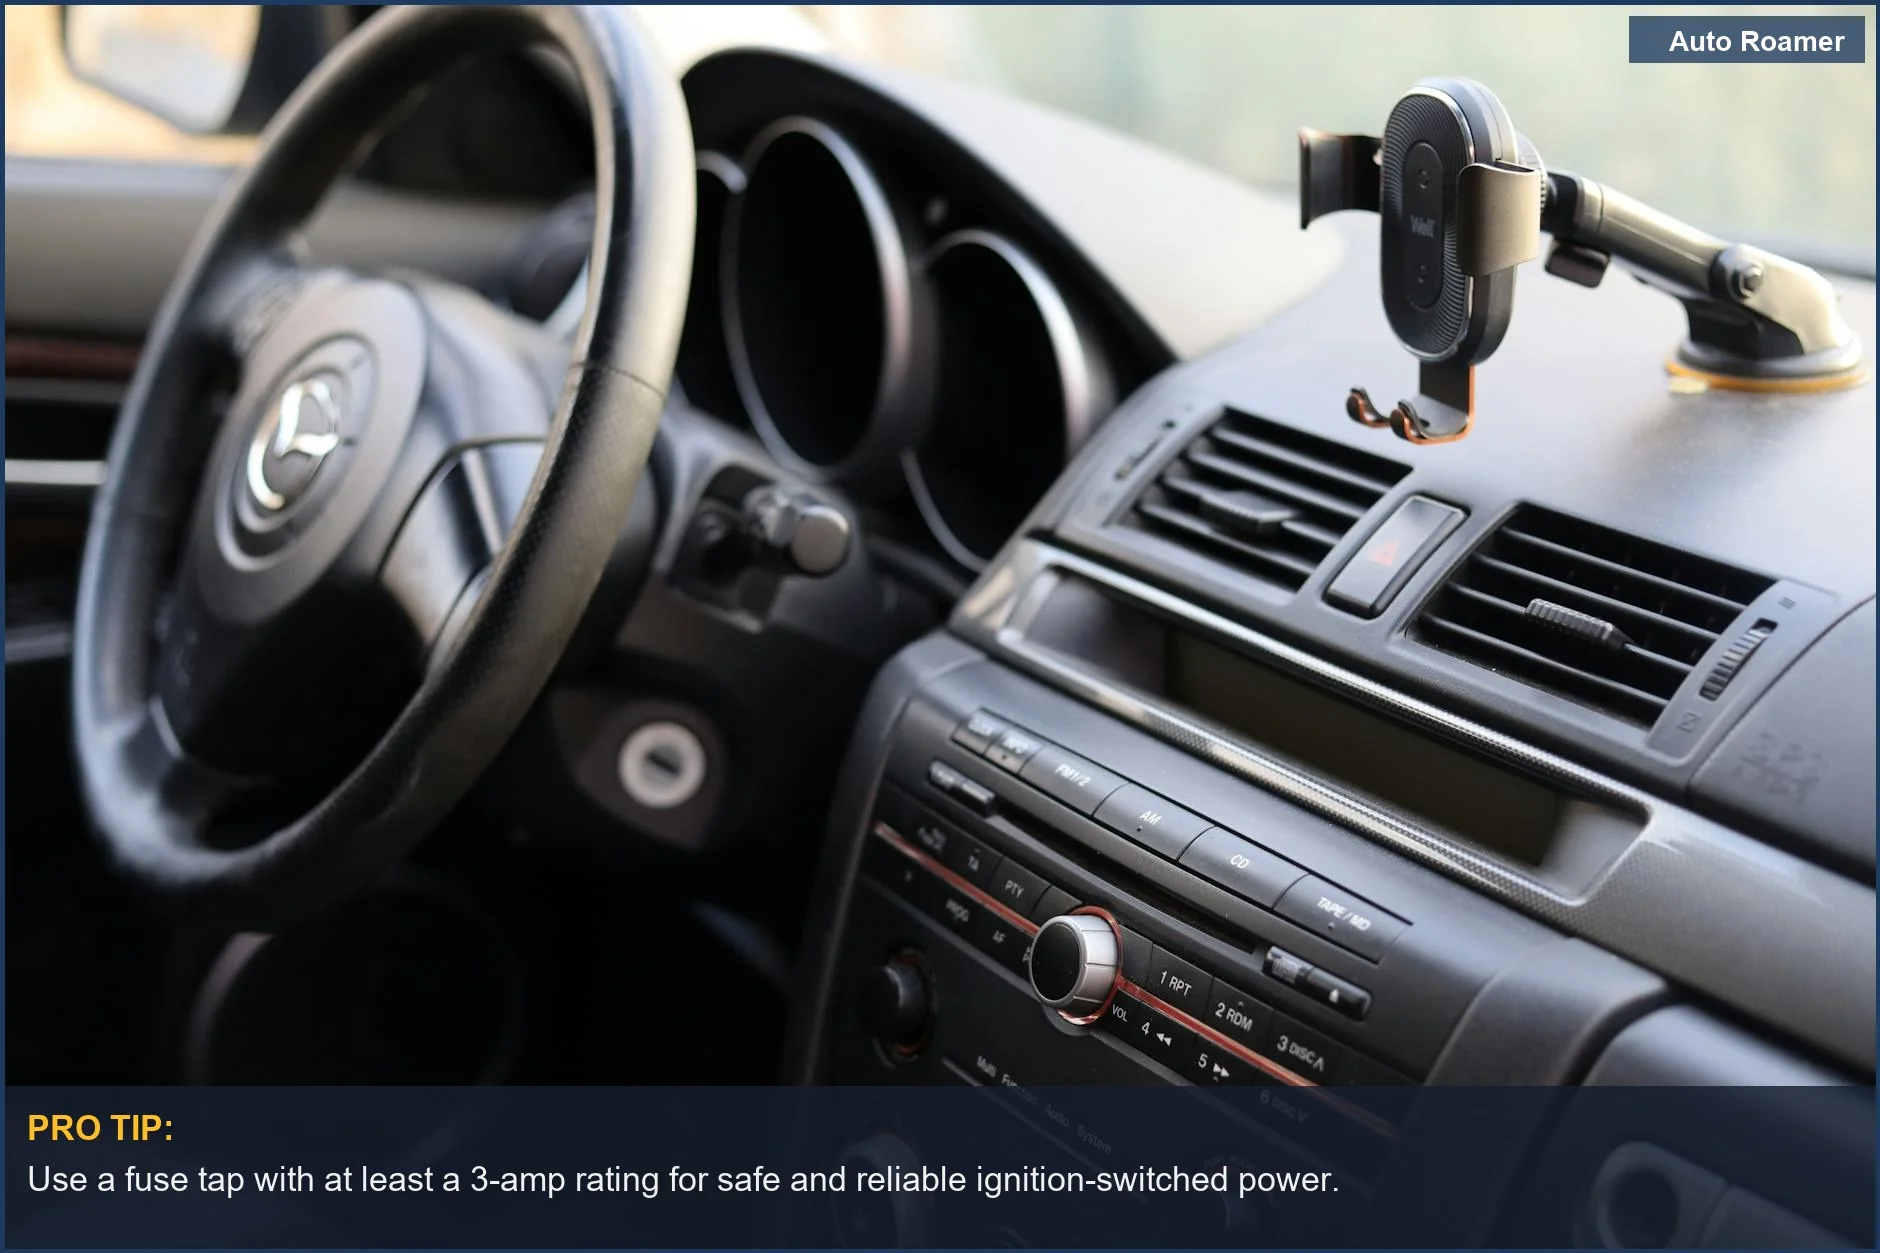
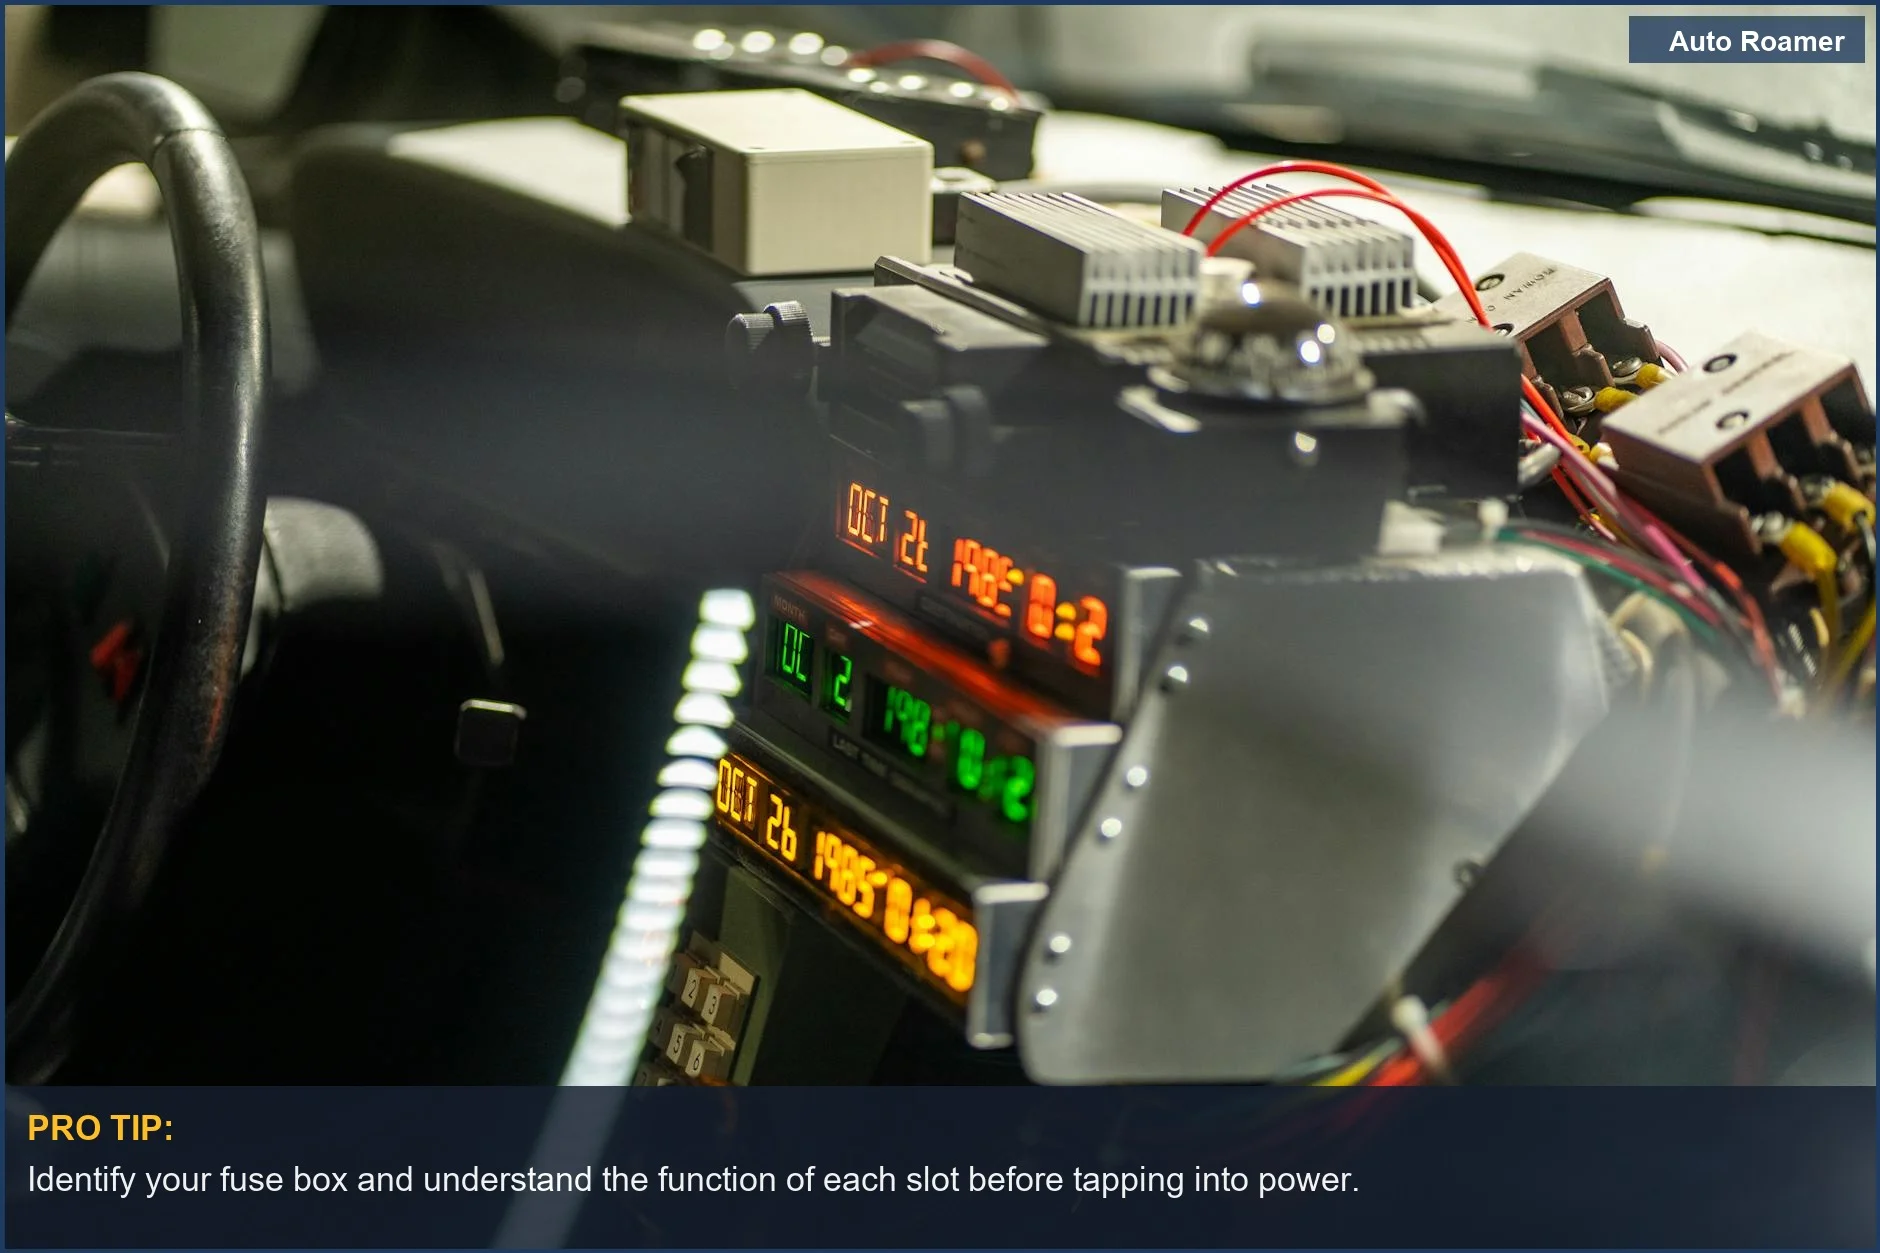
Finding the right fuse box is key. Most VW camper vans have fuse boxes accessible in the cabin, often near the steering column or dashboard. You'll want to identify fuses that are constantly powered and those that only get power when the ignition is on. Using a fuse tap is the easiest way to add a connection without cutting into existing wires.
My mistake was grabbing the wrong fuse type and blowing a fuse for my radio on my first try. Rookie mistake.
The ground connection is usually straightforward. Look for a metal bolt or screw that goes directly into the vehicle's chassis. This provides a solid earth connection for the circuit. Just make sure it's clean and free of paint or rust for a good connection. Forum chatter confirms this is a common point of confusion.
Running the wires cleanly is where the real skill comes in. You'll want to route cables along existing trim, behind headliners, or through designated grommets to keep them hidden and out of the way. This prevents them from interfering with airbags or driver controls. Sticking cables behind trim is the real move here.
For the rear camera, the process can be a bit more involved, often requiring you to snake the cable through the van's interior. This might involve removing pillar trim or carefully tucking wires along the roof lining. It took me about 2 hours for the front camera and another 3 for the rear on my first van.
Some kits come with a voltage cut-off feature to prevent draining your battery if the camera runs overnight. This is a good idea if you plan on using parking mode frequently, especially during colder months when batteries are stressed. Check your kit's features.
The honest version: it's not rocket science, but it's also not plug-and-play. Patience and paying attention to detail are your best tools. I once spent 45 minutes trying to figure out why my dash cam wouldn't turn on, only to realize I had plugged the power wire into the wrong fuse. Double-checking your connections is paramount.
Why This Matters for Your Setup
- Battery Protection: Hardwiring with a smart kit prevents your dash cam from draining your van's battery overnight. This is crucial for ensuring you can still start your engine in the morning, especially in colder weather.
- Clean Installation: No more dangling wires that obstruct your view or look messy. A hardwired setup integrates seamlessly into your van's interior, making it look professional and intentional.
- Parking Mode Reliability: For your dash cam to effectively monitor your van while parked, it needs a constant power source. Hardwiring ensures this without relying on a temporary adapter that could be accidentally unplugged.
- Rear Camera Integration: If you're installing a rear camera, hardwiring is almost essential for a clean and reliable connection. Running the cable neatly through the van's interior is key to avoiding damage and ensuring continuous recording.
- Peace of Mind: Knowing your dash cam is always powered and recording, whether you're driving or parked, provides significant peace of mind. It's a small investment for potential big returns in insurance claims or accident disputes.
Routing cables behind trim is the game-time move.
My rear camera install took longer than the front.
Making the Right Choice
- Understand Your Power Needs: Decide if you need a dash cam that records while parked (constant power) or only when the ignition is on. This dictates the type of hardwire kit you'll need.
- Fuse Box Smarts: Learn to identify the correct fuse slots in your van. Using a fuse tester or multimeter is a good practice, but even a simple test light can tell you what's live.
- Cable Management is King: Don't just stuff wires anywhere. Take the time to route them neatly behind panels and headliners. This isn't just about looks; it's about safety and preventing damage. My first attempt looked like spaghetti.
- Kit Quality Matters: While you can find cheap kits, investing a little more in a reputable brand can save you headaches down the line.
- Don't Fear the DIY: While a professional installation is an option, hardwiring a dash cam is a very achievable DIY project for most people. It's a great way to learn more about your van's electrical system.
I learned this the hard way by messing with the wrong fuses.
Look for kits with built-in battery protection and clear instructions.

