
The big picture: why a VW Tiguan needs a careful dash-cam install
Wiring a dash cam into a 2026 Volkswagen Tiguan isn’t like the simple 12-volt jobs of an older car. The MK3 Tiguan runs a CAN-bus-heavy electrical architecture with a lot of modules talking to each other, and Volkswagen Group vehicles are well known among installers and on owner forums for being sensitive to sloppy electrical taps — a bad connection can trigger fault codes, cause parasitic battery drain, or upset systems like the start-stop. That isn’t a reason to be afraid of the job; it’s the reason to do it deliberately.
This guide is written from Volkswagen’s own documentation, published install guides for the Tiguan MK3, and the patterns that recur across owner forums — not from a road trip or a personal install we’re pretending to have done. The goal is simple: get a clean, reliable dash cam into the 2024–2026 Tiguan without introducing the voltage drops, parasitic draw, or fault codes that careless wiring causes.
There are three honest ways to power a dash cam in a Tiguan, and they trade cleanliness against effort: a plug-and-play OEM-style unit that taps the existing mirror or rain-sensor harness, a hardwired install that runs a fuse tap down the A-pillar to the fuse box, and the simple cigarette-lighter route. The rest of this guide walks each path, what to look for in the camera itself, the specific picks owners and reviewers point to for the Tiguan, and an honest head-to-head so you can match the install to your tolerance for trim removal. If you’re weighing the broader DIY-versus-shop question first, our hardwiring vs. plug-and-play guide frames that decision before you buy anything.
Quick verdict: the three ways to power a dash cam in a Tiguan
Before the camera choice, the power choice. Here are the three install paths for the 2026 Tiguan, ranked from cleanest to crudest, with the honest trade-off each one carries.
- Plug-and-play (OEM-style): Units like the Fitcamx replace the rearview-mirror shroud and tap power directly from the rain-sensor or mirror harness, so there are no exposed wires and no fuse-box work. This is the cleanest install and the one that puts the least stress on the Tiguan’s electrical system, because it uses an existing low-current connection rather than a new tap. Expect roughly $150–$300, and the main effort is removing the OEM cover without breaking the clips.
- Hardwire kit (fuse tap): This routes a wire from the camera down the A-pillar and into the fuse box. You’ll need to identify a switched 12V source and an always-on 12V source for parking mode, and the right way to find them is a multimeter, not a guess. A fuse-tap kit (an add-a-circuit set) makes the connection without cutting factory wires. It’s more work and a bad tap can cause voltage drops or parasitic draw, but it unlocks proper parking mode.
- Cigarette-lighter power: The easiest path, and the least tidy. A cable runs across the dash to the 12V socket; over time vibration stresses the cable jacket, and because most Tiguan accessory sockets are switched with the ignition, you generally lose parking mode. Fine for a first trial, not a permanent solution.
One Tiguan-specific note that applies to every path: the 2024–2026 MK3 has a tightly integrated interior, so accessing the fuse box or routing a wire means popping off trim panels with proper plastic pry tools — never a screwdriver, which gouges the plastic. And because Volkswagen’s wiring is CAN-bus heavy, the rule across owner forums is consistent: don’t cut factory wires, use fuse taps or dedicated harnesses, and treat the always-on circuit with respect so you don’t wake up to a flat battery.

What to look for in a dash cam for the Tiguan
The Tiguan’s clean interior and sensitive electrical system push you toward a few specific features. Here is what actually matters for this vehicle, and the failure mode each feature is there to prevent.
| Feature | Why it matters on a Tiguan | Failure mode it avoids |
|---|---|---|
| Power-source integration | A direct tap into an existing harness (rain sensor, mirror) minimizes electrical interference and leaves no exposed conductors. | Voltage drop, parasitic draw, CAN-bus errors, shorts from a poor fuse tap. |
| 4K resolution | Higher pixel density preserves license plates and detail from a distance — what makes footage useful as evidence. | Pixelation and motion blur that make a clip useless in a dispute. |
| Parking mode (hardwired) | A constant 12V feed lets the cam monitor impact or motion with the ignition off; it must include a low-voltage cutoff (around 11.8V) so it stops before the battery is too low to crank. | A dead battery, and thermal cycling of the memory card from continuous recording. |
| Capacitor vs. battery | Capacitor-based cams tolerate the heat of a parked car far better than lithium cells — less swelling and outgassing at the temperatures a windshield reaches in summer. | Battery swelling, thermal runaway, and premature failure in a hot cabin. |
| Adhesive mount (3M VHB) | A bonded mount damps vibration better than a suction cup, which loses grip after repeated heat cycles. | A cam that detaches, plus vibration-induced image blur. |
| Wide-angle lens (~160°) | A wide field of view captures peripheral events and reduces blind spots when reconstructing an incident. | Tunnel vision that misses an off-center collision. |
| Wi-Fi transfer | Pulling footage to a phone over Wi-Fi avoids repeatedly removing the SD card, which wears the slot pins. | A damaged card slot and corrupted files from rough card handling. |
Read the table as a shopping filter for this specific car: the Tiguan’s interior is genuinely clean, so an OEM-style or low-profile cam keeps it that way, and the sensitive electrical system rewards a unit that taps an existing harness or uses a proper fuse tap rather than improvised wiring. If you want a wider field of current Tiguan-fit cameras to compare, a search for dash cams made for the VW Tiguan turns up the OEM-style and universal options side by side. As an Amazon Associate we earn from qualifying purchases.
OEM-style plug-and-play picks: the cleanest Tiguan installs
If a factory look and minimal electrical fuss are the priority, an OEM-style plug-and-play cam is the honest first choice for the Tiguan. These describe the specs the manufacturers publish and what reviewers and owners report — not a test we ran ourselves.
Fitcamx 4K Dash Cam (about $250). A 4K front camera with a roughly 160-degree field of view, f/1.6 aperture, Wi-Fi, G-sensor, and loop recording in an OEM-style housing made specifically for the Tiguan MK3 (2024–2026). Its appeal is the seamless integration: it draws plug-and-play power from the rain-sensor or mirror harness, leaves no visible wires, and uses a capacitor rather than a battery, which suits a hot parked cabin. The trade-offs that owners flag are real — getting the OEM cover off without breaking the clips takes patience, and a rear camera still requires hardwiring. It’s the pick for anyone prioritizing a stealth, factory-clean look with the least wiring work.
The plug-and-play route’s big advantage is exactly what makes it suit a Volkswagen: because it uses an existing low-current connection instead of a new tap into the fuse box, it sidesteps most of the voltage-drop and parasitic-draw risks that make people nervous about wiring a VW. There’s no probing for switched versus constant 12V, no add-a-circuit, and no A-pillar trim to pull for the front camera. You trade some flexibility — you take the housing’s feature set as it comes — for an install that is genuinely hard to get wrong. For a single-channel front cam on a Tiguan, that trade is usually the right one.

Hardwired and multi-channel picks: more capability, more wiring
If you want higher image fidelity, multiple channels, or full buffered parking mode, you move into hardwired territory. These cams describe published specs and common owner experience; the cost is more wiring and, usually, A-pillar trim removal.
VIOFO A119 Mini 2 (about $120). A 2K (1440p) cam at 60fps on a Starvis 2 sensor, with a roughly 140-degree field of view, built-in GPS, Wi-Fi, and parking modes that require a hardwire kit. It punches above its price for image quality and has a small footprint and capacitor power delivery. The honest catch is that it isn’t an OEM-style fit, so you’ll have a visible camera on the glass, and parking mode means fuse-box work with a hardwire kit for the extra circuits. It’s the budget-conscious pick for anyone who wants strong video and doesn’t mind a visible cam and a bit of wiring.
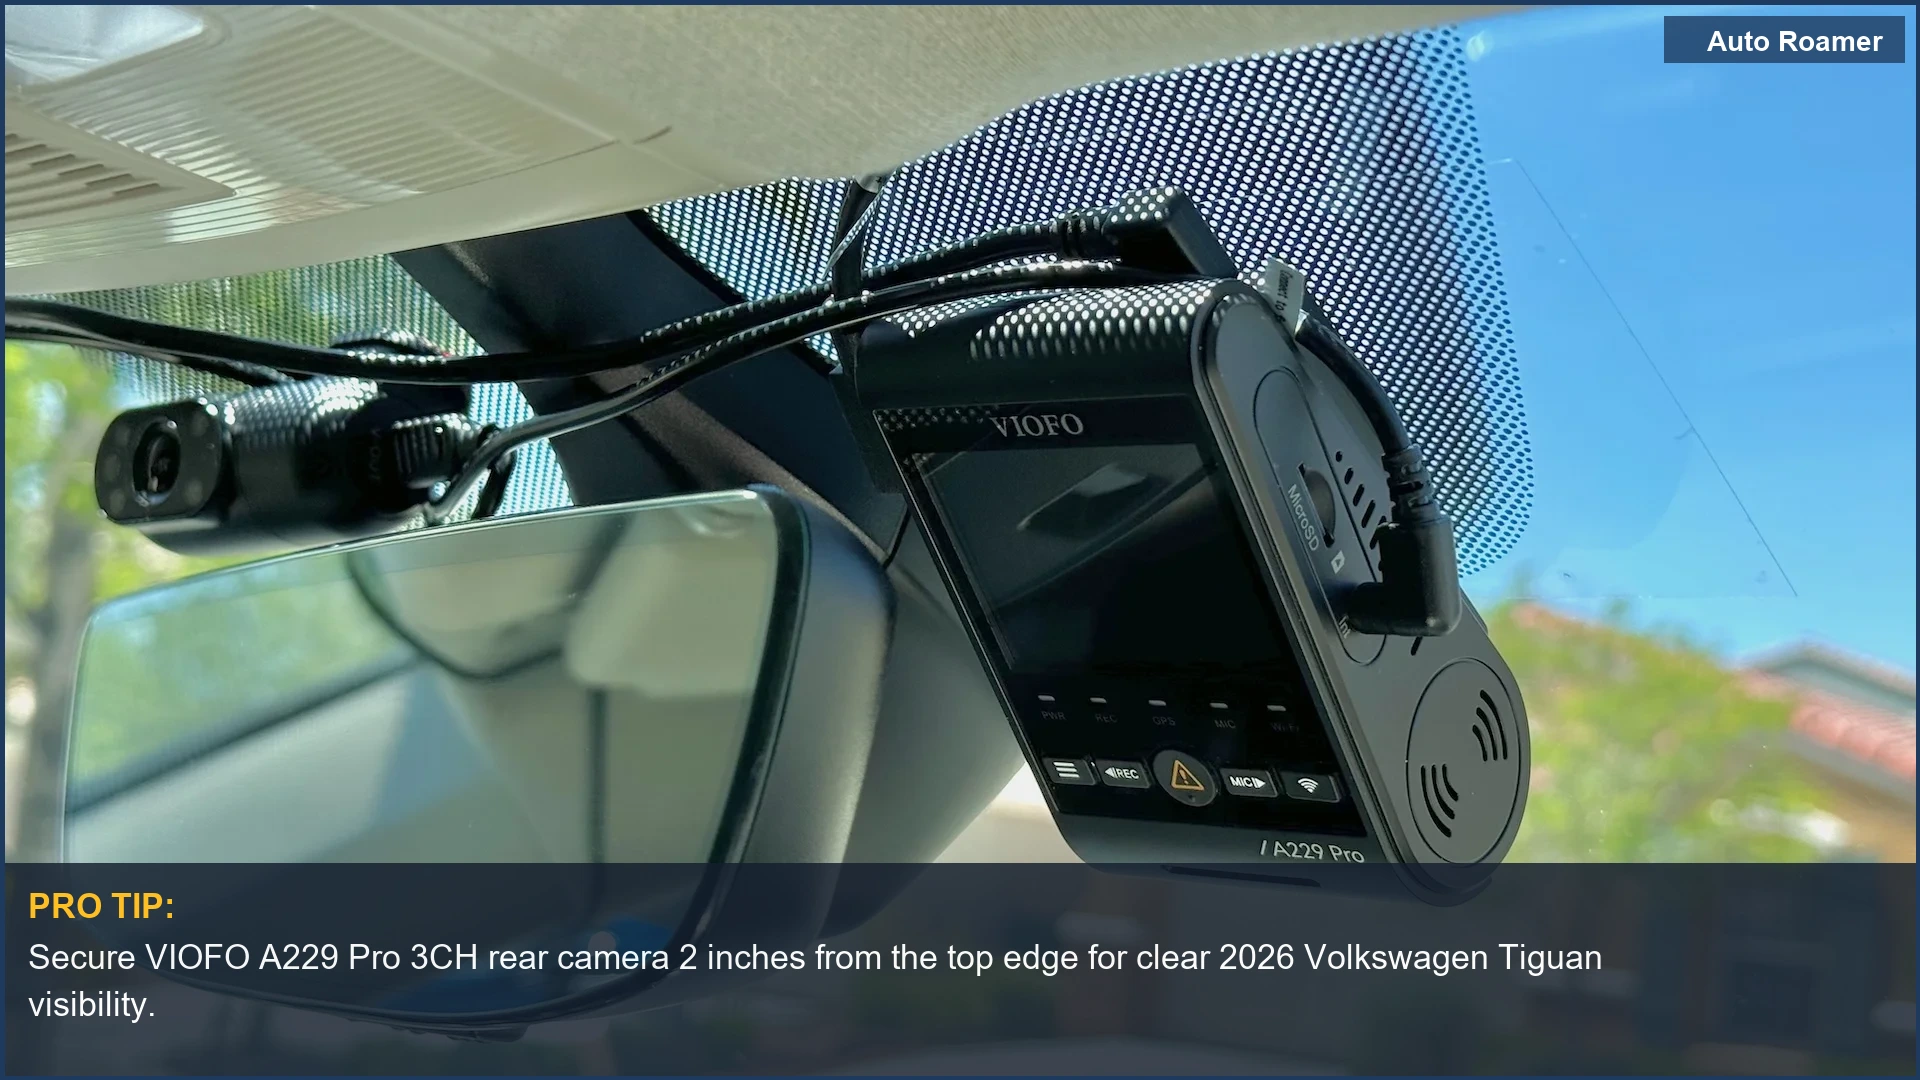
BlackVue DR970X-2CH (about $500). A two-channel system with a 4K front and 1080p rear camera, a roughly 155-degree field of view, GPS, Wi-Fi, cloud connectivity, and buffered parking mode with event upload. It is frequently cited as a premium pick for the Tiguan because of its ecosystem: cloud features, strong parking-mode behavior, high thermal tolerance, and capacitor power. The trade-offs are price and effort — it expects a full hardwire install to unlock every feature, which means pulling A-pillar trim, and the cloud features rely on a separate data subscription. It’s the pick for owners who want remote monitoring and cloud backup and are comfortable with a more involved install.
Across all three picks, the through-line is the same: match the camera to how much wiring you’re willing to do. The Fitcamx minimizes the install at the cost of flexibility; the VIOFO and BlackVue add capability and require a proper hardwire, which on a Tiguan means a careful fuse tap and trim removal done with the right tools.

Hardwiring the Tiguan step by step (without throwing a code)
If you go the hardwire route, the difference between a clean install and a fault code is method. This is the sequence owners and install guides converge on for the MK3 Tiguan — described as a procedure, not a personal play-by-play.
- Gather the right tools first. A hardwire kit with an inline fuse holder, an add-a-circuit fuse tap, a multimeter, and plastic trim tools. Skip the screwdriver for prying — it gouges the Tiguan’s panels.
- Find your two circuits with the multimeter. You need one switched 12V (live only with the ignition on) and, for parking mode, one constant 12V (always live). Probe the fuse box, key on and key off, to confirm which is which. Guessing is what causes the trouble — not the wiring itself.
- Tap, don’t cut. Use the add-a-circuit on the chosen fuses so the factory wiring stays intact, and connect the kit’s ground to a clean bare-metal point.
- Route the wire up the A-pillar. Tuck the cable behind the trim from the fuse box up to the headliner and across to the camera, after gently releasing the A-pillar panel with the pry tools. Mind the airbag behind that pillar.
- Set the low-voltage cutoff and test. Configure the cam’s cutoff (around 11.8V) so parking mode shuts down before the battery is too low to start, then verify recording with the ignition on and off.
The reason owner forums treat this job with caution is genuine: Volkswagen’s CAN-bus architecture means an improper tap can introduce resistance or interference that shows up as a fault code on an unrelated system. Done by the book — multimeter to confirm the circuits, a proper fuse tap, no cut factory wires, a clean ground — a hardwire install is well within a careful DIYer’s reach, and the result is the buffered parking mode that the cigarette-lighter route can’t give you.
Parking mode and protecting the Tiguan's battery
Parking mode is the single biggest reason owners hardwire instead of using the cigarette lighter — and it’s also the feature most likely to flatten a battery if it’s set up carelessly. The fix isn’t to avoid it; it’s to bound it.
Parking mode keeps the cam watching for impact or motion while the Tiguan is off, which is why it needs that always-on 12V feed. The safeguard is the low-voltage cutoff: set it so the cam stops recording once system voltage falls toward roughly 11.8 volts, leaving enough charge to crank. Without that cutoff — or with it set too low — an overnight stint in parking mode can drain the battery, which on a VW can also surface as parasitic-draw complaints down the line.
A few honest practical limits keep parking mode from becoming a problem. If the Tiguan sits unused for days at a time, parking mode will eventually win against the battery no matter how the cutoff is set; for long storage, either disable it or run a dedicated cam battery pack so the draw never touches the starter battery. Buffered parking mode (which the BlackVue offers) captures the seconds before an event without recording continuously, which is gentler on both the battery and the memory card.
And if the car ever throws a code after an install, the first check is the always-on tap and the quiescent current — a healthy Tiguan should draw only a few tens of milliamps at rest, and anything well above that points back at the install rather than at the camera itself.
Mounting, heat, and keeping the cam reliable
Where and how the cam mounts decides whether it survives a couple of summers in a parked Tiguan. Two factors do most of the work: the mount and the way the unit handles heat.
Mount. A bonded 3M VHB adhesive mount damps vibration far better than a suction cup, which tends to lose grip after repeated heat cycles and drop the camera — taking your footage stability with it. The rearview-mirror housing is the natural spot on the Tiguan: it puts the lens high and central, keeps it out of the driver’s sightline, and on OEM-style units hides the cam entirely. Keep the lens clear of the windshield’s shaded frit band so the view isn’t clipped.
Heat. A windshield-mounted device bakes in summer, and that is exactly why capacitor-based cams are the right call for the Tiguan over battery-based ones: capacitors tolerate the thermal cycling without the swelling, outgassing, or premature failure that lithium cells suffer at high cabin temperatures. Pair a capacitor cam with a high-endurance memory card rated for continuous recording, and the cam will ride out the heat that kills cheaper setups.
The small habits matter too: route every wire fully behind trim so nothing dangles to chafe or distract, transfer footage over Wi-Fi instead of repeatedly pulling the SD card to spare the slot pins, and check the mount and lens at each oil change. None of this is hard; it’s the difference between a cam that’s still working in three years and one that quietly died in a July parking lot.
Head-to-head: OEM-style plug-and-play vs. a hardwired install
The 2026 Tiguan’s electrical system rewards precision over guesswork, so the real decision is how much install effort you’ll trade for capability. Here’s how the two main approaches stack up, using the Fitcamx OEM-style unit and the BlackVue hardwired system as representative examples.
| Feature | Fitcamx 4K (OEM-style) | BlackVue DR970X-2CH (hardwired) |
|---|---|---|
| Power source | Plug-and-play from the rain-sensor / mirror harness; no wire cutting. | Hardwired to the fuse box (switched & constant 12V); requires fuse taps. |
| Install complexity | Low — snaps into the OEM housing with minor trim removal. | Medium — A-pillar trim removal, fuse-box access, wire routing. |
| Aesthetics | Invisible; replaces the factory mirror shroud. | Small visible camera on the windshield; wires hidden behind trim. |
| Risk to vehicle electrics | Minimal — uses an existing low-current connection. | Moderate — a poor fuse tap can cause voltage irregularities or shorts. |
| Parking mode | Sometimes, via the existing harness; may not be buffered. | Yes — buffered with a low-voltage cutoff; stronger event capture. |
| Approx. cost | ~$250 | ~$500 plus a hardwire kit |
| Thermal reliability | Capacitor-based; good in heat. | Capacitor-based; excellent in heat. |
The honest read: for a clean, low-risk, front-only install on a Tiguan, the OEM-style plug-and-play unit wins on simplicity and on keeping the factory look. The hardwired system earns its extra cost and effort only if you want multi-channel coverage, cloud features, or properly buffered parking mode. Some owners split the difference with an OEM-style housing that still hardwires through the fuse box for parking power — a hybrid that buys the clean look and the full feature set at the price of doing the wiring anyway.
Spec snapshot: the Tiguan install facts to plan around
The figures and facts that actually drive a Tiguan dash-cam install, drawn from Volkswagen documentation, MK3 install guides, and owner forums — the planning ballpark before you buy.
| Item | Detail | Why it matters |
|---|---|---|
| Model | Tiguan MK3, 2024–2026 | tightly integrated interior; OEM-style housings are model-specific |
| OEM cam location | rearview-mirror housing | high, central, out of sightline; hidden on OEM-style units |
| Fuse box access | behind A-pillar / dash trim | needs plastic pry tools, never a screwdriver; mind the airbag |
| Hardwire circuits | switched + constant 12V | switched for normal recording, constant for parking mode |
| Low-voltage cutoff | ~11.8V | protects the battery so the Tiguan still cranks |
| Power for heat | capacitor, not battery | survives a hot parked cabin without swelling |
| Quiescent draw at rest | tens of mA (healthy) | well above that after an install points to a bad tap |
Read it as a pre-install checklist: confirm the model so the OEM-style housing fits, gather plastic tools for the trim, plan the two circuits if you’re hardwiring, set the cutoff, choose a capacitor cam for the heat, and verify the resting current after you’re done. Get those right and the Tiguan install is methodical rather than risky — the caution on the forums is about doing it carelessly, not about the job being beyond a careful owner.
The bottom line: pick the install that matches your appetite for wiring
So, what’s the right way to install a dash cam on a 2026 Volkswagen Tiguan? It depends on one honest question: how much wiring do you want to do? The Tiguan’s CAN-bus electrical system rewards a careful install and punishes a sloppy one, so the decision is really about effort versus capability, not about whether the job is safe.
For most owners, the OEM-style plug-and-play route — a unit like the Fitcamx that taps the existing mirror harness — is the sensible default: it’s the cleanest look, the lowest electrical risk, and the least likely to throw a code, at the cost of some flexibility and a fiddly cover removal. If you want multi-channel coverage, cloud features, or properly buffered parking mode, step up to a hardwired VIOFO or BlackVue and do the fuse tap by the book: multimeter to confirm switched versus constant 12V, an add-a-circuit so you never cut factory wires, a clean ground, and a low-voltage cutoff to protect the battery.
Whichever you choose, the principles are the same and they come straight from how the hardware works and what owners report: don’t cut factory wires, use the right plastic tools, set the cutoff, pick capacitor power for the heat, and check the resting current when you’re done. Match the install to your tolerance for trim removal and the Tiguan takes a dash cam cleanly and reliably. If you’re still deciding between doing it yourself and paying a shop, our hardwiring vs. plug-and-play comparison walks that final call.