First, the Basics
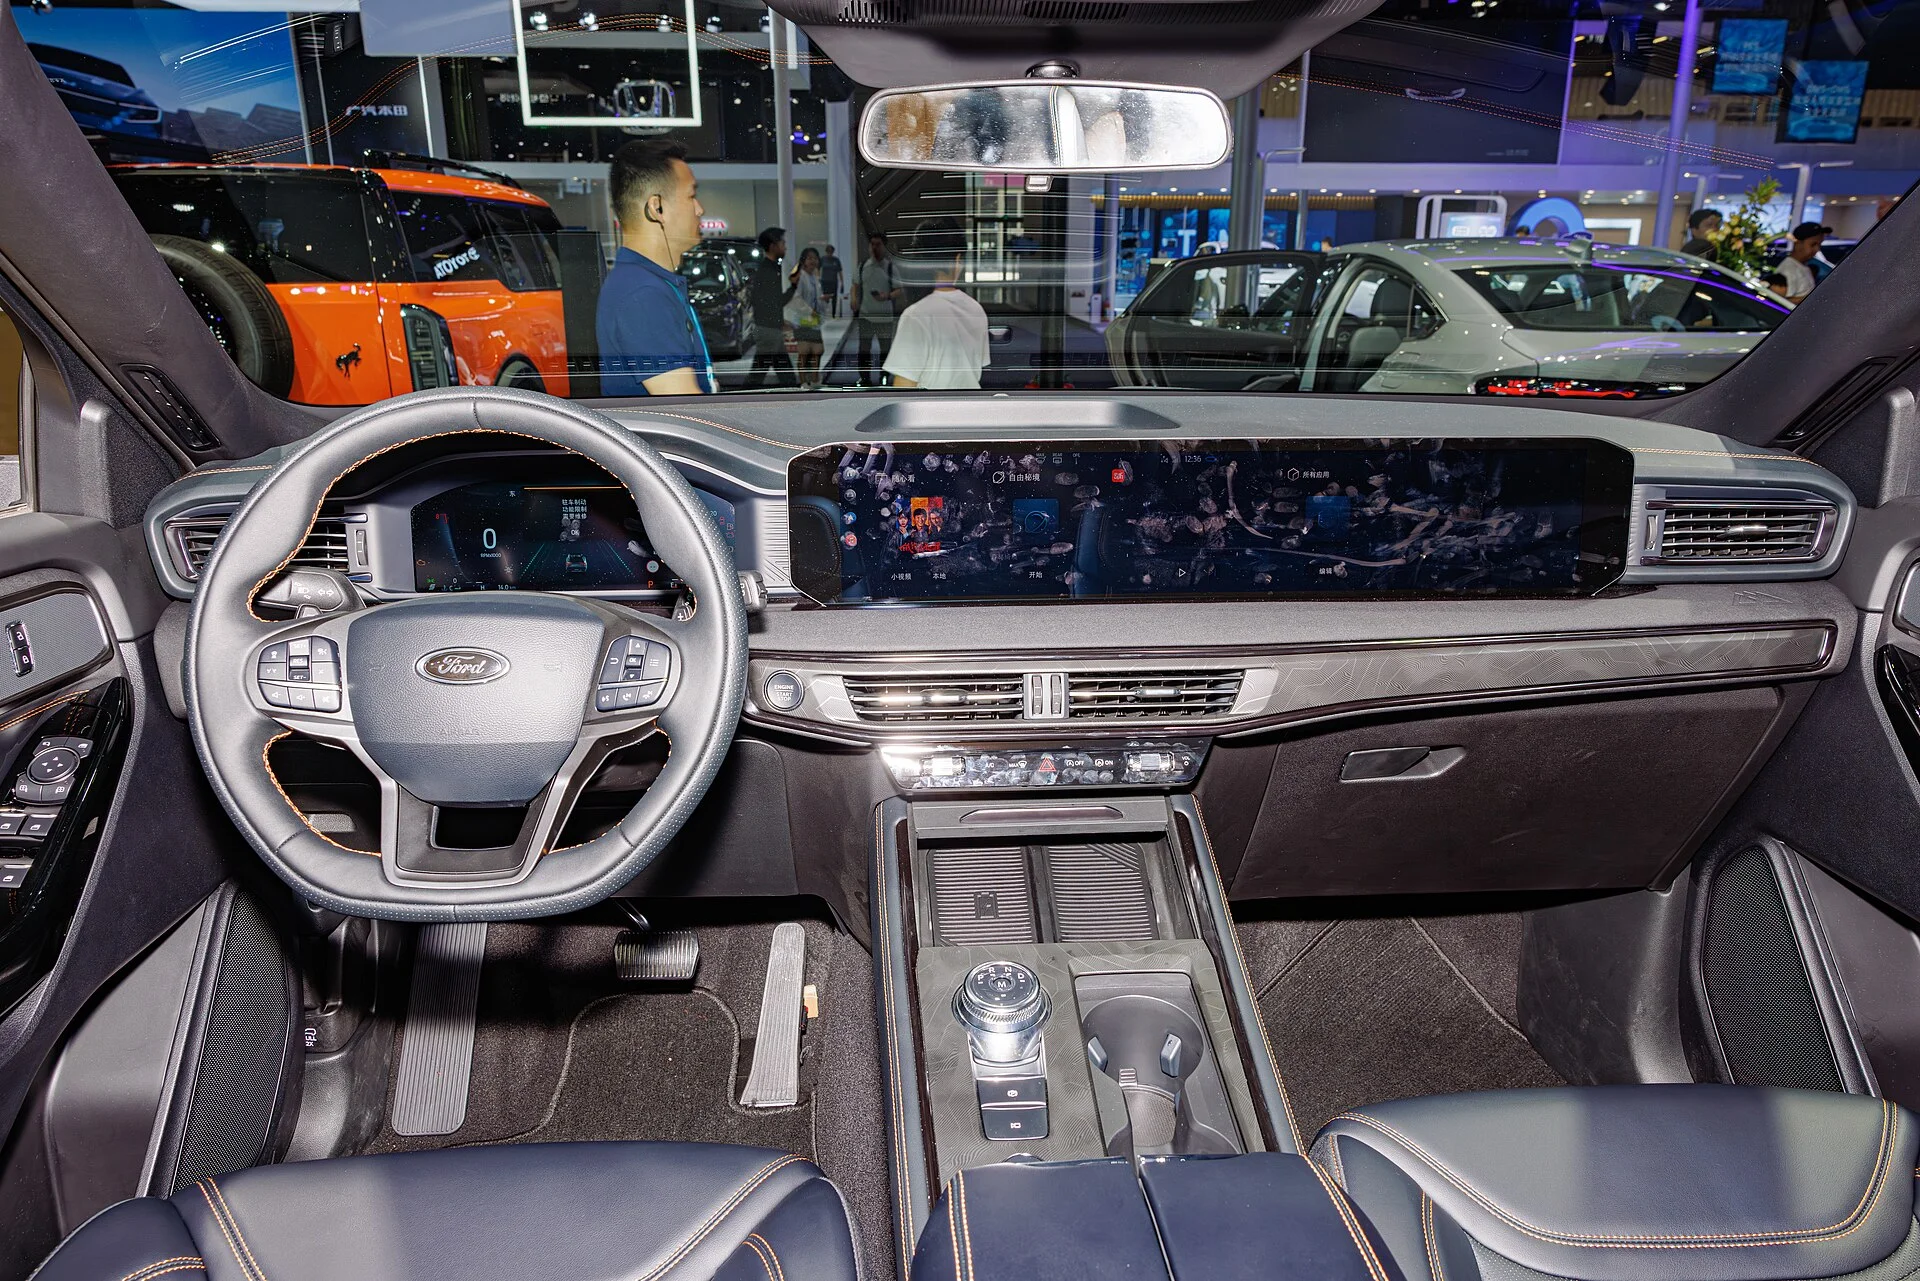
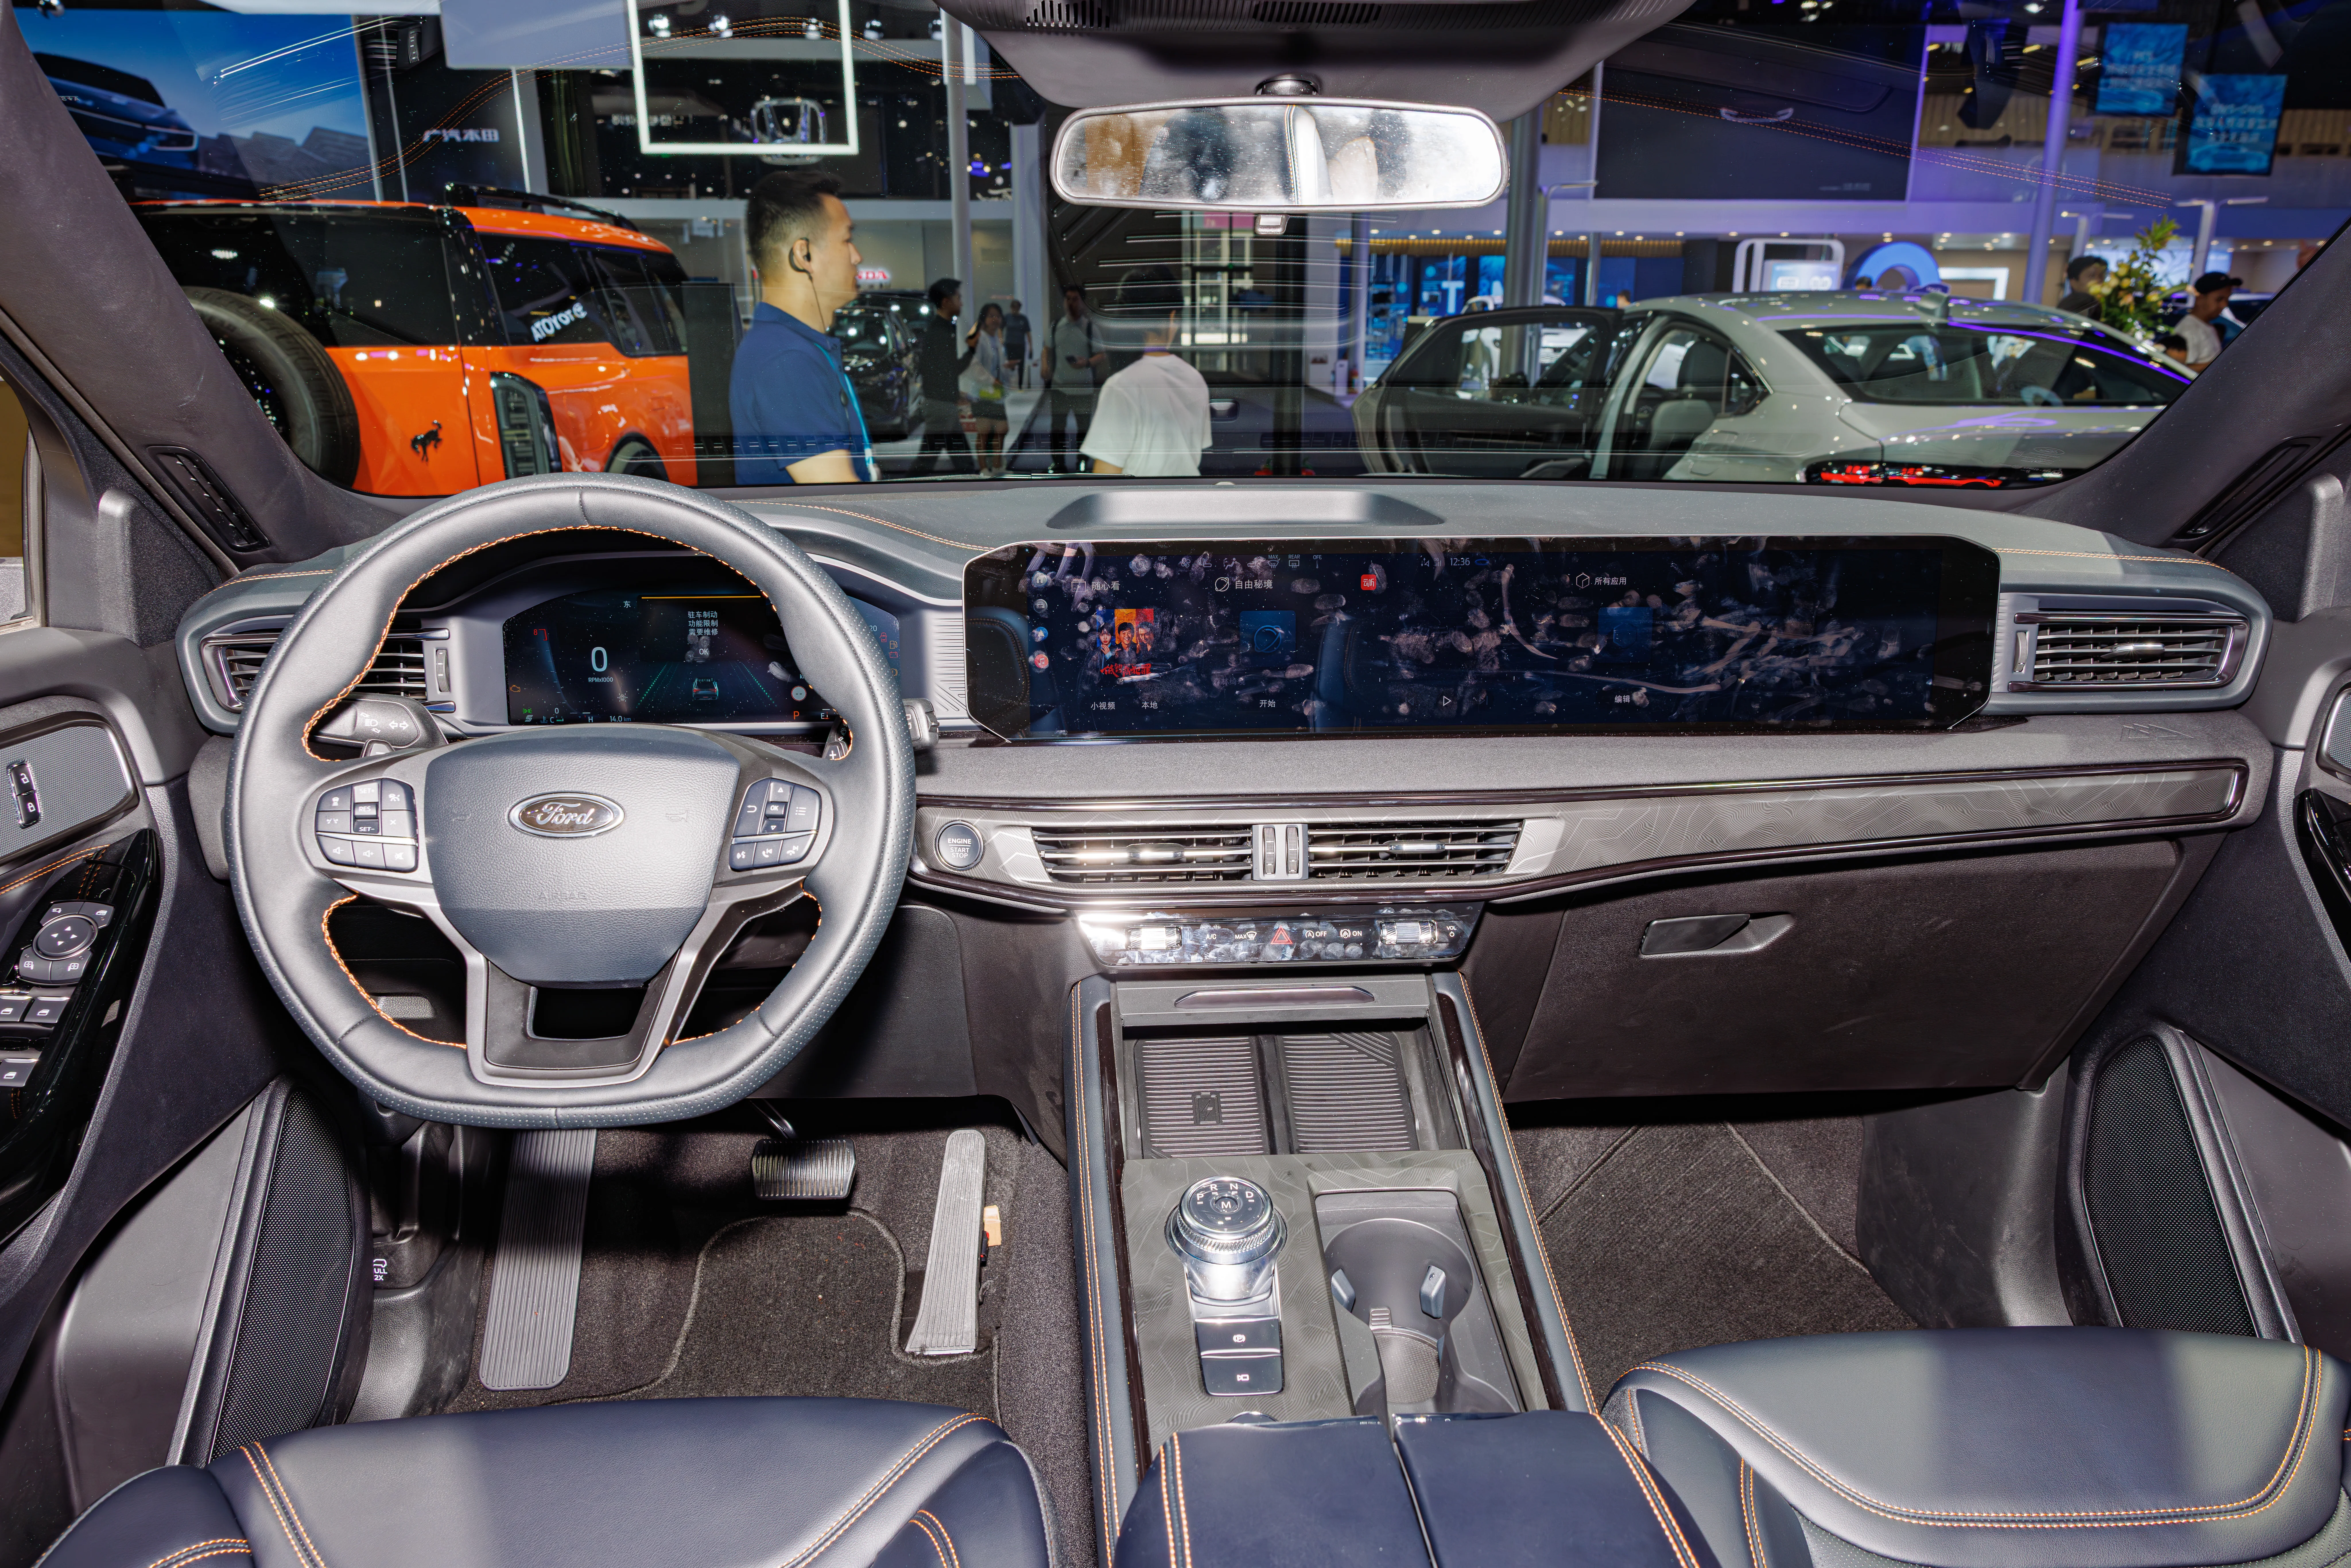
Installing a dash cam on a 2026 Ford Explorer means deciding if you're wrestling with plastic trim or paying someone else to. It's not rocket science, but getting it right means avoiding that 30-second fix that takes 3 hours because you're chasing down a stray wire. Most units have a plug-and-play option, but the real challenge is routing the power neatly so it doesn't look like a squirrel built a nest behind your rearview mirror.
Some folks on the forums are already swapping tips on how to avoid that ugly 12V cord snaking out of the cigarette lighter. You want it to look like it came from the factory, not like a last-minute job done with zip ties and hope.
The Core Answer
The core question is whether you've got the patience and the right tools to avoid creating a new stress point in your vehicle's electrical system. For a 2026 Ford Explorer, a DIY install can be done, but it's about more than just plugging it in. You need to understand circuit integrity. Tapping into the fuse box for constant or switched power is where things can go sideways if you don't know what you're doing.
These OEM-style units are designed to integrate cleanly, but that still means managing cables without pinching or stressing them.
If you're just using a USB adapter that plugs into the cigarette lighter, that's simple. It's a 5-minute job. The problem is the wire dangling down, which is an invitation for snagging and pulling. You'll end up with a loose connection, intermittent power, and eventually a fried adapter or blown fuse. The failure mode is simple: mechanical stress on the connector causing arcing, or a constant pull that loosens the socket over time. Brilliant engineering, that.
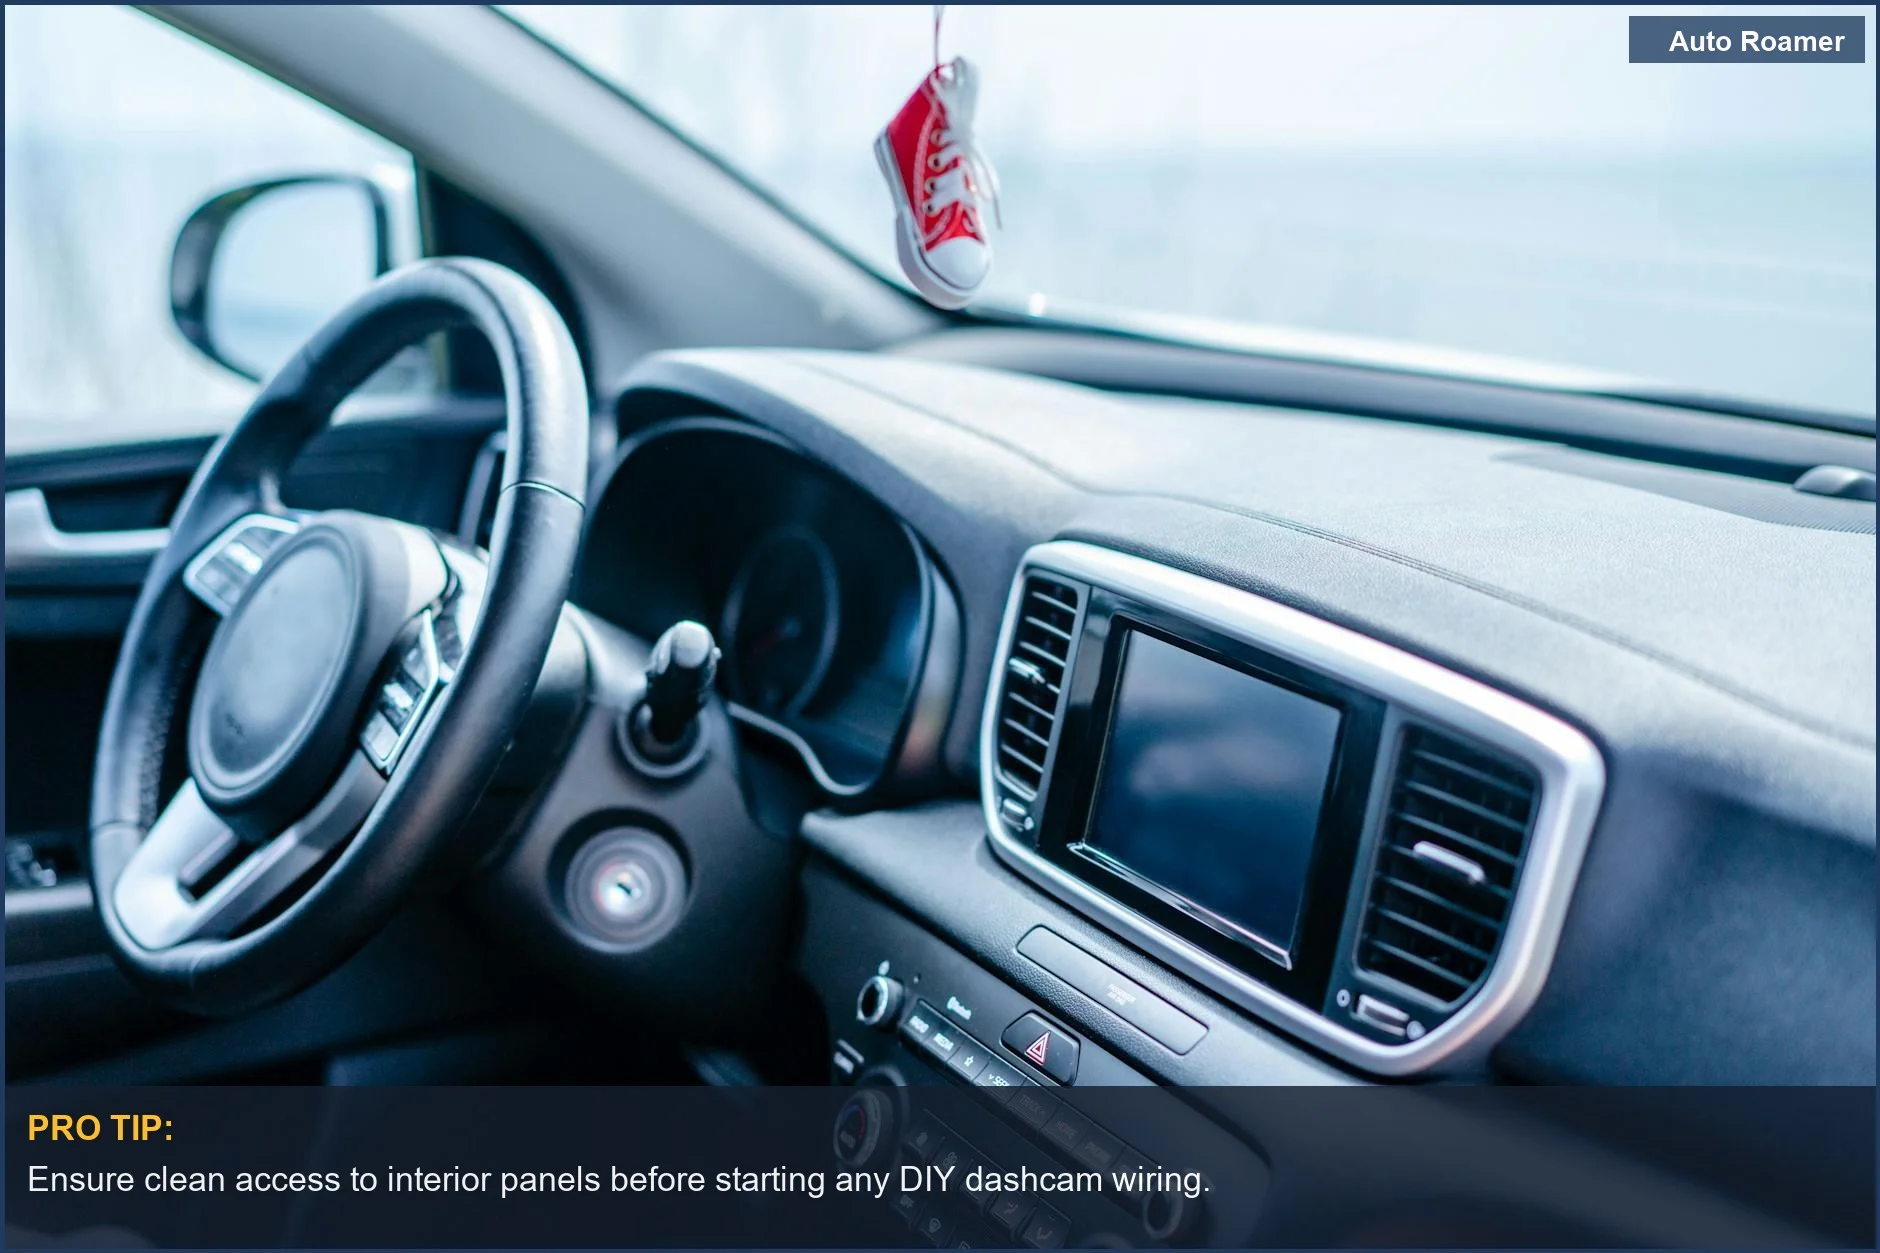
Professional installs often focus on hiding these wires, running them behind headliners and A-pillar trim. This reduces the risk of accidental disconnection and looks cleaner.
Hardwiring, where you tap directly into the fuse box, requires understanding which circuits are always hot and which only get power when the ignition is on. Get this wrong, and you'll either have a dash cam that drains your battery overnight or one that you have to remember to turn on and off every time you drive. That's a 35mA parasitic draw versus a 280mA draw scenario - it adds up fast.
A multimeter is your best friend here to check voltage. Choosing the right fuse tap is also critical; you don't want one that's too loose or too tight, leading to poor contact or over-stressing the fuse slot. The tolerance on those fuse slots is tighter than you think.
For a rear camera, the complexity ramps up. You're often running cables through the tailgate or rear hatch. This involves navigating rubber grommets and dealing with the constant flexing of the hatch as it opens and closes. A poorly routed cable here will eventually shear or chafe, leading to signal loss or a short. It's a mechanical stress test you don't want your wiring to fail.
This is where a professional installer has the experience to know how to route cables without compromising the seals or creating pinch points. They've probably seen every way a cable can fail. Some forum users report taking 20 minutes for a basic setup, while others spend hours on cable management. The difference is often the attention to detail regarding circuit integrity and mechanical stress.
Why This Matters for Your Setup
- Power Source: A standard cigarette lighter adapter is the easiest DIY route, but the dangling wire is a mechanical hazard. It can get snagged, pulled, and eventually compromise the socket's internal connections. This leads to intermittent power or, worse, arcing and blowing the fuse.
- Fuse Box Tapping: For a cleaner install and parking mode, you'll tap into the fuse box. This requires identifying the correct circuits.
- Cable Routing: Hiding wires behind trim panels prevents them from becoming a distraction or a snag point. However, forcing trim pieces can lead to broken clips or damaged panels.
- Rear Camera Complexity: Running a cable for a rear camera involves navigating tight spaces and potential flexing points, like the tailgate.
- Thermal Cycling: While not typically an issue for dash cams themselves, the wiring and connections are subjected to the same thermal cycling as the rest of the car. Poor connections can expand and contract with temperature changes, exacerbating loose connections and leading to intermittent faults.
Connect to an always-on circuit and your battery will die in days if the draw is too high. Connect to a switched circuit and you'll forget to turn it on half the time.
A professional knows the correct pry points and tool usage to avoid this.
A professional installer can ensure the cable is secured to prevent wear and tear from repeated movement, maintaining circuit integrity.
Making the Right Choice
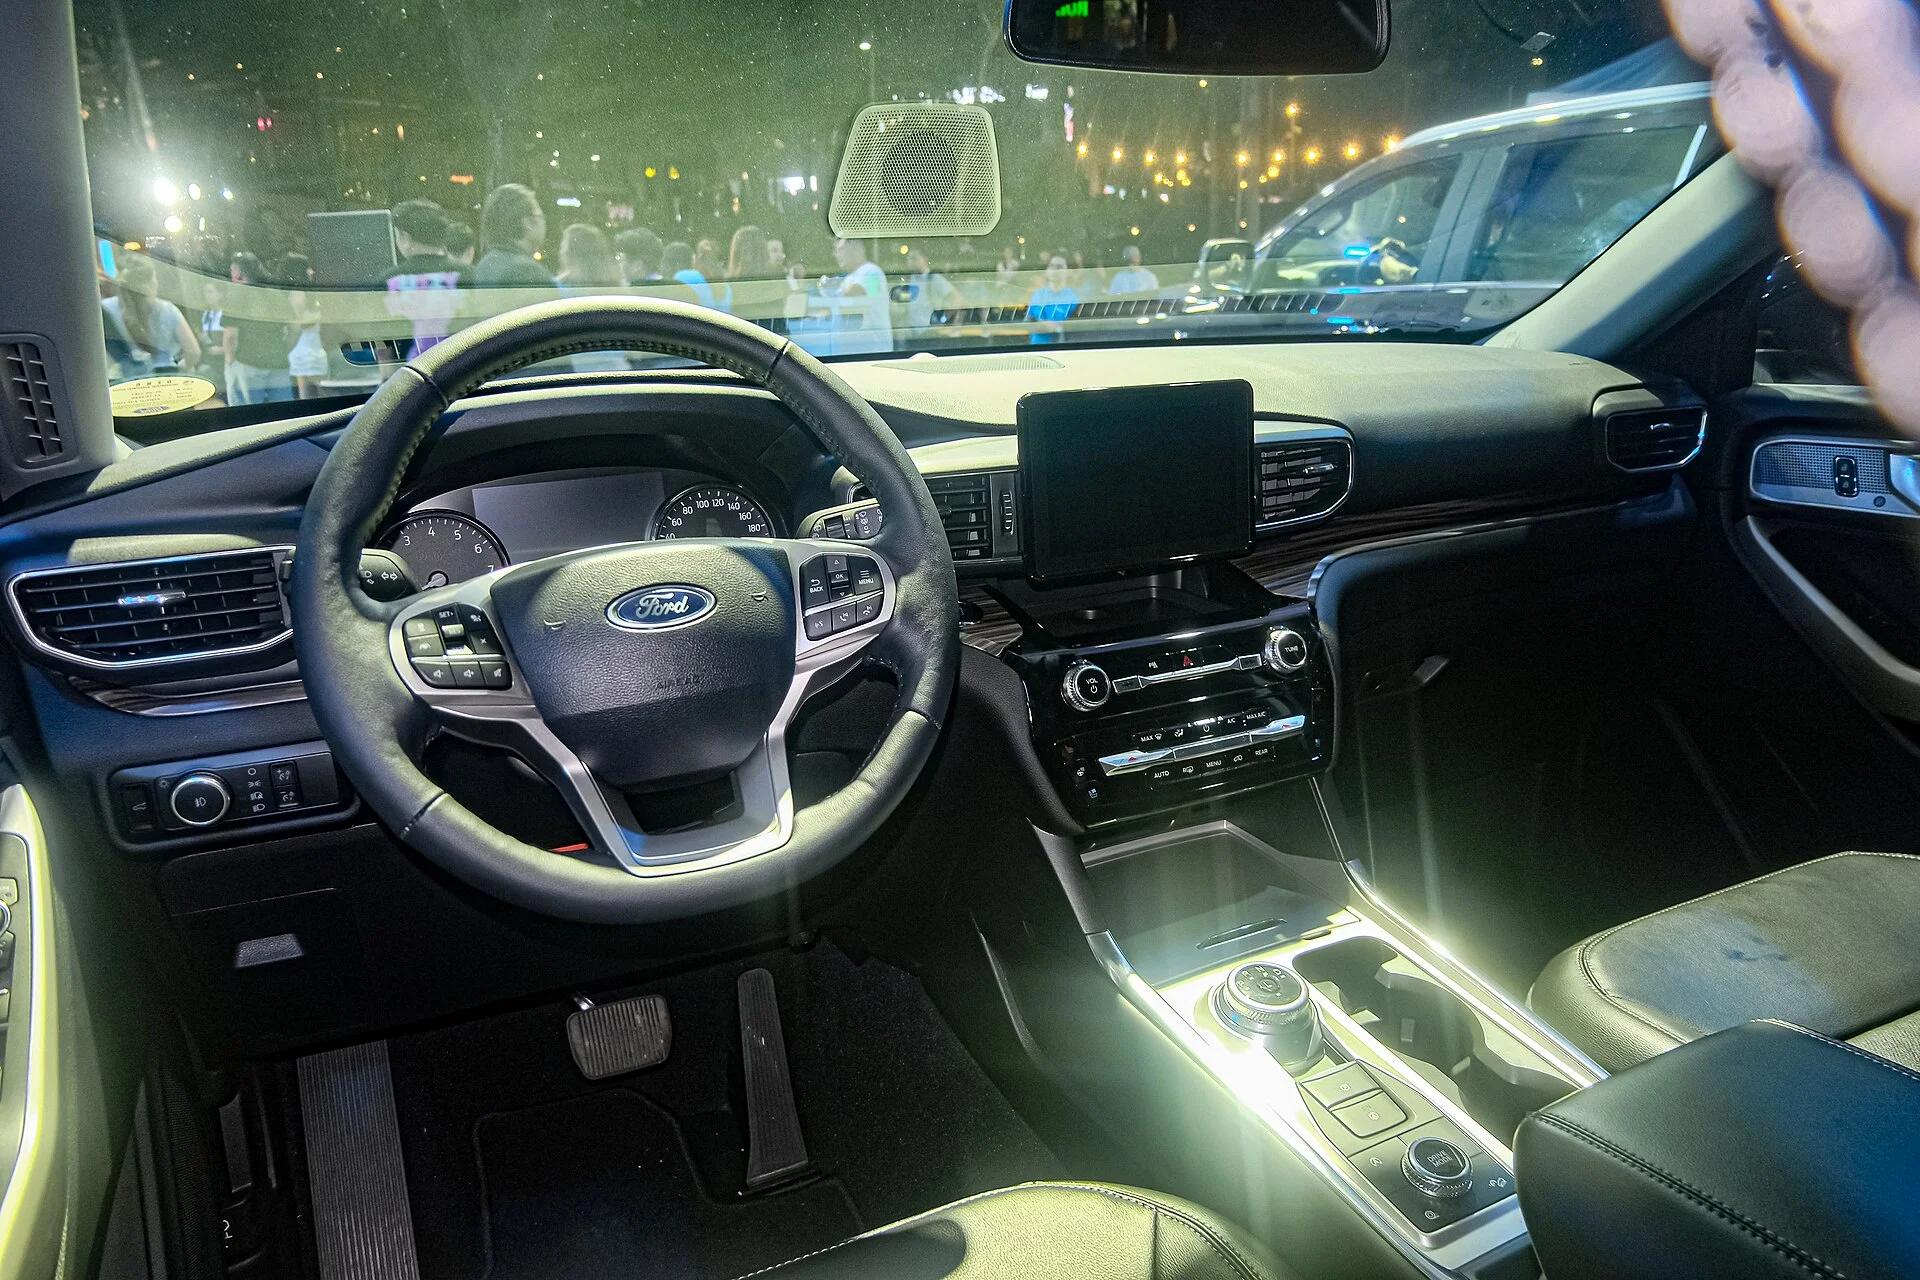
Ultimately, the decision boils down to risk tolerance and your comfort level with automotive interiors. If you're just looking for basic recording and don't mind a visible wire, a simple plug-in adapter is a 5-minute job. But if you want a clean, reliable installation that won't become a future problem, you need to consider the physics. DIY can take 30 minutes to a couple of hours depending on complexity.
For a 2026 Ford Explorer, especially if you're considering a dual-camera setup or want parking mode functionality, the temptation to save a few hundred bucks by doing it yourself can backfire. A botched wiring job can lead to electrical gremlins, blown fuses, or even damage to sensitive vehicle electronics. The cost of fixing those issues will far outweigh the professional installation fee. Hiding cables neatly is where things can get complicated.
Think about it like this: you wouldn't trust a grease monkey to do your taxes, so don't necessarily trust yourself to do an electrical job you're not familiar with. The mechanics of wire routing, fuse tapping, and ensuring proper contact are all about preventing future failure modes. Some shops advertise professional installs for a fixed rate, which might be the smartest money you spend to avoid headaches down the road.