What Car Window Deflectors Actually Do
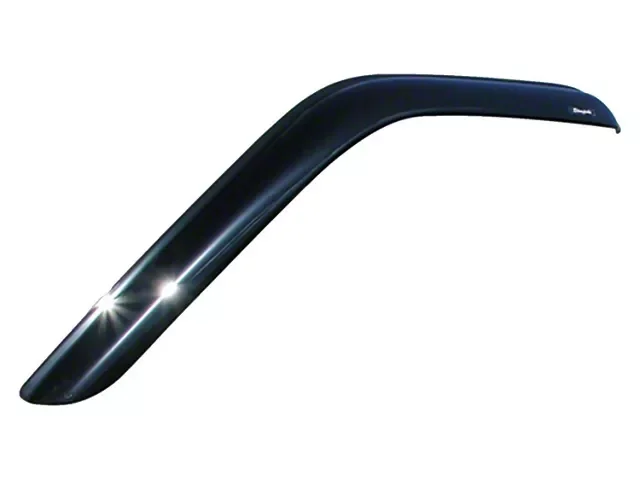
Car window deflectors—also sold as rain guards, vent visors, or wind deflectors—are slim acrylic or polycarbonate strips that mount along the top edge of your side windows. Their whole job is to let you crack the windows an inch or two without rain, snow, or a direct blast of wind coming straight into the cabin. For camping and long road trips that single function matters more than it sounds: you can vent overnight condensation, dump cabin heat after a hot afternoon, and keep a little airflow moving while you sleep, all without leaving the glass fully open to the weather.
They are not a performance part and they will not transform your mileage, despite what some product copy implies. What a good set buys you is practical, everyday comfort—less fogging, less stuffiness, and the freedom to leave a gap when you park. If you regularly sleep in the vehicle or drive in wet climates, that comfort is the reason most people install them. If you almost never crack a window, the upside is smaller and worth being honest with yourself about before you buy. We dig into that trade-off in our companion piece on whether car window deflectors are worth it.
Tape-On vs. In-Channel: The Choice That Matters Most

Before you compare brands, settle the mounting style—it dictates fit, looks, and how easy the visors are to live with. There are two mainstream approaches, and the right one depends on your vehicle and your tolerance for adhesive.
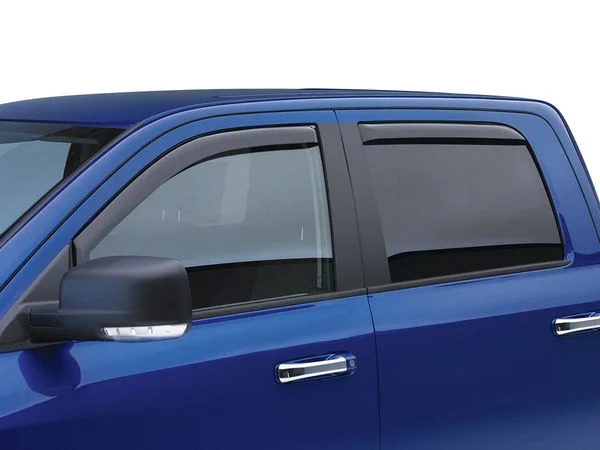
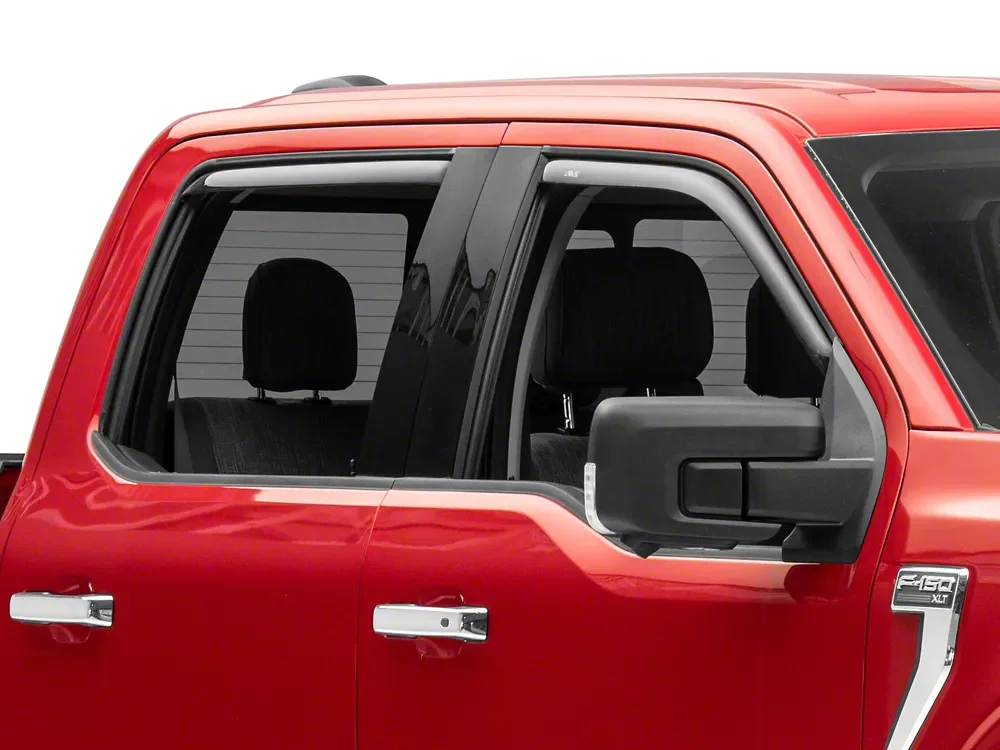
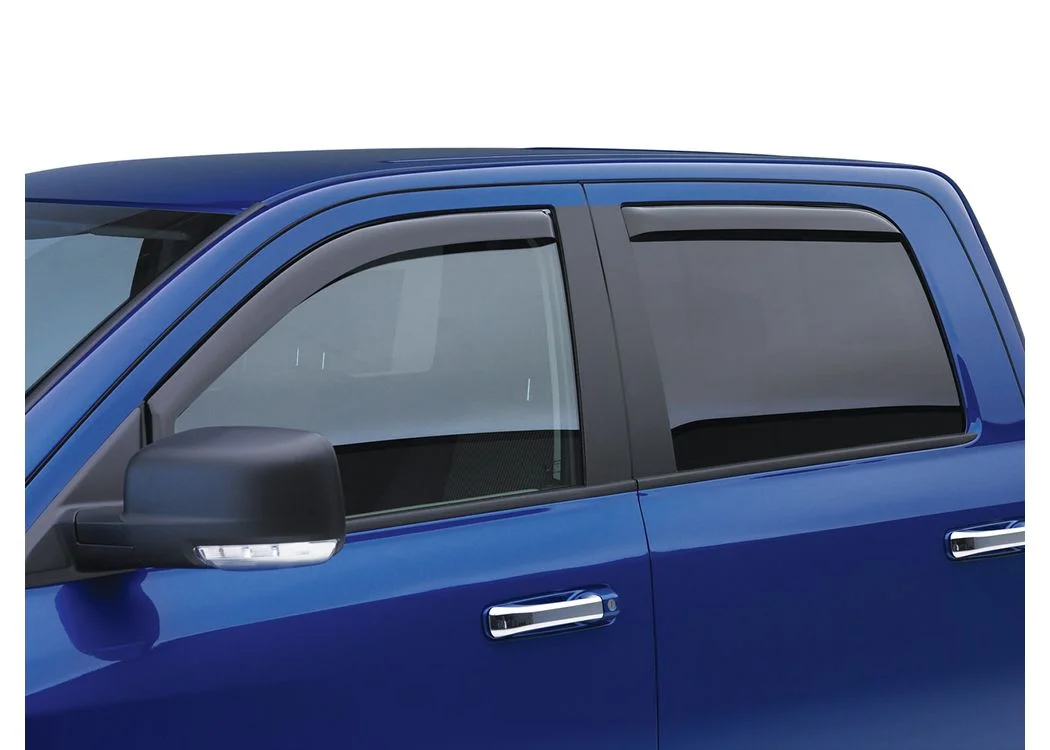
- Tape-on (outside mount): The visor sticks to the painted sheet metal above the window with automotive 3M tape and stands slightly proud of the door. It is the easier install, works on almost any vehicle, and is simple to find. The downsides are a more noticeable profile and a reliance on the adhesive bond, which can loosen over years of car washes and heat cycles.
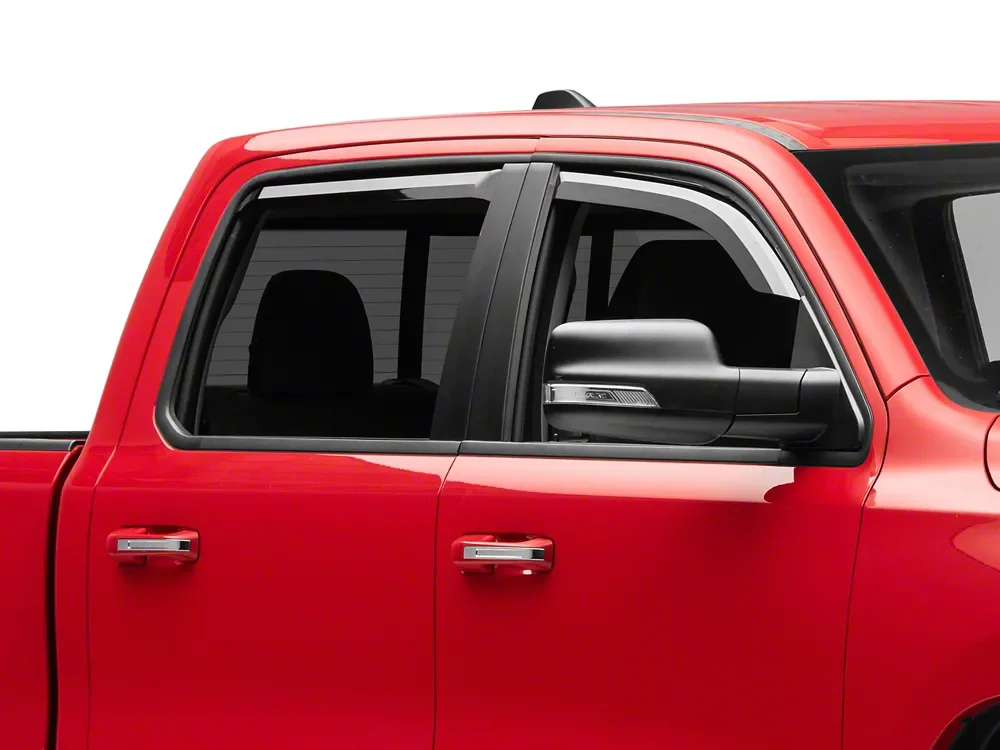
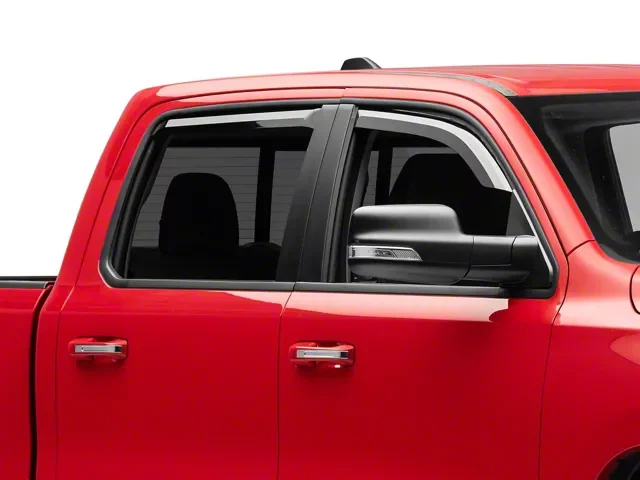
- In-channel: The visor tucks into the window's rubber channel so it sits nearly flush with the door for a cleaner, more factory look. It usually holds more securely and is less likely to peel, but fitment is fussier—an in-channel set has to be cut for your exact year, make, and model, and on some cars it can lightly contact the glass as the window rolls up.
Our rule of thumb: if you want the most discreet result and your vehicle has a clean in-channel option, take it. If you value a no-fuss install or your model only offers tape-on, the outside-mount route is perfectly fine—clean the surface well and let the adhesive cure undisturbed. For a full breakdown of the formats, see the types of car window deflectors.
Material and Tint: Acrylic, Polycarbonate, and How Dark to Go
Almost every deflector is molded from either acrylic or polycarbonate, and the difference is real. Acrylic is the common, cost-effective choice—clear, rigid, and scratch-resistant, but more brittle if it takes a hard knock or a slammed door catches an edge. Polycarbonate (the material brands like Goodyear and WELLvisors lean on for their tougher lines) is more impact-resistant and far less likely to crack in a parking-lot bump or a freeze, which is why ‘shatterproof’ shows up in the marketing.
Tint matters too. Most deflectors come in a smoke or dark-tint finish that hides dirt and looks integrated, but check your state's rules on anything mounted near the windows if you want a very dark shade. A mid-smoke tint is the safe, good-looking default for most buyers. Whatever the material, look for UV stabilization in the spec sheet—that is what keeps the plastic from hazing or yellowing after a few summers in the sun.
The honest test of quality is the warranty: a limited lifetime warranty (AVS, Stampede, EGR, Goodyear all offer one on their main lines) signals the maker expects the plastic to outlast the tape—not the other way around.
Fit, Coverage, and Set Size: Read the Listing Carefully
The single biggest source of disappointment with deflectors is buying the wrong configuration, not the wrong brand. Two things to confirm in every listing before you check out:
- Vehicle fit. These are not universal. Each set is cut for a specific year, make, model, and often cab or body style. Match the listing to your exact vehicle—an F-150 SuperCrew set will not fit a regular cab, and a sedan set will not fit the hatchback version.
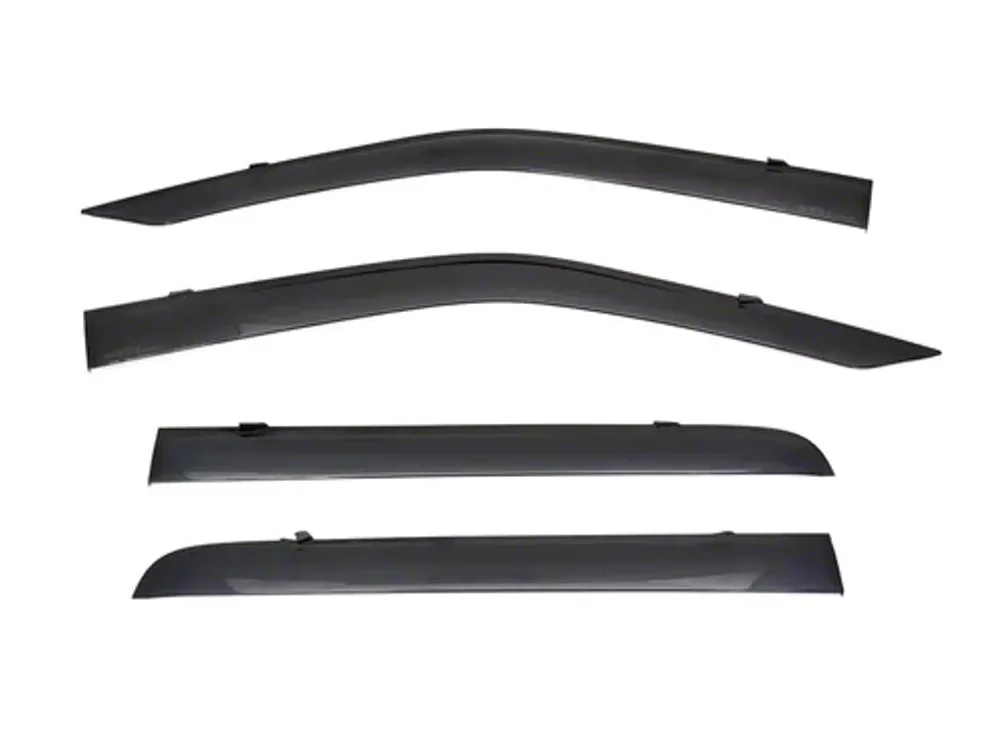
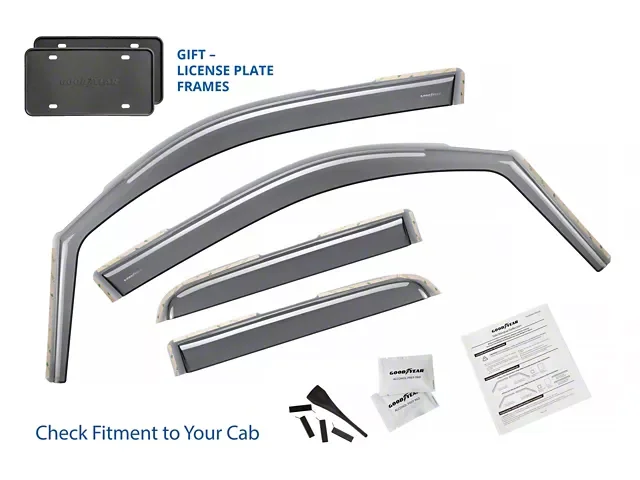
- Front-only vs. full set. Many deflectors sell as a 2-piece (front windows only) or a 4-piece (all four doors). For camping where you want rear ventilation while sleeping, pay for the 4-piece. If you only ever crack the driver's window, the 2-piece saves money.
Installation is genuinely DIY on every product here—no drilling for tape-on sets, and in-channel sets pop into place—but the prep is what makes or breaks the bond. Clean the mounting surface with the included alcohol wipe, install in mild temperatures, and keep the windows up for the cure window the maker specifies (often 24–72 hours). If you want the mechanics of why they work at all, our explainer on how car window deflectors work covers the airflow side.
Our 6 Picks: Real Brands Worth Considering
The six sets below span the formats and price points most road trippers actually shop. We have not bench-tested every model on every vehicle—deflectors are cut per car, so a single hands-on verdict would not transfer—so these recommendations are built on published specs, materials, warranty terms, and each brand's track record. Use them as a shortlist, then confirm the exact set for your vehicle.
- AVS Auto Ventshade In-Channel Ventvisor — the default-recommendation in-channel set. Impact-modified acrylic, a low-profile flush look, no-drill install, and a limited lifetime warranty. The safest pick if you want the factory appearance.
- EGR Slimline In-Channel Window Visors — the sleekest in-channel profile here, with the mounting flange and visible tape eliminated for a high-end finish. Heavy-duty acrylic; a strong choice if looks are your priority.
- Goodyear Shatterproof In-Channel Window Deflectors — the value champion. Polycarbonate that resists cracking, often the cheapest of the group, and available in both in-channel and tape-on. Best bang-for-buck for a 4-piece camping set.
- WELLvisors Premium Series Tape-On — polycarbonate construction with a wide model catalog, including chrome-trim and aerodyn variants. A good tape-on option when your vehicle lacks a clean in-channel set.
- Stampede Tape-Onz Sidewind Deflectors — made-in-USA acrylic with a limited lifetime warranty, in smoke or polished chrome. A dependable, no-drama tape-on set.
- Putco Element Tinted Window Visors — GE polycarbonate, injection-molded for a precise fit, offered in both channel-mount and tape-on. The premium tinted-look pick of the bunch.
Prices shift constantly and vary by vehicle, so treat the figures on each card as ballpark MSRP and confirm the live price for your exact set before buying.
Camping and Road-Trip Use: Getting the Most From a Set
If your reason for buying is sleeping in the vehicle, a few habits make deflectors pull their weight. Crack the windows on opposite sides of the cabin—even a half-inch each—to create cross-flow that carries out the moisture your breath adds overnight; that is the single most effective way to cut the morning fog on the inside of the glass. A 4-piece set lets you do this from the rear seats, away from where your head rests, which is quieter and less drafty.
The physics is simple: two people breathing in a closed car can put off well over a pint of water vapor in a night, and that moisture has to go somewhere. Without ventilation it condenses on the cold glass and steel; with a deflector keeping a safe gap open, most of it drifts out before it settles.
In rain, deflectors let you keep that gap without water tracking down the door card or pooling on the sill. In summer, cracking the windows at a trailhead lets built-up heat escape so the cabin is not an oven when you return, and your dog, your cooler, and your electronics all thank you for it.
None of this is dramatic—deflectors are a small, practical upgrade—but for anyone who actually lives out of their vehicle on trips, the daily comfort is exactly what justifies the modest cost. They pair naturally with the rest of a ventilation setup, from a small USB fan to a reflective sunshade on the windshield, and they are usually the cheapest piece of that puzzle.
A note on security and noise while you are deciding: a one- to two-inch gap is enough for airflow and small enough that it does not meaningfully change how secure the vehicle feels at a campsite, and because the deflector breaks up the airstream over the opening, the wind roar you would get from an unshielded cracked window at highway speed is noticeably reduced. That last point is the underrated everyday benefit—plenty of people install deflectors purely so they can vent the cabin on the move without the buffeting and noise of a bare open window.
Mistakes to Avoid and How to Make a Set Last
Most deflector regret traces back to a handful of avoidable errors. Knowing them up front saves you a return and a wasted afternoon.
- Buying the wrong fitment. Double-check cab style, body style, and model year against the listing—this is the number one cause of a set that does not seat right.
- Installing in the cold. Adhesive tape bonds best in mild temperatures. Installing a tape-on set in a freezing garage is the fastest way to a visor that peels by spring.
- Rushing the cure. Rolling the windows down or driving too soon disturbs the bond before it sets. Respect the maker's cure window, often 24 to 72 hours.
- Skipping the surface prep. Wax, road film, and grease all sabotage adhesion. Use the included alcohol wipe and let the surface dry fully before pressing the visor on.
Once installed, maintenance is minimal. Wash them by hand or in a touchless wash, avoid harsh solvents that can craze the plastic, and every so often check the leading edge of a tape-on set for any lifting. Caught early, a small lift can be re-pressed; ignored, it becomes a flapping visor at highway speed. In-channel sets are largely maintenance-free once seated, which is part of their appeal for anyone who would rather install once and forget about it. Treated reasonably, a quality set from any of the six brands above will comfortably outlast several seasons of road trips and very often the life of the vehicle.