The Big Picture
A tangled USB cable dangling down to the cigarette lighter is a rookie mistake — it looks like a mobile charging station for a small village. The honest version: you want that cable to disappear, making your dashcam look like it's factory-installed. This isn't just for aesthetics; a visible cable is a visual distraction and a potential snag hazard. Hiding those wires makes it stealthy.
The goal is to make it so clean, you forget it's even there until you need it — and to save you the headache of a sloppy first install.
The Short Answer
Most cars, from an old Honda Civic to a newer Ford Ranger, have plenty of space behind the headliner, A-pillars, and dashboard to tuck a thin USB cable. What nobody tells beginners is that these panels are held on by clips, not magic. You just need to know where to gently pry. This makes routing surprisingly simple.
Your dashcam cable needs constant power, even if it's just from a cigarette lighter adapter. The goal is to keep that wire from your dashcam to the power source out of sight. This usually means running it along the top of the windshield, down the A-pillar, and under the glove box or dashboard to your power outlet or fuse box. That's the path of least resistance.
Don't overthink it with fancy tools or permanent modifications. A first setup needs little more than a $7 trim tool kit from Amazon and some patience. You're essentially just creating a hidden channel for the wire. The biggest hurdle is often just getting over the fear of pulling on your car's interior. It's more forgiving than you think.
Some folks suggest using tape to secure cables, but that's a temporary fix at best. Electrical tape can peel off within two months, leaving sticky residue. The interior trim pieces are your friend here. They're designed to hold things. You want to tuck, not tape.
Consider how the cable will interact with airbags. This is critical. You never want to run a cable in a way that obstructs an airbag's deployment path. Stick to the very edge of the headliner and the A-pillar trim, usually where the trim meets the door seal. This keeps it clear of the airbag that's tucked inside.
The logic is simple: follow existing seams and gaps. Imagine where a factory wire would go. You're just adding one more. The biggest challenge is often finding a good ground point if you're hardwiring, but for a simple cigarette lighter install, it's just about hiding the wire. The $50 version is a dashcam, a trim tool set, and an hour of your time.
The Reality Check
The reality is that every car's interior is a little different, but the general principles of cable management remain the same. You're dealing with plastic trim, fabric headliners, and rubber door seals. These are your friends for tucking wires. A 2012 Toyota Camry has super tight seams, while a full-size truck like an F-150 has plenty of room. It's a game-time decision on how much force to use.
Most dashcams come with a surprisingly long USB power cable, usually 10-12 feet. This is generally enough for a front dashcam to reach a power source in the center console or fuse box. For a front and rear setup, you'll get two cables, with the rear camera cable often being significantly longer, sometimes 18-20 feet. This length is crucial for running it all the way to the back. Don't skimp on cable length.
The biggest variable is your vehicle's specific fuse box location and access. Some are under the dash, some in the glove box, some in the engine bay. An older Honda CR-V often has it easily accessible under the steering column. A 2016 Mazda CX-5 can require contorting like a pretzel. Check your owner's manual first.
Airbag placement is another critical factor. Most modern cars have side curtain airbags in the A-pillars and sometimes even in the headliner. You want to route your cable behind these airbags, typically along the outer edge of the trim where it meets the door frame. Never run a cable directly over an airbag deployment path. That's a serious safety hazard.
Here's a breakdown of common components and potential issues:
| Component | How It Fails | Symptoms | Fix Cost |
|---|---|---|---|
| USB Cable | Pinched, frayed, or stretched during routing | Intermittent power, camera reboots, no power | $10-$20 (new cable) |
| Trim Clips | Broken during panel removal | Loose trim, rattles, gaps | $5-$15 (pack of clips) |
| A-Pillar Airbag | Cable routed over airbag deployment path | Airbag malfunction, cable entanglement | Priceless (safety risk) |
| Fuse Tap (if hardwiring) | Incorrect fuse chosen, poor connection | Dashcam doesn't power on, blown fuse | $5-$10 (new fuse tap/fuses) |
Field notes from a 2017 Volkswagen Jetta install: it's easy to snap a few trim clips getting the A-pillar cover off. Apparently, premium German engineering means clips designed to break easily. A pack of 20 replacement clips runs about $8 on Amazon. Live and learn. It's part of the process. Don't let a few broken clips deter you.

How to Handle This
Here's how to tackle DIY dashcam cable management, based on a typical front-only install in something like a Toyota Tacoma. This is the real move, not some theoretical perfect scenario.
- Position the Camera: Mount your dashcam just behind your rearview mirror. This puts it out of your line of sight but still gives it a clear view of the road. Use the adhesive mount it came with. Make sure it's not obstructing any sensors or your vision. Placing it too low can block part of your view, meaning you have to re-stick it — not fun.
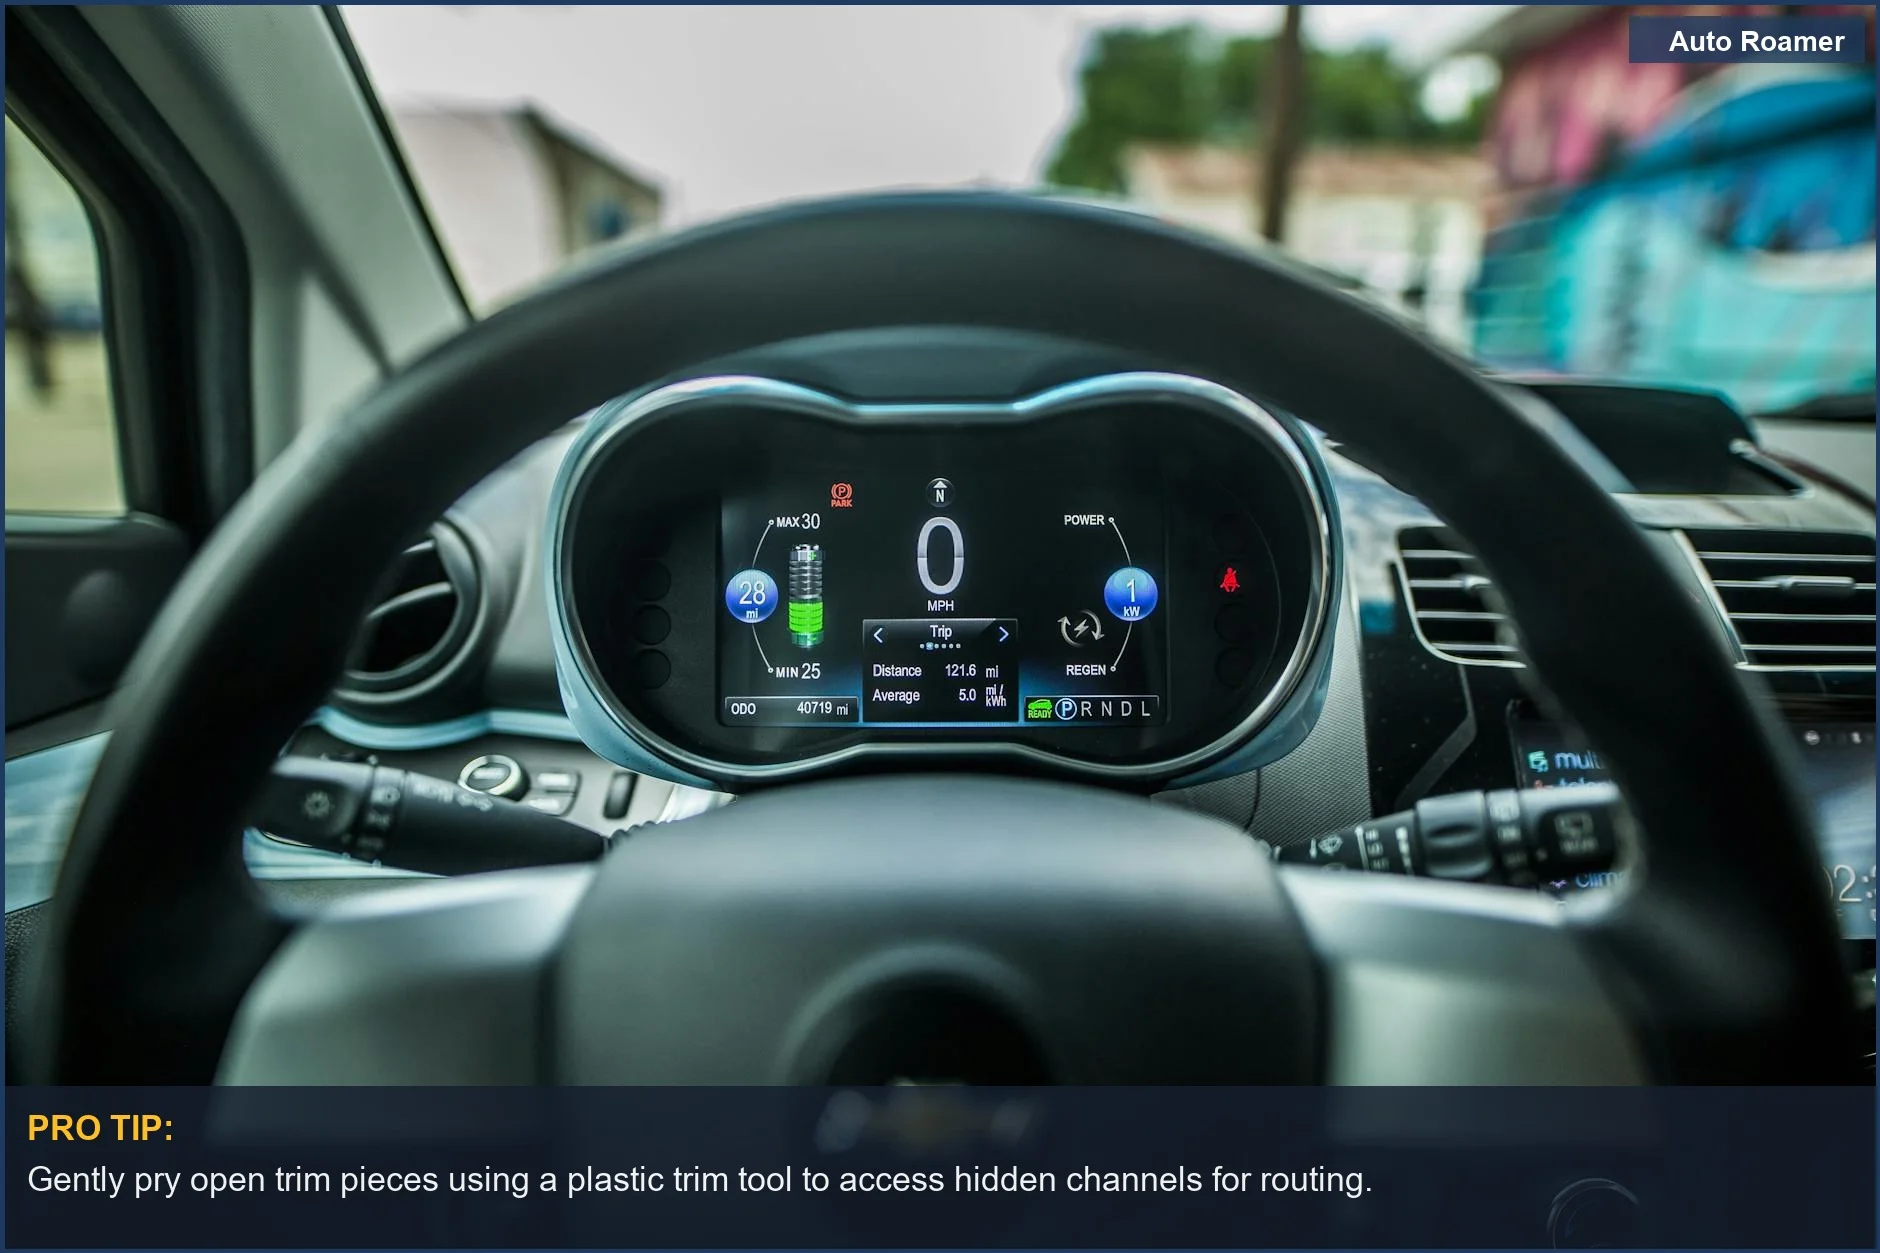
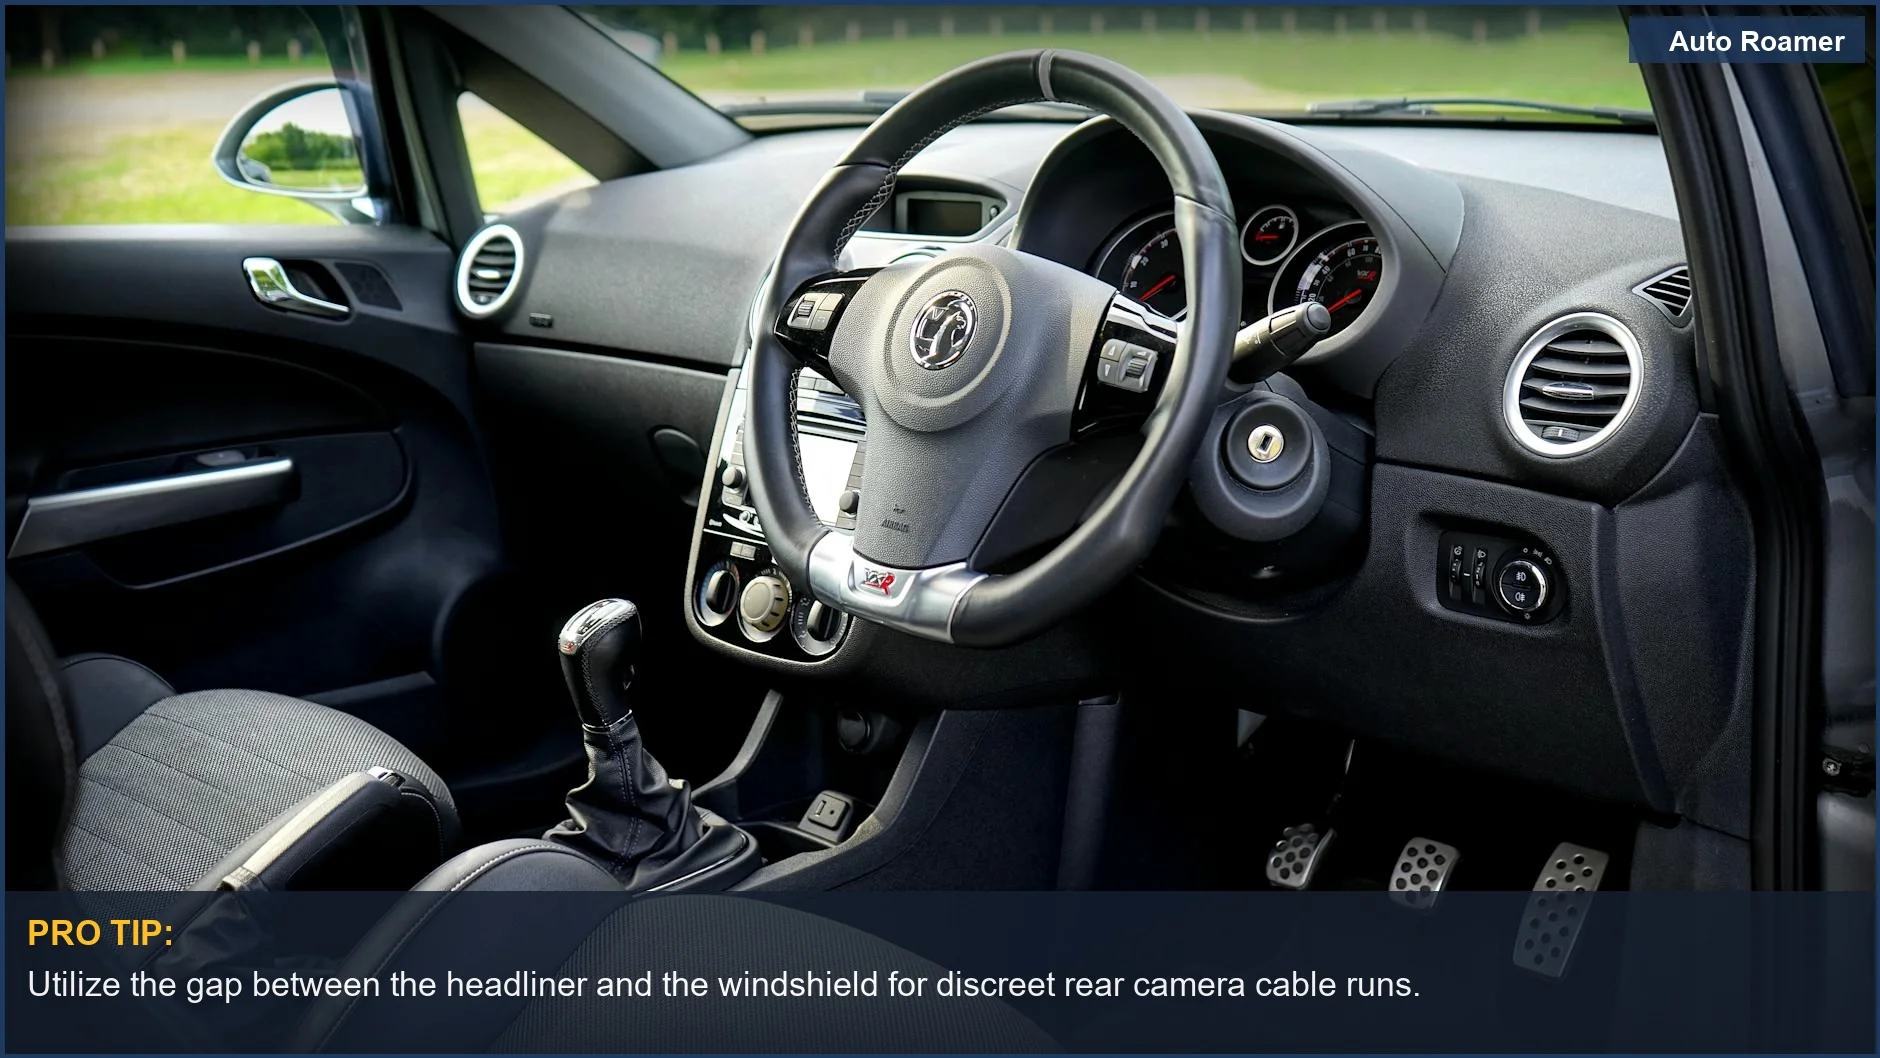
- Route Along the Headliner: Start from the camera and push the cable into the gap between the headliner and the windshield. Use a plastic trim tool or even a credit card to gently tuck the cable. Push it all the way across to the passenger side A-pillar. This keeps the cable tight and out of the way.
- Descend the A-Pillar: Gently pull back the passenger side A-pillar trim. You don't always need to remove it completely; often, just creating a gap is enough. Tuck the cable along the edge, behind the airbag if present, and down towards the dashboard. This is where a trim tool really shines.
- Under the Dash/Glove Box: Once the cable is at the bottom of the A-pillar, run it under the glove box or along the underside of the dashboard. Most cars have plenty of space here. You can usually push it into the carpeted edge or under plastic panels. This keeps it completely out of sight from the cabin.
- Connect to Power: Route the cable to your power source. For a basic setup, this is usually the cigarette lighter/12V auxiliary port. Plug it in. If you're hardwiring, you'll connect to your fuse box here using a fuse tap. Starting with the cigarette lighter version is easiest; it's the $10 setup. Hardwiring is a step up.
- Test and Secure: Turn on your car and make sure the dashcam powers up and records. Double-check that all cables are tucked securely and aren't interfering with anything. Give the trim pieces a good push to ensure they're clipped back into place. An install can develop a slight sag in the headliner cable after a week, so go back and push it in tighter.
What This Looks Like in Practice
When installing a front and rear dashcam in a car like a 2015 Ford Focus, the rear cable is the real challenge. The front power cable runs like usual, but the rear camera cable needs to go all the way back. It can look like a spaghetti factory for a minute.
Scenario 1: The Sedan (Ford Focus, front/rear cam)
- Challenge: Routing the rear camera cable from the front unit, along the headliner, down the C-pillar, and into the trunk to the rear window. The C-pillar trim was tight. The rear cable alone can take about 40 minutes.
- Solution: Use a trim tool to gently pry the headliner and C-pillar trim. Tuck the cable into the gap.
For the trunk, run it inside the rubber gasket around the trunk opening, then use a few small zip ties to secure it to existing wiring inside the trunk lid panel before mounting the camera.
Scenario 2: The SUV (Subaru Forester, front-only)
- Challenge: The Forester's A-pillar has a particularly chunky airbag, which makes people nervous about messing with it.
- Solution: Instead of fully removing the A-pillar trim, pull the rubber door seal back slightly and tuck the cable under the trim, along the very edge where it meets the windshield. This keeps it away from the airbag and still out of sight. It comes out cleaner than expected.
Scenario 3: The Truck (Ford F-150, front-only, hardwired)
- Challenge: Hardwiring required finding a switched fuse (power only when the truck is on) and an always-on fuse (for parking mode). The fuse box was under the passenger footwell and a bit cramped. Use a fuse tester to find the right fuses.
- Solution: Run the cable down the passenger A-pillar, then under the glove box directly to the fuse panel. Use two add-a-circuit fuse taps.
Pick the wrong fuse for parking mode and the camera keeps draining the battery. Rookie mistake; you'll have to re-do it with a different fuse.
Scenario 4: The Budget Car (Honda Civic, front-only, cigarette lighter)
- Challenge: Just getting the cable from the dashcam to the center console without it looking like a spaghetti monster. The interior was basic.
- Solution: Tuck it along the headliner, down the passenger A-pillar, under the glove box, and then simply run it along the side of the center console, pushing it into the gap between the console and the seat. It won't be 'invisible' but it'll be clean enough and won't dangle.
Mistakes That Cost People
A first few dashcam installs are usually full of rookie mistakes. Learn from that pain, not from some clean-cut YouTube video where everything goes perfectly the first time.
| Mistake | Consequence | Field Notes | The Real Move |
|---|---|---|---|
| Running cable over airbags | Obstructed airbag deployment, safety hazard | This is an easy mistake to almost make. Worth catching before it's too late. | Route cables *behind* trim, along outer edges, away from airbag zones. |
| Not using a trim tool | Scratched plastic, bent clips, damaged interior | A flathead screwdriver can scratch the dash near the A-pillar. | Spend $7 on a plastic trim tool kit. It's worth every penny. |
| Leaving excess cable coiled | Electromagnetic interference, heat buildup, messy look | Coiled-up extra cable under a seat can make the camera glitch. | Tuck excess cable neatly under the dash or behind a panel. Don't coil it. |
| Using cheap adhesive mounts | Camera falls off windshield in heat/cold | A cheap $30 dashcam can fall off the windshield on a hot summer day. | Clean the windshield thoroughly with alcohol before mounting. Use 3M VHB tape. |
| Not testing before final tuck | Discovering a problem after everything is hidden | Running the whole cable, then finding out the power adapter is faulty, means re-doing it. | Plug it in and test the camera *before* you start tucking wires. |
| Ignoring the rear window defroster lines | Damaging defroster, poor camera adhesion | A rear camera mounted directly over a defroster line won't stick well. | Mount rear cameras between defroster lines, not on them. Clean the area first. |
The biggest mistake is rushing. A first hardwired install can take 2 hours with all the second-guessing and re-routing. Take your time, test as you go, and don't be afraid to pull a panel back if something doesn't feel right. The car isn't going to explode.
Key Takeaways
Getting a dashcam installed neatly doesn't require a professional. It requires patience and a willingness to explore your car's interior. A first few attempts show that the car is more forgiving than you'd think, and a $7 trim tool kit is your best friend. You're essentially just making existing gaps work for you.
- Use the trim: Your car's headliner, A-pillars, and door seals are designed with gaps. Use them to hide wires.
- Safety first: Always route cables away from airbags. This is non-negotiable.
- Test as you go: Power up your dashcam before you commit to tucking every last inch of cable. Saves a headache.
- Keep it simple: Start with a cigarette lighter install. Hardwiring can come later if you want parking mode.
- Patience is key: Don't rush.
A clean install takes time. It can take anywhere from 30 minutes to 2 hours. Both work. The difference is patience.