First, the Basics
A $5 fuse tap can turn into a $5,000 repair bill faster than you can say 'warranty voided.' Installing a dash cam seems simple: plug in, stick to windshield. But hardwiring it into your vehicle's electrical system is where most weekend warriors mess it up.
A proper hardwire kit costs about $20-$50 Wolfbox, not a five-figure ECU replacement.
Your average shop charges between $50 and $200 for a basic dash cam install, sometimes up to $250 for more complex systems Redtiger. That's for a clean, hidden install, not some rat's nest of wires dangling from your headliner.
But when you start poking around in the fuse box with cheap connectors and zero electrical knowledge, you're rolling the dice on much higher stakes.
The fundamental issue often boils down to improper current draw or voltage spikes. Modern vehicles, especially those with complex CAN bus systems, are hypersensitive to electrical anomalies. A simple 12V constant power tap done wrong can induce parasitic draw, draining your battery to a dead cell voltage of 10.5V in less than a week.
Then your body control module starts throwing codes. Congratulations, you've turned a simple accessory into a diagnostic nightmare.
Plenty of DIYers try to save $150 on an install and end up with a fried ECU because they tapped into a critical circuit. The ECU isn't just a computer; it's the brain, controlling everything from fuel injection timing to transmission shifts.
A voltage surge or a constant low-level parasitic draw can cause thermal cycling stress on sensitive microprocessors, leading to eventual component failure. Replacing an ECU can hit $1,500 to $3,000, plus labor, and sometimes requires specific dealer programming DNH Dash Cam Solutions. That's if you're lucky and they don't blame your 'aftermarket modification' for everything.
The problem isn't the dash cam itself; it's the installation method.
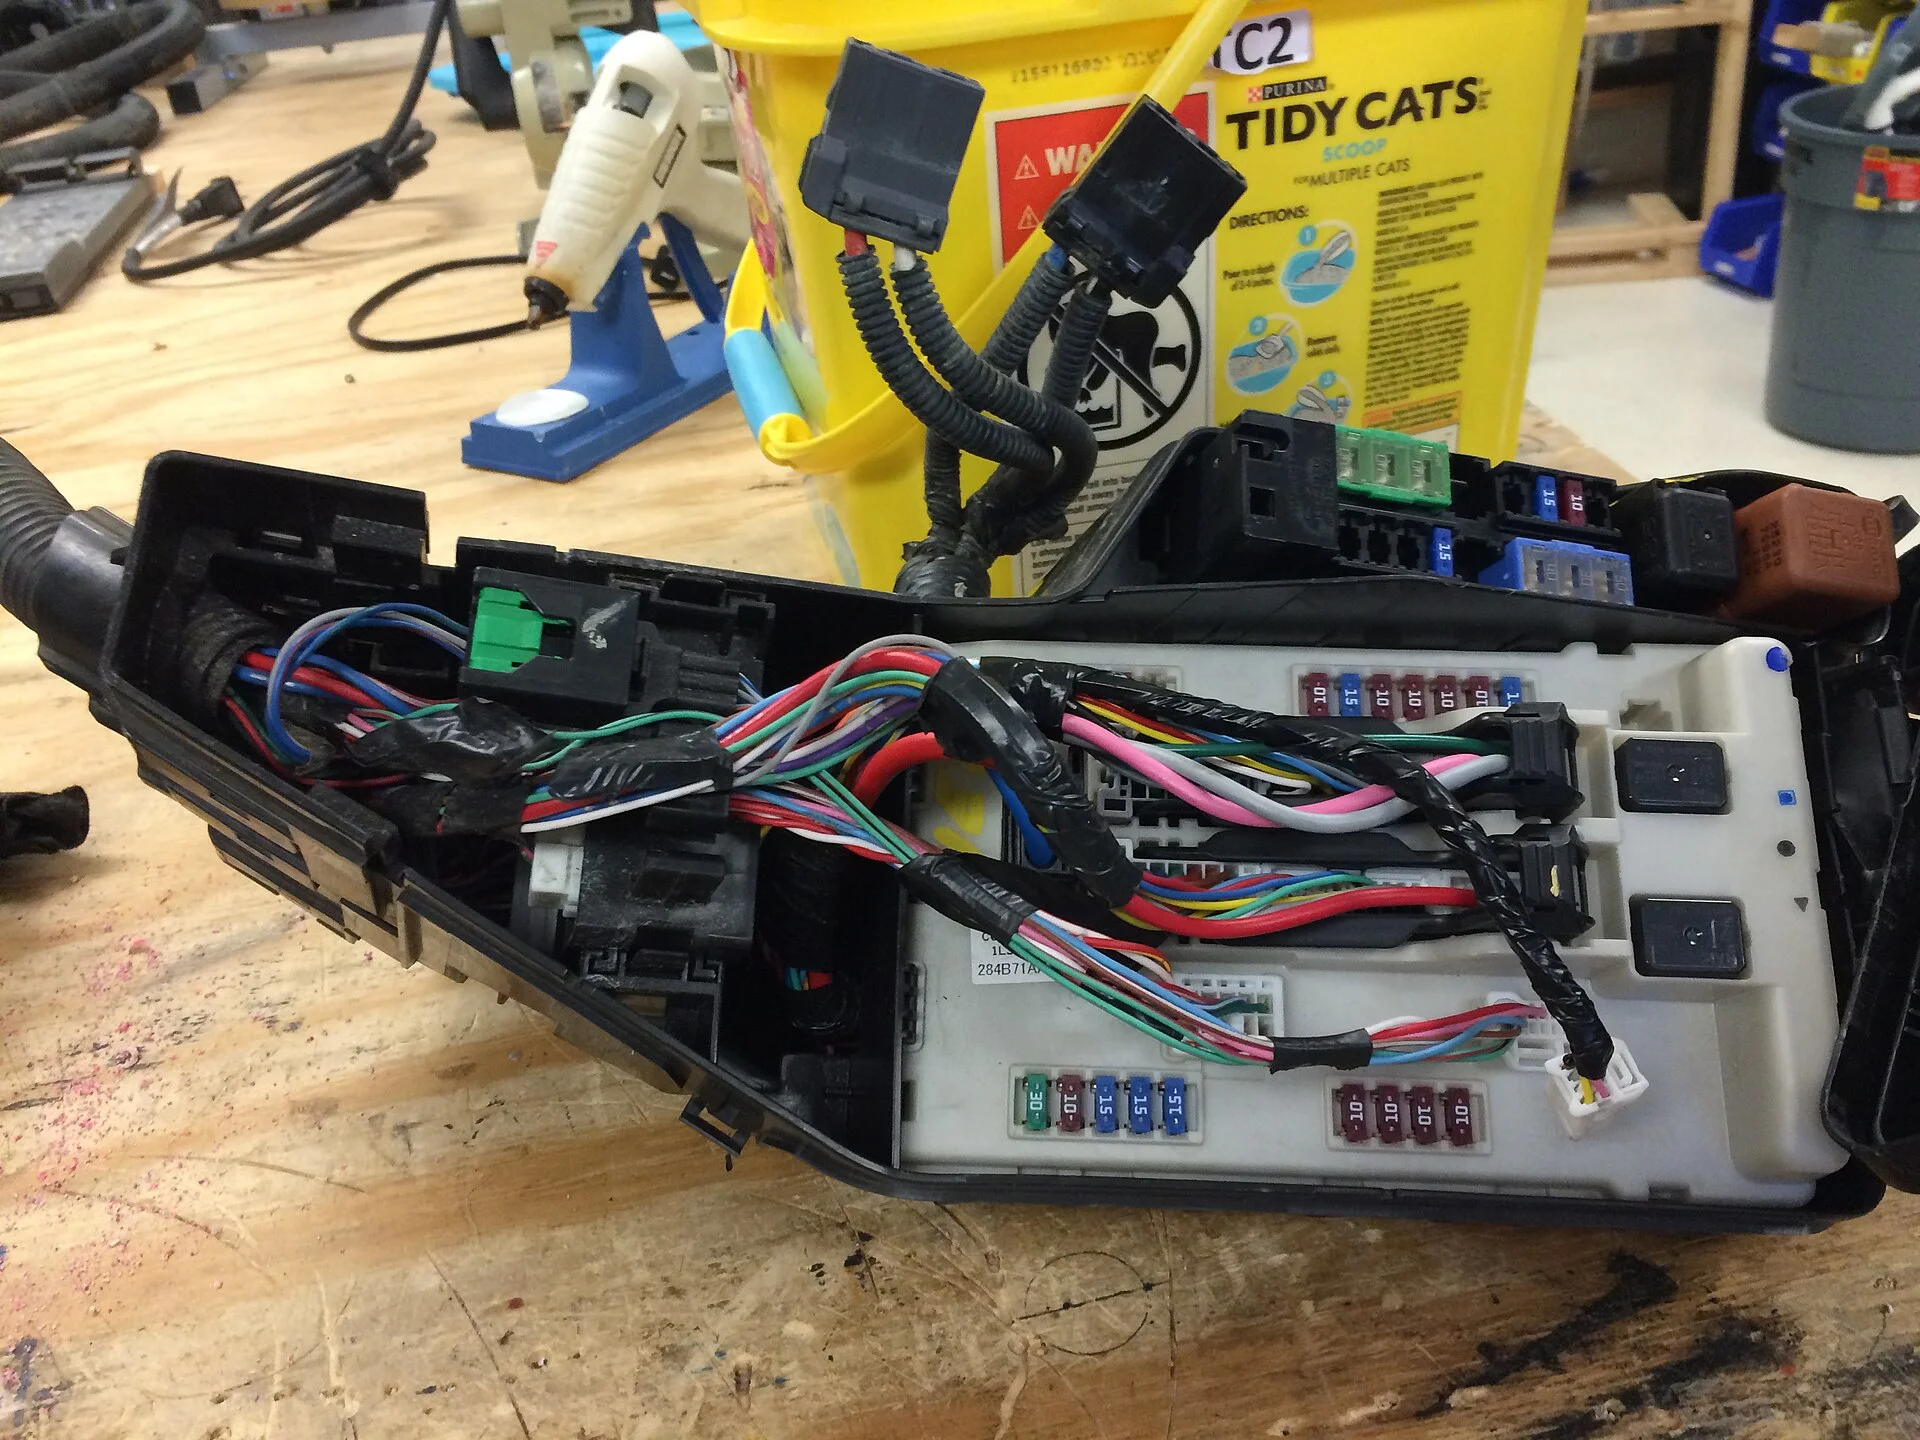
Cheap fuse taps often have poor mechanical contact, leading to increased resistance and localized heat. This thermal stress can degrade insulation, leading to intermittent shorts. Or, even worse, they're poorly sized for the circuit, causing an overcurrent condition on a circuit designed for much lower amperage. That's how you smoke a wiring harness. And replacing a wiring harness is not a fun afternoon project. It's a full-on teardown, usually costing thousands.
Understanding repair costs for dashcam hardwire installation errors
The average cost to hardwire a dash cam ranges from $100 to $200 Redtiger. This covers the labor for routing wires cleanly, properly tapping into a fuse box, and ensuring the camera functions as intended. But when that install goes sideways, the repair costs can skyrocket faster than a rocket on a bad day.
One common blunder is tapping into the wrong fuse.
Some guys grab any 'always-on' fuse for parking mode, not realizing it's a critical circuit for something like the airbag control module or the infotainment system. Suddenly, your dash cam is pulling 200mA from a circuit designed for 50mA, causing an undervoltage condition on other components. This isn't just 'bad for the battery'; it's a direct path to intermittent electrical gremlins.
A driver on a Kia forum was quoted $200 for a hardwire install.
He thought it was too much. If that shop is doing it right, that's a fair price for an hour or two of skilled labor, proper panel removal, and testing. Compare that to the guy who tried to DIY on his new Subaru, pulling fuses and asking for help with a Viofo 2-channel system.
He's lucky he didn't mess up the Eyesight system.
The initial repair might be a simple fuse replacement, which costs $1 and takes 30 seconds. But if the short circuit was severe enough, it could burn out a trace on the fuse box's PCB, requiring a full fuse box replacement. That's easily $300-$600 for the part alone, plus an hour of labor. Not so cheap now, is it?
Then there are the phantom drains.
A poorly chosen power source, or a hardwire kit without proper low-voltage cutoff, can kill your 12V lead-acid battery. A typical car battery has 60Ah. If your dash cam pulls 200mA continuously, that's 4.8Ah per day. Your battery is dead in 12 days, less in cold weather when internal resistance increases and available capacity decreases. Replacing a battery is $150-$300, and repeated deep discharges shorten its lifespan significantly.
That's a mechanical stress failure on the plates.
And let's not forget cosmetic damage. Pry tools used carelessly can scratch trim panels, break plastic clips, or even crack windshields if you're not careful. Replacing a single trim piece can be $50-$150. A broken clip might seem minor, but it leads to vibration, rattles, and eventual mechanical fatigue failure of other components. It's a cascade effect. All to save $100.
repair costs for dashcam hardwire installation errors in Detail
The true cost of a botched dash cam hardwire installation isn't just the immediate fix; it's the potential for long-term electrical instability. Here's a detailed look at common failures and their associated repair costs:
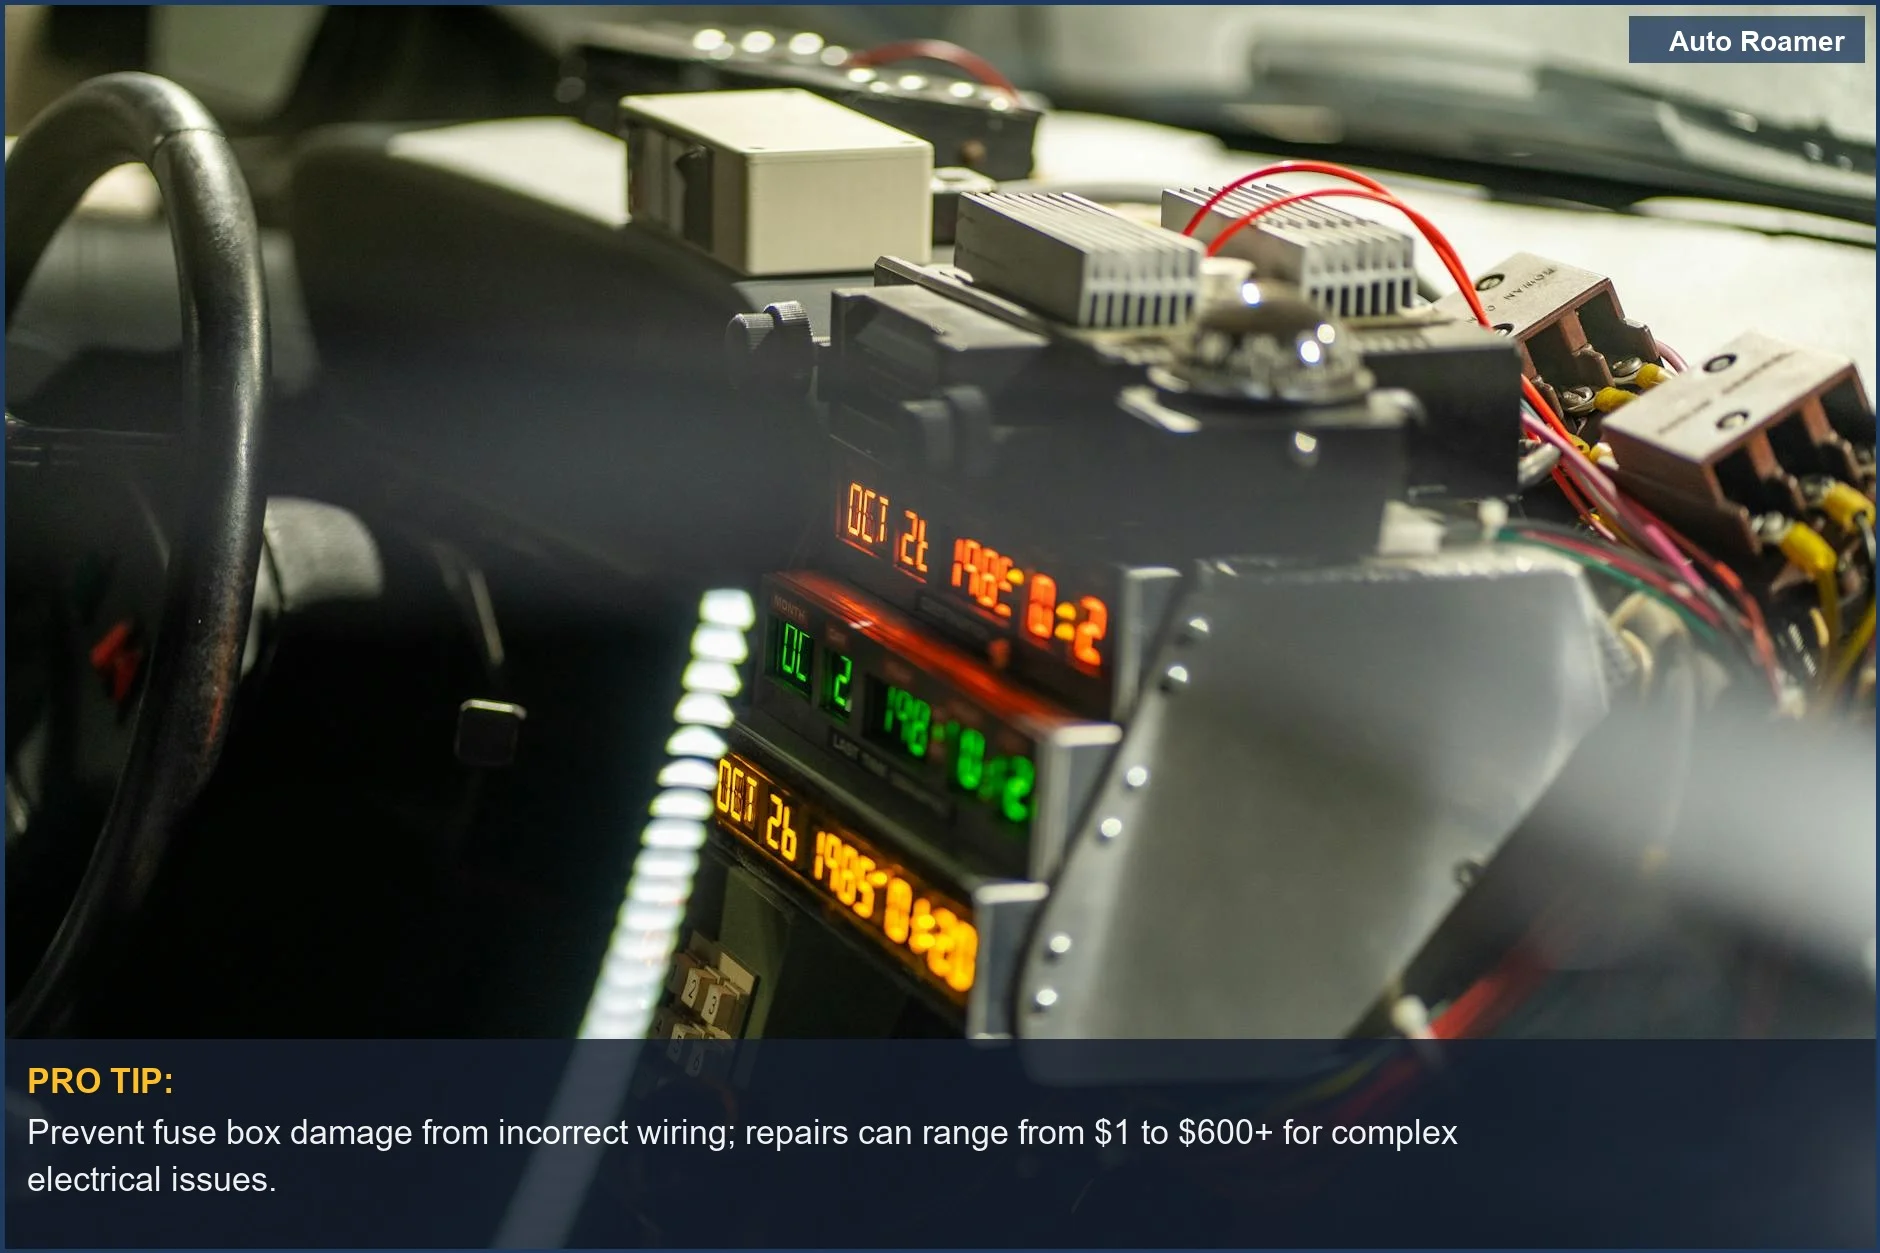
1. Blown Fuses and Fuse Box Damage: $1 - $600+
A simple blown fuse is a $1 fix. Pull it, replace it, done. But if you repeatedly blow the same fuse, it indicates an underlying overcurrent or short circuit.
This can lead to thermal damage to the fuse holder itself or, worse, burn out a circuit trace on the fuse box's printed circuit board. That's a full fuse box replacement, running $300-$600 for parts, plus an hour of skilled labor. Suddenly, your $5 fuse tap is looking like a brilliant investment.
2. Parasitic Battery Drain: $150 - $300+ Annually
This is the silent killer.
A dash cam hardwired to a constant 12V source without a low-voltage cutoff, or to an always-on circuit with a higher-than-expected quiescent current draw, will slowly murder your battery. A 200mA draw will flatten a 60Ah battery in under two weeks. Each deep discharge cycles the battery, causing plate sulfation and reducing its capacity. You'll be replacing batteries every 1-2 years instead of 4-5. That's $150-$300 every time, plus the inconvenience.
It's not just 'dead'; it's a premature mechanical failure of the lead-acid cells.
3. Damage to Vehicle Wiring Harness: $500 - $3,000+
This is where things get expensive. Splicing into wires incorrectly, using too-large wire taps, or creating a direct short can melt wiring insulation or even burn sections of the harness. Modern harnesses are complex, with dozens of wires bundled together, often integrated with sensitive data lines.
Replacing a section or the entire harness is a monumental task, involving dashboard removal and meticulous rerouting. Costs can easily hit $500 to $3,000 or more, plus dozens of hours of labor. No amount of zip ties will fix that.
4. Electronic Control Unit (ECU) Malfunctions: $1,500 - $5,000+
This is the nightmare scenario. Incorrect voltage or current spikes, or sustained parasitic draw, can damage sensitive vehicle ECUs (Engine Control Unit, Body Control Module, Transmission Control Unit).
These modules are microprocessors that manage critical vehicle functions. The damage might not be immediate; it could be a gradual thermal degradation of components. Replacing an ECU is typically $1,500-$3,000 for the part, plus programming, which often requires dealer-specific tools. Quotes run up to $5,000 for luxury vehicles NorthSideHub. The dealer will blame your aftermarket install immediately.
5.
Interior Trim Damage: $50 - $500+
Scratched plastic, broken clips, torn headliners - these are common when panels are removed incorrectly. Each trim piece has a specific removal procedure, and forcing them can break mounting points, leading to rattles and poor fitment. A single plastic clip is $2, but replacing a door panel can be $200, and a headliner $500+. The tactile feedback of a well-assembled interior is gone, replaced by the symphony of creaks and groans.
This is purely mechanical stress failure from improper technique Techsbook.
Common Questions About repair costs for dashcam hardwire installation errors
You've got questions about electrical fires and exploding batteries, I get it. Here are some common concerns when your hardwire install isn't up to spec.
Can a bad hardwire install void my car's warranty?
Absolutely. If the dealer can link an electrical fault to your aftermarket wiring, they will deny the warranty claim. It's not a blanket void, but if your fried ECU can be traced back to your dash cam's power source, you're on your own.
They love pointing fingers at anything not factory.
How can I tell if my dash cam is draining my battery too fast?
Measure the quiescent current draw. With the car off and all accessories off, put a multimeter in series between the negative battery terminal and the negative battery cable. Anything above 50mA is suspicious; above 100mA, you've got a problem. A 200mA draw will kill a 60Ah battery in 12 days.
Your dash cam should have a low-voltage cutoff, typically around 12.0V, to prevent deep discharge.
Is it true that some cars are harder to hardwire a dash cam into?
Yeah, some vehicles are a pain. Luxury cars like BMWs or complex systems like Teslas have intricate wiring and sensitive electronics, making installation more difficult and costly Redtiger. Their CAN bus systems are easily upset by voltage fluctuations, leading to unexpected errors or component shutdowns.
The margin for error is significantly smaller.
What about cutting into factory wiring? Is that ever okay?
No. Just no. Unless you're dealing with a dedicated, isolated accessory circuit specifically designed for aftermarket additions, you should never cut into factory wiring. Use fuse taps or Posi-Taps on non-critical circuits. Cutting wires introduces points of high resistance, potential shorts, and compromises the mechanical integrity of the circuit.
It's a failure mode waiting to happen.
My dash cam keeps losing power intermittently. What's the deal?
Intermittent power loss usually points to a loose connection, either at the fuse tap, the ground point, or within the hardwire kit itself. Check for poor mechanical contact, corrosion, or a crimp that isn't holding tight. Thermal cycling can expand and contract metal, loosening connections over time and increasing resistance. This leads to voltage drop and power interruptions.
Or your ground point has too much impedance SureCam.
Tips and Best Practices
Don't be that guy with the electrical tape holding his dashboard together. Here's how to do it right and avoid a several hundred dollar repair bill.
1. Use a Quality Hardwire Kit with Low-Voltage Cutoff
A proper hardwire kit isn't just a couple of wires. It includes voltage regulation and a low-voltage cutoff (LVC) to protect your battery.
A good LVC will typically cut power at 12.0V or 12.2V, preventing your battery from deep discharging, which causes irreversible plate sulfation. This simple circuit prevents premature battery failure due to parasitic draw.
2. Identify the Correct Fuse Taps (ACC and Constant 12V)
You need two power sources for parking mode: an Accessory (ACC) fuse that's only on with the ignition, and a constant 12V fuse that's always hot. Use a $15 multimeter to test fuses. Never guess.
Tap into non-critical circuits like the radio, cigarette lighter, or unused fuse slots. Avoid anything critical like airbags or ECU power, unless you fancy a five-figure repair.
3. Ensure Proper Grounding
A clean, solid ground connection is crucial for circuit integrity. Find a factory ground bolt, usually under the dashboard or kick panel, and ensure the connection is metal-to-metal, free of paint or corrosion. A poor ground introduces resistance, leading to voltage drops and unstable power.
This creates thermal stress on the wiring and components.
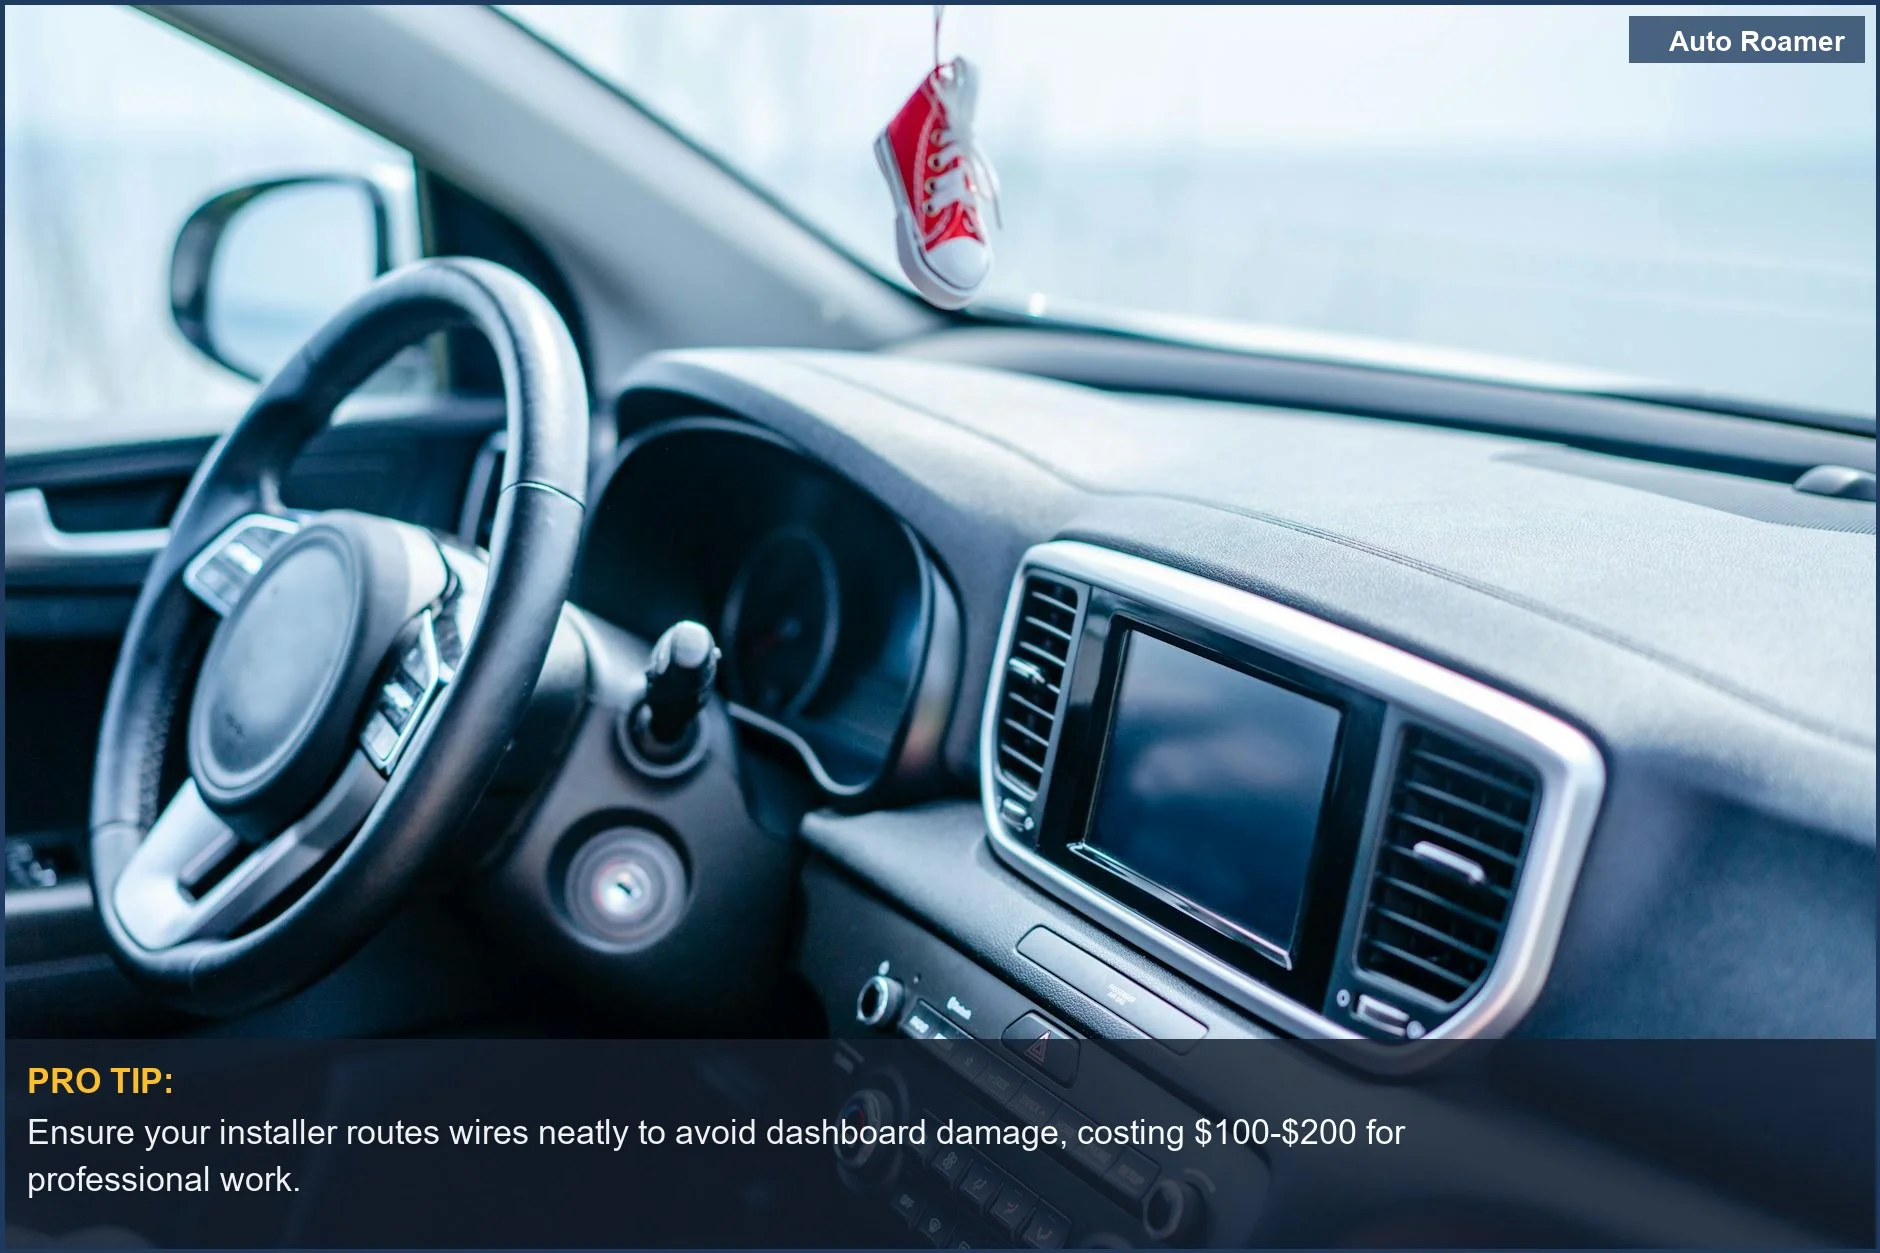
4. Route Wires Carefully and Securely
Don't just shove wires under trim. Route them along existing wiring harnesses, using zip ties or electrical tape to secure them. Avoid sharp edges that can abrade insulation over time, leading to shorts. Ensure wires aren't pinched or stretched, which causes mechanical stress and eventual conductor failure. This also prevents annoying rattles and vibrations.
5.
Test Everything Before Reassembly
Before you button up all the trim panels, power on the car and test the dash cam's functionality. Check both ACC and parking modes. Verify the camera is recording, and that the LVC is set correctly. This takes 10 minutes and can save you hours of troubleshooting later. It's simple quality control Redtiger.
6. Consider Professional Installation
If you're not confident with electrical work, just pay the $100-$200 for a professional install Wolfbox.
It's a small price to pay to avoid potentially thousands in repairs. A good installer knows where to tap, how to route, and how to avoid triggering error codes. They have the right tools and the experience to prevent costly mistakes. It's an investment in peace of mind, not an unnecessary expense.
Real-World Examples
Scorched wires and dead batteries show these aren't just hypotheticals. Here are some real-world examples of dash cam hardwire fails.
Scenario 1: The Constant Draw Catastrophe
A guy installed a dash cam in his 2017 Honda Civic, tapping into a constant 12V fuse without an LVC. He thought he was clever. After 14 days of parking mode, his 12V lead-acid battery was drained to 9.8V.
Repeated deep discharges caused permanent plate sulfation, reducing its 60Ah capacity to about 30Ah. He bought a new battery for $180 every year for three years before figuring out the dash cam was the culprit. Total cost: $540 in batteries, plus diagnostic time.
Scenario 2: The Melted Fuse Box
Another DIYer used a cheap, oversized fuse tap on a 10A circuit in his 2015 Ford F-150.
The dash cam pulled 3A, but the poor mechanical contact of the tap created excessive resistance. Over months of thermal cycling, the heat caused localized melting of the plastic fuse holder. Eventually, it shorted, blowing the main ECU fuse. The dealer charged him $450 for a new fuse box and an hour of labor.
He tried to claim warranty, but the melted plastic was clear evidence of aftermarket tampering.
Scenario 3: The Phantom Check Engine Light
A Reddit user installed a dual-channel dash cam in his 2019 Toyota RAV4, tapping into the infotainment fuse. The voltage drop from the dash cam's startup current caused intermittent communication errors on the CAN bus network. The car's ECU started throwing a 'network communication error' code, triggering the Check Engine Light.
After three dealer visits and $750 in diagnostics, they traced it to the aftermarket dash cam. He had to pay for the diagnostics and then for a proper install, costing another $150. All for a simple hardwire.
Scenario 4: The Scratched Interior
Someone on Reddit asked if $250 for an install was reasonable. I'd say yes, especially if it prevents this.
One DIYer tried to install his own dash cam, prying off a pillar trim with a screwdriver. He scratched the dashboard, broke three plastic clips, and bent the trim panel. The dashboard scratch was permanent. Replacing the trim and clips cost him $120. Plus, the panel now rattles constantly, a constant reminder of his 'savings.' That's a mechanical integrity failure due to improper tools and technique.
Key Takeaways
Hardwiring a dash cam isn't just about hiding wires; it's about maintaining your vehicle's electrical integrity. Skimping on the install can lead to far more expensive repairs than the initial cost of a professional job.
- Costly Electrical Damage: Incorrect wiring can lead to blown fuses, fried ECUs, and damaged wiring harnesses. These aren't cheap fixes; we're talking hundreds to thousands of dollars.
- Battery Degradation: Improper constant 12V taps cause parasitic draw, leading to premature battery failure.
You'll be buying new batteries every year or two instead of every four or five.
- Warranty Voidance: Dealers will absolutely deny warranty claims if they can trace an electrical fault back to your aftermarket dash cam installation. You're on the hook for the full repair cost.
- Cosmetic Damage: Careless panel removal results in scratched trim, broken clips, and annoying rattles.
These small damages add up and degrade the overall tactile experience of your vehicle.
- Peace of Mind: A proper install, whether DIY with due diligence or done by a professional, ensures your dash cam functions reliably without compromising your vehicle's systems. It's an investment in both your safety and your car's longevity.
Before you grab that $5 fuse tap, consider the potential $5000 headache it could cause. Sometimes, paying a little more upfront saves you a fortune in the long run.
My rule of thumb: if you don't own a multimeter and know how to use it, pay someone who does. Your car's electrical system is not the place for guessing games DNH Dash Cam Solutions.

