
The Short Version
Plenty of $15 phone mounts fail almost as fast as they leave the Amazon warehouse, proof that 'cheap' is just a euphemism for 'landfill-ready.' The market is flooded with car accessories that promise convenience but deliver only frustration. You think you're saving money, but you're just buying the same garbage twice. This YouTube video highlights the pitfalls of uninformed purchases. Ignore the marketing fluff. Focus on the material science.
That's where the truth lies.
The Short Answer
Take a 'universal fit' cup holder insert. It's often injection-molded from general-purpose polypropylene (PP) with a wall thickness of maybe 1.5mm. This material has a low heat deflection temperature, around 100 degrees C. Your car interior can easily hit 70 degrees C in direct sunlight. The PP creeps, loses its shape, and your 20-ounce soda is now decorating your console.
Many LED light strips, advertised as 'brightest ever,' use a thin, flexible PCB with exposed 28 AWG copper traces and a PVC coating. This PVC degrades rapidly under UV exposure, turning yellow and brittle. The solder joints, often lead-free and poorly executed, are prone to fatigue cracking from vibrations. So much for that 'custom' interior. The 'savings' of a cheap accessory quickly evaporate when you're paying for repairs.
Electrical accessories are a minefield. Many draw power from existing circuits without proper load calculations. A typical 12V cigarette lighter circuit is fused for 10A or 15A. Adding a 5A accessory might seem minor, but it can push the circuit's thermal limits, especially if the wiring harness is old. This leads to increased resistance, heat, and eventual wire insulation degradation. Fire hazard, anyone?
Mounting solutions are another common failure point. Adhesive pads rated for 1kg in a climate-controlled lab won't hold your 200g phone when the dashboard hits 80 degrees C and the adhesive's shear strength drops by 50%. The plastic ball joint on a cheap phone mount is probably injection-molded ABS. ABS has a low tensile strength and poor UV resistance, leading to brittle fracture under dynamic loads. Congratulations, you just bought a $20 projectile for your windshield.
Even seemingly harmless items, like seat covers, can cause issues. If they're not airbag-compatible, they can interfere with deployment. The airbag's pyrotechnic charge generates 200 PSI of pressure in milliseconds. That fabric needs to tear along a specific seam with engineered precision. A cheap cover adds uncontrolled mechanical resistance, turning a safety device into a potential shrapnel dispenser. Overlooking safety concerns is a rookie mistake.
The Reality Check
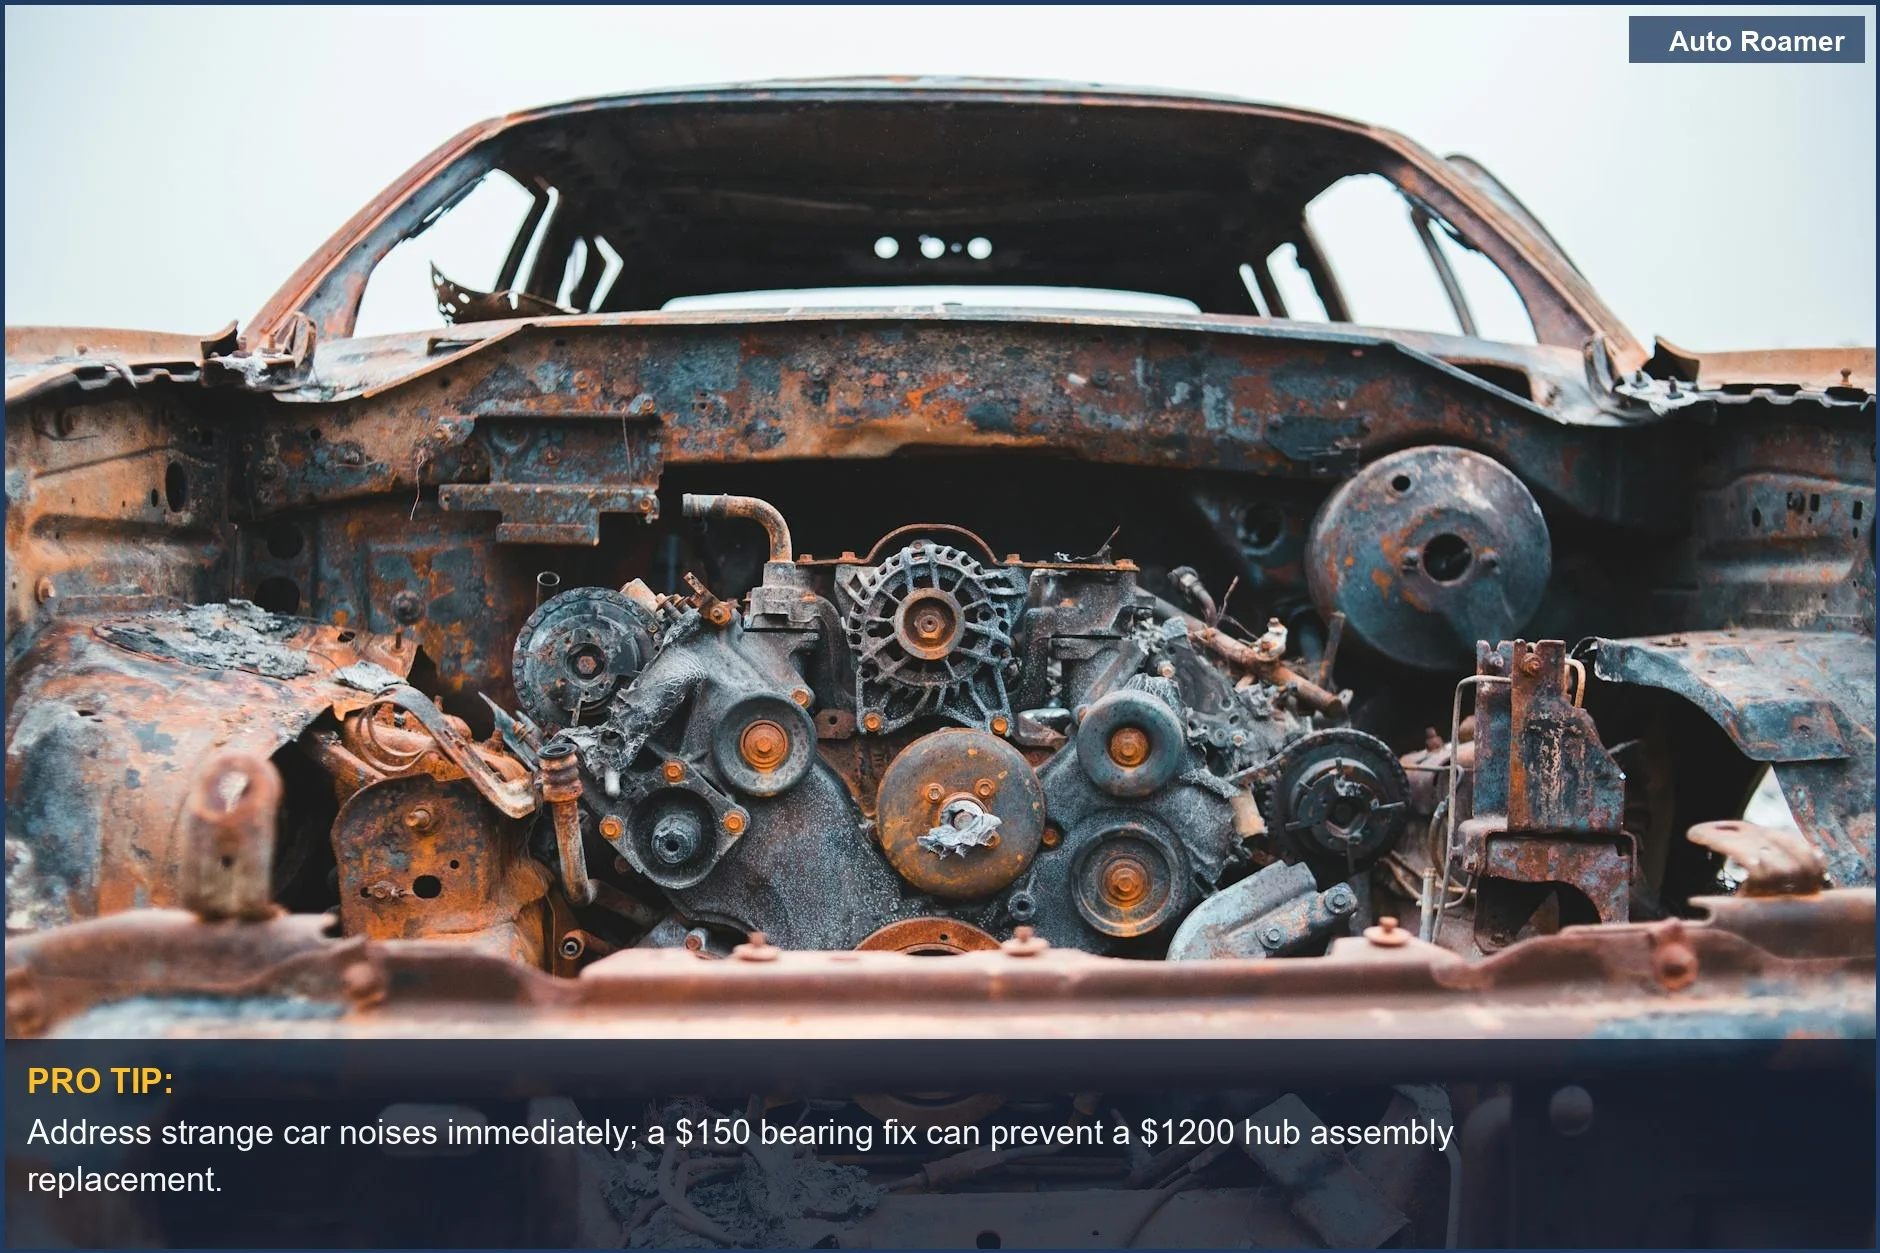
Ignoring the early warning signs is a classic move that costs thousands. That faint squeal from your wheel bearing? It's not going away. It's a sign of a failing race or cage, leading to increased friction, heat, and eventually, total seizure. A $150 bearing replacement turns into a $1200 hub assembly and spindle job once it welds itself together. Don't ignore the noise.
Using incorrect fluids is another guaranteed money pit. Your transmission fluid isn't just 'oil'; it's a finely balanced hydraulic medium with specific viscosity and friction modifiers. Putting the wrong spec fluid, or even a cheap, generic one, can alter clutch pack engagement, leading to excessive slip, heat, and eventual thermal degradation of the friction material. That's a $5000 transmission rebuild for a $30 fluid mistake. Brilliant engineering.
Compatibility issues are rampant. Thinking a 'universal' part actually fits is naive. Consider an aftermarket turbo timer installed on a 2015 WRX with a wiring harness that was only 'close enough.' The result is a phantom parasitic draw of 150mA, killing the battery every four days. The timer's voltage regulator sits out of spec, constantly trying to communicate with a CAN-BUS it can't understand. A simple $40 part causes a $180 diagnostic charge.
| Component | How It Fails | Symptoms | Fix Cost |
|---|---|---|---|
| Phone Mount Ball Joint | Plastic fatigue, UV degradation, brittle fracture | Mount loses rigidity, phone drops | $150 (new mount + potential screen repair) |
| LED Light Strip | PVC cracking, solder joint fatigue, thermal runaway | Flickering, dead sections, fire hazard | $300 (rewiring + labor) |
| Aftermarket Head Unit (DIY install) | Incorrect wiring harness, parasitic draw, CAN-BUS errors | Dead battery, intermittent electrical faults | $450 (diagnosis + professional rewire) |
| 'Universal' Seat Covers | Airbag deployment obstruction, material abrasion | Airbag failure, seat wear, potential injury | $800 (airbag system diagnostic + new OEM covers) |
These numbers are not pulled from thin air. They reflect the actual cost of diagnosis, parts, and labor when a cheap accessory causes secondary damage. The why-cheap-car-accessories-break-fast on these low-cost items are significantly higher than OEM parts, often by an order of magnitude. You buy a $20 item, it fails, then it takes out a $200 component because of its shoddy electrical or mechanical interface. That's not saving money; that's just deferring expense with interest.
Even something as simple as cheap floor mats can cause issues. If they slip and interfere with pedal operation, that's a direct safety concern. The friction coefficient of the backing material is critical. An improperly secured mat can bunch up, reducing brake pedal travel by 10mm or trapping the accelerator. This isn't just an inconvenience; it's a kinetic energy management problem waiting to happen.
How to Handle This
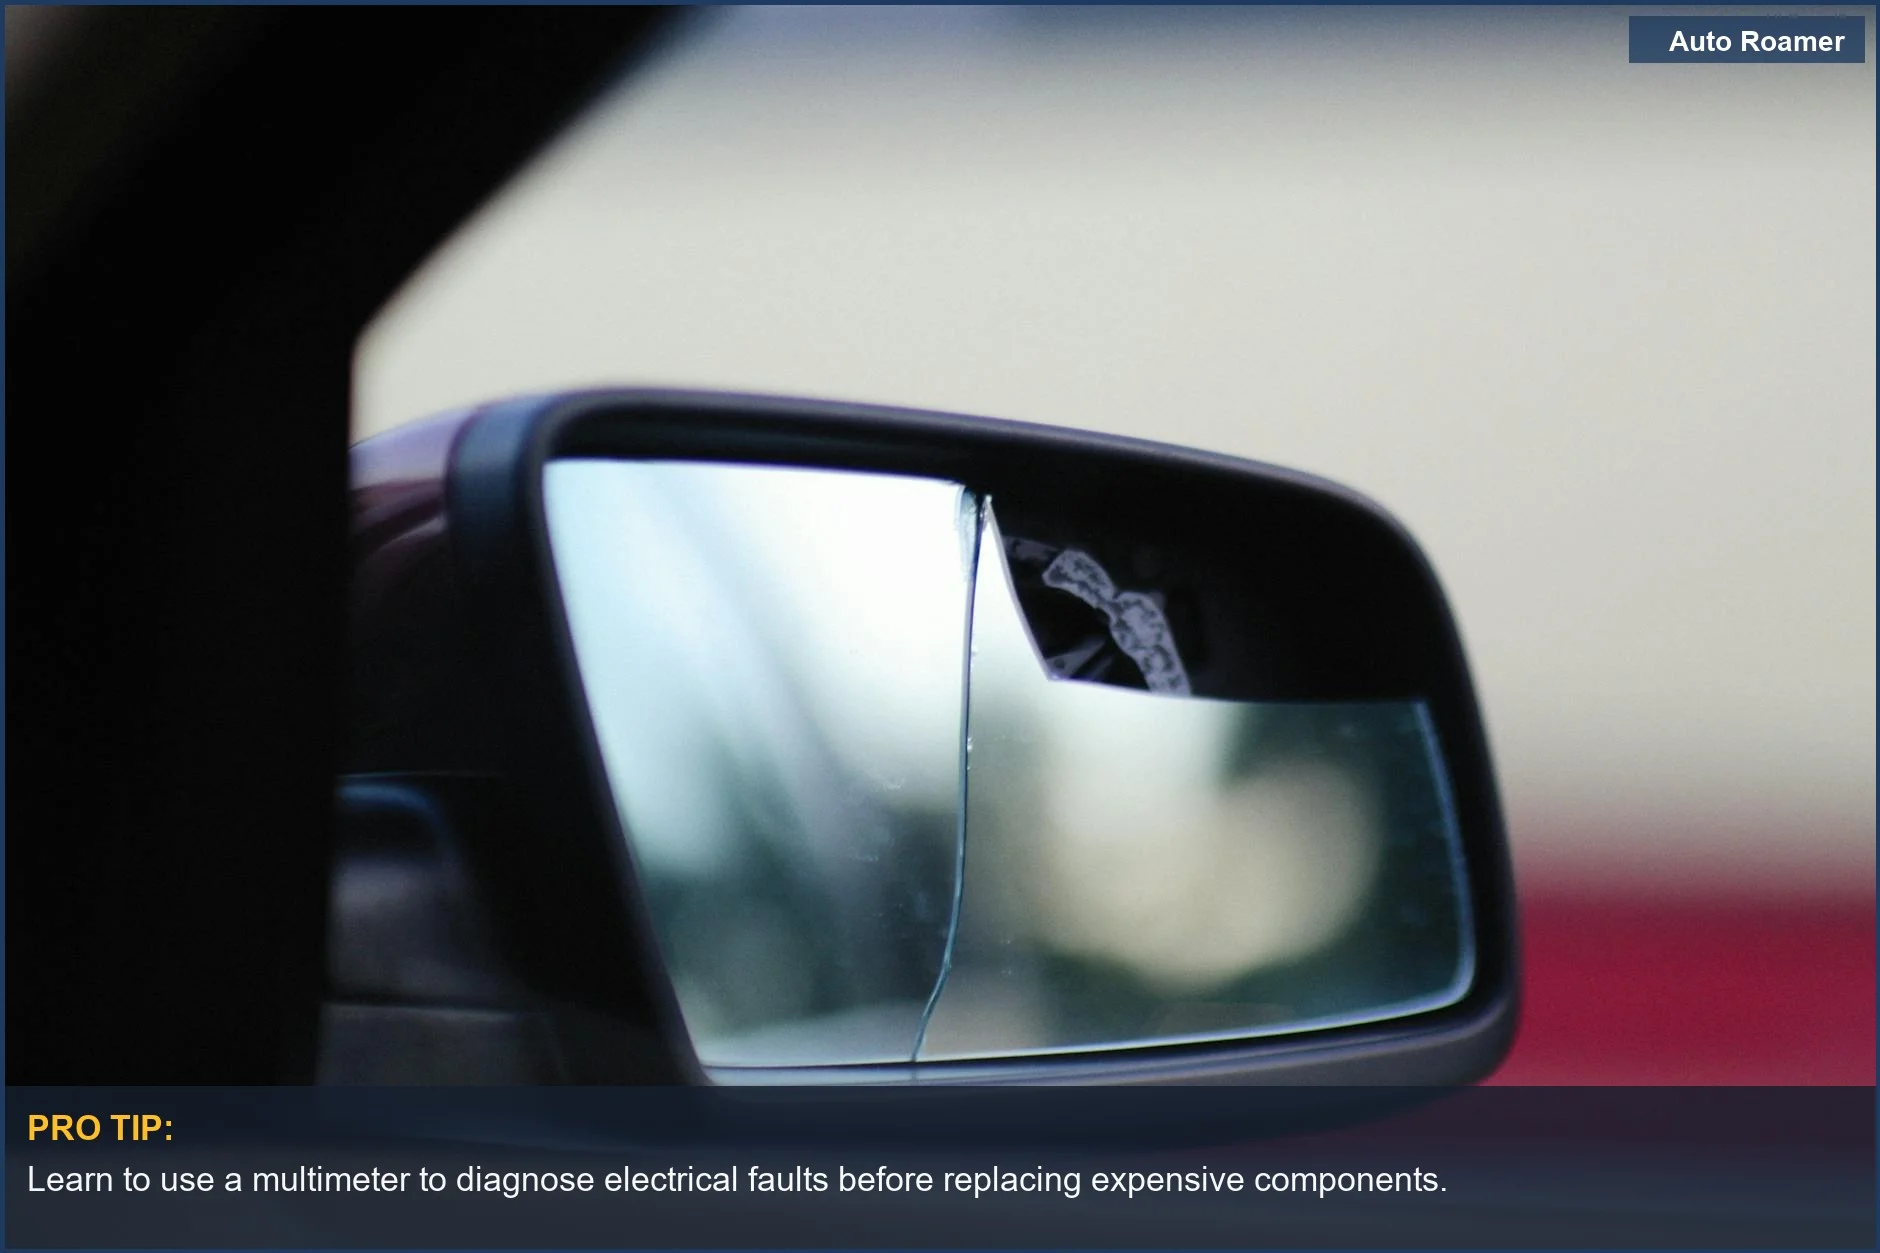
When your cheap accessory inevitably fails and takes something expensive with it, you've got options beyond just throwing money at the dealer. First, identify the root cause. This means getting a multimeter and understanding basic circuit diagrams. Don't just replace the blown fuse; find out why it blew. A 15A fuse doesn't pop because it's bored. It pops because current draw exceeded its thermal capacity, indicating an overcurrent condition or a short circuit.
If you're dealing with a mechanical failure, like a dash mount that snapped, analyze the fracture surface. Was it ductile or brittle? Was there evidence of fatigue cracking? This tells you if it was a material defect, an improper load, or poor design. Knowing the failure mode lets you choose a better replacement, not just another piece of garbage. Average car maintenance costs can skyrocket if you don't.
For electrical issues, start with basic diagnostics. Check for parasitic draws. Disconnect the negative battery terminal and put your multimeter in series, set to milliamps. Pull fuses one by one until the draw drops. That's your culprit. Then trace the circuit. Is the accessory wired to constant 12V when it should be switched? Is the gauge of wire appropriate for the current it's carrying? Some design flaws make this harder.
If you need professional help, don't just ask for a repair. Ask for a diagnosis. What's the specific failure mode? What electrical or mechanical parameters failed? A shop that just says 'you need a new whatever' without explaining the underlying physics is just guessing. Get a written estimate that details parts, labor, and the specific diagnostic steps performed. Question everything.
A battery that keeps dying is a prime example: the dealer just wants to sell a new battery, not diagnose the 280mA parasitic draw behind it.
When evaluating a professional fix, consider their proposed part selection. Are they using OEM, reputable aftermarket, or cheap white-box parts? Ask about the warranty on both parts and labor. A shop that stands behind their work will offer at least a 12-month, 12,000-mile warranty. Anything less is a red flag. Don't let them just slap a band-aid on a gaping wound. Insist on a solution that addresses the cause, not just the symptom.
For mechanical fixes, inquire about torque specifications. Are they using a torque wrench? Are they applying thread locker where appropriate? Loose fasteners lead to vibration, fretting, and eventual failure. A technician who just 'ugga-duggas' bolts on is not a technician; they're a liability. Proper clamp load is critical for preventing shear and fatigue failures. It's basic physics, not witchcraft.
What This Looks Like in Practice
A 'custom' underglow kit wired directly to the battery with 22 AWG speaker wire can cause a voltage drop of 0.8V across the entire electrical system. That isn't just dim lights; it makes the fuel pump work harder, increasing current draw by 15% and shortening its lifespan. The thermal cycling on that undersized wire is a fire waiting to happen. The actual repair cost runs $350 to replace the melted wiring harness section and properly fuse the circuit.
Car repair costs are climbing.
A universal seat heater pad, installed under the upholstery, developed a hot spot. The resistance wire within the pad had a manufacturing defect, causing localized current density to increase. The thermal output exceeded the seat foam's heat deflection temperature. Result? A 3-inch diameter scorch mark on the seat, a distinct outgassing smell, and a $1,200 bill to replace the entire bottom seat cushion assembly. Turns out, safety standards aren't just suggestions. Many repair shops see these issues.
Another gem: a cheap dashcam, advertised as 'always on,' was pulling 300mA. It killed a brand new 70Ah AGM battery in eight days. The internal voltage cutoff was set too low, or non-existent. The continuous deep cycling permanently damaged the battery's lead plates, reducing its effective capacity to about 30Ah. A $250 battery ruined by a $40 accessory. The diagnostic time to trace that parasitic draw was 1.5 hours at $120/hr. Total damage: $430.
Then there was the aftermarket remote start system. The installer didn't properly solder the bypass module connections, opting for crimp connectors. Over two winters, the thermal cycling in the firewall caused the crimps to loosen, increasing contact resistance. This led to intermittent no-start conditions, especially in cold weather, due to insufficient current reaching the starter solenoid. The intermittent nature made diagnosis a nightmare, costing the owner $600 in shop time before a competent tech found the loose connection.
Finally, a 'performance' air intake with an improperly sealed MAF sensor housing. The sensor was exposed to unfiltered air and vibrations, leading to premature failure. The engine ran lean, triggering check engine lights and reducing fuel economy by 15%. A $200 intake caused a $300 MAF sensor replacement and $100 diagnostic fee. It's not performance if it breaks your engine.
Mistakes That Cost People
People make some bone-headed moves trying to 'upgrade' their vehicles. The costs add up fast. Ignoring compatibility is number one. You can't just bolt anything onto any car. The mechanical interfaces, electrical loads, and CAN-BUS protocols are specific. Thinking a universal part will magically work is just asking for a $500 diagnostic bill.
| Mistake | Underlying Failure Mode | Typical Cost to Fix |
|---|---|---|
| Using wrong gauge wiring | Overcurrent, thermal degradation, fire hazard | $200 - $1,500 (wiring harness repair/replacement) |
| Improperly fused circuits | Short circuit, component damage, fire | $150 - $1,000 (component replacement + wiring) |
| Ignoring torque specs on mounting hardware | Vibration fatigue, fastener loosening, component detachment | $100 - $800 (re-installation + potential damage repair) |
| Blocking airbag deployment zones | Airbag malfunction, injury risk, system fault codes | $500 - $2,000 (airbag system diagnostic + component replacement) |
| Excessive parasitic draw | Battery sulfation, reduced capacity, premature battery failure | $180 - $300 (battery replacement + diagnostic fee) |
| Poor quality adhesives/fasteners | Mechanical detachment, vibration damage, cosmetic damage | $50 - $300 (re-mounting + surface repair) |
| Incorrect fluid type in systems | Component wear, thermal breakdown, system failure | $300 - $5,000 (fluid flush + component replacement) |
Car repairs are getting pricier. Choosing poor quality accessories is another big one. That $10 USB charger from the gas station? It's probably got a terrible EMI filter, injecting noise into your car's electrical system, which can mess with sensitive electronics like your radio or even engine sensors. The voltage regulation is likely sloppy, too, putting your phone's battery through unnecessary thermal cycling. You're not saving money; you're just buying future problems.
Skipping professional installation to save a few bucks is a classic move. Wiring up a complex accessory, like a remote start or a new head unit, requires understanding vehicle wiring diagrams, CAN-BUS systems, and proper splicing techniques. A shoddy splice with electrical tape will fail due to vibration and moisture ingress, leading to intermittent connection issues or a short circuit. The dealer will charge you $150/hr to un-screw your 'DIY' masterpiece.
Forgetting about your car warranty is also a costly oversight. Many modifications or improperly installed accessories can void parts of your warranty. If your aftermarket LED light bar causes an electrical short that fries your body control module, don't expect the manufacturer to cover that $1,000 repair. Always read the fine print before you start cutting wires. Tariffs are also driving up parts costs.
Key Takeaways
Don't be a chump. Cheap car accessories are often engineered for rapid failure, not performance. They use inferior materials with poor mechanical properties and inadequate electrical design. This leads to issues like premature fatigue, thermal degradation, and circuit instability. You're not saving money; you're just pre-paying for future repairs.
- Material Science Matters: Cheap plastics creep, adhesives fail under thermal cycling, and undersized wires overheat. Always check the spec sheet for load ratings and material composition. Don't trust 'universal fit' claims.
- Circuit Integrity is King: Understand your vehicle's electrical system. Know fuse ratings, wire gauges, and where constant vs. switched power is.
A $4 add-a-fuse kit is better than a $180 diagnostic bill for a dead battery caused by 280mA of parasitic draw.
- Mechanical Stress is Real: Mounting points, fasteners, and interfaces need to withstand vibration, G-forces, and thermal expansion. Torque specs exist for a reason. Don't just tighten until it feels 'snug'; use a torque wrench.
- Diagnose, Don't Guess: When something fails, find the root cause. A multimeter and a basic wiring diagram are your best friends.
Don't just replace a part; understand why it failed. This saves you money and prevents repeat failures.
- Professional Help is an Investment: If you're out of your depth, pay a reputable mechanic for diagnosis. Ask specific questions about failure modes and repair procedures. A good mechanic explains the physics, not just the symptoms. Repair costs are only going up, so get it right the first time.