Car Accessory Installation Mistakes That Lead to Electrical Failure (2026 Complete Guide)
I've seen more fried wiring harnesses than I care to count, all because some yahoo thought a $10 accessory could be jammed into a factory circuit without consequence. A buddy of mine just paid $900 to fix a short on his F-150 after a cheap LED light bar melted a ground wire.
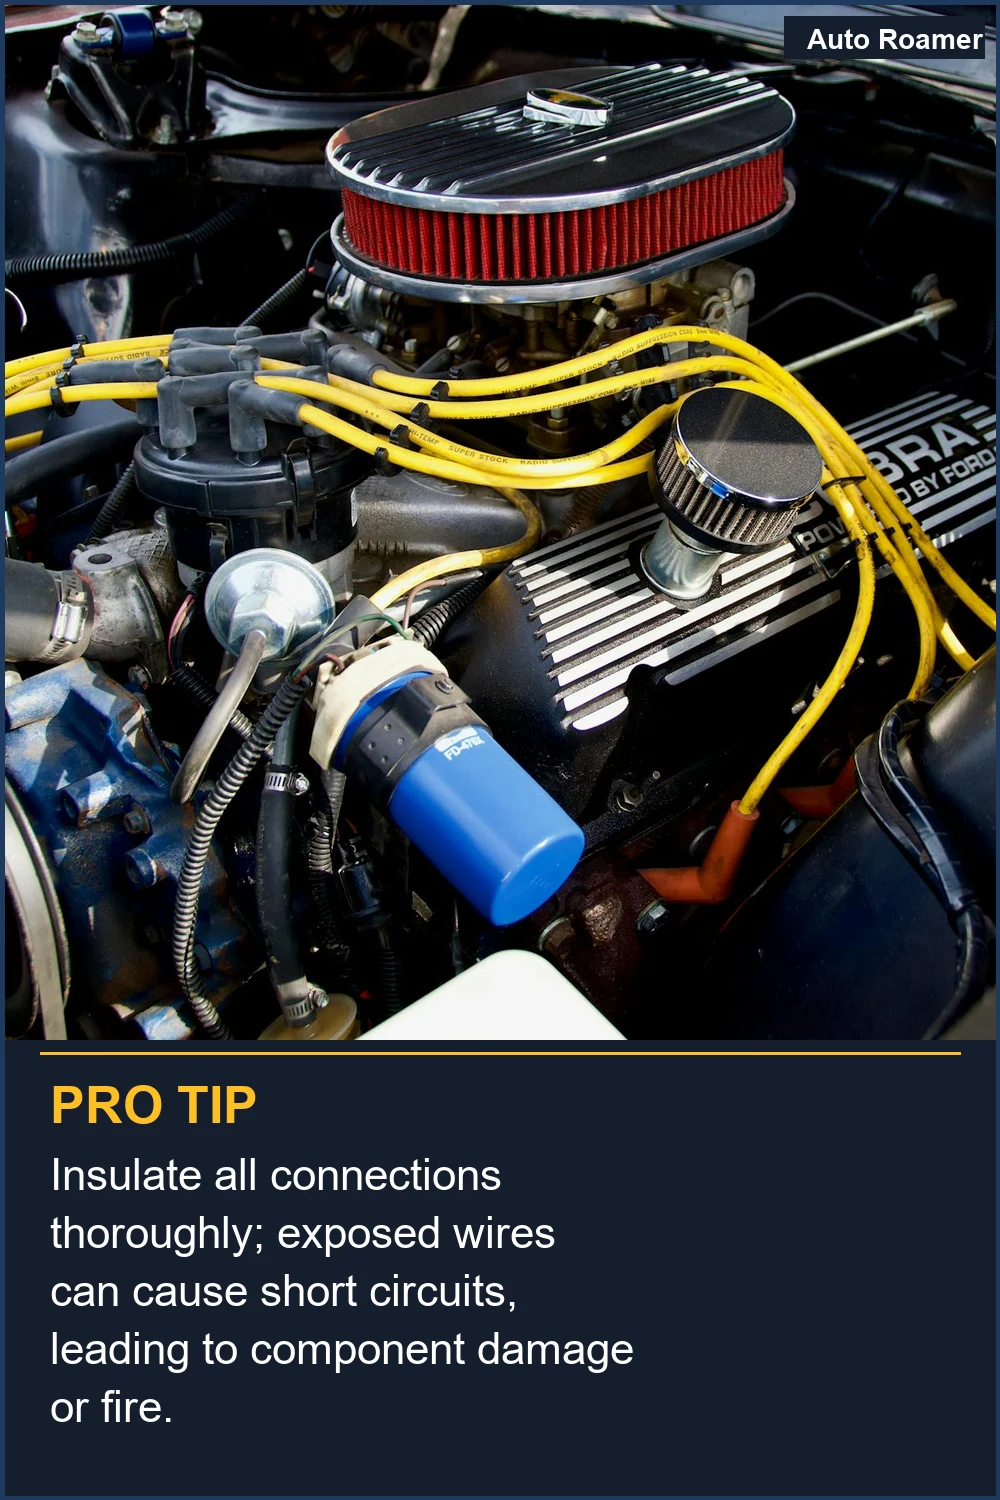
I've seen more fried wiring harnesses than I care to count, all because some yahoo thought a $10 accessory could be jammed into a factory circuit without consequence. A buddy of mine just paid $900 to fix a short on his F-150 after a cheap LED light bar melted a ground wire. It's not the accessory that fails; it's the installer's ignorance of current draw and thermal limits that turns a simple upgrade into a fire hazard.
Erratic performance, flickering lights, or worse, can start with a single improper connection. You're dealing with a complex electrical system, not a Lego set.

The Short Answer
The Reality Check
The factory electrical system is a finely tuned machine, designed to deliver specific currents to specific loads. When you start adding aftermarket components, you're introducing variables the engineers never accounted for. This is where the 'plug and play' dream turns into a 'smoke and pray' reality. Improper wiring is a major culprit behind electrical shorts. Take the example of tapping into a headlight circuit for an auxiliary light. A standard H11 bulb might pull 4.6A. Your new LED light bar pulls 10A. Now your 16AWG wire, designed for 5A max, is trying to carry 14.6A. That wire's resistance will cause a voltage drop, and more importantly, it'll get hot enough to soften the insulation at 180 degrees F, leading to a short. The factory fuse might not even blow if the overload isn't severe enough, just let the wire cook. Modern Body Control Modules (BCMs) are particularly sensitive. They monitor current draw on every circuit for bulb-out detection or short-circuit protection. Introduce an unexpected load, and the BCM can throw a fault code, shut down the circuit, or even go into a limp mode. Aftermarket accessories can cause powertrain issues and communication faults.| Component | How It Fails | Symptoms | Fix Cost |
| Wire Splice | High resistance due to poor crimp/solder, leading to thermal degradation. | Intermittent accessory function, localized heat, melted insulation. | $150 - $400 (splice repair, possibly harness section) |
| Inline Fuse Holder | Low quality plastic, poor terminal contact, corrosion. | Blown fuses, intermittent power, voltage drop to accessory. | $80 - $250 (holder replacement, diagnosis for underlying short) |
| Ground Connection | Insufficient surface area, paint under terminal, loose bolt, corrosion. | Accessory hum, dimming lights, erratic behavior, parasitic draw. | $100 - $300 (cleaning, proper terminal, re-grounding) |
| CAN Bus Tap | Introduces signal noise, impedance mismatch, or shorts data lines. | Warning lights, module communication failure, vehicle no-start. | $500 - $2000+ (module replacement, harness repair, reprogramming) |

How to Handle This
When you're staring down a fried harness or an accessory that just won't behave, you've got choices. First, you need to understand the scope of the damage. Is it just a blown fuse, or did a poorly executed splice melt a section of the main loom? Amateur efforts can lead to a cascade of issues, from faulty wiring to electrical fires. 1. Isolate the Faulty Accessory: Disconnect the aftermarket accessory entirely. If the original electrical issue (e.g., a constant fuse blowing, a parasitic draw) resolves, you've found your culprit. This is step one for any diagnosis. Don't waste time tracing wires with the problem still connected. 2. Visual Inspection for Thermal Damage: Look for melted insulation, discolored wires (brown or black usually means heat), or burned components near your installation points. Pay close attention to any splices or crimps you made. If you see signs of heat, that's a mechanical stress point that failed. 3. Check Fuses and Relays: Replace any blown fuses with the correct amperage rating. If a fuse blows immediately after replacement, you have a direct short. This requires tracing the circuit with a multimeter set to continuity or resistance. Electrical problems after radio installation can cause gauges to go wild. 4. Confirm Ground Integrity: A poor ground connection is a common failure point. Ensure any ground wires are securely fastened to clean, bare metal. Paint, rust, or loose bolts introduce resistance, causing voltage drop and heat. Check continuity between the accessory's ground point and the battery negative terminal; it should be less than 0.5 ohms. 5. Assess Harness Damage: If the factory wiring harness is damaged beyond a simple splice repair, you're looking at a larger job. Small sections can be repaired with proper soldering, heat shrink, and OEM-spec wire. However, if multiple wires are cooked together, a section replacement might be necessary. This is where costs skyrocket. 6. Seek Professional Help (If Necessary): If you're out of your depth, find a reputable automotive electrical specialist, not just a general mechanic. They'll have diagnostic tools like oscilloscopes to check for signal integrity issues and thermal cameras to pinpoint hot spots. Expect to pay $120-$180 per hour for diagnosis. A simple harness repair could be $300-$700. A full module replacement or extensive harness work can run $1500-$3000+. Ask about their experience with aftermarket accessory troubleshooting and if they guarantee their electrical work for at least 12 months. Any shop that quotes a fixed price without diagnosing is selling you a fantasy.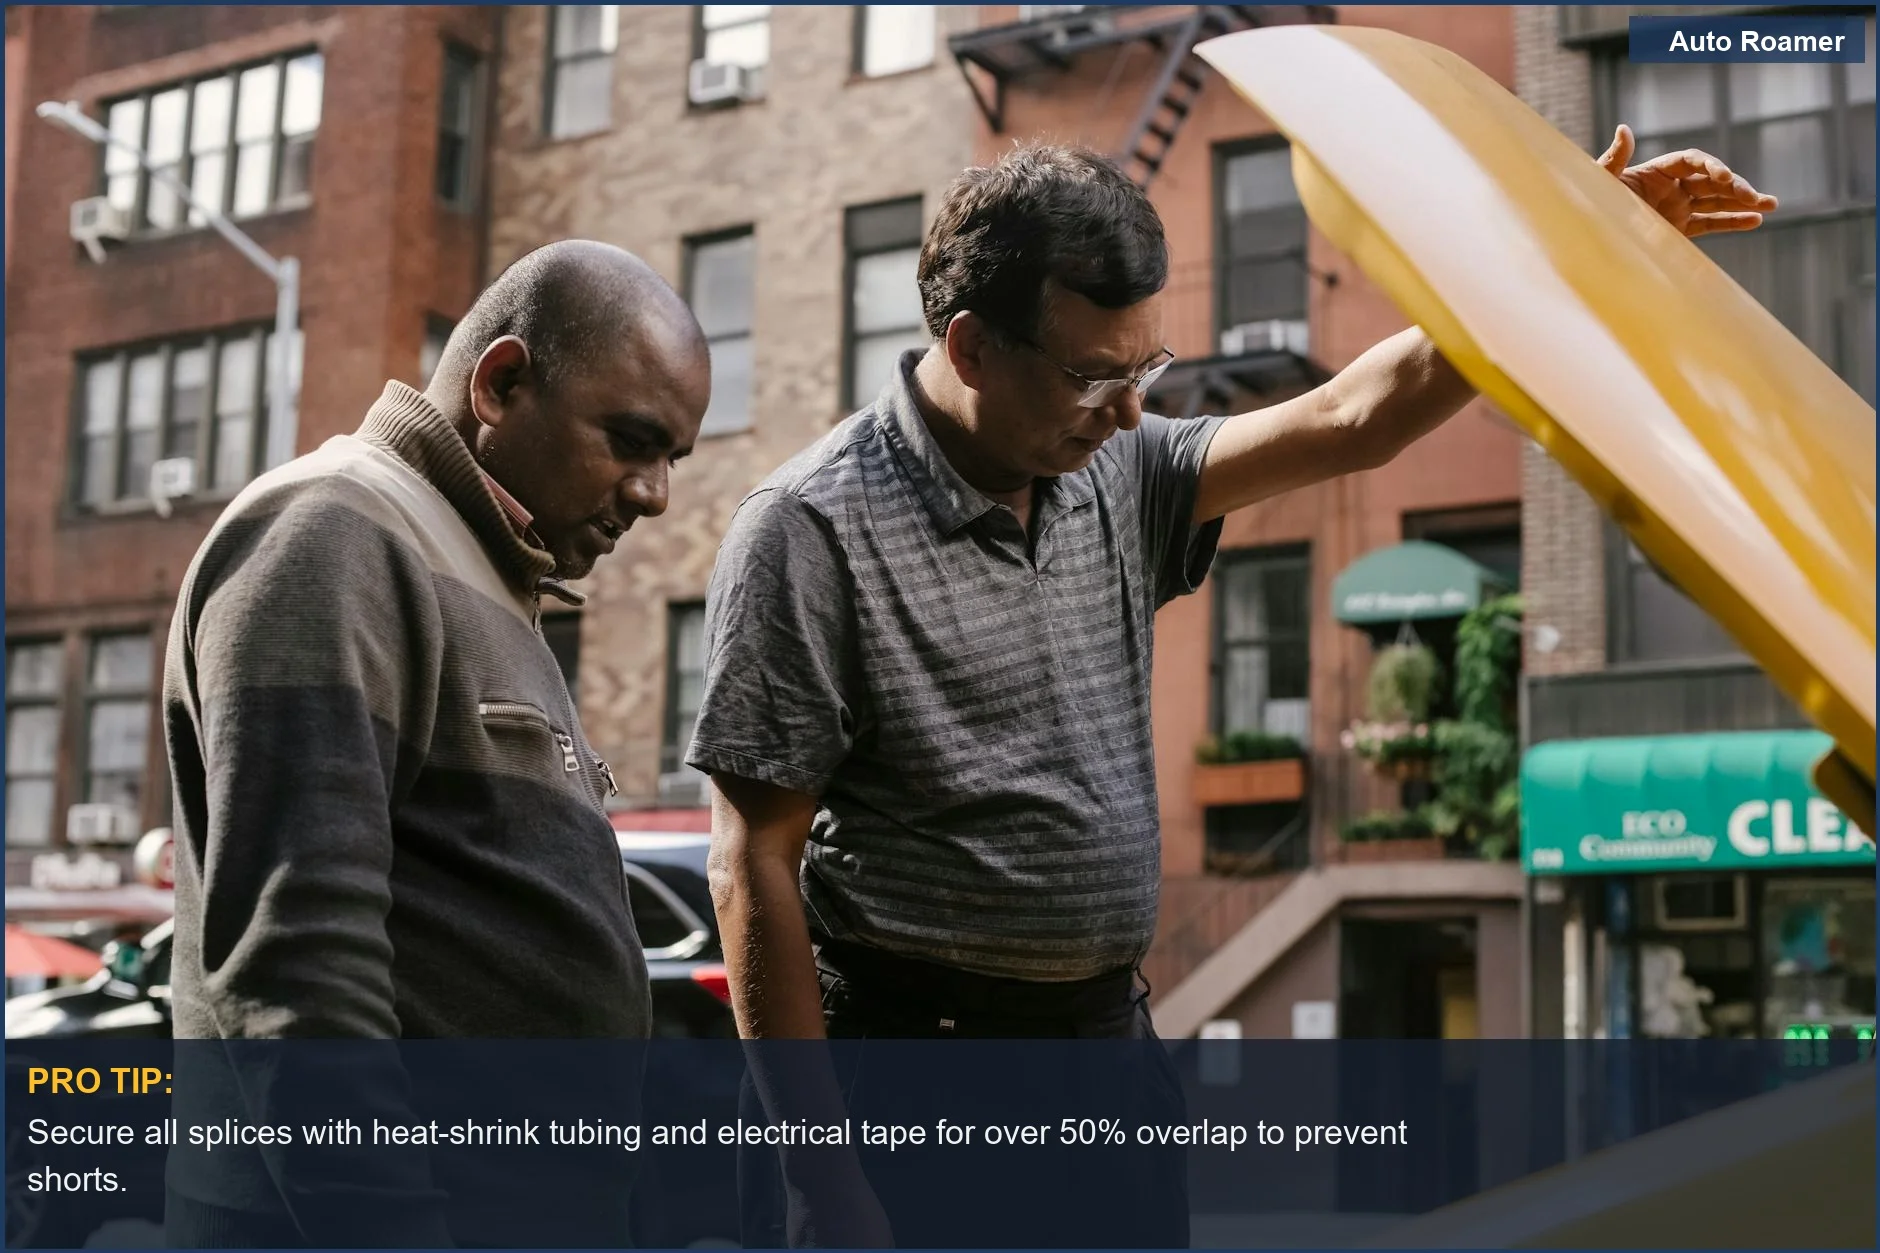

What This Looks Like in Practice
I've seen some real masterpieces of bad wiring. It's not always a dead component; sometimes it's an insidious, slow-motion failure that drives owners nuts. Damaging internal circuit boards during installation leads to instant failure.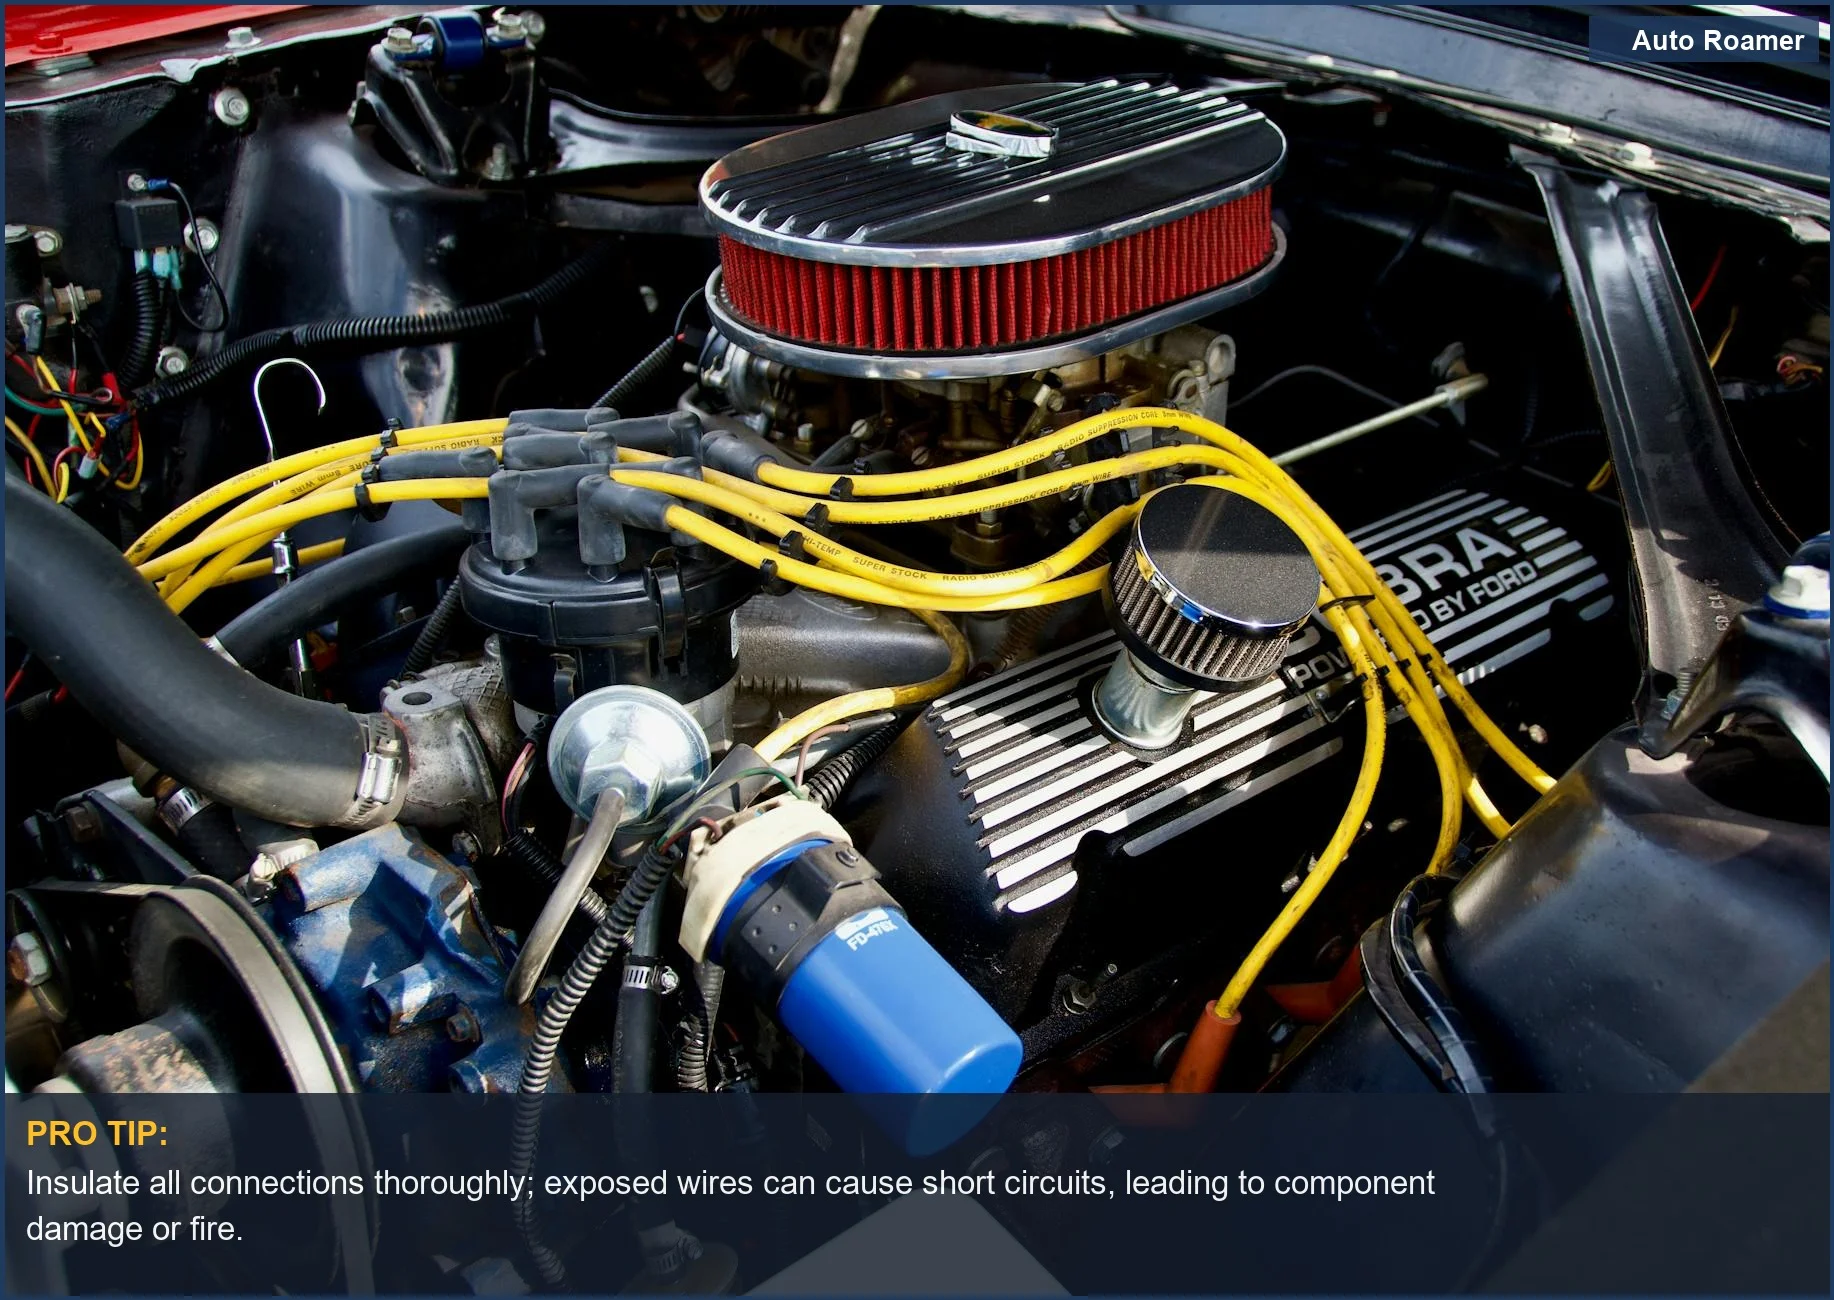
Mistakes That Cost People
People make the same mistakes over and over, then wonder why their vehicle is acting possessed. It's not ghosts; it's bad physics. Wiring and connection issues are common electrical problems.| Mistake | Why It Fails (Physics) | Consequence |
| Using Scotch-Loks/T-Taps | Pierces wire insulation, poor mechanical bond, high resistance, corrosion ingress. | Intermittent connection, voltage drop, heat generation, eventual open circuit. |
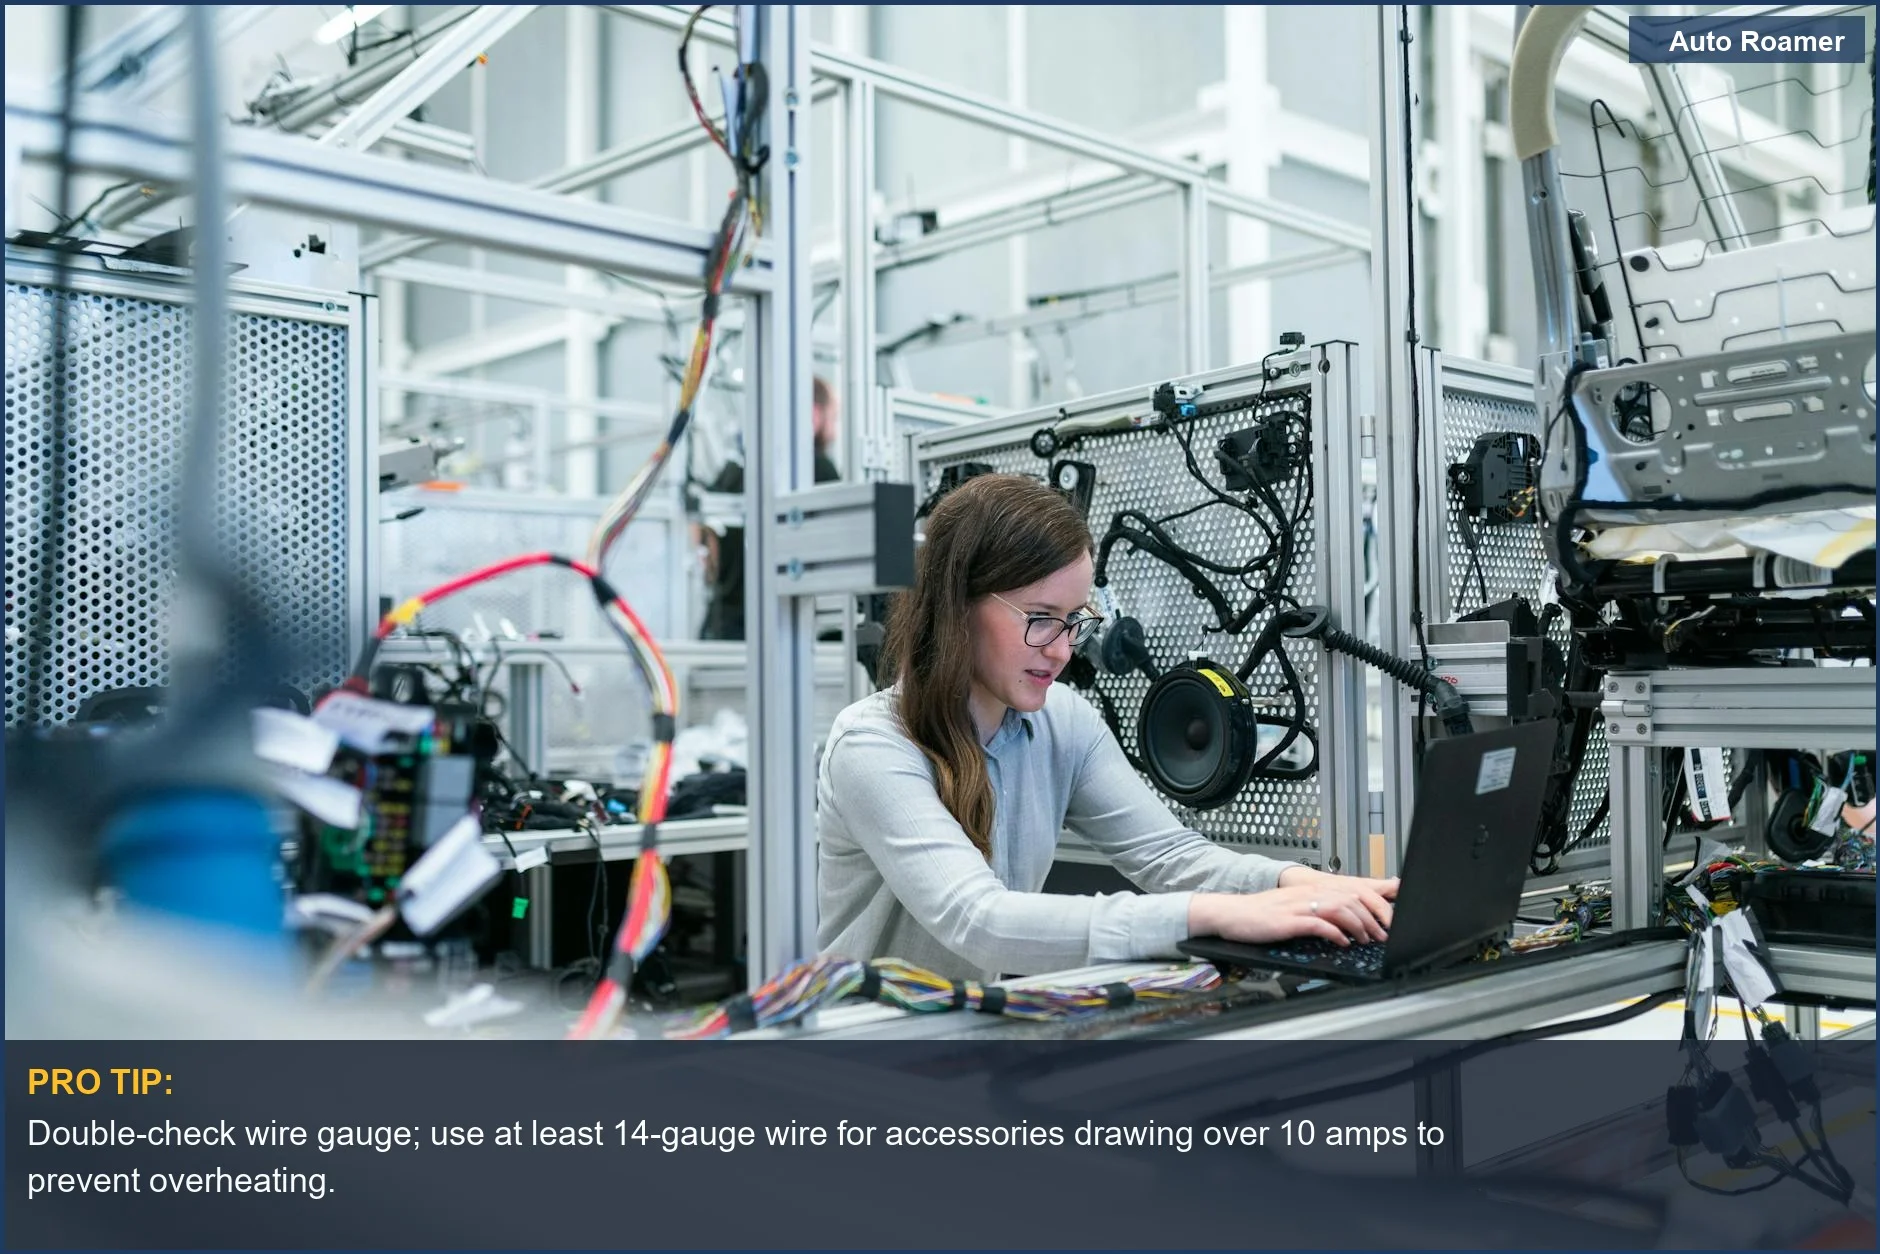
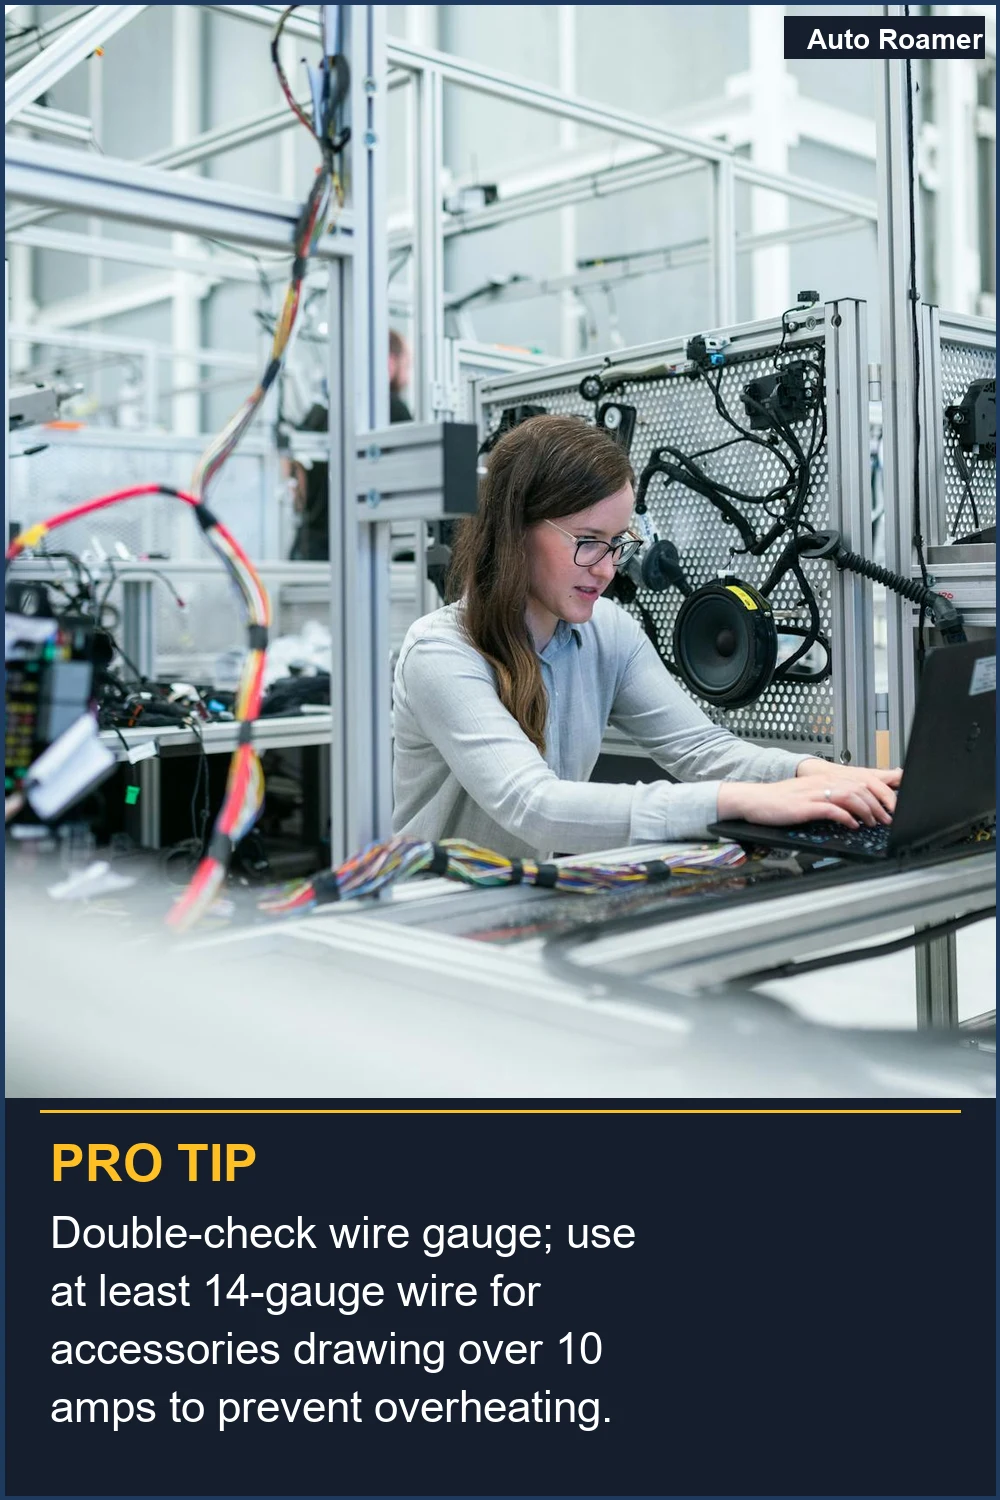
| Incorrect Wire Gauge | Wire's current capacity exceeded, I^2R heating. | Melted insulation, short circuits, fire risk. |
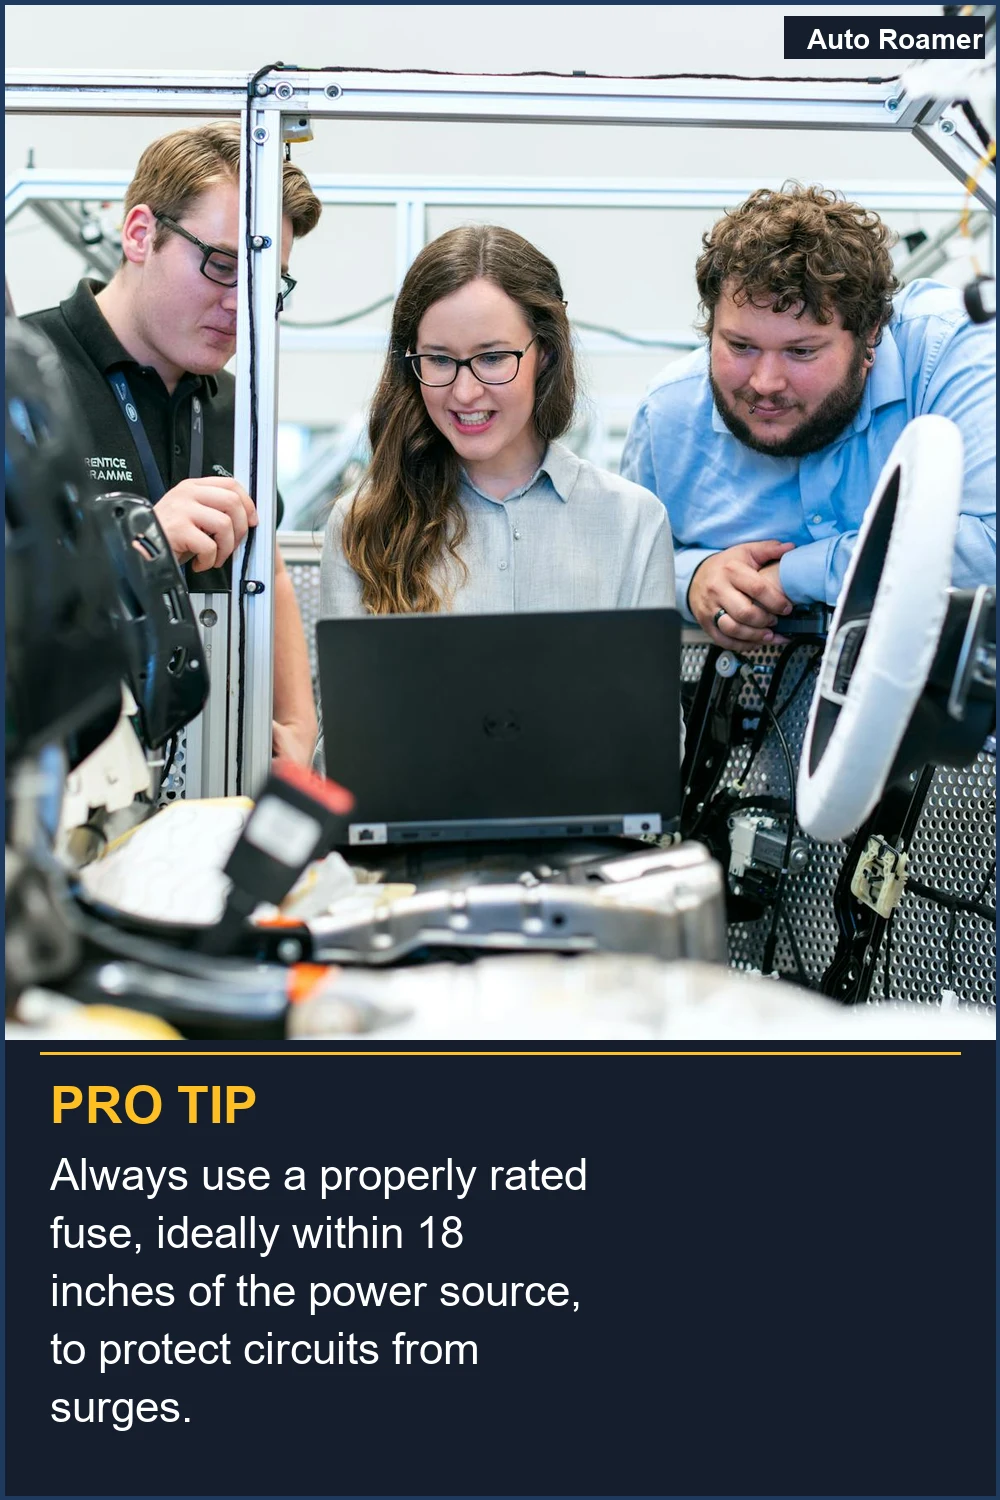
| No Inline Fusing | Accessory short bypasses protection, wire becomes the fuse. | Damaged factory harness, potential fire, expensive repairs. |
| Poor Ground Connection | High resistance path to chassis, voltage drop, signal noise. | Dimming lights, accessory malfunction, parasitic draw, BCM errors. |
| Tapping CAN Bus/Sensitive Signals | Introduces impedance mismatch, signal noise, or shorts data lines. | Module communication failure, warning lights, vehicle no-start, limp mode. |
| Leaving Wires Unsecured | Vibration causes insulation abrasion, eventual short to chassis or metal components. | Intermittent shorts, blown fuses, exposed conductors. |
| Improper Solder/Crimp | Cold solder joint, insufficient crimp pressure, creates high resistance. | Intermittent power, heat generation, eventual mechanical failure. |

Key Takeaways
Messing with your car's electrical system without understanding the underlying physics is a surefire way to turn a $50 accessory into a $1500 repair bill. I've seen it too many times. Adding high-power accessories without proper wiring and fusing can overload circuits. Here's the dirt:Frequently Asked Questions
My dashcam install is causing problems. Is it cheaper to buy a $15 add-a-fuse kit and fix it myself, or pay the dealer $250 for a 'diagnostic'?
Do I really need a multimeter to check for parasitic draw, or can I just pull fuses until the problem stops?
What if I properly fuse my accessory, use the right wire gauge, and it still doesn't work?
Can a poorly installed aftermarket radio permanently damage my car's ECU or BCM?
My friend said it's fine to just twist wires together and tape them. Is he right?
🏅 Looking for Gear Recommendations?
Check out our tested gear guides for products that work with this setup:
Sources
- Protecting Your Car's Electrical System | Endurance Warranty
- Risks of installing aftermarket electrical accessories on vehicles
- ECM Installation Tips for 2026 Vehicles - Goldfarb & Associates
- tunetechautomotive.org
- Aftermarket Electrical Accessories Can Cause Powertrain Issues
- Avoiding Common Auto Part Install Errors - YouTube
- The Key to Avoiding Vehicle Electrical Failures - Collins Auto Care
- How to Avoid Electrical Issues After Installing Aftermarket ...
- Electrical problems after radio installation. : r/MechanicAdvice - Reddit
- The Hidden Dangers of DIY Car Electronics
- 193?srsltid=AfmBOorAzAYLwPWQeEWx1jNlSHh7dCxCSqiXrXMal-NzAxk0fcL6Aex
- Avoid These 5 Car Audio Installation Nightmares: A Guide to a ...