The Quick Answer
A soft roof cargo bag is the cheapest way to add 10 to 20 cubic feet of weatherproof storage to almost any vehicle, and for most road trips the RoofBag Explorer Soft Rooftop Cargo Carrier hits the best balance of true waterproofing, capacity, and a strap system that works with or without a roof rack. The picks below differ on the things that actually matter at 70 mph in the rain: the shell material, the rated capacity in cubic feet, whether the straps need crossbars, and whether an anti-slip mat is included.
- Best all-around: RoofBag Explorer Soft Rooftop Cargo Carrier — fully waterproof shell, rack-or-no-rack straps.
- Most secure mounting: RoofPax Car Roof Bag — reinforced strap network plus anti-slip mat.
- Toughest material: Rightline Gear Sport 3 Car Top Carrier — heavy PVC-coated fabric built for highway abuse.
Why a Soft Cargo Bag Instead of a Hard Box
Hard-shell cargo boxes are quieter and more aerodynamic, but they cost two to five times as much, need crossbars, and take up garage space year-round. A soft bag folds down to the size of a sleeping bag, stores in a closet, and costs roughly $80 to $200. The tradeoff is that a soft bag relies entirely on its material and straps to keep your gear dry and attached — which is exactly why the spec differences below are worth reading before you buy.
If you are still weighing the two formats, our guides to the best rooftop cargo boxes and the best roof rack cargo box for road trips cover the hard-shell side in detail.
The honest rule of thumb: if you haul gear a few times a year, buy soft and save the money for the trip. If you commute with a box on year-round, buy hard.
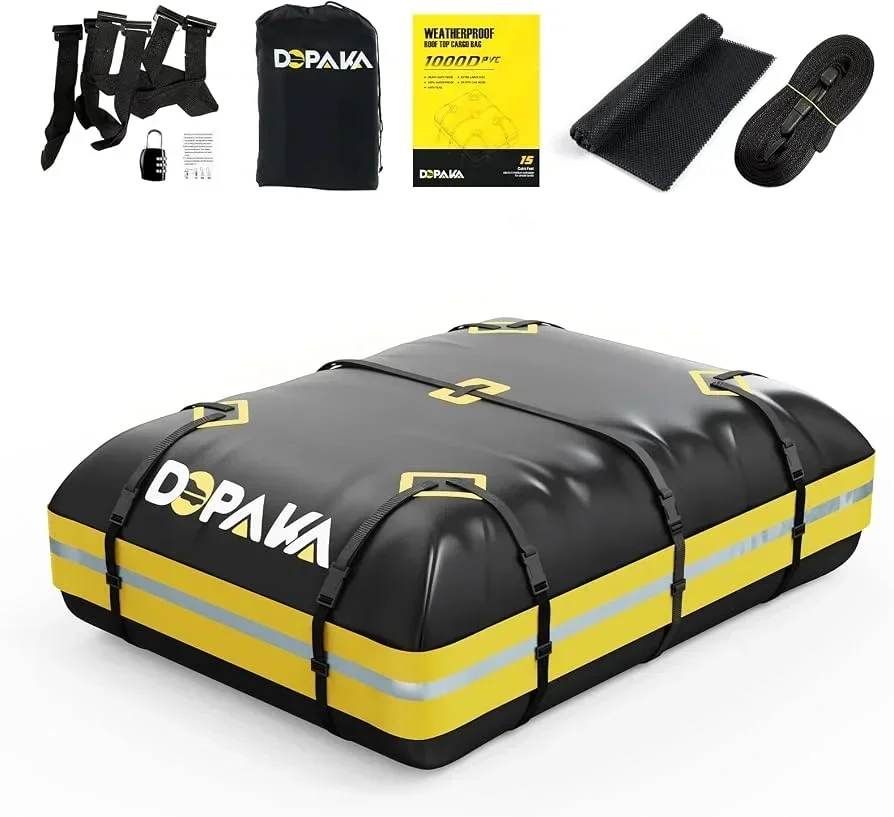
What Actually Matters in a Soft Roof Bag
Marketing copy throws around words like ‘heavy-duty’ and ‘universal fit.’ Here is what those words should actually translate to on the spec sheet:
- Shell material: Truly waterproof bags use welded or coated PVC, not ‘water-resistant’ polyester. PVC keeps a downpour out; polyester soaks through.
- Capacity (cubic feet): 11–15 cu ft covers a weekend for two; 18–20 cu ft is family-and-camping territory. Bigger is not free — a full 20 cu ft bag is heavy to lift onto a roof and creates more drag.
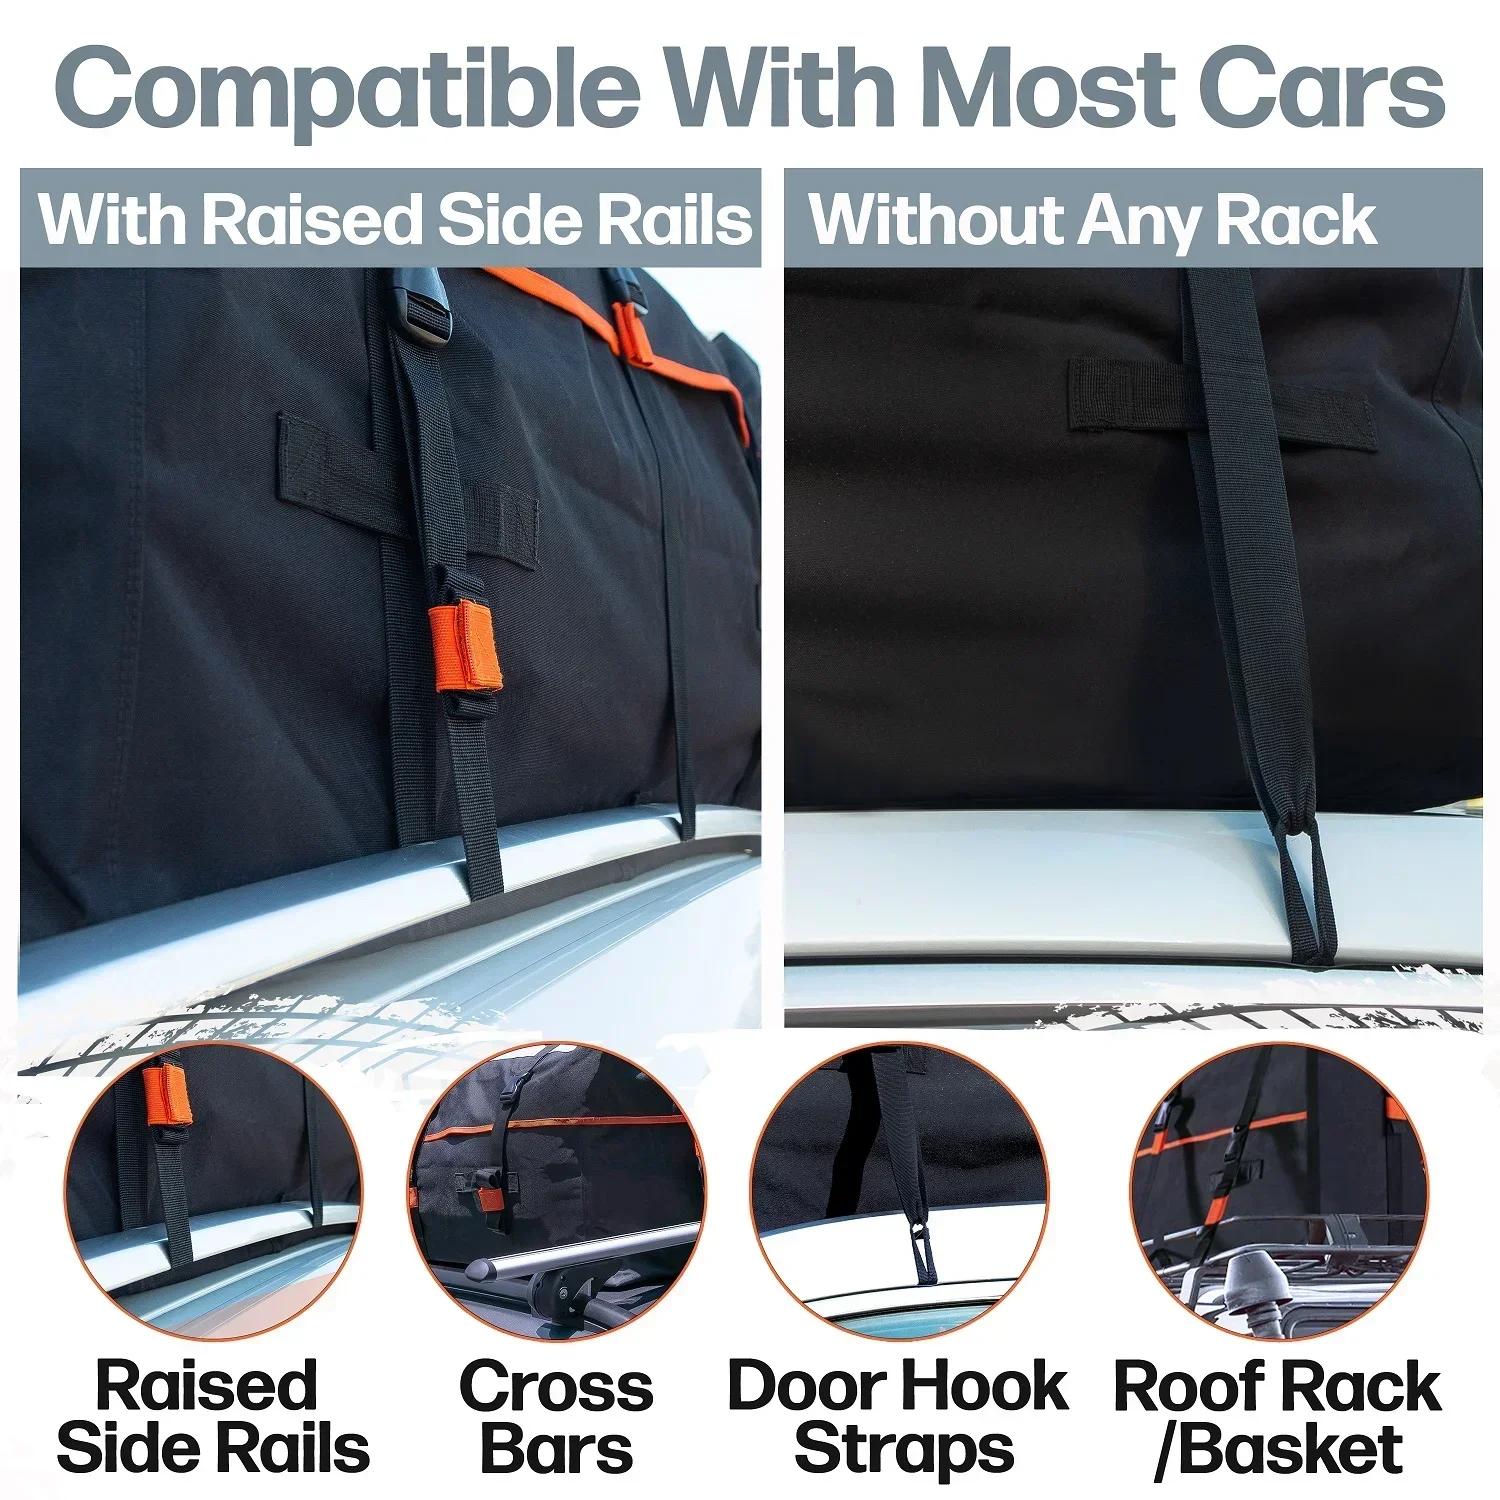
- Rack or no rack: Some bags strap only to crossbars; others include door-frame hooks so they work on a bare roof. Confirm which before you buy if your car has no rack.
- Strap count and width: Wide reinforced straps with metal or heavy-duty buckles beat thin nylon every time. Eight to ten anchor points distribute load and resist the ‘sail’ effect.
- Anti-slip mat: A rubber mat between bag and roof prevents paint scuffing and sliding. Some bags include one; budget another $15–$20 if not.
- Zipper and storm flap: A storm flap over the main zipper is the difference between dry and damp gear in sustained rain.
Two more details separate a bag you trust from one you babysit. First is aerodynamics: a bag with a tapered front edge cuts wind noise and drag, which means less fatigue on a long drive and a small but real fuel savings. A boxy bag packed loose acts like a parachute. Second is weight and lift height: a 20 cubic foot bag fully loaded can push 60 to 80 pounds, and you have to hoist it over your head onto the roof. If you travel solo or have a tall SUV, a mid-size 13 to 15 cubic foot bag is far easier to live with than the largest option on the shelf.
Finally, check the roof load rating of your own vehicle, usually 100 to 165 pounds including the bag and the rack. The bag’s capacity in cubic feet tells you how much fits; your roof rating tells you how much you may safely carry. The smaller of the two numbers is the one that governs.
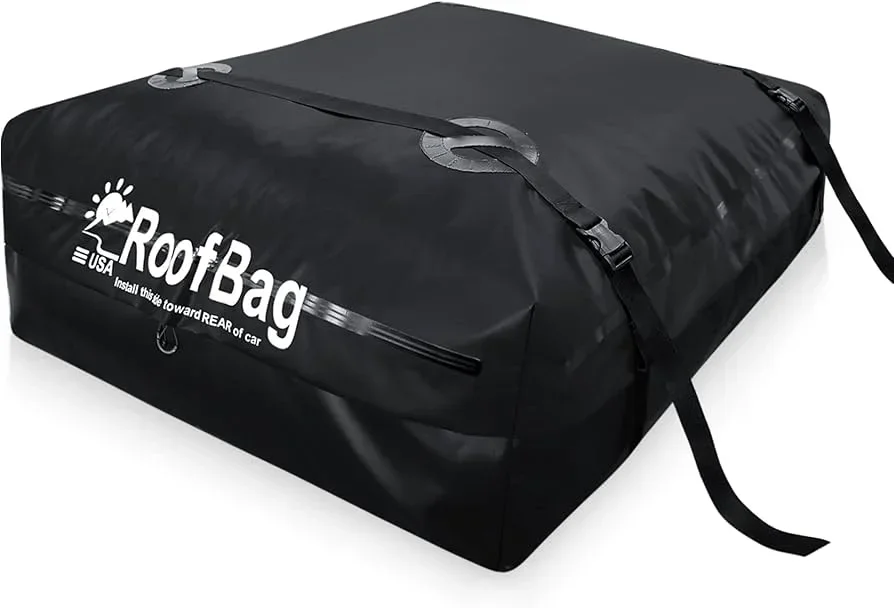
RoofBag Explorer Soft Rooftop Cargo Carrier — Best All-Around

The RoofBag Explorer Soft Rooftop Cargo Carrier is the pick for most road trippers because it does the fundamentals right: a fully waterproof shell, a strap system that mounts with or without a roof rack, and a capacity in the middle of the range where most weekend and family loads land. The included straps and anti-slip material mean you can run it on a bare roof using the door-frame anchors, so you do not have to buy crossbars first. Here is how it earns the top spot, in order of what matters most:
- Weather protection: a fully waterproof shell keeps gear dry through sustained highway rain.
- Mounting flexibility: works with or without a roof rack, so it fits almost any vehicle.
- Right-sized capacity: mid-range cubic footage suits two to four people without being a chore to lift.
- What to watch: like any soft bag, pack it taut — a half-empty bag flaps and gets noisy.
Pair it with a quality anti-slip mat if one is not in the box, and check the strap tension after the first 50 miles. See our notes on the rooftop cargo basket if you also haul bulky or odd-shaped gear.
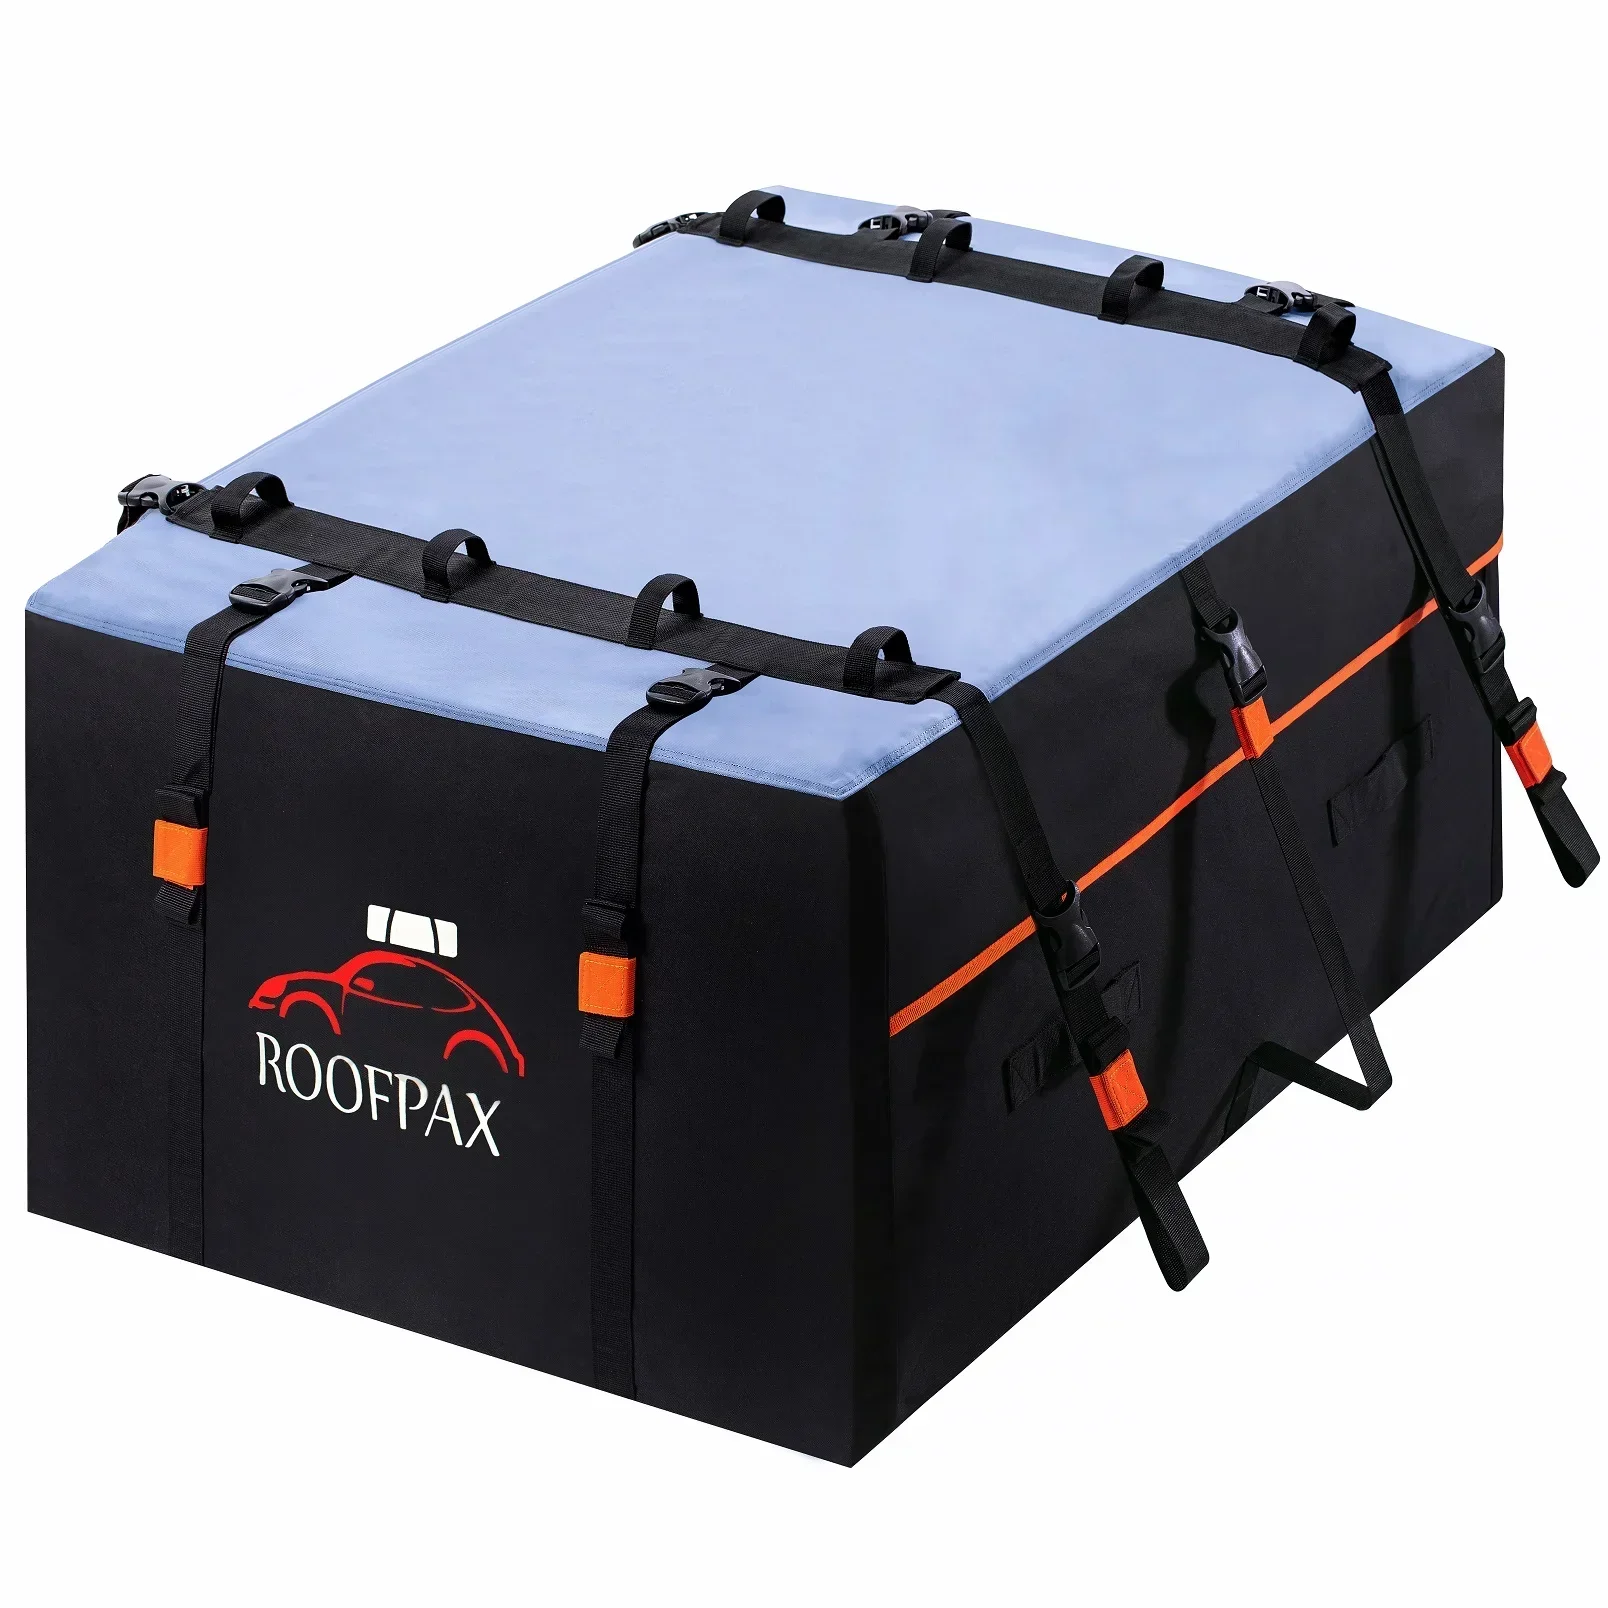
RoofPax Car Roof Bag and Rightline Gear Sport 3 Car Top Carrier — Secure Mounting and Toughest Build
If your main worry is the bag shifting or coming loose on the highway, the RoofPax Car Roof Bag leans into its mounting: a dense network of reinforced straps and, on most configurations, an included anti-slip mat so the bag stays put and your paint stays unscratched. It is the one to reach for if you have had a cheap bag slide on you before.
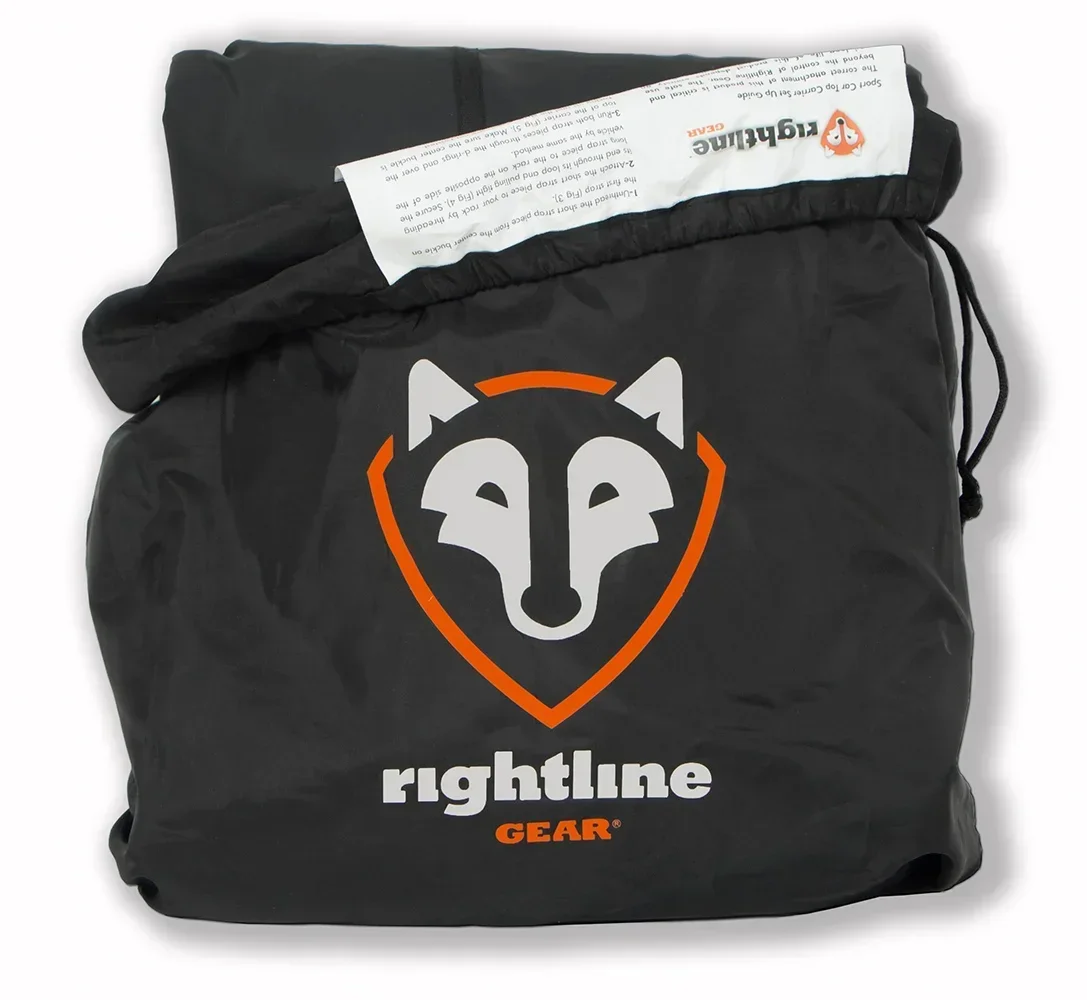
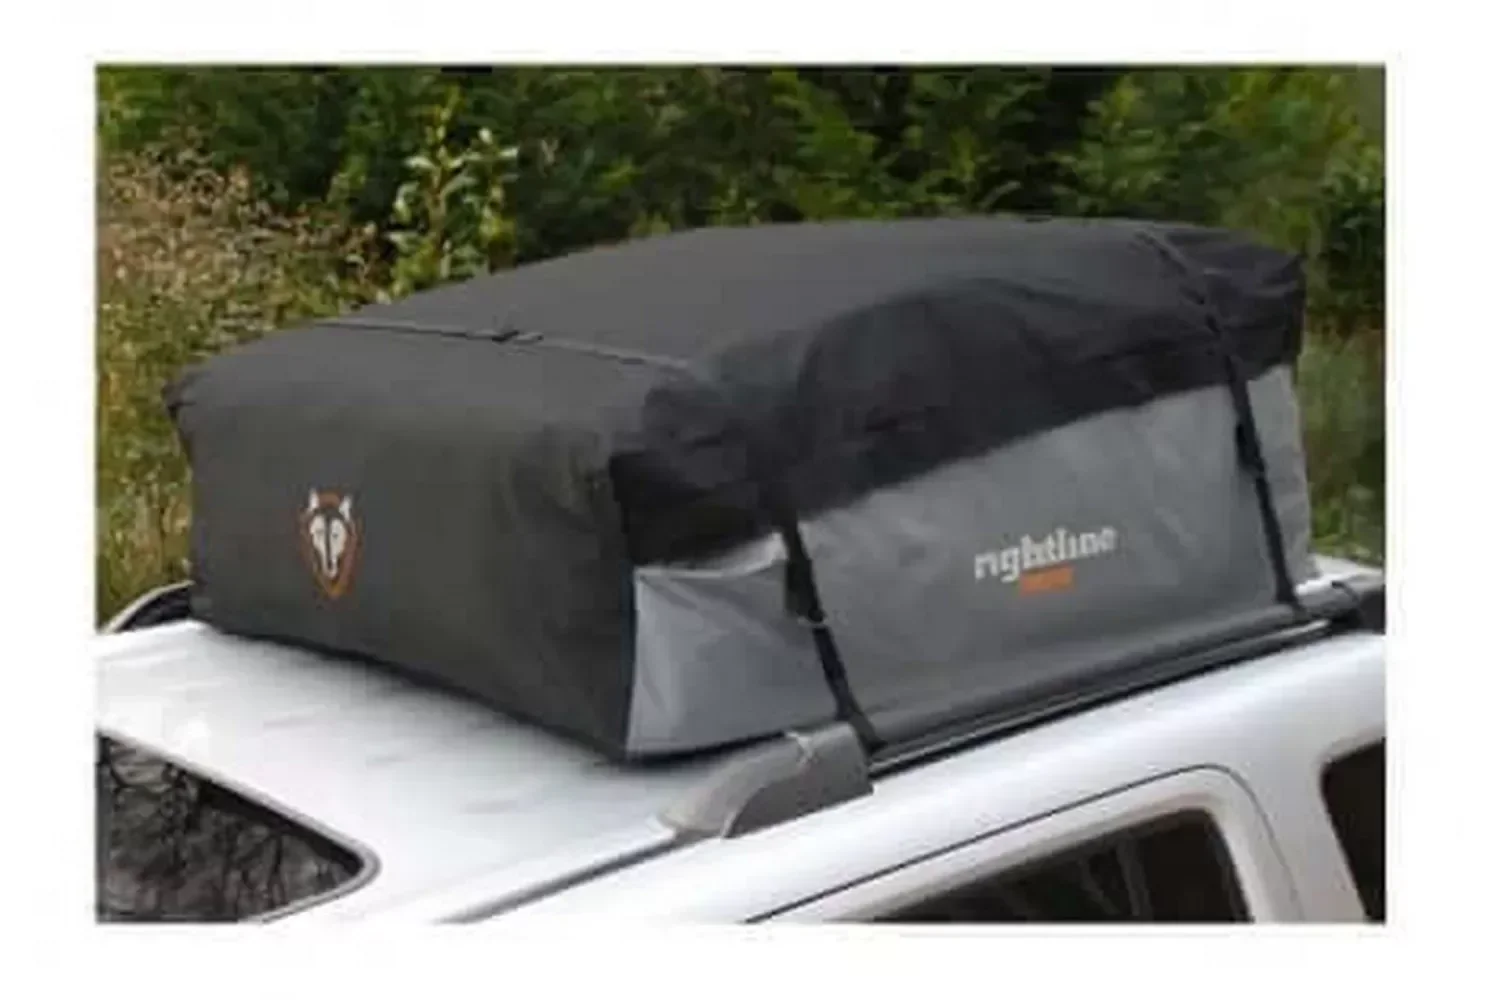
The Rightline Gear Sport 3 Car Top Carrier is the durability pick. Its shell uses heavy PVC-coated fabric that shrugs off highway grit, salt air, and UV better than the thinner budget bags — the kind of material that survives several seasons instead of one. It costs a little more, and you feel the quality when you handle it.
- RoofPax Car Roof Bag: choose it for the most secure, anti-slip mounting.
- Rightline Gear Sport 3 Car Top Carrier: choose it for the toughest, longest-lasting shell.
If you have ever pulled over on a busy interstate to re-cinch a sliding bag, the extra you pay for a dense strap network and heavy shell buys back that peace of mind on every future trip.
Budget, Mid-Range, and Premium Picks
You do not need to spend hard-box money to get a bag that keeps gear dry. Here is how the rest of the field sorts out by price and use case.
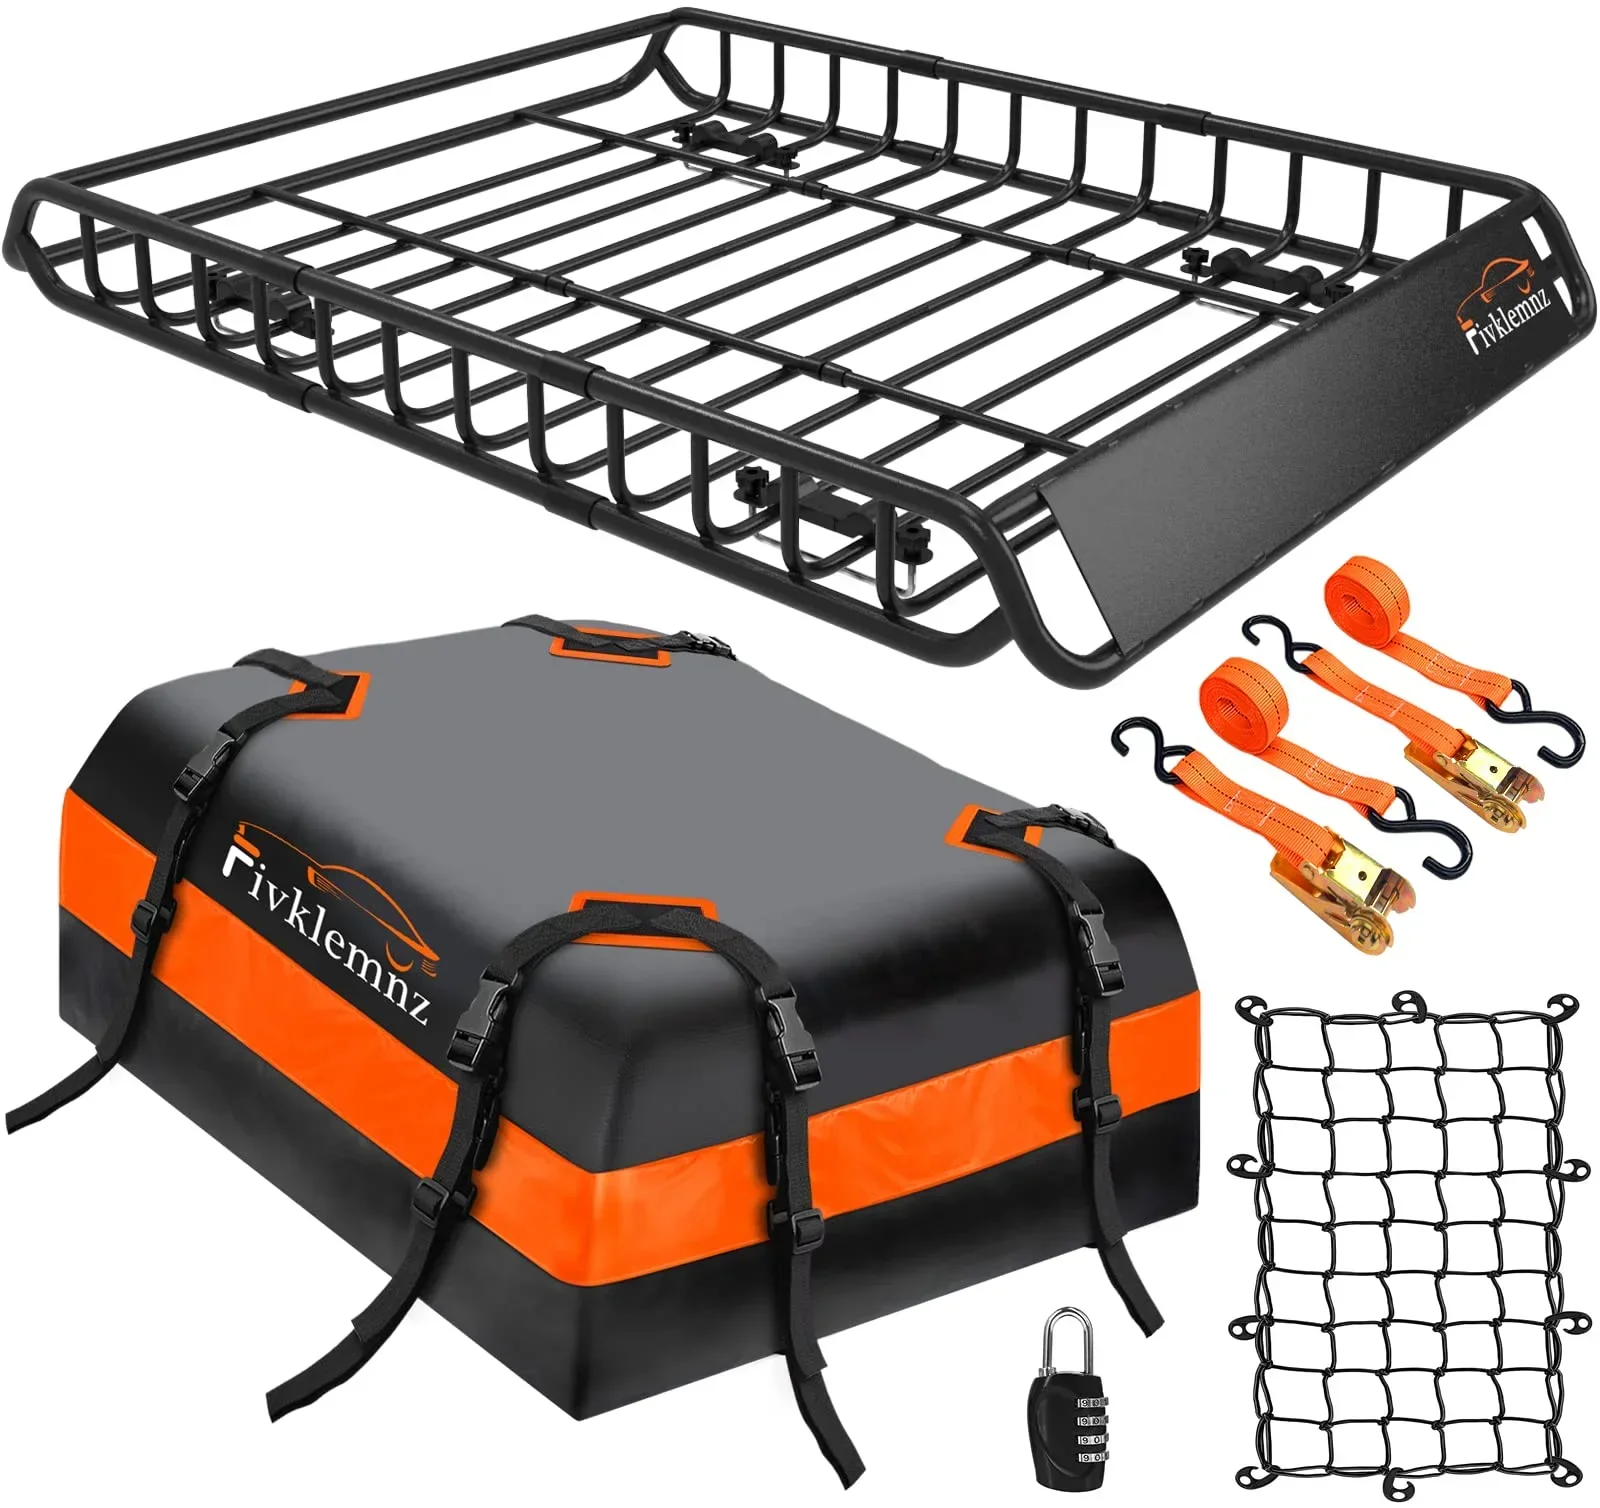
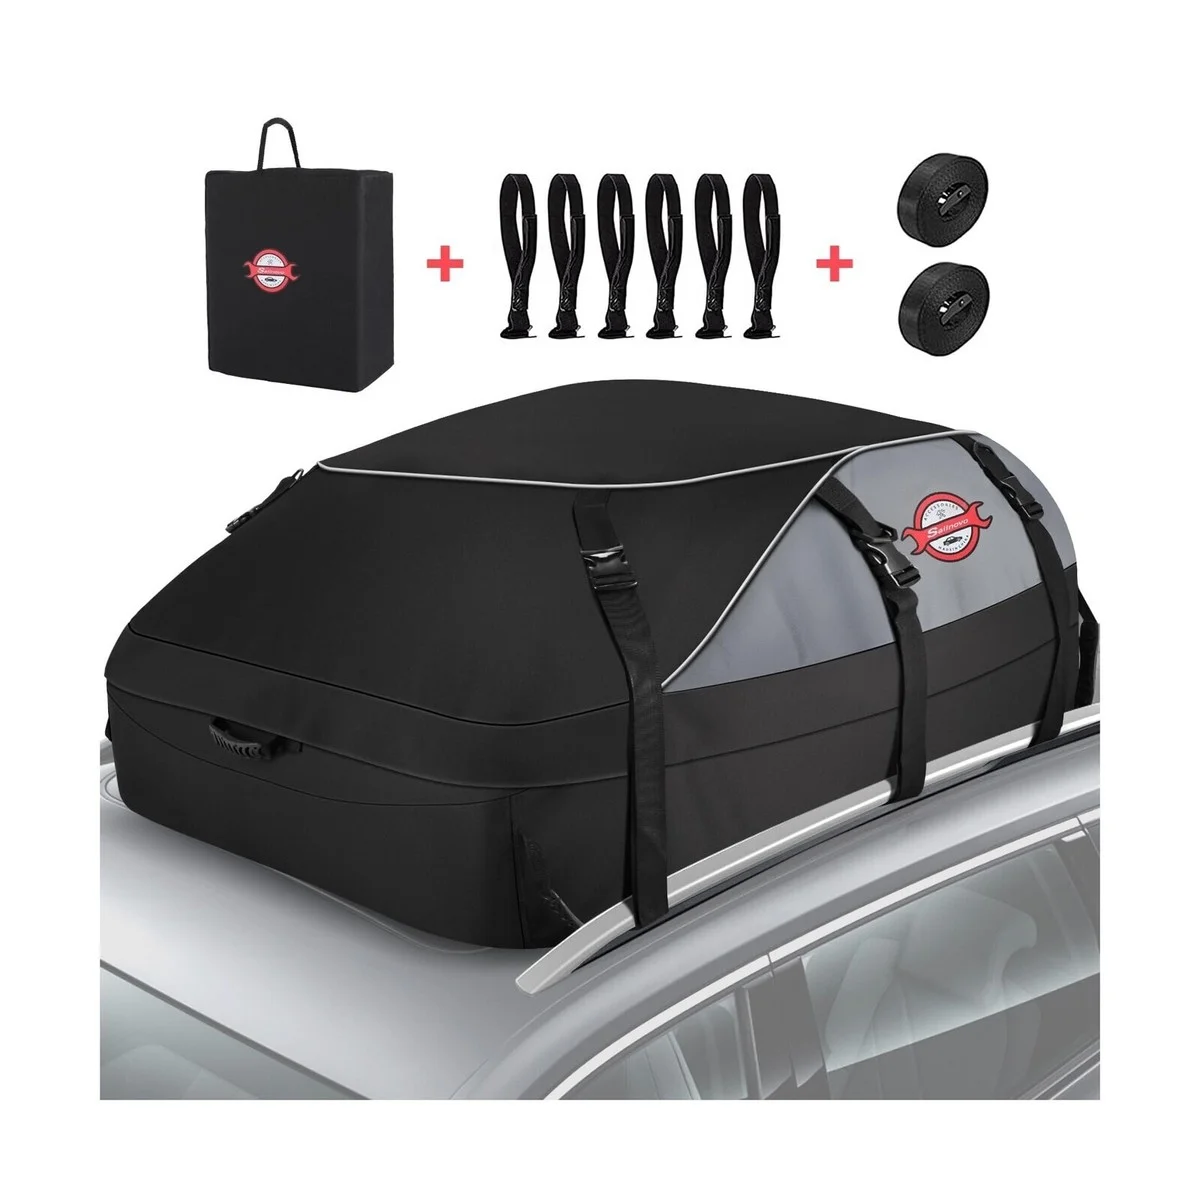
FIVKLEMNZ Car Rooftop Cargo Carrier Bag is a popular value pick; weigh its rated capacity and zipper quality against the all-around winner before deciding, especially if you want a large bag at a lower price. Sailnovo Rooftop Cargo Carrier Roof Bag is a well-known budget-to-mid option — confirm whether it ships with an anti-slip mat and door-frame straps for your no-rack setup, since that changes the real out-the-door cost.
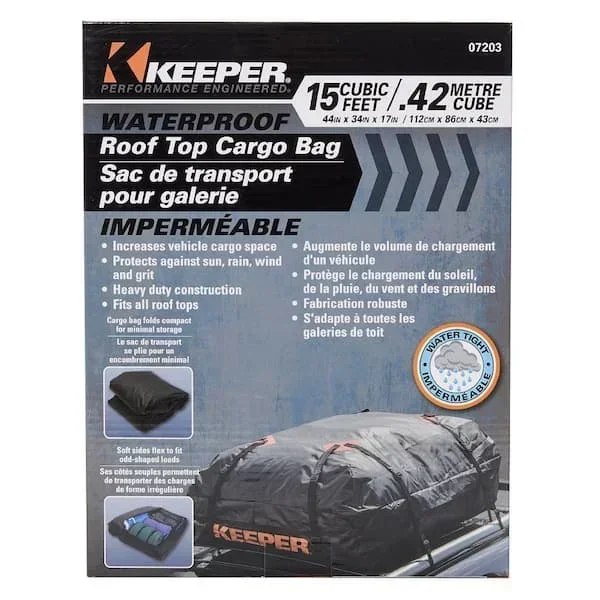
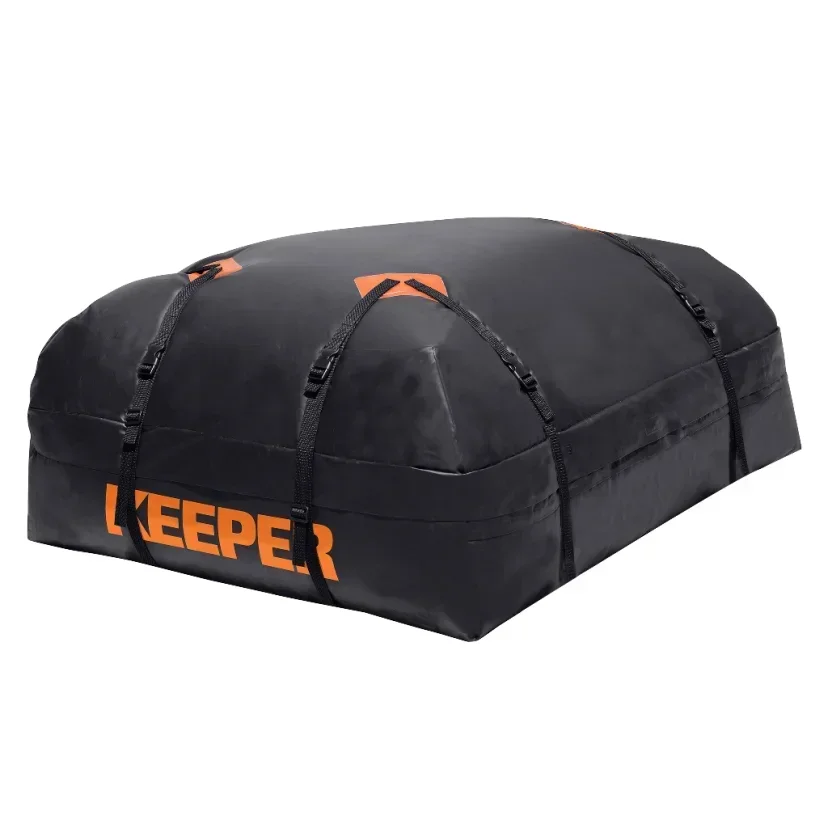
Keeper Waterproof Roof Top Cargo Bag is a long-standing brand worth a look for its waterproof rating; compare its strap network to the secure-mounting pick if highway stability is your priority. MARKSIGN Waterproof Car Roof Top Cargo Bag emphasizes a fully waterproof welded shell, a good fit if your trips routinely run through rain and you want maximum weather protection.
Finally, WANDER Rooftop Cargo Carrier Bag is another distinct-brand contender; check its cubic-foot rating and buckle quality against your typical load before buying.
Across all of these, the pattern holds: pay for the shell and the straps, not the marketing. A bag with a welded PVC body and ten reinforced anchor points will outlast three cheap bags, and it will not leave you with soaked sleeping bags 300 miles from home. Spend your budget there and treat capacity as a fit decision, not a bragging-rights number.
The real lesson from years of soft bags: the cheapest ‘water-resistant’ bags fail first at the zipper and the straps. Spending the extra $40–$60 for welded PVC and reinforced anchors is the single best value upgrade. For a fuller breakdown of capacity-versus-price across formats, our family rooftop cargo box guide is a useful companion read.
How to Install and Pack a Soft Roof Bag

A soft bag lives or dies by how you load and cinch it. The method that has never let me down:
- Clean the roof and lay the mat. Grit between bag and paint is what scratches; an anti-slip mat centered on the roof solves both grip and protection.
- Place the empty bag, zipper to the rear. A rear-facing opening is far less likely to be forced open by wind at speed.
- Load heavy and low, fill it taut. Heavy items centered and low; soft items packed to remove air gaps. A taut bag is a quiet, stable bag — a saggy one flaps and drags.
- Cinch front to back. Pull every strap snug, route door-frame straps inside the cabin if you have no rack, and tuck loose strap ends so they do not whip.
- Test drive five minutes, then re-tighten. Straps settle after the first few miles; a quick re-cinch prevents the bag from working loose later.
If you run a rack, our guides to the best roof rack for SUV camping and the best roof rack for car camping gear help you match the bag to solid crossbars.
Care, Maintenance, and the Bottom Line
A soft bag is exposed to sun, rain, and highway grit, so a little care doubles its life:
- Wipe it down and let it dry fully before storage — packing it damp invites mildew.
- Inspect straps for fraying and zippers for bent teeth before each trip; a shot of silicone keeps zippers smooth.
- Store it folded in a cool, dry place out of direct UV.
- Patch small punctures promptly with a tent repair kit before they become leaks.
Bottom line: the RoofBag Explorer Soft Rooftop Cargo Carrier is the safe all-around buy, the RoofPax Car Roof Bag wins on secure mounting, and the Rightline Gear Sport 3 Car Top Carrier is the one to keep for the long haul. Match the rated capacity to your real load, insist on a true waterproof shell, and you will not be the person pulling over in a thunderstorm wondering if the sleeping bags are still dry. If you also want a cold drink at camp, see our 12V car cooler picks.