What to look for before you buy a family cargo box
Pack a family of four or five into an SUV for a week and the math is brutal: the duffels, the sleeping bags, the stroller and the cooler all want the same cargo floor the kids' feet need. A rooftop box moves the bulky, light stuff up top so the cabin stays for people. But what makes a family box different from a generic road-trip box is which trade-offs you can live with — and four things on the spec sheet decide it. Read them in this order, because the first one that fails kills the buy:
- Capacity vs. your real packing list. 16-18 cubic feet covers most families of four for a week of soft luggage; a family of five, or anyone bringing a stroller plus sports gear, wants 18-22. The catch the listings bury: a box rated for skis is long and shallow, while a family wants volume and depth for duffels — same cubic feet, very different shape.
- Fit to your crossbars and your roofline. Almost every box clamps to standard square, aero or factory bars, but length is the killer: a long XXL box on a short SUV can hang over the windshield or block the rear hatch. Measure your roof bar spread and your rear-hatch swing before you fall for the biggest box.
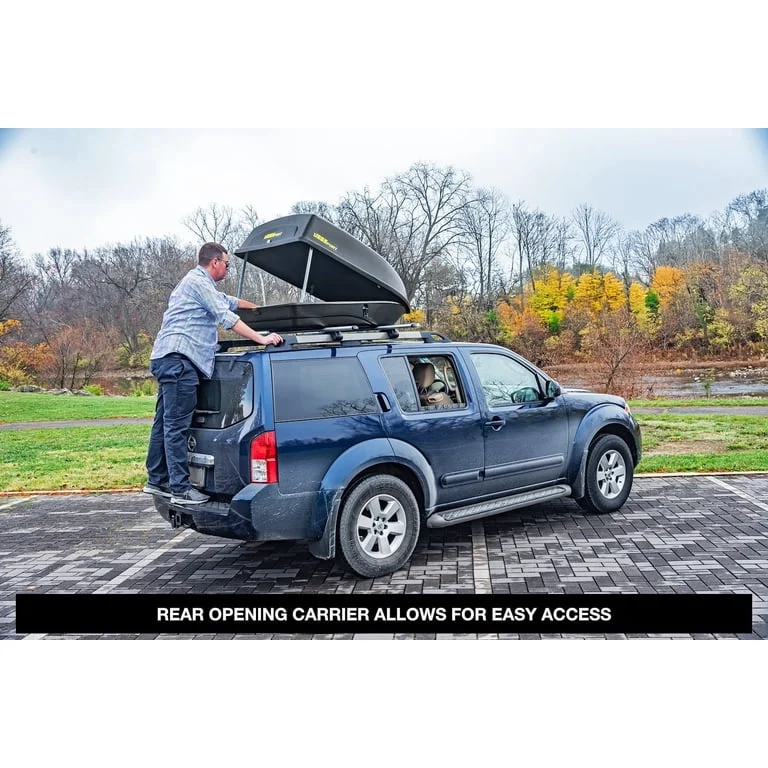
- Opening side. Dual-side opening lets a parent load from the curb instead of standing in traffic, and reach the far corners without climbing the door sill. On a tall SUV with kids underfoot this is the single biggest day-to-day convenience — and the clearest line between budget and mid-tier boxes.
- Weight, drag and noise. A heavier box is harder for one parent to lift onto the roof alone; a tall, boxy shape drones on the highway and dents your mileage. Low-profile boxes are quieter and thriftier but shallow, so they trade stroller-swallowing depth for calm.
This guide is spec-compared from manufacturers' published dimensions and named outlet reviews — Car and Driver, GearJunkie, Switchback Travel and Outdoor Gear Lab — not from strapping each one to a minivan and driving across the country. So we tell you where the numbers and the reviewer reports agree, and where the spec sheet hides a catch. If you want the broader, vehicle-agnostic version, our general rooftop cargo box guide covers picks for solo and couple trips too.
How much capacity your family needs for road trips and camping
Capacity is the spec families get wrong most, in both directions — and the right number depends entirely on the kind of trip, not the headcount alone. A weekend at the grandparents' is a different load than a week of camping with a stroller, a pack-and-play and a cooler.
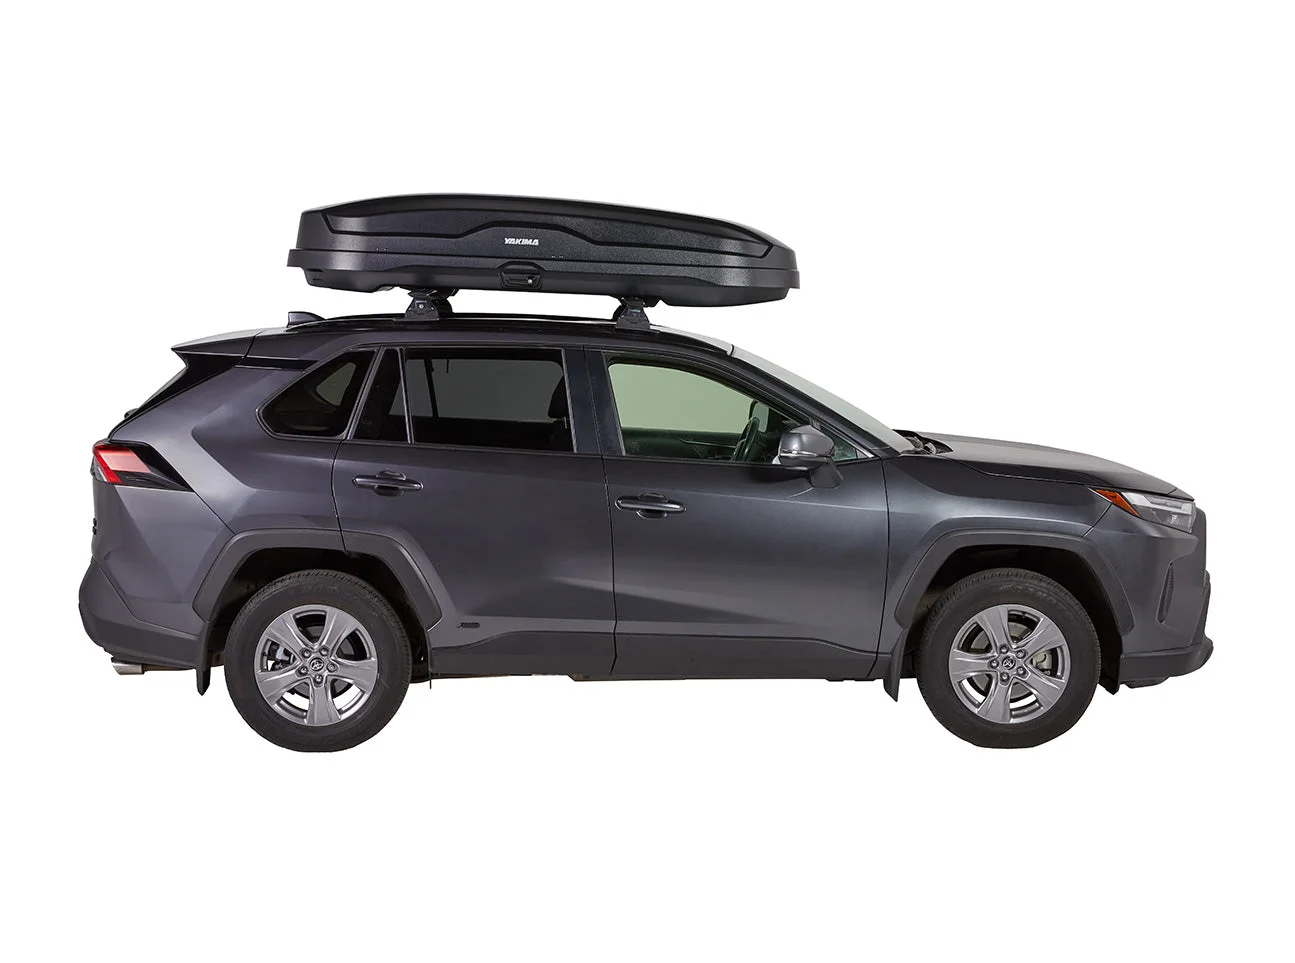
For a family of four on a week of soft luggage — duffels, sleeping bags, pillows — 16 to 18 cubic feet is the honest sweet spot. That is the territory of the Yakima SkyBox NX 18 and the budget SportRack Vista XL, both 18 cubic feet by their published specs. Soft, squishable gear is what a rooftop box is for; it is light and it fills awkward space the cabin can't.
Add a stroller, sports gear, or a fifth person and you want the 18-to-22 range. That is where the Thule Motion 3 XXL earns its keep at roughly 22 cubic feet — enough to swallow a folded umbrella stroller alongside the duffels. But more volume is not free: a bigger box is longer, taller, heavier and draggier, so do not buy capacity you will not fill. For the camping-specific load — tents, chairs, a two-burner stove — our notes on how to choose a roof rack cargo box size walk through matching cubic feet to a real gear pile.
One honest caveat the cubic-foot number hides: shape matters as much as volume. Two boxes can both read 18 cubic feet, but the deeper one holds a family's round, bulky bags far better than the long, shallow ski-shaped one. Read the box's height, not just its rating.
Family cargo boxes by price: budget, mid-tier and premium
Here is the range by what you actually pay, from a tank-of-gas budget box to a four-figure premium one. Every figure is the manufacturer's published spec or a named reviewer's measurement — the trade-off rises and falls almost entirely with price.
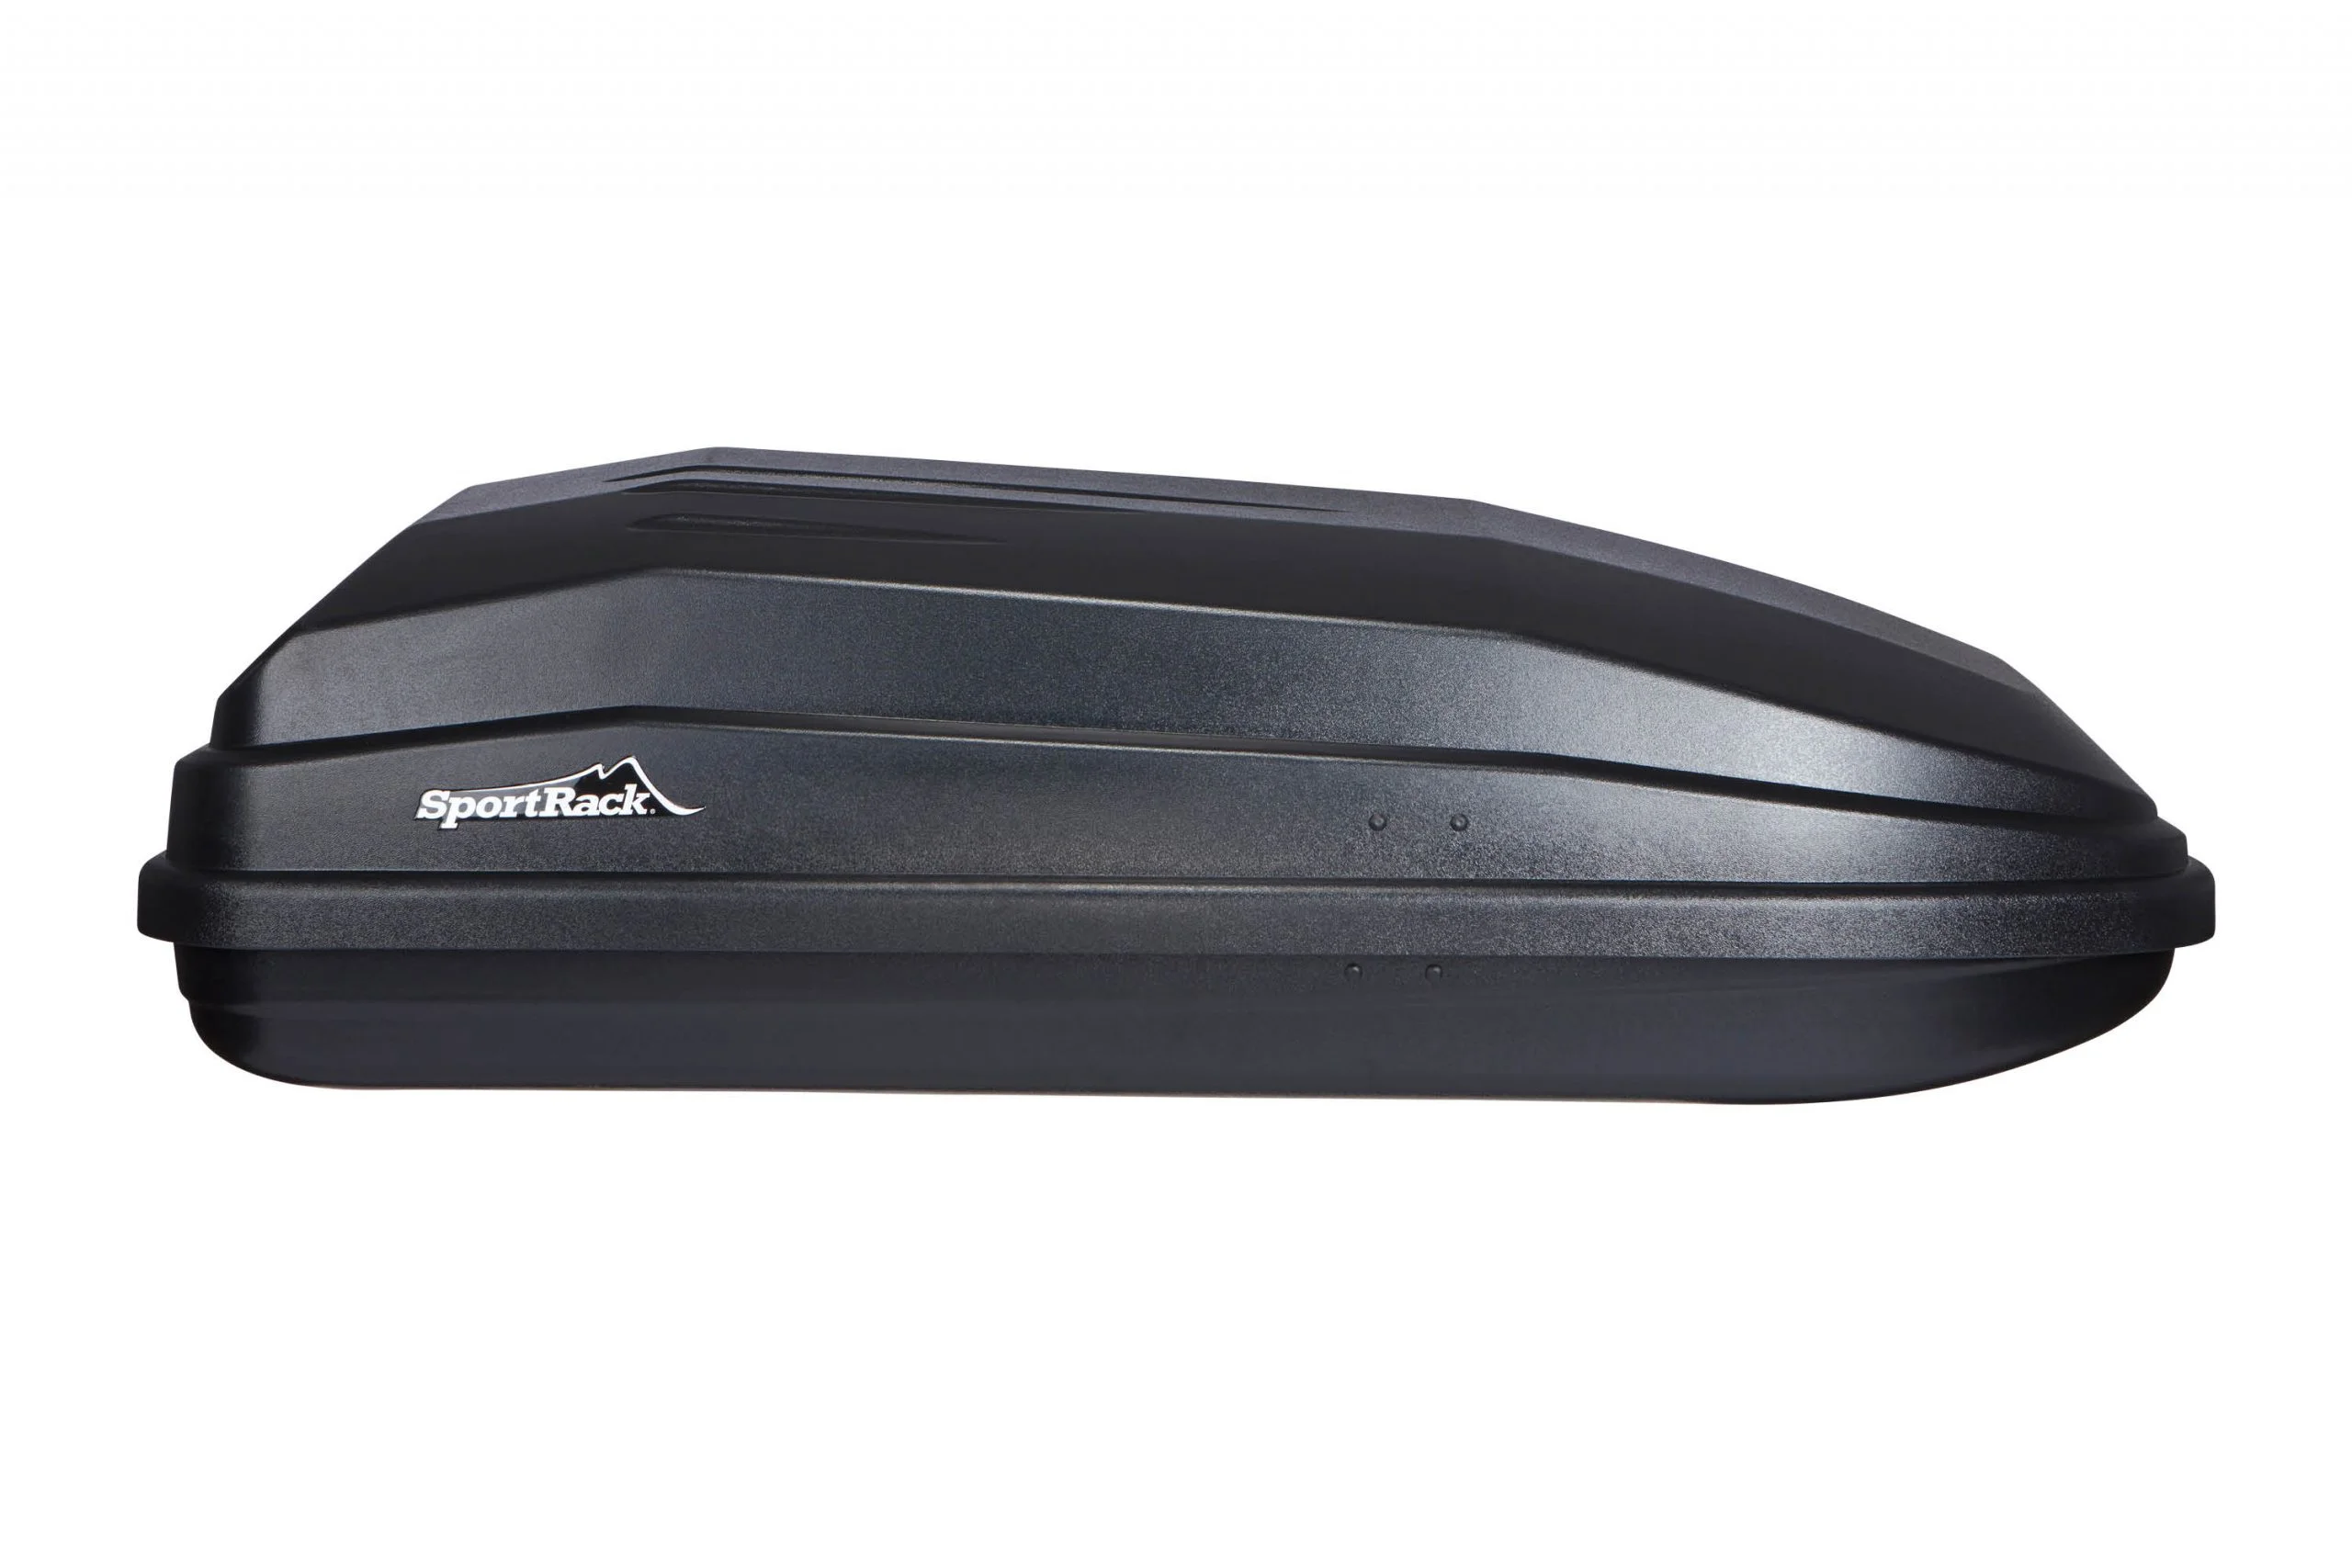
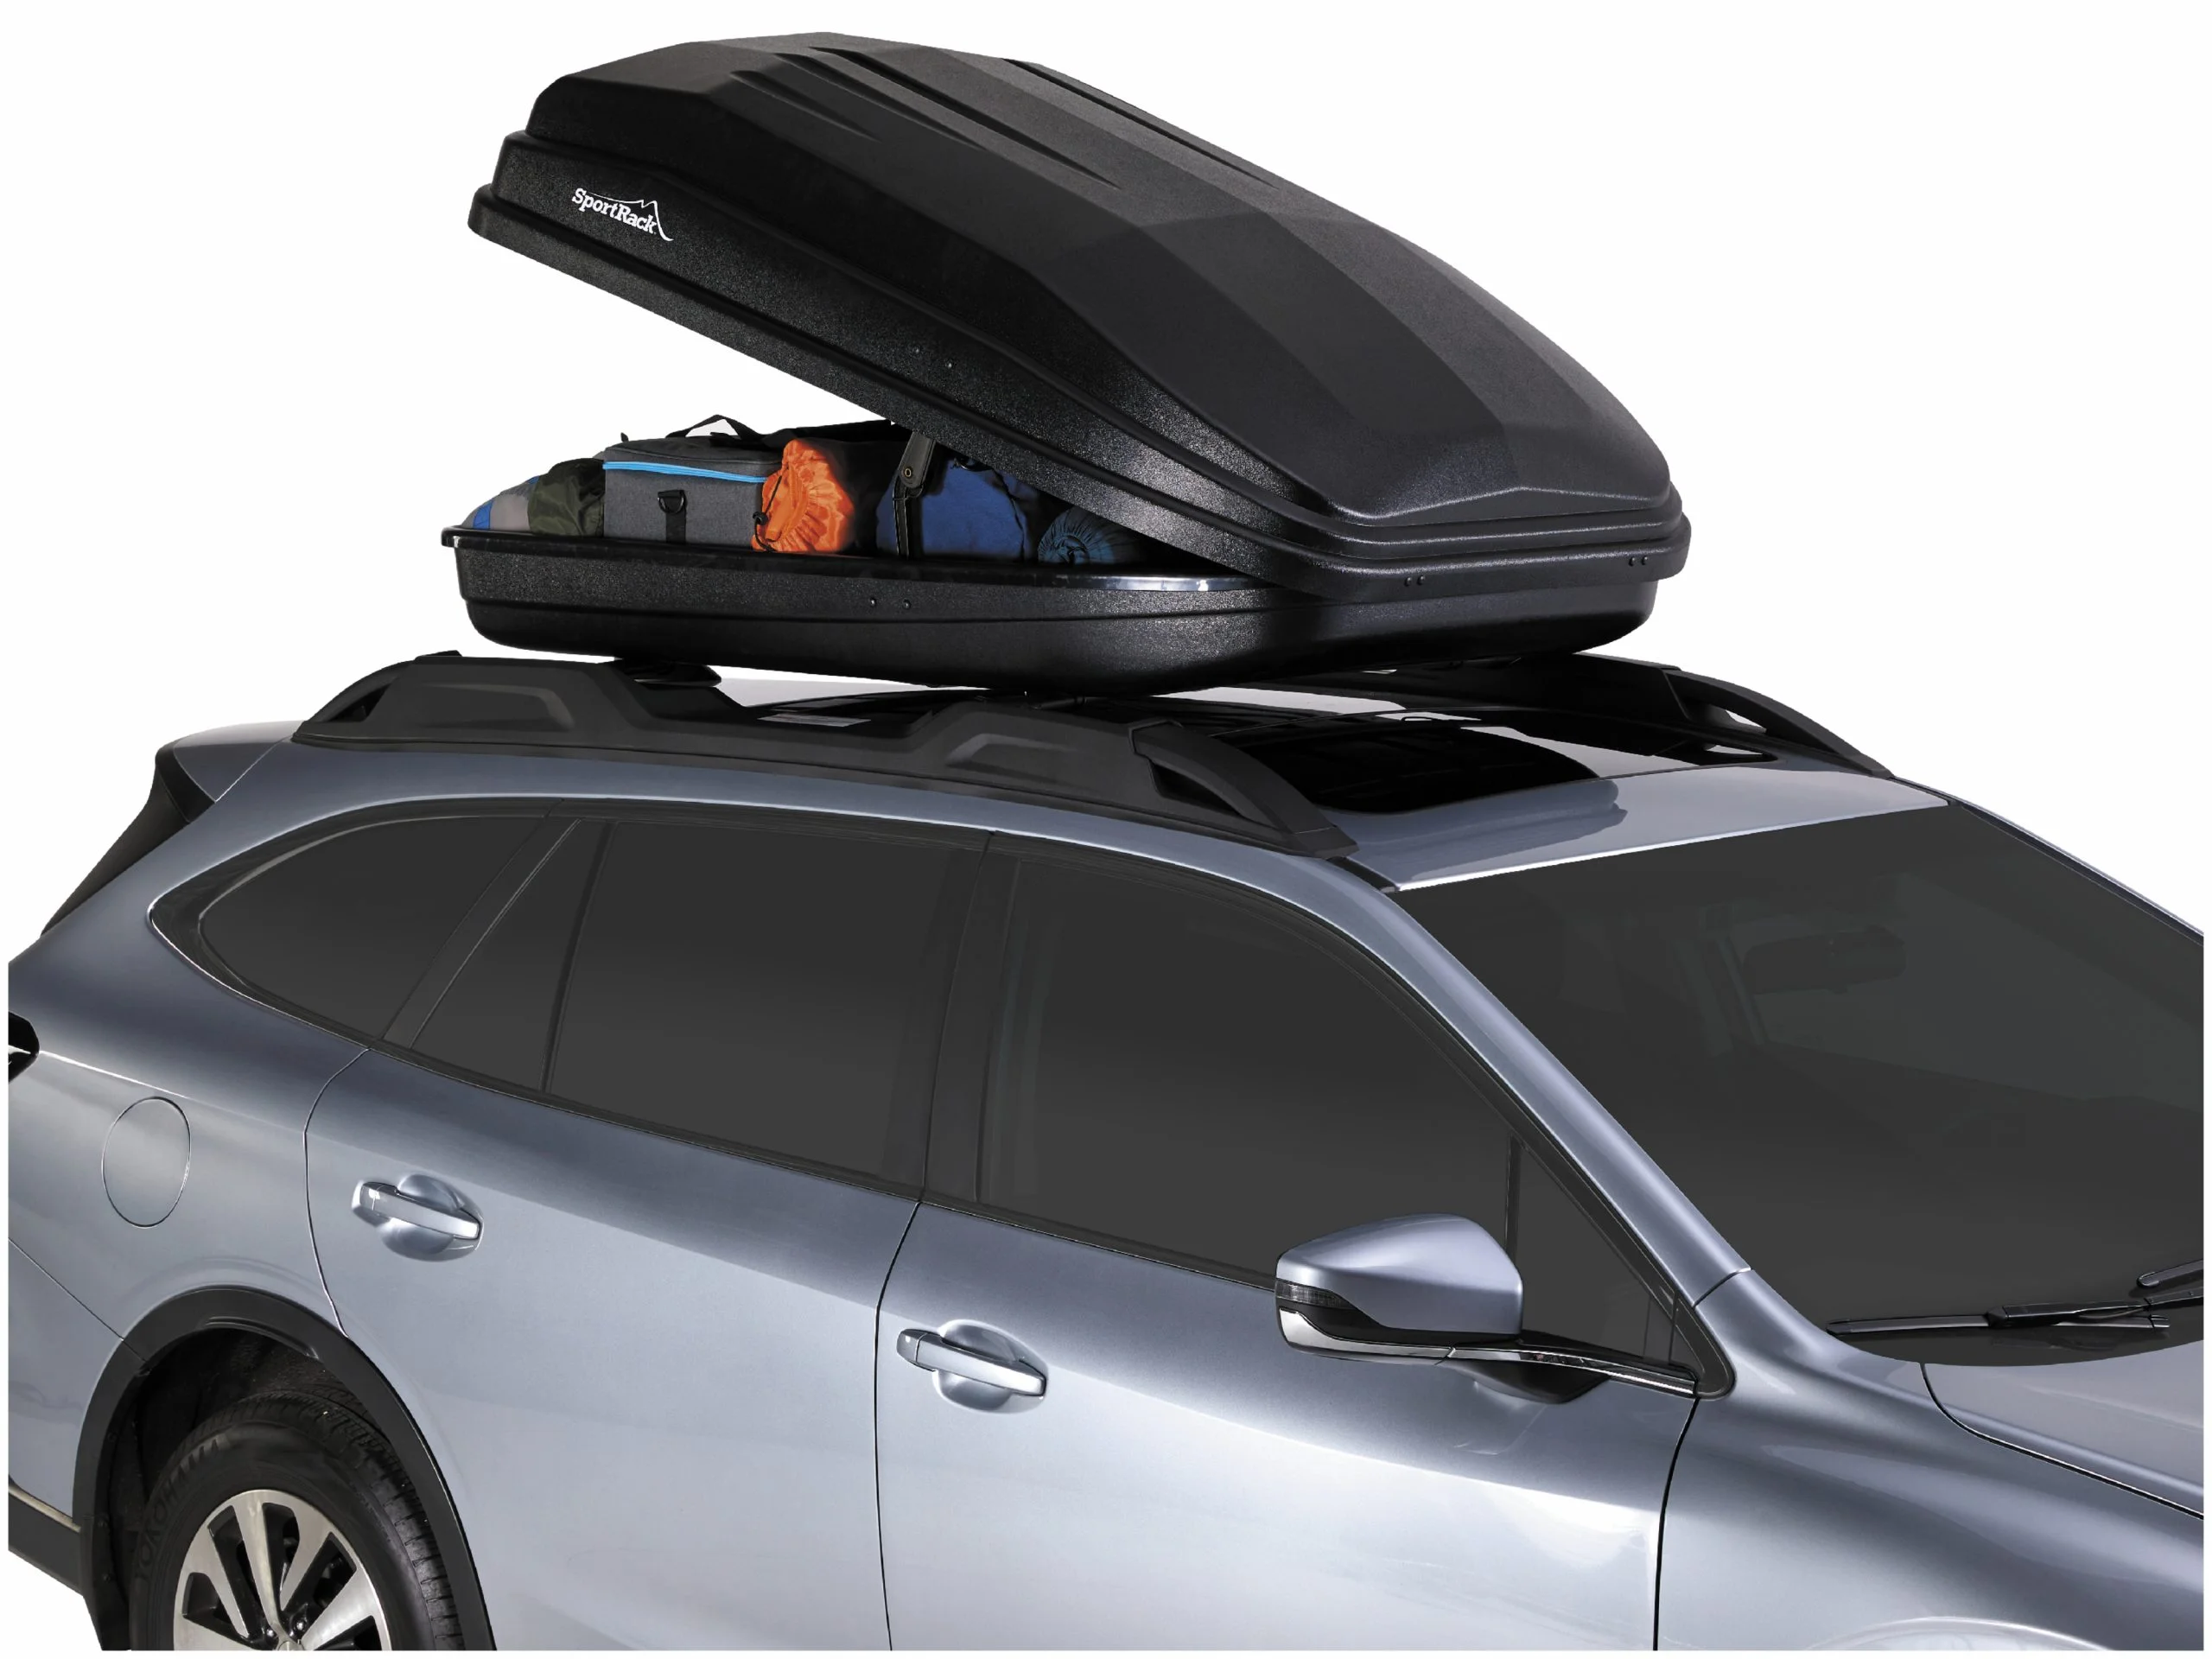
Budget (around $170-$300). For the family that road-trips once a summer, the JEGS Rooftop Cargo Carrier (~14 cu ft, ~$170) and the SportRack Vista XL (18 cu ft, ~$300, Thule's value brand) get the gear off the laps for the least money. The compromises are real and Switchback Travel names them: single-side opening, noisier on the highway, more weather-resistant than truly weatherproof. For a once-a-year trip, that is a fair trade.
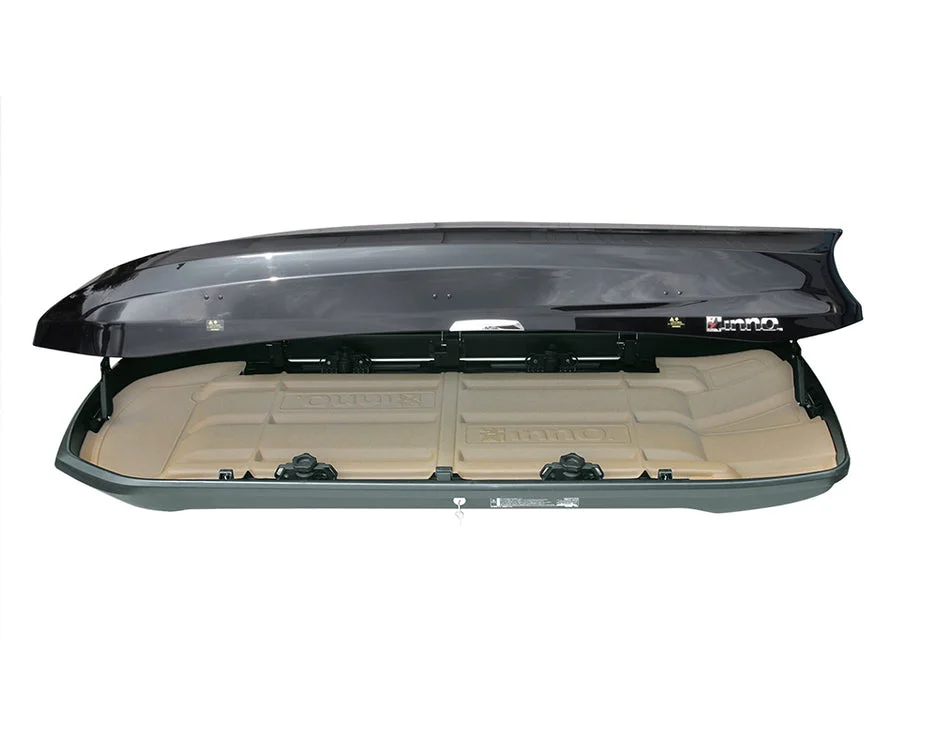
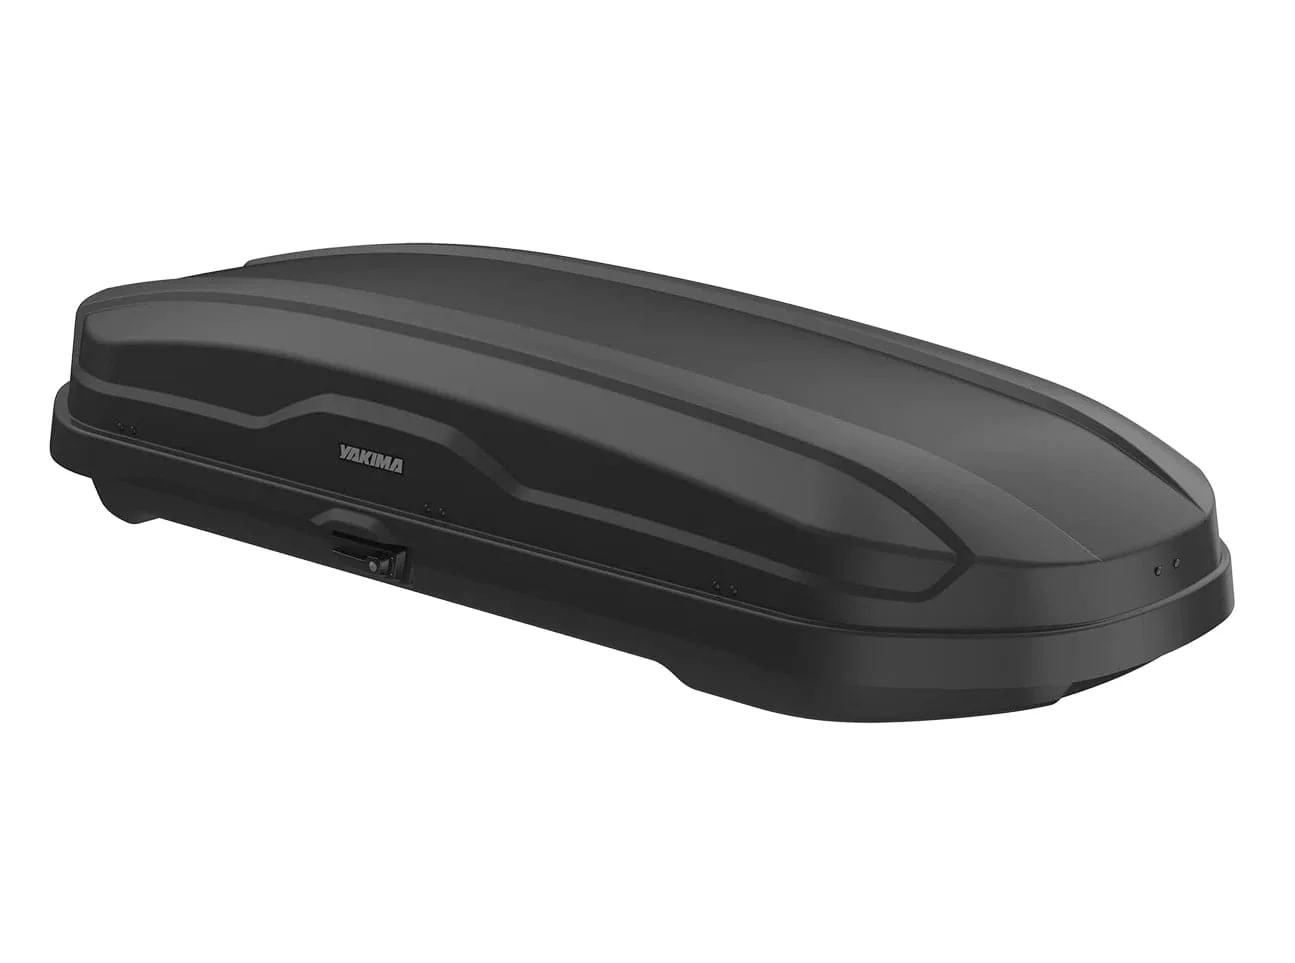
Mid-tier (around $500-$700). The Yakima SkyBox NX 18 (~$700) is the family middle ground: 18 cubic feet, dual-side opening, and tool-free SKS clamps a single parent can mount in a driveway without a second set of hands. The INNO Wedge Plus 864 (~13 cu ft, ~$500) sits here too — less volume, but its stubby length is the fix when a long box won't clear your hatch.
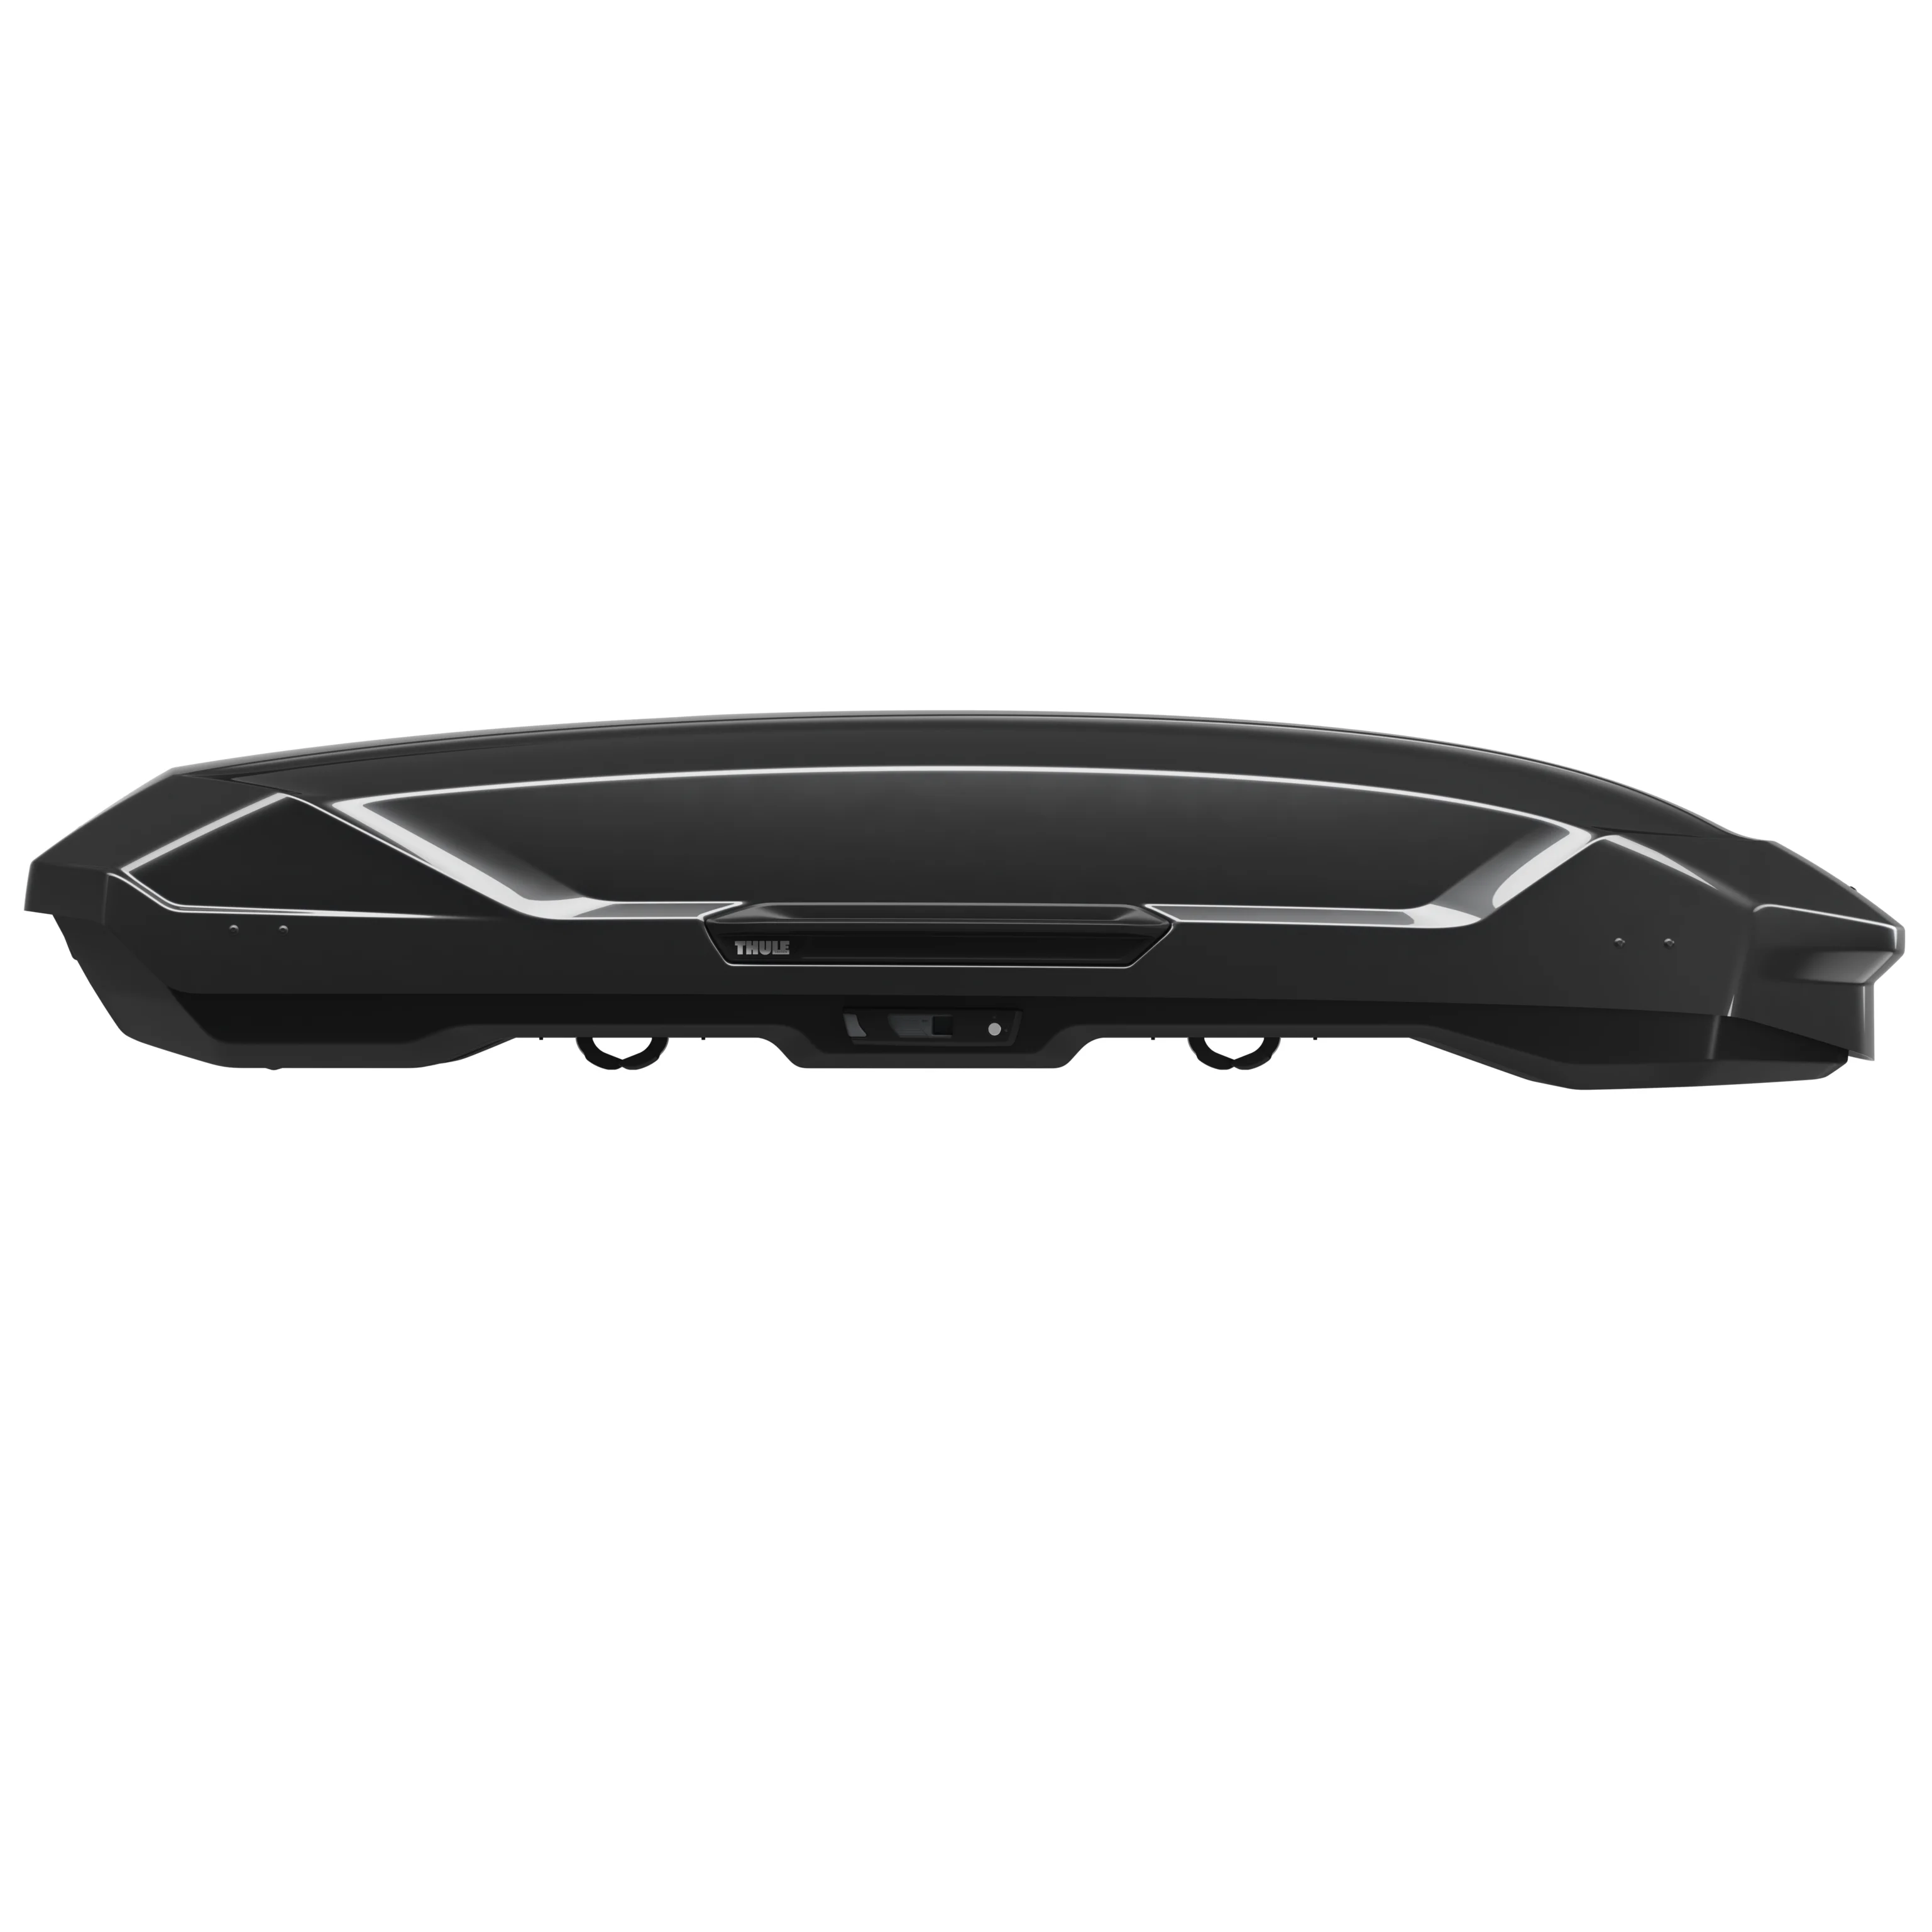
Premium (around $1,000). The Thule Motion 3 XXL is the haul-everything box: roughly 22 cubic feet, dual-side opening, and the low-profile shape reviewers at GearJunkie and Car and Driver rank near the top for quiet highway manners. You are paying for capacity, refinement and a quieter cabin — worth it if you road-trip constantly, overkill if you don't.
Common mistakes families make buying a rooftop box
Most family cargo-box regret traces back to a handful of avoidable mistakes — the ones the listings won't warn you about because they'd cost a sale:
- Buying the biggest box without measuring. A long XXL box can overhang the windshield or stop the rear hatch from opening on a shorter SUV. The gear fits; the box doesn't fit the car. Measure crossbar spread and hatch swing first.
- Ignoring lift height. A box adds a foot or more to your roof, and getting a heavy duffel up there is a genuine problem for a shorter parent on a tall SUV. Dual-side opening helps because you load from the curb, but plan for a small folding step.
- Forgetting the mileage cost. Every reviewer who measures it, Car and Driver included, finds a rooftop box costs fuel on the highway — typically high single digits to low double digits in percent, taller boxes worse. Families who leave the box up all year quietly burn that all year.
- Assuming the box is weatherproof and theft-proof. Budget boxes are weather-resistant, not weatherproof — pack anything that must stay dry in a dry bag inside. And a box lock deters a grab, it does not stop a determined thief, so valuables ride in the cabin.
- Forgetting you need crossbars first. Boxes clamp to bars; they don't include them, and your roof has a dynamic weight limit. If you're not even sure a box is the right answer, our are roof racks necessary piece is the place to start.
Matching the right box to your family by vehicle and trip
Put the specs and the mistakes together and the choice comes down to your vehicle's roofline and how often you actually travel. Here is who each pick is for:
- Road-trip often, full vehicle, want it quiet → the Thule Motion 3 XXL. Most capacity, lowest drag, highest price.
- Need easy one-parent mounting → the Yakima SkyBox NX 18. Tool-free clamps, dual-side, the family default.
- Go once a summer, watching the budget → the SportRack Vista XL — full volume, plain hardware, single-side.
- Short SUV or a hatch a long box would block → the INNO Wedge Plus 864. Fit beats capacity here.
- Just need the gear off the laps, rarely → the JEGS Rooftop Cargo Carrier, no guilt.
And before you commit to a roof box at all, weigh the alternative: a hitch carrier skips the lift entirely, which many parents find easier on a tall SUV. Our roof box vs. hitch carrier comparison lays out which suits a family's loading reality — the roof box keeps gear weatherproof and the bumper clear; the hitch carrier saves your back.
Honest verdict: which family box, for which family
For most families the Yakima SkyBox NX 18 is the right buy: enough room for a week for four, dual-side loading, and clamps one parent can mount alone. Step up to the Thule Motion 3 XXL only if you road-trip constantly and want it quiet; step down to the SportRack Vista XL if you go once a summer.
The fit-first families — short SUV, blocked hatch, noise-sensitive kids — should look at the INNO Wedge Plus 864 before chasing cubic feet, and the strict once-a-year crowd can stop at the JEGS carrier without guilt. There is no single best family box; there is the box that matches your trip frequency, your roofline and your budget.
We rate these from published specs and named reviews rather than a first-hand test, so treat the dimensions as the hard constraint and the comfort claims as directional — and always confirm the box fits your specific vehicle's bars and hatch clearance before you order. Do that, get the gear off the kids' laps, and the next 400-mile leg gets a lot more peaceful for everyone in the car.