The Big Picture
Adding an aftermarket backup camera to an older car is a smart move to get a modern safety feature without buying a whole new vehicle. Back in my day, we didn't have these fancy screens; we just had mirrors and a prayer. Now, it's a well-proven technology, and even mandatory on new cars since 2018 Camerasource. The honest version is, it can save lives.
Federal data shows thousands of injuries and deaths happen each year in backup accidents, and a camera could prevent a lot of that heartache Camerasource. It's not about the bling; it's about not running over your kid's tricycle or a neighbor's cat. My first car was a clunker, and I always wished I had one of these. The real move is to understand what goes into it before you start pulling trim panels.
The Core Answer
Alright, let's talk about what you actually need to consider when you're trying to bolt on a backup camera to your trusty old ride. The biggest fork in the road is wired versus wireless. Wired cameras are like that reliable old friend who's always there - great signal, no fuss, but you gotta run a cable from the back of your car all the way to the front.
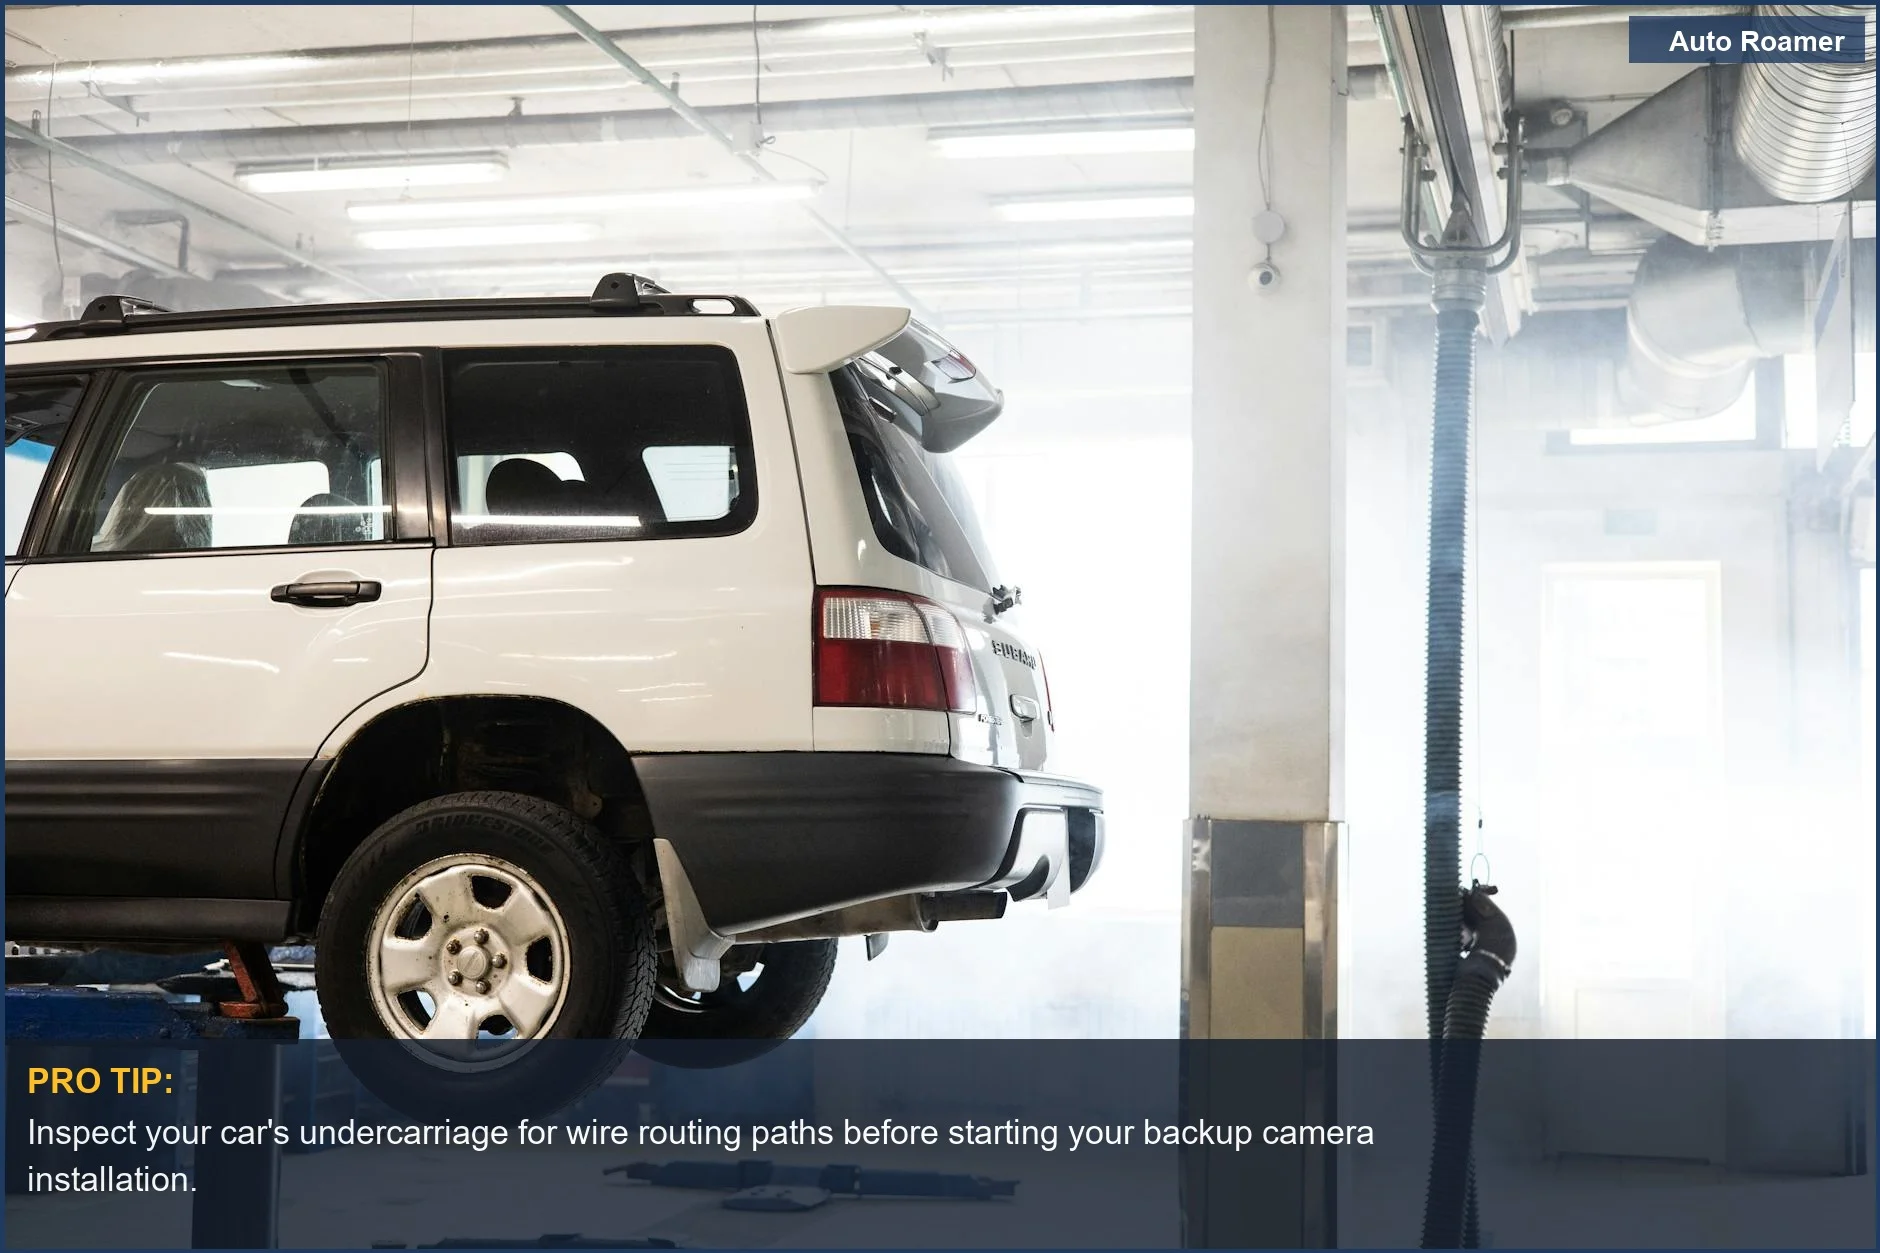
I spent a solid afternoon once trying to snake a wire through the trunk of my '98 Camry. Rookie mistake: I didn't account for all the little plastic clips and the sheer amount of sound deadening material. It took longer than I'd like to admit Rearview Safety.
Wireless cameras are the flashier, easier option. You just mount the camera and a transmitter, and then a receiver near your display. Less wiring means less hassle. The catch? Sometimes they get a little interference, like a bad radio station. I saw a guy on a forum say his wireless camera would glitch out when he drove past a certain cell tower. It's not ideal, but for most daily driving, it's usually fine Rearview Safety.
Then there's the display. Some systems come with their own little screen, which is the simplest route. You just stick it on your dash or windshield. Other times, you might want to integrate it with your existing stereo. If you have a double-DIN opening, you can get an Android-based head unit that has a decent screen and will take a camera input. That's a bit more involved, but it looks cleaner.
My buddy Dave did this in his old pickup, and it looks factory-installed. He said the hardest part was figuring out the wiring harness adapter, which cost him about $60 Facebook Group.
Mounting is another thing. Most cameras are designed to bolt onto your license plate or tuck into a gap. Some need you to drill a hole, which sounds terrifying, but it's usually not that bad if you're careful. I used a hole saw kit that cost me about $25 for a set, and it made a clean cut in my trunk lid Rearview Safety.
Just make sure you plan the camera placement so it gives you the best view of what's behind you, not just the bumper.
Power is critical. You need to tap into a power source that comes on when you put the car in reverse. This usually means tapping into the reverse light circuit. Get this wrong, and your camera will either be on all the time or not at all. I accidentally wired mine to the constant 12V and had to pull the fuse to stop it from draining my battery. That was a fun 2AM troubleshooting session in my driveway AutoZone.
Finally, think about the display resolution and viewing angle. You don't want a grainy image that looks like it was filmed on a potato. Most decent aftermarket cameras have a pretty good picture now. The viewing angle is important too - you want to see as much as possible behind you without too much distortion. A wider angle is generally better, but too wide and everything looks warped. I usually aim for something in the 150-170 degree range.
Why This Matters for Your Setup
Why does all this matter for your setup? Because the choices you make directly impact how much of a headache this project becomes. If you just grab the cheapest wireless kit you see online, you might end up with a fuzzy picture or a connection that drops every time you hit a bump. I saw a guy on Reddit complaining that his wireless camera only worked when he was going downhill. Brilliant engineering, that. Reddit.
Here's the breakdown:
- Wired vs. Wireless: Think of it like this: Wired is the dependable but slightly more involved route, best if you want rock-solid reliability. Wireless is the quick and dirty, perfect if you don't want to spend a weekend wrestling with trim panels or if you're leasing the car. I personally lean wired for my own cars, but I've helped friends with wireless installs that took them under an hour Rearview Safety.
- Display Integration: Do you want a separate little screen stuck on your dash, or do you want it to look like it came from the factory? A separate screen is easier to install, but can look cluttered. Integrating with a head unit looks cleaner but requires more wiring and potentially a new stereo. My first attempt was a cheap stick-on screen that vibrated off my dash within a week.
The honest version: it looked awful and was useless Consumer Reports.
- Camera Mounting: License plate frames are usually the easiest. You just screw it on. Other mounts might require drilling, which, as I said, isn't the end of the world, but you need to be confident with a drill. I've seen some gnarly-looking installs where people just zip-tied cameras to random bits of metal. Doesn't look great, and rarely works well.
- Power Source: This is where you can really mess things up. Tapping into the reverse light wire is standard. If you get it wrong, you could blow a fuse, or worse, mess with your car's electrical system. I once fried a fuse box trying to tap into the wrong wire on my old van. Cost me $80 for a new fuse box and a lot of embarrassment.
Making the Right Choice
So, making the right choice for your backup camera installation is all about balancing ease, cost, and reliability. You don't need to be a master mechanic, but you do need a bit of patience and the right approach. It's not rocket science, but it's also not just plugging in a USB drive.
- DIY vs. Professional Install: Most DIY kits are designed to be manageable. You can often find a decent kit for under $100, and the install might take a few hours. A professional installation could run you $200-$400, depending on the shop and the complexity. For me, the satisfaction of doing it myself, even with the screw-ups, is worth the savings. I learned more about my car's wiring than I ever thought I would.
- Camera Quality Matters: Don't go for the absolute cheapest option if you can avoid it. A slightly better camera with a clearer picture and wider angle will make a huge difference in usability. Think about what you're actually trying to see - is it just the bumper, or the whole area behind you?
- Plan Your Wiring Route: Seriously, take 10 minutes before you start to figure out where that wire is going to go. It will save you so much frustration. I learned this the hard way trying to stuff wires into places they clearly weren't meant to go. It's the little things that make or break a DIY project.

