How to Install a Backup Camera System on a Truck Without Drilling
My first attempt to install anything more complex than a phone mount in my aging Honda CR-V involved a backup camera. I figured, why drill holes? I spent an entire Saturday fumbling with wires, convinced I was going to electrocute myself or, worse, break my tailgate.
My first attempt to install anything more complex than a phone mount in my aging Honda CR-V involved a backup camera. I figured, why drill holes? I spent an entire Saturday fumbling with wires, convinced I was going to electrocute myself or, worse, break my tailgate. The YouTube videos made it look like a 30-minute job. Mine took 4 hours and involved more colorful language than I care to admit. This guide is about saving you that headache.
I learned the hard way so you don't have to.

The Core Answer
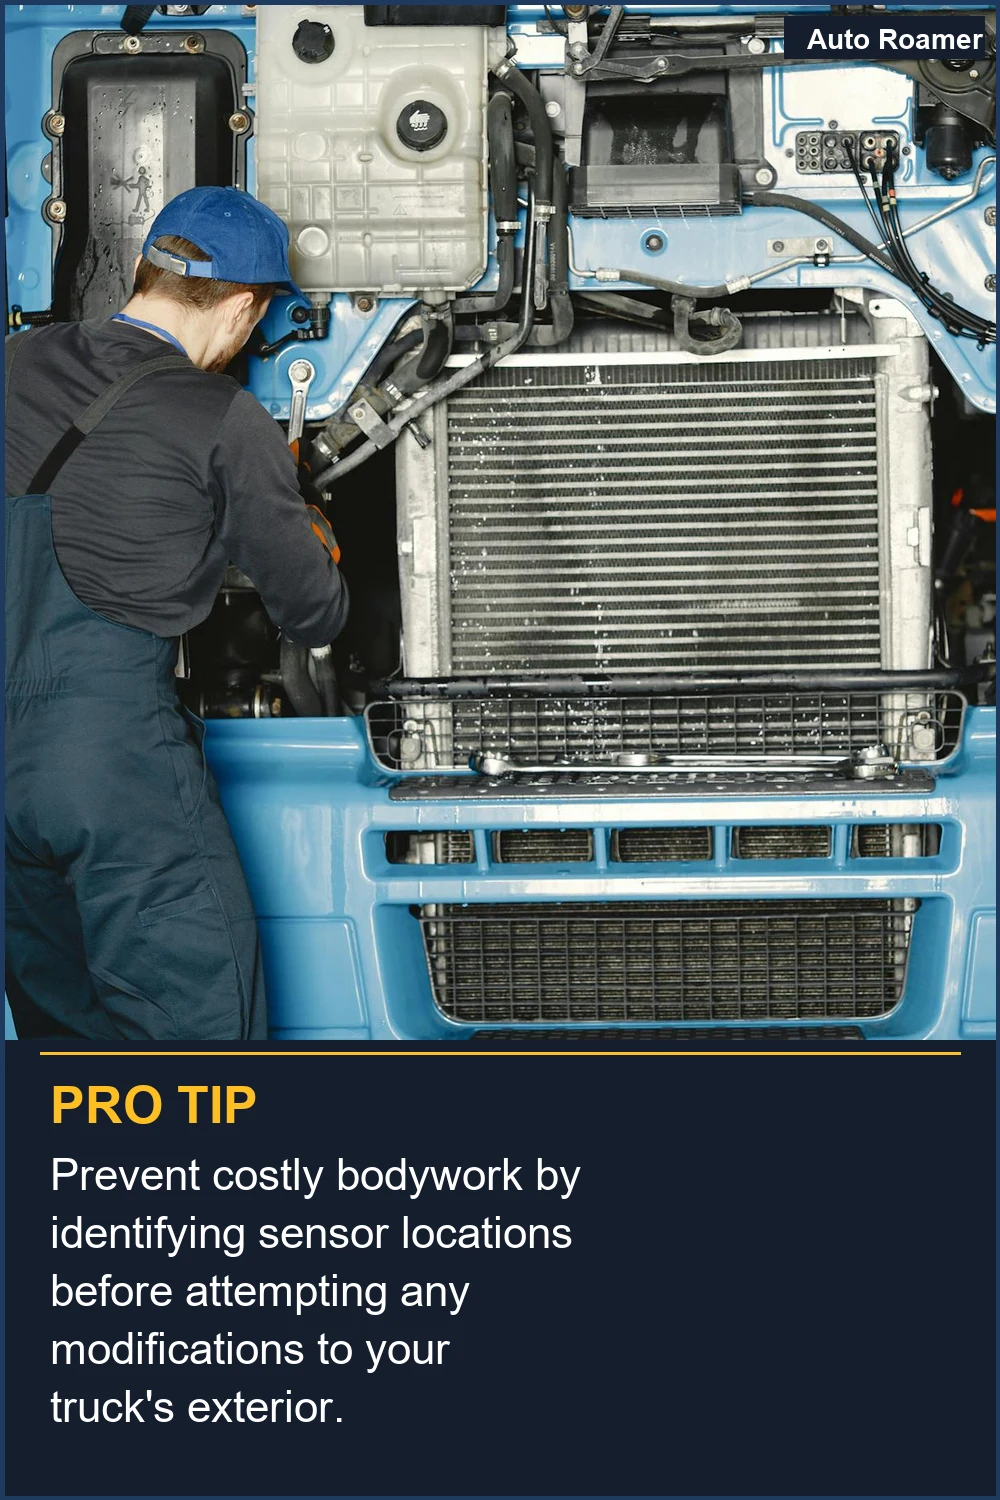
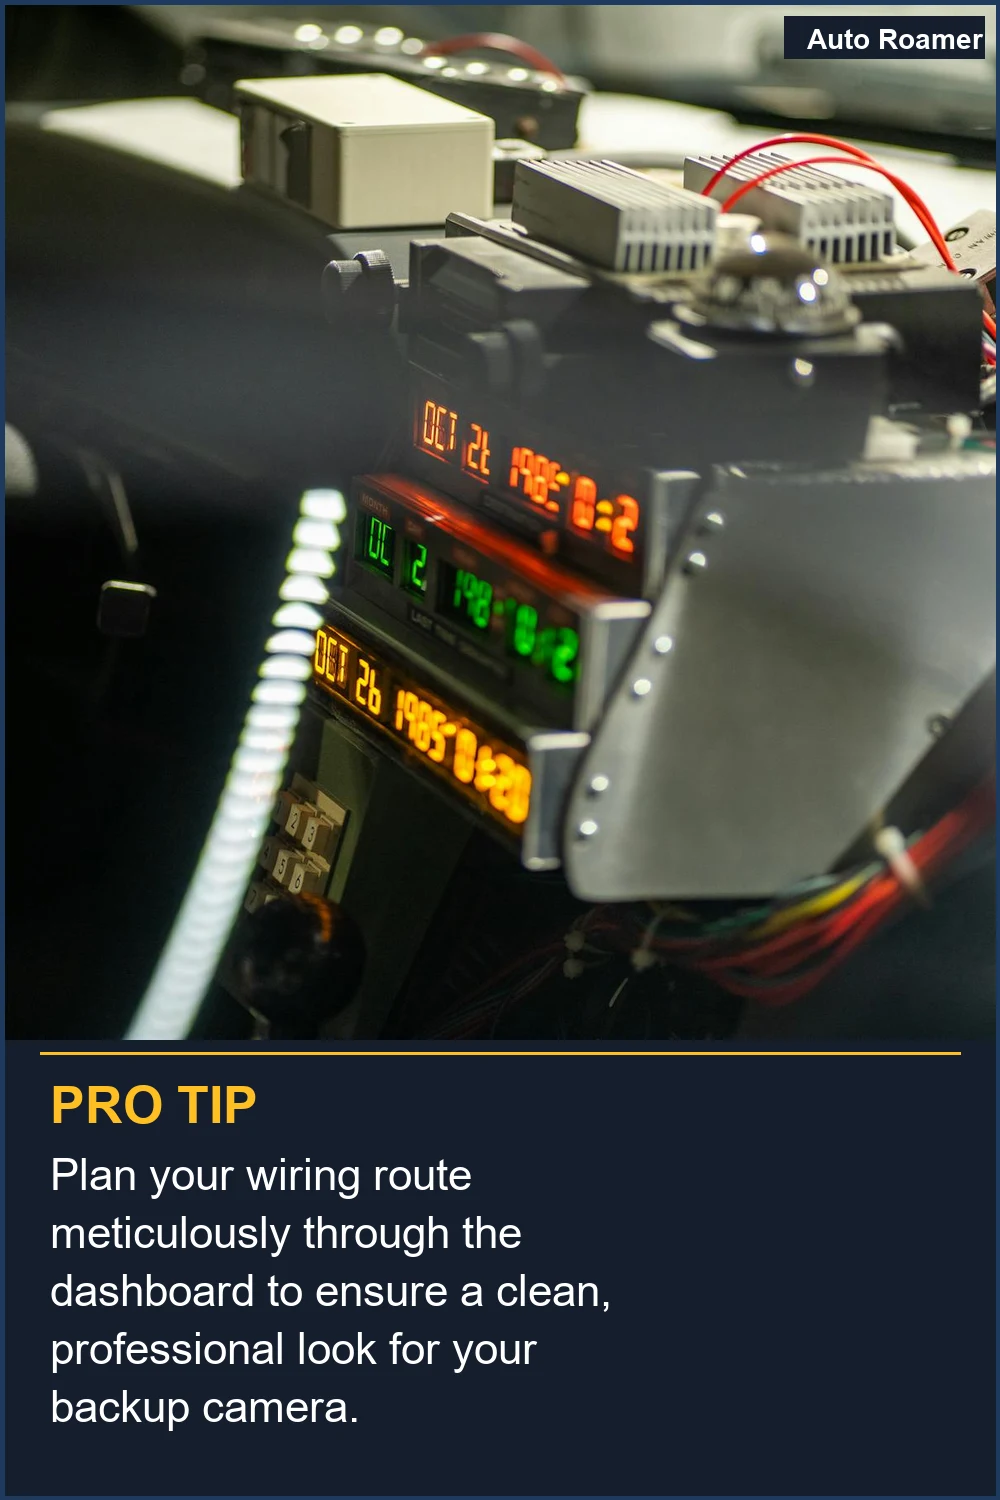
The real move for installing a backup camera without drilling is to leverage existing pathways and discreet mounting points. Most trucks and SUVs have a spot where the wiring harness for the trunk or tailgate passes through, and that's your golden ticket. For my old Ford F-150, I found it behind the license plate bracket. This is where most people get stuck, trying to force wires where they don't belong. Instead of drilling a new hole, you're looking for a rubber grommet or a seam you can carefully pry open just enough to snake the camera wire through. Think of it like threading a needle, but with thicker, less cooperative thread. The goal is to find a path that keeps the wire protected from the elements and, crucially, from getting pinched when you open and close the tailgate. This method avoids the common failure point of a damaged wire. For the camera itself, many kits come with adhesive mounts or license plate frame mounts. I used a license plate frame mount on my first attempt, which worked fine, but I've since seen folks use adhesive mounts near the top of the tailgate, out of the way. The key is to find a spot that offers a clear view without being directly in the splash zone of your tires. Powering the camera is usually the trickiest part. You need to tap into a reverse light circuit so the camera only turns on when you shift into reverse. This sounds intimidating, but most kits come with a simple wire harness that taps into the existing tail light wiring. I've found that using a vampire clip or a T-tap connector makes this connection without cutting any factory wires. Some folks swear by a small hole behind the tag, but I've managed to avoid that with careful routing. Running the video cable from the back to the head unit up front is where patience comes in. You'll be tucking wires along the door jambs or under the carpet lining of the truck bed and cabin. A fish tape or even a stiff piece of wire hanger can be a lifesaver here. This is the part that feels like a rookie mistake waiting to happen, but by taking your time and following the existing wire looms, you can do it cleanly.

Why This Matters for Your Setup

Making the Right Choice
Look, nobody wants to be the person who permanently alters their truck for a gadget. The honest version is that you can absolutely get a backup camera installed without making any permanent holes. My first install took me about 2.5 hours, and that was with me constantly second-guessing myself. The LeeKooLuu system I used was straightforward. Focus on finding existing pathways. The rubber grommet where your tailgate wiring harness goes through is your best friend. If you can't find one, carefully prying open a seam is the next best bet. Just make sure it's sealed up tight afterward. This whole process is about clever routing, not brute force. Don't be afraid to spend a little extra time tucking wires. It makes a huge difference in how professional the final install looks. Plus, it prevents wires from getting snagged or damaged down the road. You don't need a specialized tool for this; a stiff piece of wire or even a plastic trim tool will do the trick. The key is patience and a methodical approach.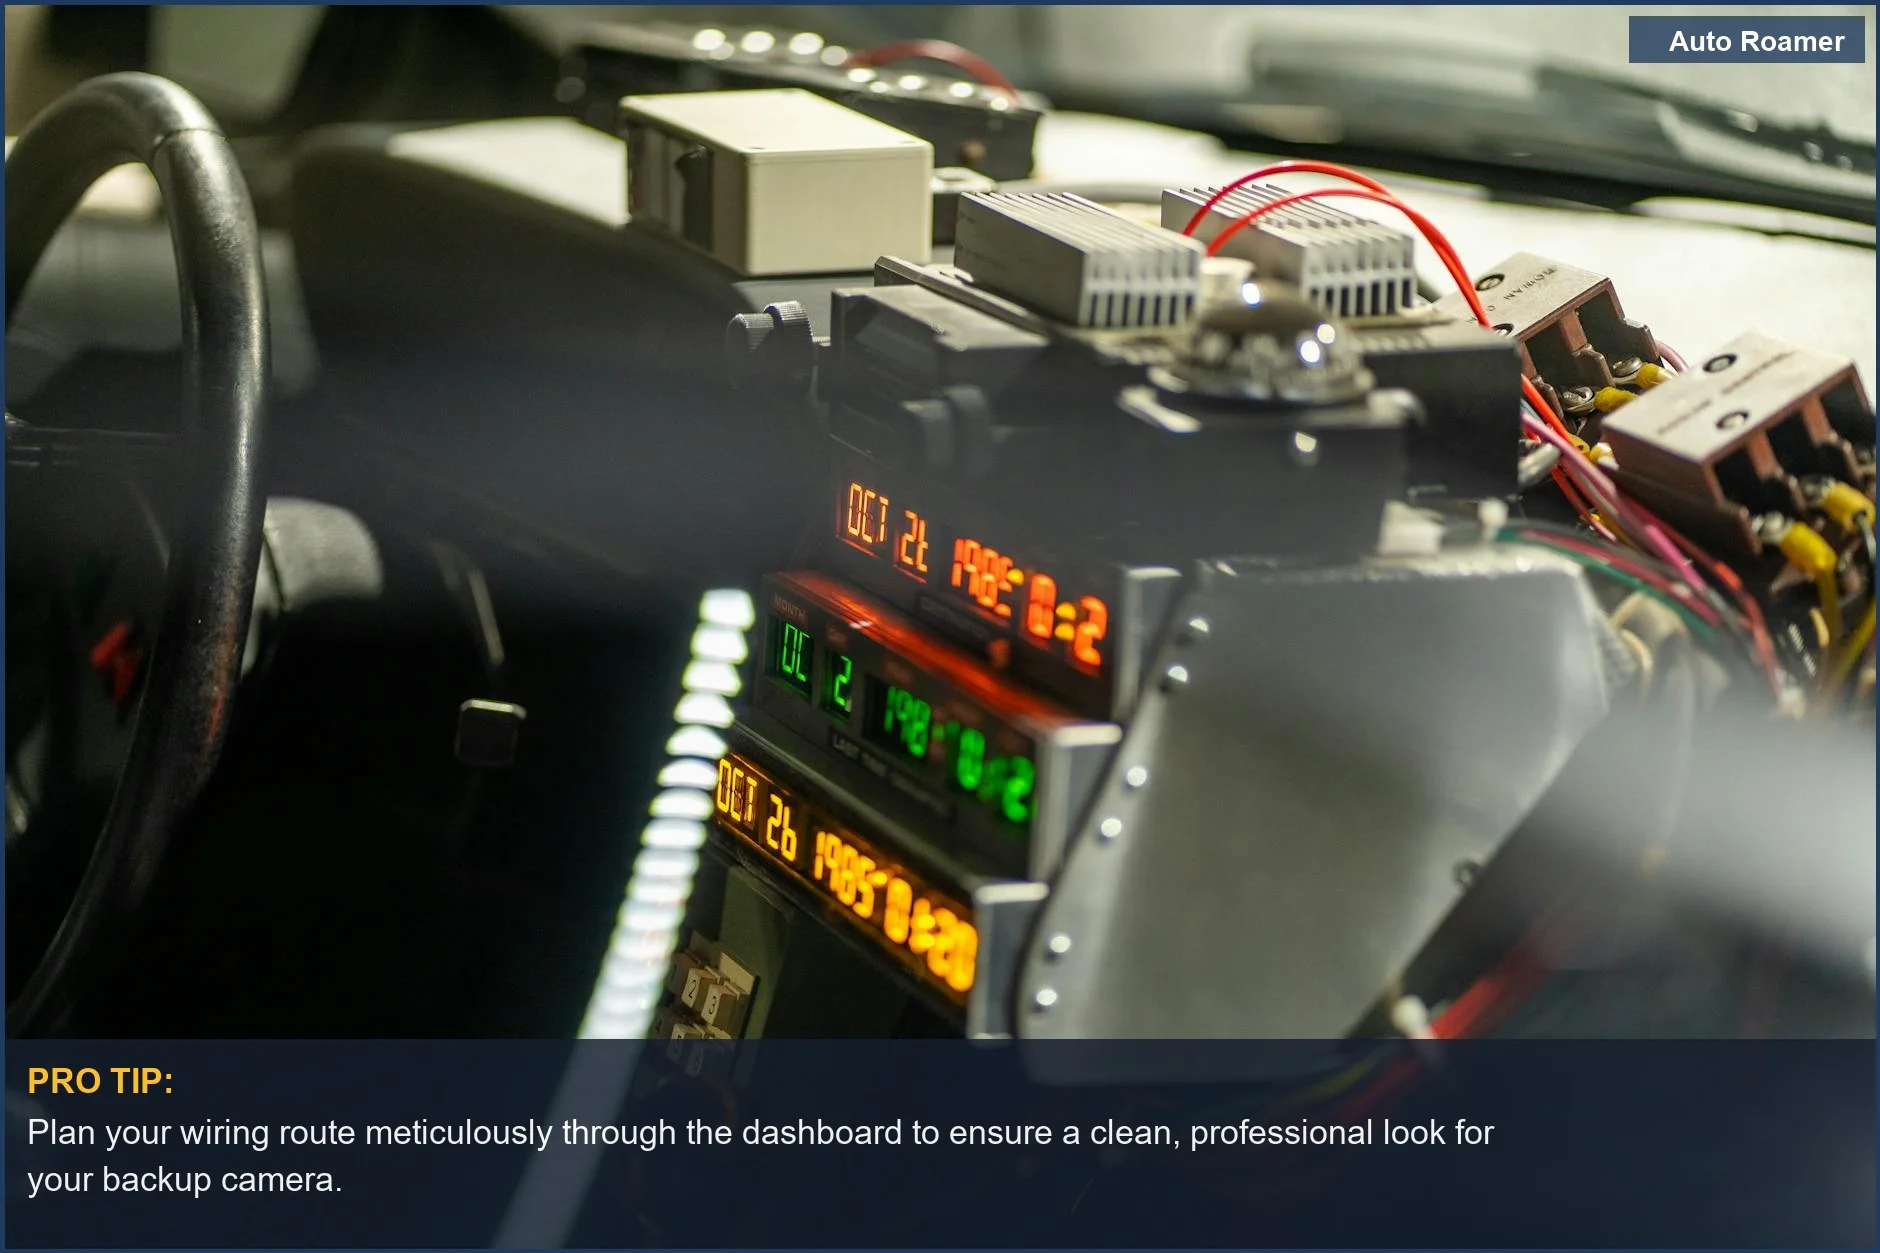
Frequently Asked Questions
Okay, so how much is this gonna set me back compared to just having a shop do it?
Do I really need a fancy multimeter for this, or can I just wing it?
What if I try to snake the wire through a seam and it still pinches or gets water in?
Can this 'no-drill' method actually damage my truck's tailgate or wiring in the long run?
Is it true that I can just use any old USB cable to run the video signal?
🏅 Looking for Gear Recommendations?
Check out our tested gear guides for products that work with this setup:
Sources
- Camper Backup Camera with No Drilling! - YouTube
- Backup Camera without drilling holes ? - CorvetteForum
- Install backup camera without drilling? - Toyota Forum
- Simple way to setup wired backup camera without drilling - YouTube
- How to run backup camera wiring in a 2001 Chevy Tahoe without ...
- priuschat.com
- No Drill Backup Camera Install | 2000-06 Toyota Tundra - YouTube
- NO DRILL Backup Camera Hack DIY - SEE OVER ANYTHING!