Setting the Scene
Pulling a $2 fuse to power your dash cam might sound simple, but the wrong fuse tap can turn a cheap fix into a melted mess. You're dealing with electrical circuits, and if you cross the streams, you're asking for trouble. Most kits come with these little metal tabs, designed to piggyback off an existing fuse. But the tolerance on those taps and your car's fuse slot is critical. Too loose, and you get arcing.
Too tight, and you're stressing the terminals. It's not just about getting power; it's about maintaining circuit integrity under thermal cycling. Get it wrong, and you're not just replacing a fuse; you're potentially replacing a whole fuse box. And that's when the real money starts flying out the window.
The Core Answer
The heart of a dash cam hardwire kit is the fuse tap. This little doodad lets you splice into your car's existing wiring without cutting anything, which is good for mechanical stress, provided it's done right. You've got two main types of fuses to worry about: the standard ATO/ATC and the smaller Mini or Low-Profile Mini. They look different, and they fit in different slots.
Using the wrong one is like trying to fit a square peg in a round hole - it won't seat properly, and you'll have intermittent power or, worse, a short. car fuse box basics for hardwiring & understand fuse types for dash cam wiring.
Then there's the amperage rating. Your dash cam probably pulls around 250mA (0.25A), maybe up to 500mA (0.5A) for advanced models. The fuse tap itself needs to be rated for the circuit you're tapping into, but crucially, the fuse you install in the tap for the dash cam needs to be the correct value. Typically, you'll want a 5A or 10A fuse for the dash cam circuit. Too high, and you risk frying the camera before the fuse blows.
Too low, and it'll pop on startup, leaving you without recording. We always recommend selecting fuse slots that are rated between 10A-30A for wiring a dash cam, in order to provide enough power to your dash cam properly.
Most kits come with a two-wire setup: one for constant power (ACC) and one for switched power. The switched power wire only gets juice when the ignition is on, so your camera turns off when you do. The constant power wire keeps the camera running for parking mode, but you gotta be careful here. If you tap into the wrong constant circuit, you could drain your battery faster than a leaky gas can.
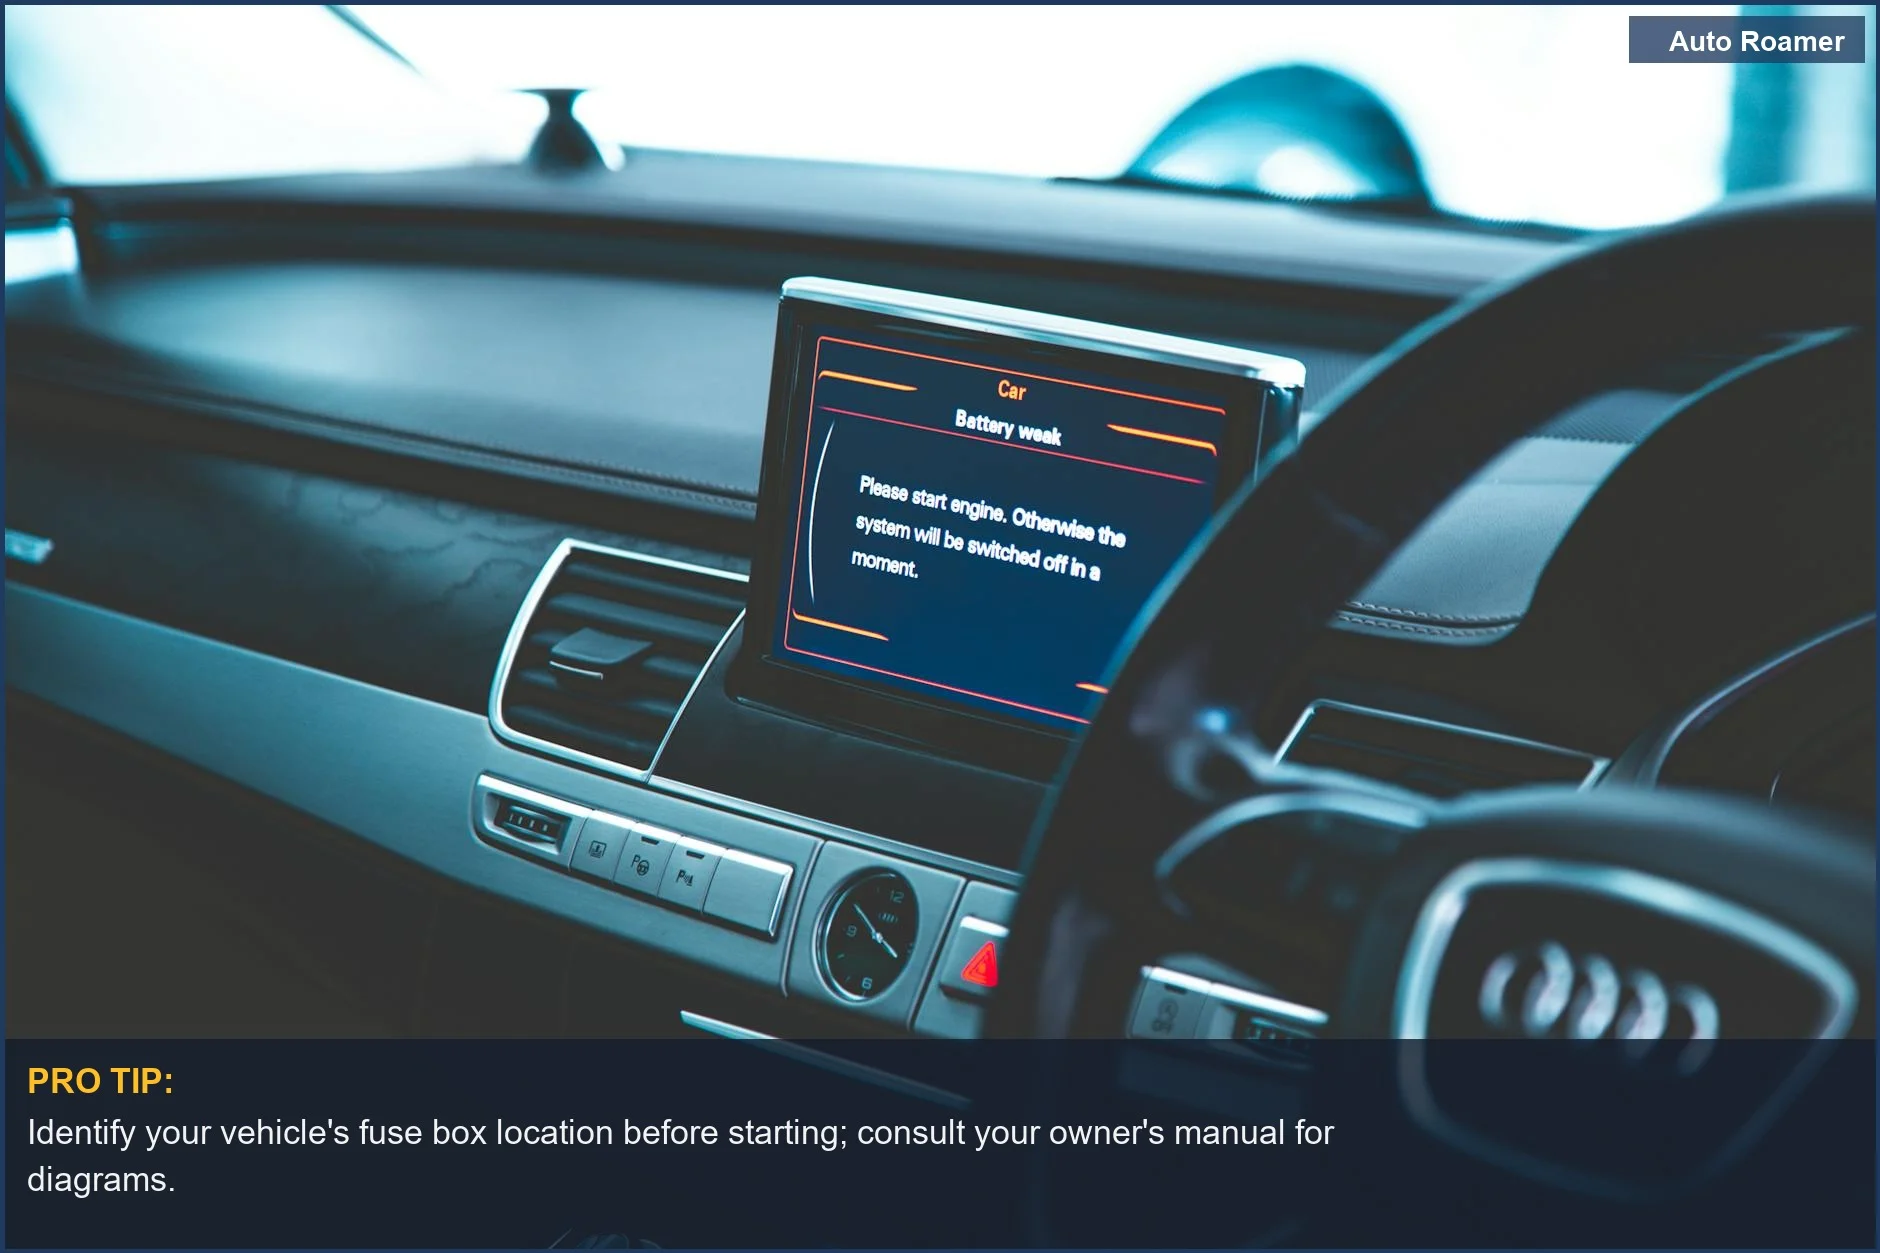
This is where knowing your car's electrical load is key. An always-on 12V socket pulling 280mA when nothing's plugged in can kill a 60Ah battery in 12 days. Brilliant engineering. Basically they seem to have the same functionality and features as a normal Hardwire Kit except you just plug it into the OBD2 connector.
Some kits offer a three-wire setup, including a ground. Always connect to a known good chassis ground. A loose ground means inconsistent voltage, which is bad for sensitive electronics and leads to all sorts of gremlins. The wire gauge is also important. Cheap kits use flimsy 24AWG wire that can overheat under load, especially if routed poorly. A properly sized wire, like 18AWG, handles the current without excessive voltage drop or thermal stress. It's all about respecting the physics.
I've seen $20 hardwire kits that use 24AWG wire, barely thicker than a human hair.
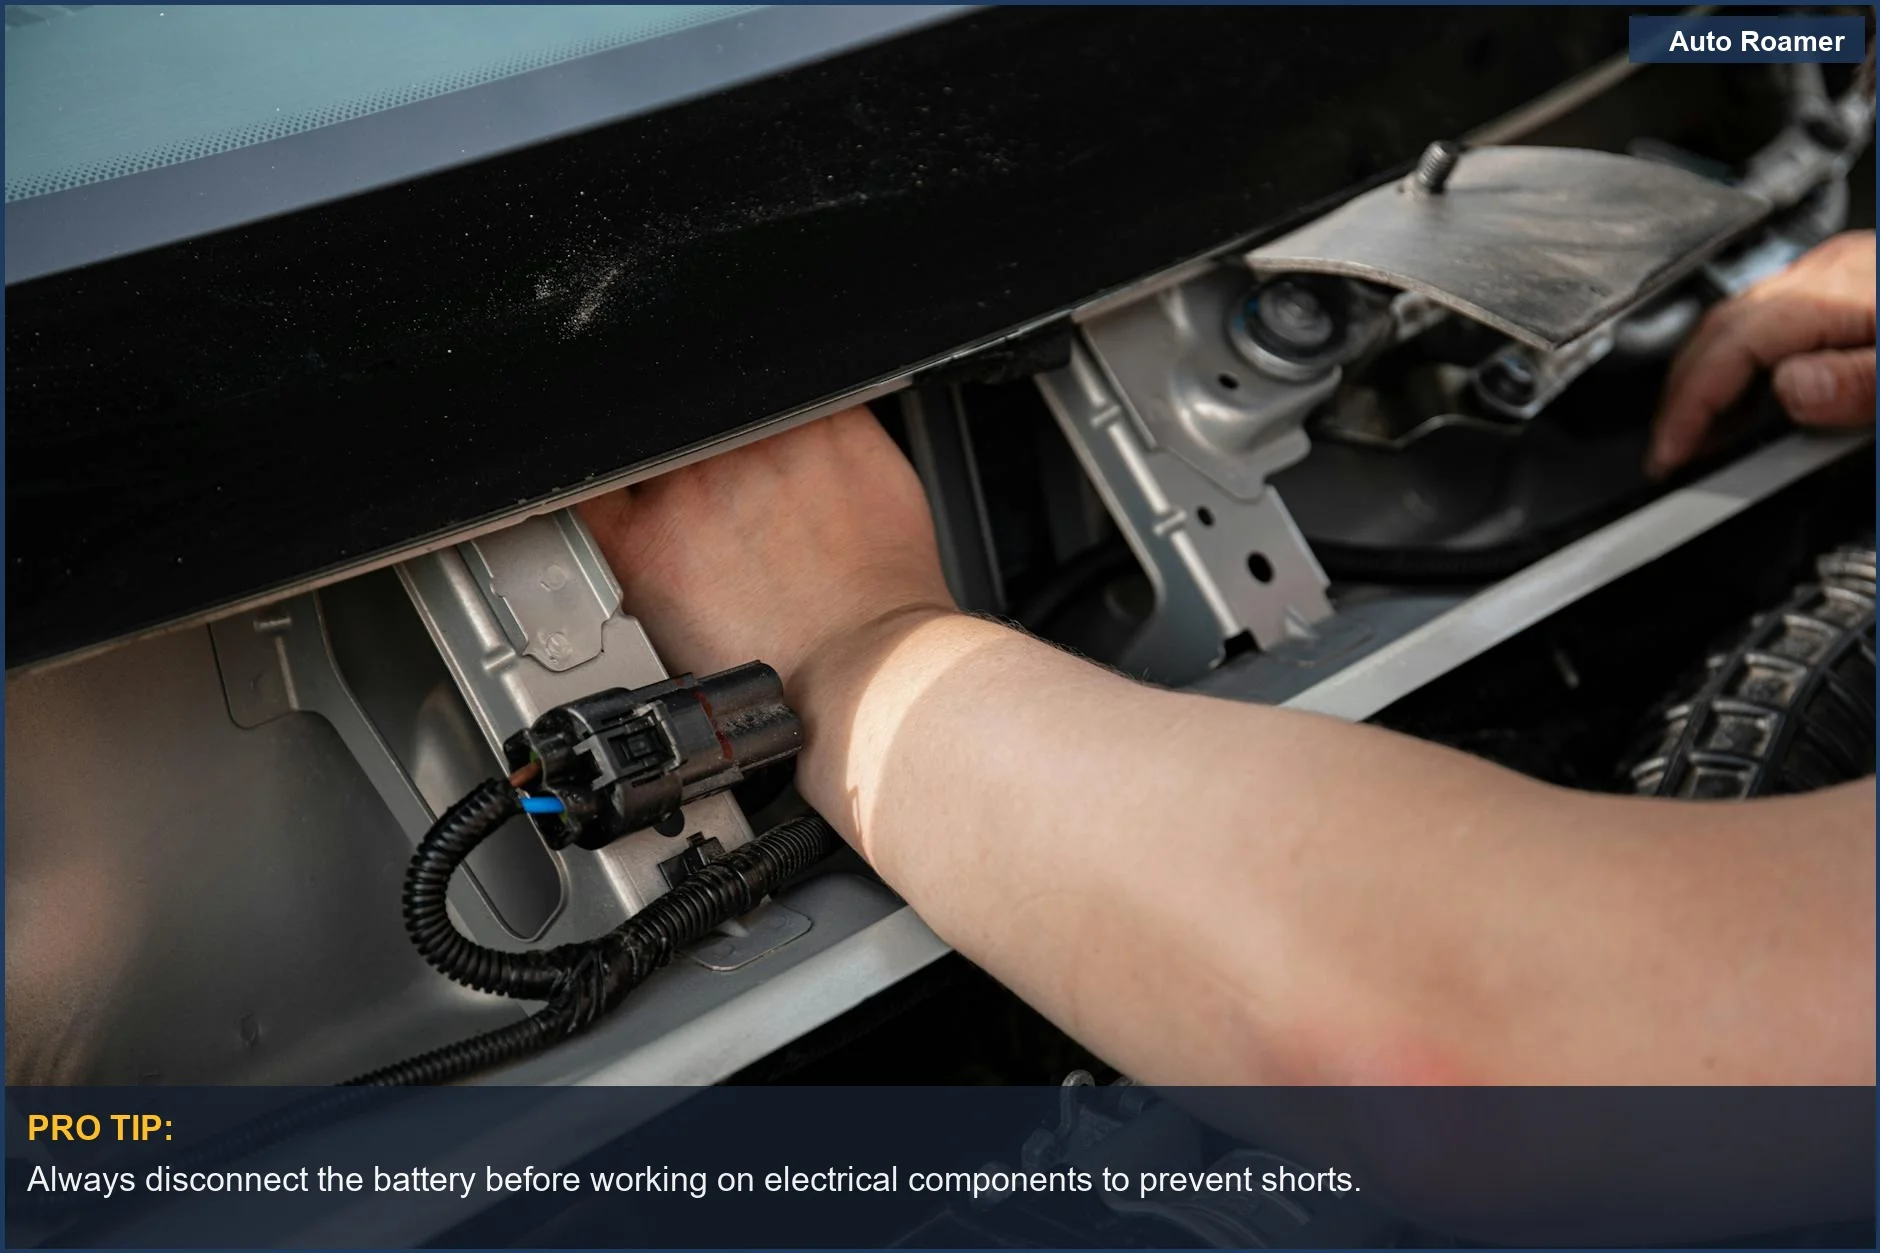
Don't just jam any old fuse tap into any slot. Consult your car's manual to identify circuits that turn off with the ignition for your switched power. For constant power, look for something that's always hot but has a low quiescent current draw. Using a multimeter to confirm voltage and polarity before you connect anything is non-negotiable. It's the difference between a clean install and a smoke show.
The Bottom Line
Look, the idea of a clean, always-on dash cam is great. No dangling cords, no cigarette lighter abuse. But the execution is where most people screw it up. Using the wrong fuse tap type is a common failure mode. You've got ATO, Mini, and Low-Profile Mini. They don't interchange. If you force one, you're not just looking at a blown fuse; you're talking about stressing the fuse box terminals.
That's how you get intermittent power or, if you're really unlucky, a melted plastic mess. I show how I hardwire a dash cam in the 11th generation (2026) Honda Civic Hybrid.
If you're not comfortable with basic 12V DC circuits or identifying fuse types, just pay someone who knows their shit. A botched install can lead to electrical gremlins that are a nightmare to diagnose. We're talking about potential damage to your vehicle's body control module or even a fire hazard if things get really bad. The cost of a professional install, maybe $100-$150, is way cheaper than a burnt-out fuse box or a tow truck.
Don't be the guy who saved $15 on a kit and ends up paying $500 for repairs. We also cover how to hardwire a dash cam for a clean and reliable power connection.

