The Big Picture
As an Amazon Associate I earn from qualifying purchases.
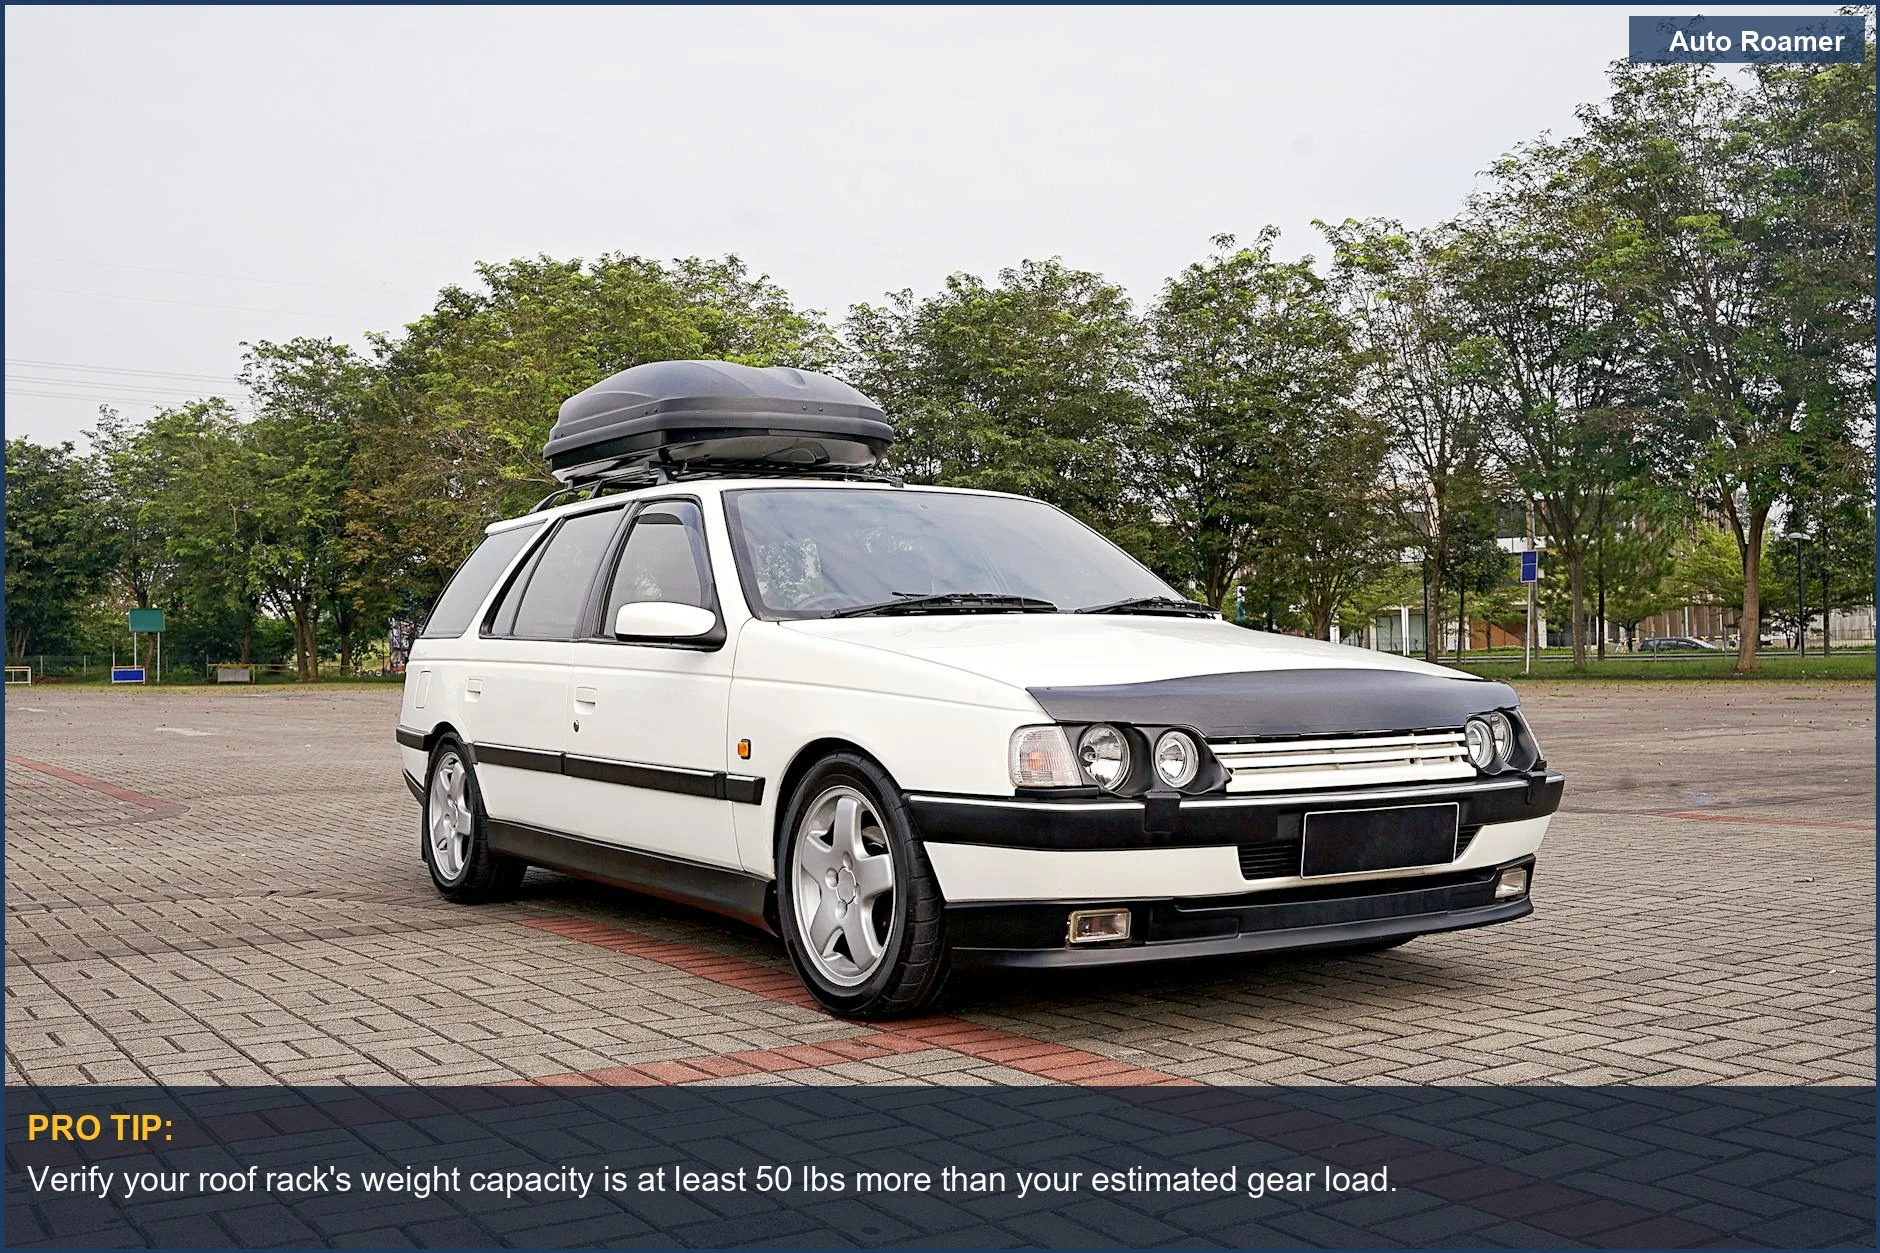
The dealer wanted $180 for a roof rack crossbar on my buddy's 2018 Forester, a piece of aluminum tubing with two clamps. This is for hauling extra gear, sure, but mostly it's about not jamming your skis through the rear window. Or worse, having a wet tent outgassing mildew inside your cabin for a 6-hour drive. You need solid mechanical retention, not just 'extra space.' The vibration frequencies alone will chew through cheap straps. Car and Driver tested a bunch of these, and most are glorified laundry baskets. They don't talk about the sheer forces involved. I do. Roof racks aren't just for aesthetics. They're about load distribution and managing cyclic fatigue on your vehicle's roofline. Every bump in the road, every gust of wind, is a stress cycle on those mounting points. A poorly secured load becomes a projectile, or worse, a resonant mass that rattles your entire chassis apart. This isn't just about 'more space,' it's about maintaining structural integrity under dynamic loads. My old '98 Tacoma had a homemade rack, just some angle iron bolted to the bed rails. It worked, mostly. But the wind noise was like a banshee screaming at 60 MPH, and the fuel economy dropped by 3 MPG because of the increased drag coefficient. You need something engineered, not just cobbled together. The cheap stuff will flex, groan, and eventually, the mounting hardware will lose its clamp load. Don't trust plastic thumbscrews with your $800 tent. We're talking about preventing fatigue cracks in your sheet metal and ensuring your gear doesn't become roadkill. The difference between a solid rack and a flimsy one is often a few millimeters of steel thickness or a better grade of fastener. Pay attention to the details, or pay the body shop later. YouTube reviews often miss the underlying physics.Key Features to Consider
Picking a roof rack isn't about shiny plastic. It's about load-bearing capacity, material properties, and how it interacts with your vehicle's aerodynamics. Ignore the marketing fluff; look at the spec sheet. MotorTrend talks about durability, but durability is a function of material science.
| Feature | Why It Matters (Dirtbag Engineer's Take) |
|---|---|
| Material (Aluminum vs. Steel) | Aluminum offers a better strength-to-weight ratio, reducing roof load and improving fuel economy. Steel is heavier but resists localized deformation better. Both will corrode if not properly coated. Expect surface oxidation on aluminum, rust on steel, unless it's powder-coated right. |
| Mounting System | This is where cheap racks fail. Rail-mounted systems need robust clamps with high shear strength. Fixed-point mounts distribute load directly to the vehicle's frame, minimizing stress concentrations. Aftermarket bars like Yakima JetStream or Thule WingBar Evo bolt directly to factory rails, increasing dynamic load capacity up to 220 pounds on some vehicles. Travel + Leisure mentions stability, but that's a direct result of the mounting system's mechanical advantage. |
| Aerodynamics | Flat, square bars are noisy and generate drag. Airfoils, like those on aero bars, reduce turbulence and vibration frequencies, which means less noise and better fuel economy. It's about minimizing the coefficient of drag, not just how it looks. My old beat-up rack sounded like a jet engine above 55 MPH. |
| Load Capacity | Don't exceed your vehicle's roof weight rating. This isn't just about the rack; it's about the structural integrity of your roof pillars and chassis. Dynamic load capacity is what you can carry while moving; static is for when parked. A Subaru Outback, for example, has a 150-pound dynamic rating, but can handle up to 700 pounds static for a rooftop tent. Know the difference. |
| Accessory Compatibility | If you're attaching specific gear like kayaks or bikes, ensure the crossbar profile and T-slot system are compatible. Proprietary systems can lock you into specific brands, which is a brilliant marketing scam if you ask me. |
Don't forget the tactile feedback. Does it feel solid when you shake it? Any play in the joints is a failure point waiting to happen under cyclic loading. That's a direct indicator of poor tolerance control in manufacturing.
Our Top Picks
Budget vs Premium Options
The difference between a $150 roof bag and a $1000 hard shell isn't just about the brand name. It's about material science, locking mechanisms, and the tolerance stack-up in manufacturing. Road & Track mentions value, but value means different things to different people.
| Feature | Budget Options (e.g., MeeFar Roof Bag) | Premium Options (e.g., Thule Motion XT, Yakima CBX) |
|---|---|---|
| Material | Coated polyester or vinyl. Flexible, prone to UV degradation and abrasion. Zippers are typically coil-style, prone to separation under tension. Water resistance relies on seam sealing, which degrades over thermal cycling. MeeFar Roof Bag is a Car and Driver Best Cargo Bag for portability, but it's not a vault. | |
| Security | Soft zippers, often with small padlock loops. Offers minimal theft deterrence. A sharp knife or a determined yank will defeat it. Think 'deterrent' not 'secure.' | |
| Aerodynamics | Soft bags deform under wind load, creating turbulence and increased drag. This translates to more wind noise and a measurable drop in fuel economy (1-2 MPG easily). Vibration frequency can be higher, leading to faster wear on straps. | |
| Mounting | Typically uses straps that wrap around crossbars or through door frames. These straps can stretch, vibrate, and abrade paint. Clamp load can diminish over time, leading to play and potential detachment. | |
| Durability | Expect a 2-3 year lifespan with regular use, especially in harsh sun. UV radiation embrittles plastics and fabrics. Seams will eventually fail due to fatigue. Not meant for permanent installation. | |
| Cost-per-Fix | Initial cost is low ($50-$200). Replacement is often the only fix for major failures. | |
| Material | High-density ABS plastic or UV-stabilized polycarbonate. Rigid, impact-resistant, and maintains shape at speed. Gaskets provide a true waterproof seal. Thule 1600 cargo box is a common sight on Subarus. | |
| Security | Integrated multi-point locking mechanisms, often with steel reinforcement. Resists prying and slashing. SKS (Same Key System) is common. More secure than a soft bag, but still not a safe. | |
| Aerodynamics | Engineered shapes with reduced drag coefficients. Less wind noise, minimal impact on fuel economy (typically less than 0.5 MPG loss). Maintains its profile at highway speeds. | |
| Mounting | Internal clamping systems with torque-limiting knobs or quick-release levers. Distributes clamp load evenly. Minimizes paint abrasion and offers consistent retention. | |
| Durability | Designed for 10+ years of use. Materials resist UV degradation, thermal expansion/contraction, and impact. Replacement parts (locks, clamps) are usually available. | |
| Cost-per-Fix | High initial cost ($400-$1200). Repairs are possible, extending lifespan significantly. |
Setup and Installation Tips
Mounting a roof rack isn't rocket science, but ignoring the torque specs or skipping steps means you'll be picking your gear up off the highway. I've seen it. Always check the manual. Intrepid Camp Gear highlights platforms, but the mounting process is key for any system.
- Clean Mounting Surfaces: This is critical. Any grit, sand, or debris between the rack feet and your roof/rails will act as an abrasive under vibration. This leads to paint damage, accelerated corrosion, and eventually, a compromised bond. Use isopropyl alcohol for a clean, grease-free surface.
- Measure Crossbar Spacing: Your rack's manual will specify a minimum and maximum crossbar spread. This isn't arbitrary; it's engineered for load distribution and stability. Too close, and the rack will flex too much. Too far, and it might not fit. For a Subaru Outback, this is especially important with their integrated crossbars.
- Tighten Mounting Hardware to Spec: This is where most people screw up. Overtightening can strip threads, crack plastic components, or deform your roof rails. Undertightening means the clamps lose their grip under dynamic load. Use a torque wrench if specified. If not, use common sense - snug, then a quarter turn. Check again after 50 miles. That initial thermal cycling will cause minor material creep and clamp load loss.
- Load Distribution: Place heavier items in the center of the rack, directly over the crossbars, to minimize bending moments on the rack structure. Distribute weight evenly side-to-side to avoid asymmetric loading, which can induce roll in your vehicle and uneven stress on the rack mounts. Keep the center of gravity as low as possible to reduce body roll and improve handling. Your vehicle isn't a tractor-trailer.
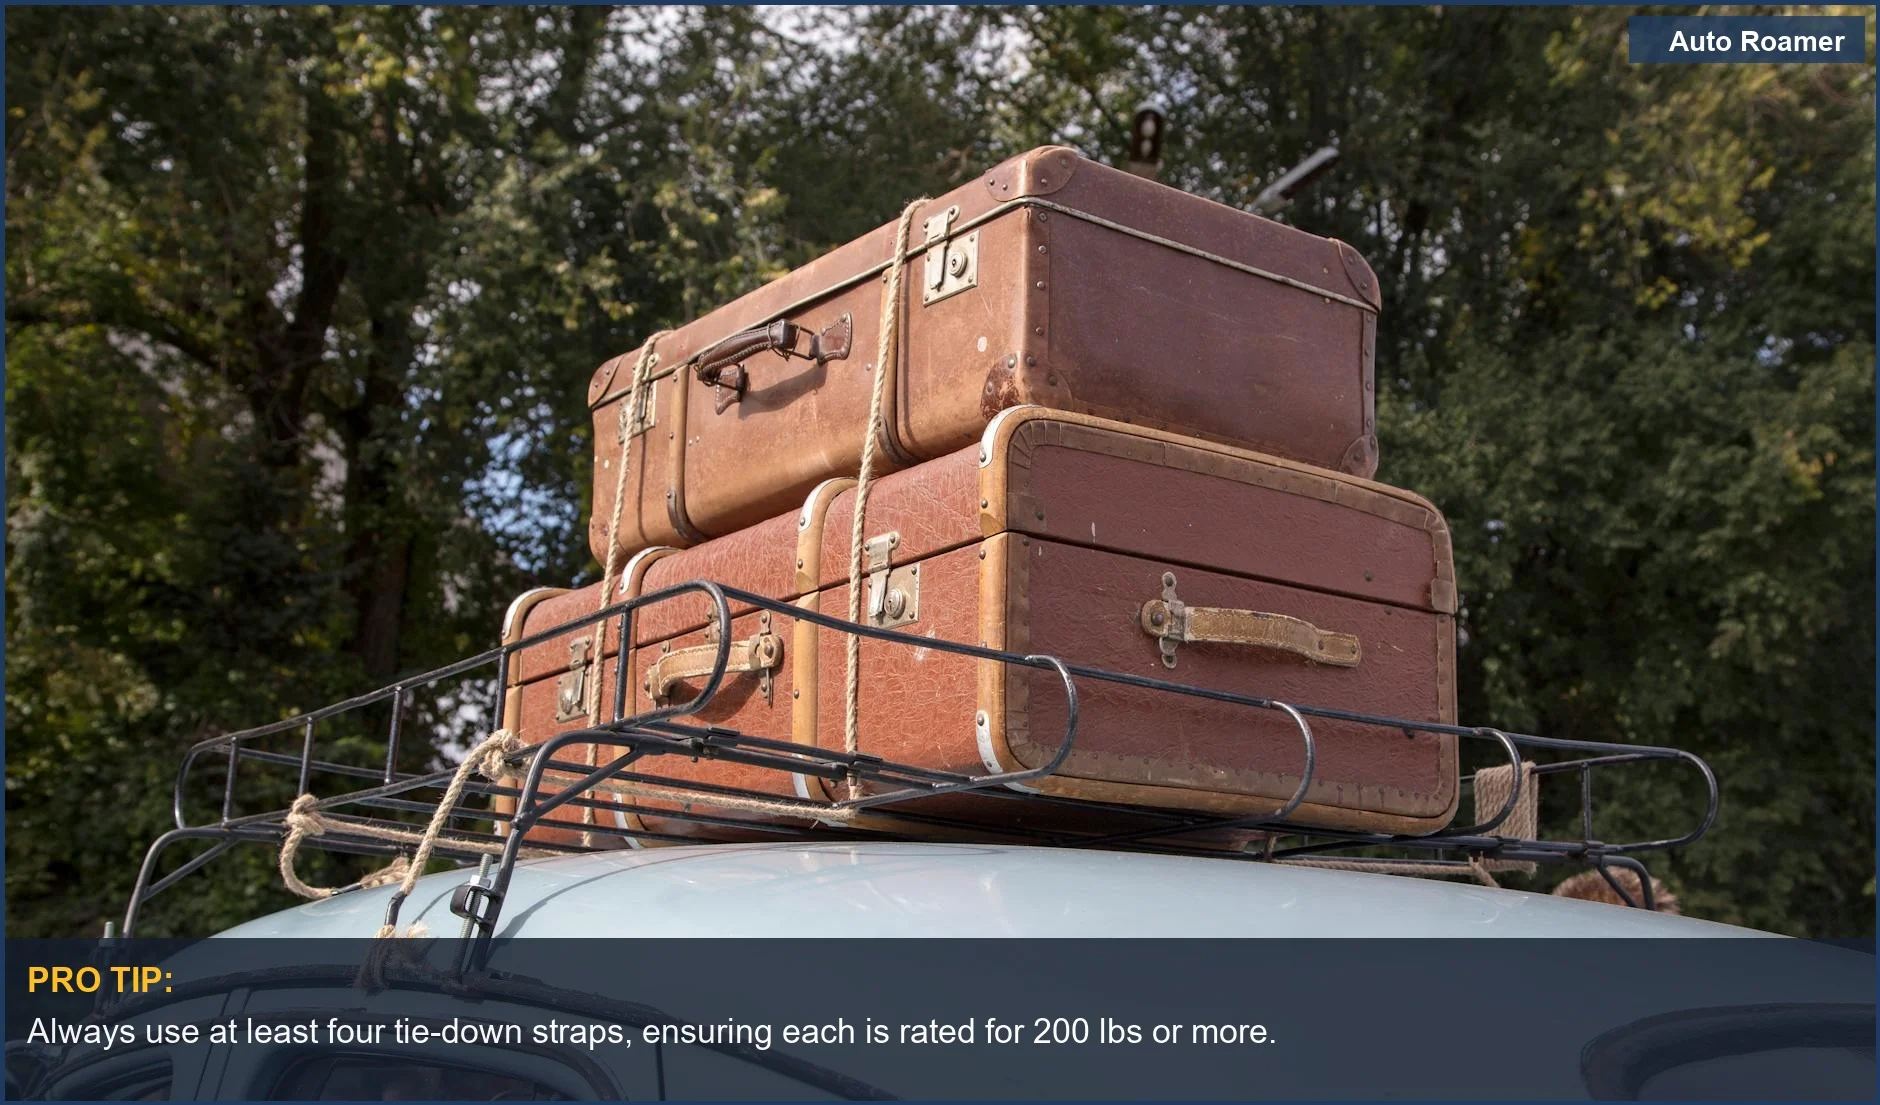
- Secure Your Load: Don't just toss stuff in. Use straps, nets, or internal tie-downs. Loose items become projectiles during hard braking or cornering. The inertia of a 50-pound cooler at 60 MPH is no joke. Check straps for tension after a few miles of driving. Nylon straps will stretch under load and thermal cycling.
Care and Maintenance Tips
You spent good money on this thing, don't let it turn into a rusty, seized mess. A little preventative maintenance goes a long way to prevent galvanic corrosion and fastener failure. This isn't just about 'cleaning'; it's about preserving mechanical bonds.
- Regular Cleaning: Wash off road grime, salt, and dirt. These are abrasive and corrosive. Salt, especially, accelerates oxidation of aluminum and steel components. Use a mild soap and water. Pay attention to the interfaces where different materials meet, like plastic feet on metal rails. Those are prime areas for crevice corrosion. After a camping trip, hose off any mud or organic debris. Intrepid Camp Gear stresses longevity; cleaning is part of that.
- Inspect Fasteners: Periodically check all bolts, clamps, and mounting hardware for tightness. Vibration can cause fasteners to back out. Look for signs of thread galling or corrosion. If a bolt looks rusty, replace it before it seizes or shears off. A seized bolt is a nightmare. I keep a small tube of anti-seize compound in my toolbox for anything that gets exposed to the elements.
- Lubricate Moving Parts: Zippers on soft bags, lock cylinders on hard boxes - these need occasional lubrication. Use a silicone-based spray or graphite powder for locks. Petroleum-based lubricants can attract dirt and degrade plastics over time. A stiff zipper is an invitation for tearing.
- Check for Wear and Tear: Look for cracks in plastic components, frayed straps, or bent metal. These are indicators of localized stress concentrations or fatigue. Address them before they become a complete failure. A small crack can propagate rapidly under cyclic loading. My old cargo bag had a zipper fail after three seasons because I never lubricated it. Lesson learned.
- Remove When Not in Use: If you're not using it for months, take it off. This reduces aerodynamic drag, saves fuel, and minimizes UV exposure and thermal cycling on the rack components. It also reduces the chance of moisture getting trapped and causing corrosion.
Final Recommendations
Don't cheap out on structural components. Your gear, your vehicle, and your safety depend on it. That extra $200 on a decent rack is cheaper than a new roof or a lost tent.
- Prioritize Mechanical Integrity: Look for robust mounting systems, high-quality materials, and good fit and finish. Any play or flimsy components are red flags. The Thule Force 3 and Yakima SkyBox NX 18 are solid choices for their engineered designs and verified clamp load.
- Match to Your Use Case: A soft bag is fine for occasional, light, non-critical items. For heavy gear, regular use, or anything you want truly secure, a hard box or platform is the only way to go. Don't try to cram a week's worth of climbing gear into a glorified duffel bag.
- Don't Skimp on Installation: Follow torque specs. Secure your load. Re-check everything after the first few miles. The forces involved at highway speeds are significant. GearJunkie talks about cargo boxes, but they're only as good as their installation.
- Maintenance Extends Lifespan: Clean it, inspect it, lubricate it. A little effort prevents catastrophic failure and saves you from buying a new one every few years. This isn't just about aesthetics; it's about preventing material degradation.
