First, the Basics
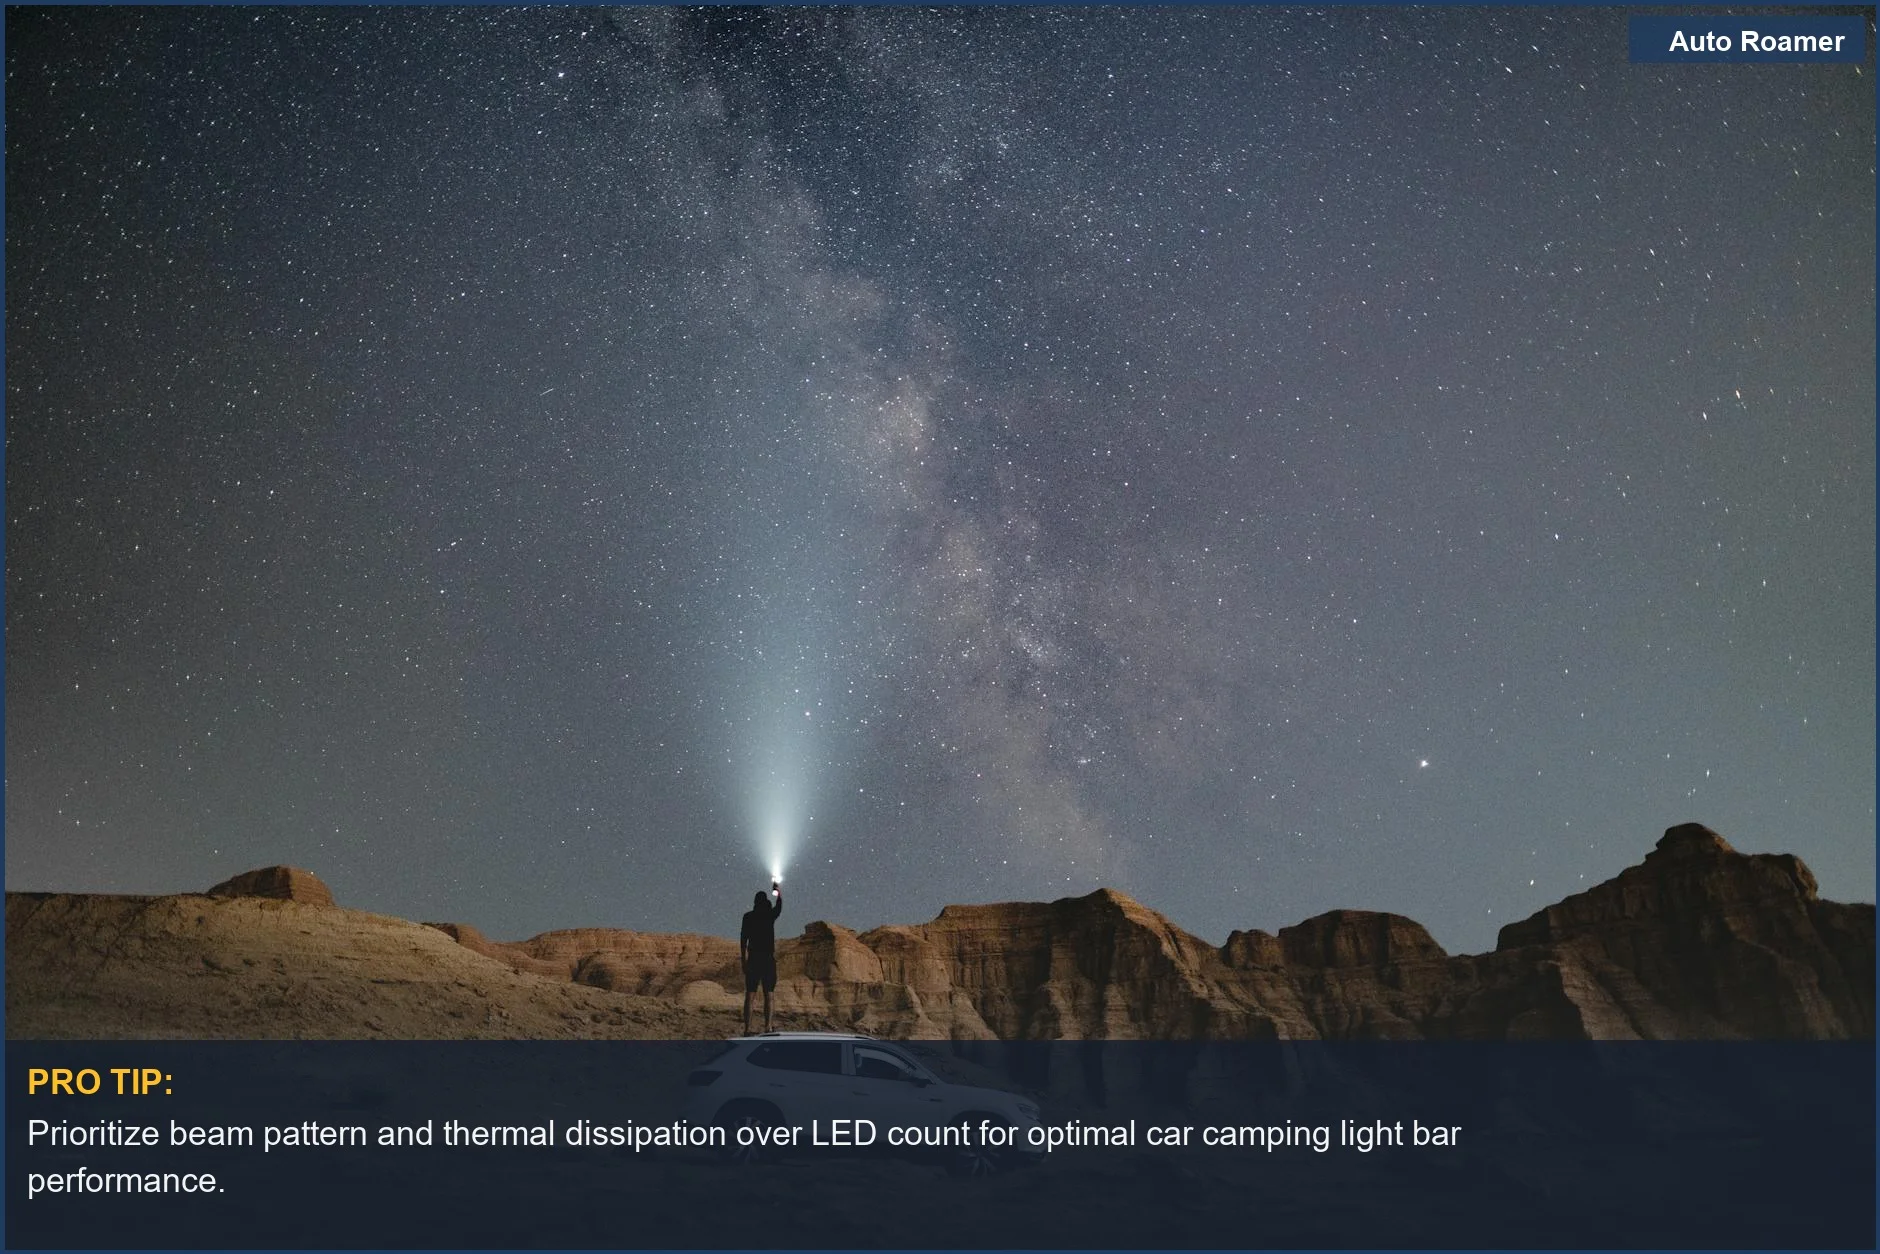
Forget those flimsy camping lanterns that glow like a dying firefly. I'm talking about strapping serious illumination to your rig for car camping, not backpacking. We're not discussing some cute little USB-rechargeable puck that barely lights up your s'mores. We're talking about a proper LED light bar, mounted to your roof rack, bumper, or even a rear hatch, that throws enough photons to turn night into a hazy twilight.
This isn't about ambiance; it's about seeing that ditch before you drive into it at 5 MPH.
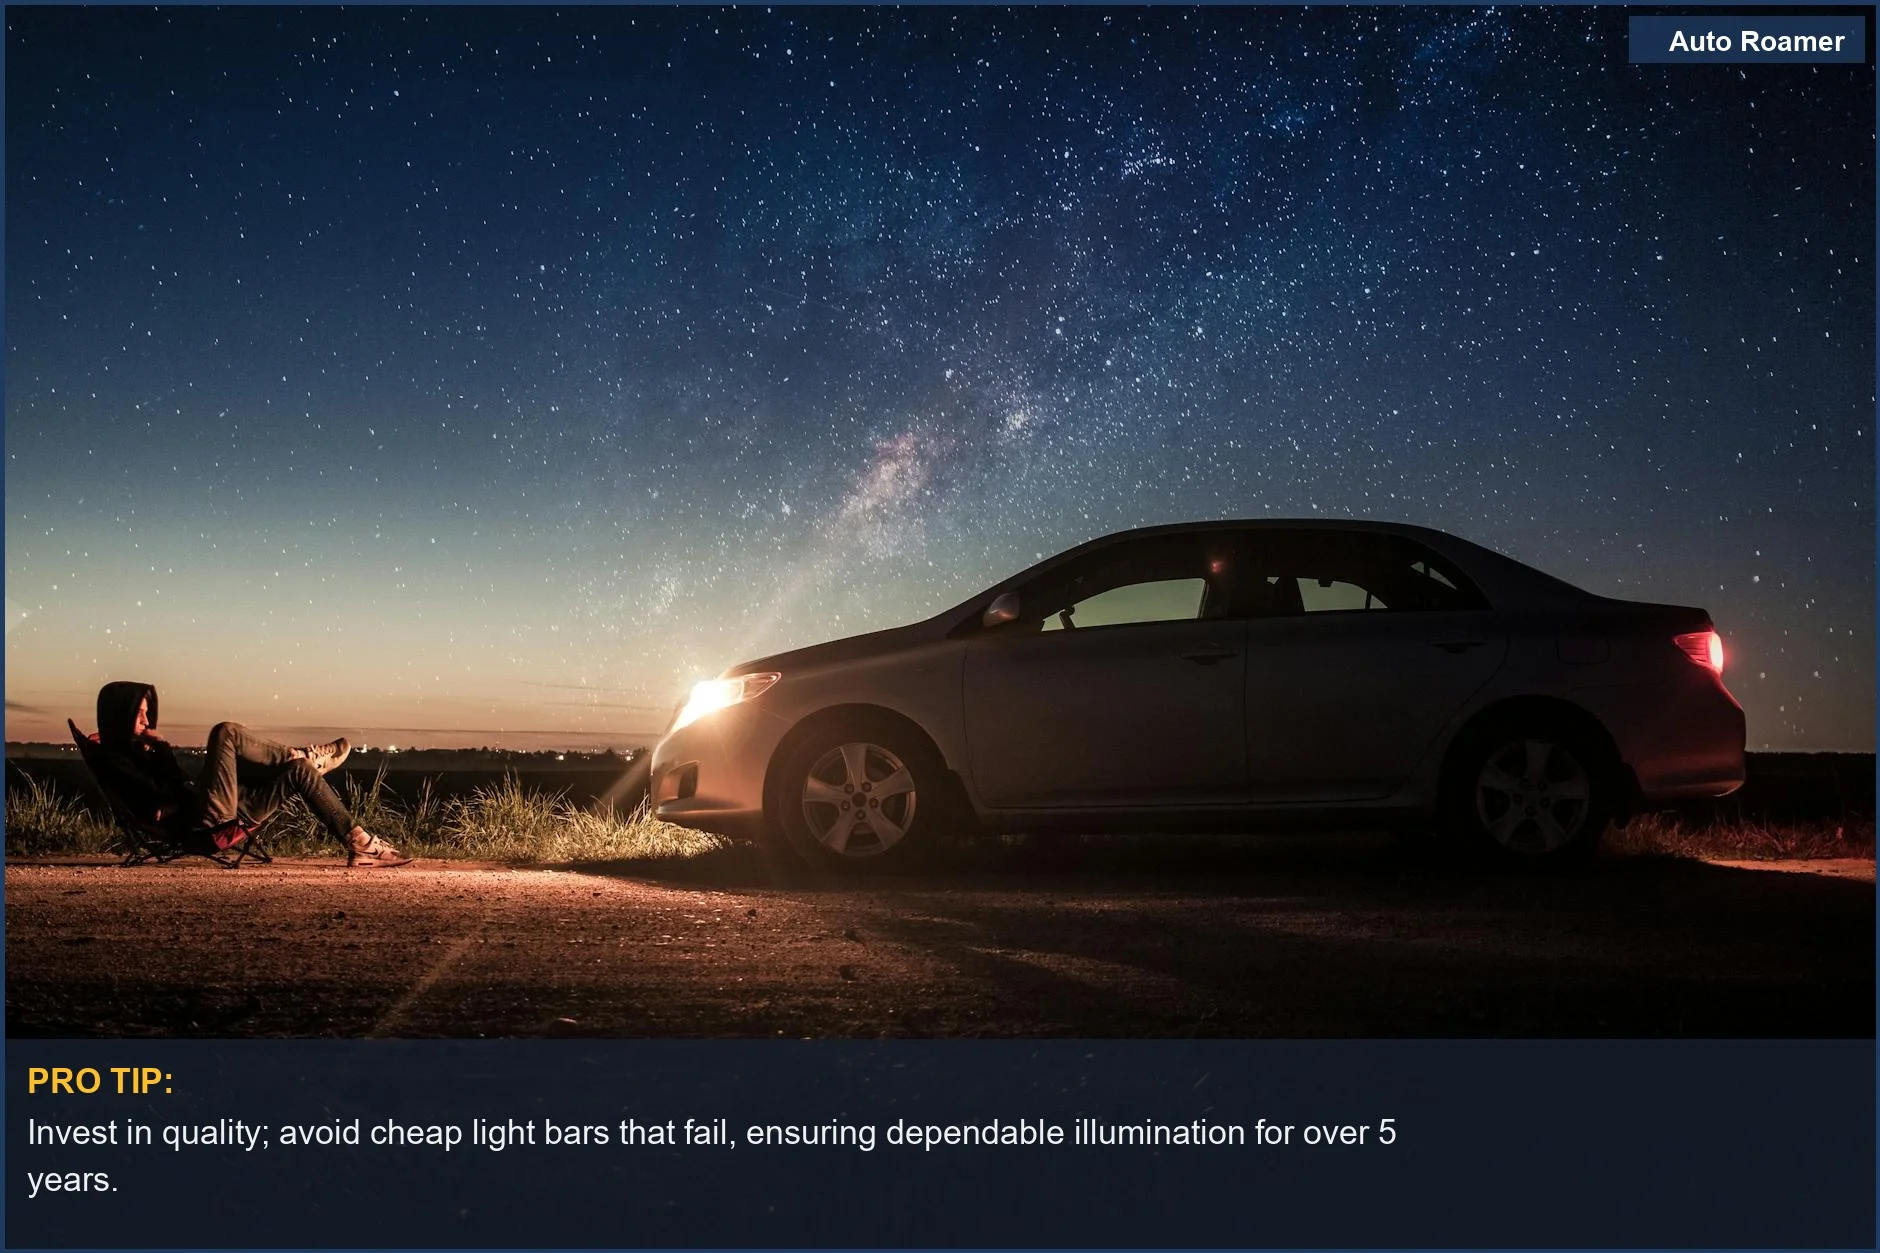
Most cheap light bars are built with the structural integrity of a soda can. They claim 20,000 lumens but deliver maybe 4,000, and that drops to 2,500 after 30 minutes of thermal cycling. You're paying for a sticker. My goal here is to cut through the marketing BS and explain what actually matters: beam pattern, thermal management, and robust mounting points that won't vibrate apart on corrugated roads. Pick Up Truck Talk warns against fixating solely on lumen figures.
I've seen too many 'overlanding' setups with light bars that look tough but are sealed with silicone that outgasses in the sun, leading to moisture intrusion after the first rain. Or they're wired with 22-gauge wire that'll melt before it pops a 10A fuse. This isn't just about brightness; it's about electrical and mechanical reliability. You need a light that won't leave you fumbling in the dark when you actually need it.
Some folks swear by multiple smaller lights, but a well-designed single light bar can offer a more cohesive and efficient beam. It simplifies wiring and reduces potential failure points. Plus, a single, robust housing is often less prone to water ingress than a dozen individual units. CleverHiker highlights illumination and chargeability as key factors, which translates directly to a light bar's performance in a car camping scenario.
Don't let some Instagram influencer convince you that a $50 light bar from a no-name brand will survive more than one season. The internal components, the thermal paste, the wire gauge - these are all critical. A light bar isn't just a bulb; it's an assembly of electronics and optics designed to withstand significant mechanical stress and thermal cycling.
Key Features to Consider
| Feature | Why It Matters (Dirtbag Engineer's View) |
|---|---|
| Beam Pattern | Forget the 'flood' or 'spot' marketing. You need a balanced optic. A good light bar combines a wide throw for peripheral vision (avoiding that rock you almost hit) and a focused center for distance. Too much spot creates tunnel vision; too much flood washes out everything close. One YouTube comparison showed surprising results between cheap and expensive light bars, often related to optics. |
| Thermal Management | LEDs generate heat. Lots of it. If that heat isn't dissipated, the junction temperature rises, efficiency drops, and the diodes degrade. This is thermal cycling failure. Look for deep, plentiful aluminum fins. Without them, your 10,000-lumen bar becomes a 3,000-lumen bar after 20 minutes. |
| IP Rating (IP67/IP69K) | This is about environmental sealing. IP67 means dust-tight and submersible to 1 meter for 30 minutes. IP69K means it can withstand high-pressure, high-temperature washdowns. If you're hitting mud or river crossings, you need IP69K. Anything less guarantees water ingress and corrosion on the circuit board. Olight's guide mentions cutting-edge tech, and proper IP rating is part of that. |
| Mounting Hardware | Cheap light bars come with stamped steel brackets that flex and vibrate. Vibrational fatigue leads to stress cracks. Look for thick, cast aluminum or stainless steel brackets with multiple mounting points. You want zero play in that mount, otherwise, your light beam will dance like a disco ball on rough terrain. |
| Wiring Harness | A proper harness uses 14-gauge or thicker wire, has a waterproof Deutsch connector, and a fused relay. Anything less will suffer voltage drop, generate heat, and likely fail from corrosion or circuit overload. Don't trust tiny 18-gauge wires for high-current draw. |
| Color Temperature (Kelvin) | Around 5000K-6000K (cool white) is standard. Too blue (above 6500K) causes eye strain and reduces contrast in fog. Too yellow (below 4000K) doesn't penetrate as far. It's a balance for optimal visual acuity when driving off-road. |
Our Top Picks
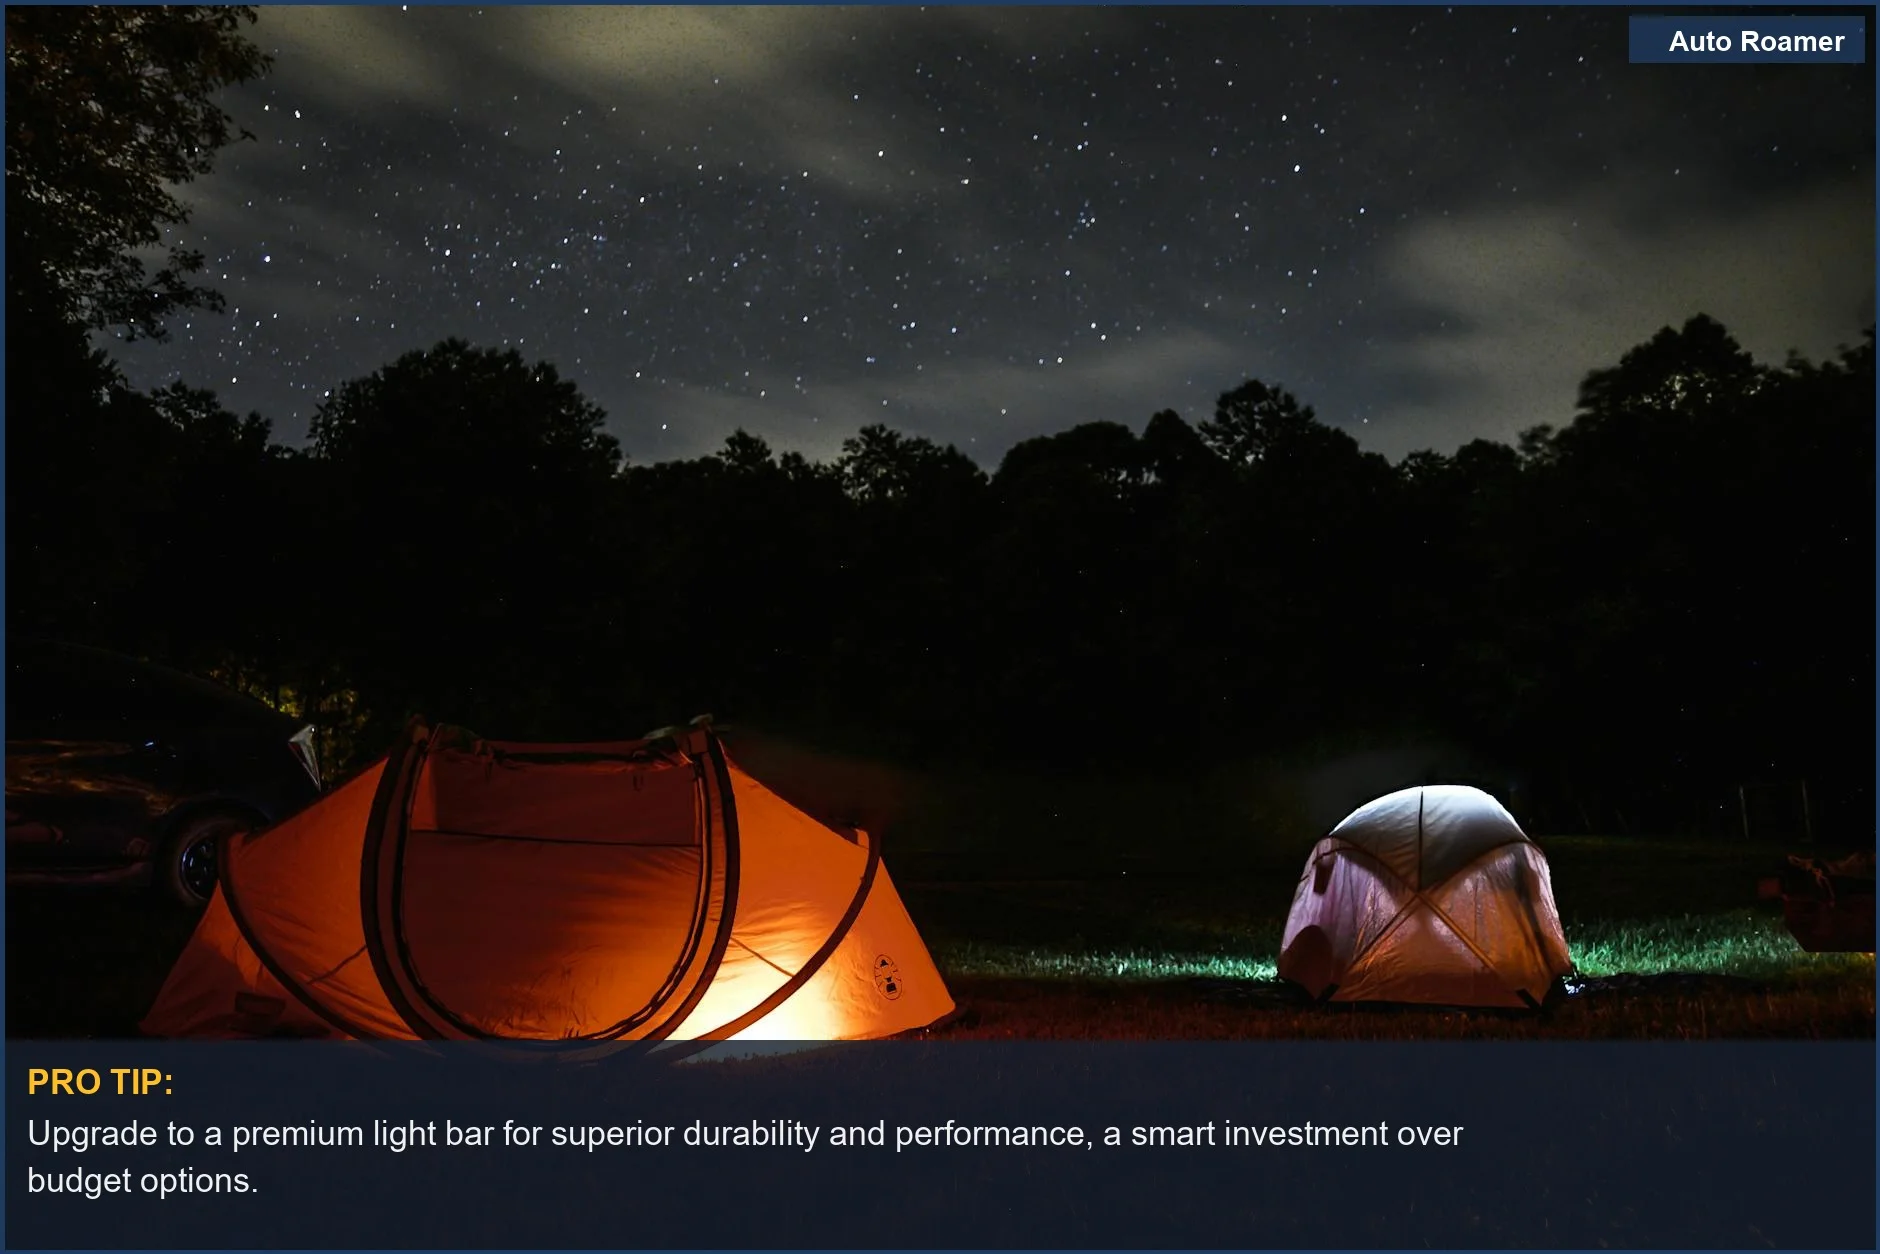
I've run enough cheap Amazon specials to know what fails. The coating flakes, the seals leak, and the internal wiring turns brittle. Spend money once on something that won't leave you stranded in the dark.
Rigid Adapt E-Series LED Lightbar: This thing is over-engineered, which is exactly what I want. It's got an adaptive beam pattern that can change from spot to flood based on speed, which is a neat party trick but also genuinely useful. The housing is robust, and the optics are top-tier.
The Drive rates the KC HiLites Gravity Pro6 highly for durability, and Rigid is in the same league.
- Lumen Output: Up to 17,500 raw lumens (depends on length)
- IP Rating: IP68
- Housing: Extruded aluminum, military-grade finish
- Price: Starts around $800 for shorter bars. Yeah, it's a lot. But you buy it once.
KC HiLites Gravity Pro6 LED Light Bar: These are modular, so you can customize the length and beam pattern. The individual G6 LED inserts use a proprietary reflector system that's incredibly efficient. The wiring is robust, and the mounting system is solid. This is a light bar built for abuse.
Gear Patrol also gives the KC Hilites Gravity Pro6 a nod for its classic look and performance.
- Lumen Output: Up to 23,000 raw lumens (for a 6-light system)
- IP Rating: IP68
- Housing: Die-cast aluminum, modular design
- Price: Around $1,800 for a 6-light 39-inch bar. Again, not cheap.
Baja Designs S8 Light Bar: Baja Designs makes serious off-road lights. The S8 series is a slim profile bar with excellent light output and a very wide, even spread. Their thermal management is excellent, meaning consistent output even on long night drives. The build quality is exceptional, with proper gasketing and robust connectors.
This YouTube video mentions Nilight as a budget option, but Baja Designs is a different class entirely.
- Lumen Output: Up to 12,000 raw lumens (40-inch bar)
- IP Rating: IP69K
- Housing: Aircraft-grade aluminum
- Price: Roughly $900 for a 40-inch bar.
These aren't for the casual user. These are for someone who needs reliable, high-performance illumination that can handle sustained vibration and environmental exposure. The cost-per-fix on a cheap light bar that fails in the middle of nowhere is far higher than the upfront cost of quality.
Budget vs Premium Options
| Feature | Budget Options (e.g., Nilight, generic Amazon) | Premium Options (e.g., Rigid, Baja Designs, KC HiLites) |
|---|---|---|
| Housing Material | Thin extruded aluminum, often with plastic end caps. Prone to warping under thermal stress, leading to seal failure. | Thick, die-cast or billet aluminum. Better heat dissipation, less flex, superior impact resistance. |
| Sealing | Silicone or rubber gaskets that outgas and dry out quickly. Water intrusion (IP65-IP67) is a common failure mode. Reddit users mention poor coating quality on Amazon specials leading to corrosion. | Viton O-rings, epoxy potting, and precision-machined mating surfaces (IP68-IP69K). Designed for thermal cycling without compromising the seal. |
| Optics | Basic polycarbonate lenses, often with significant light loss and poor beam uniformity. Hot spots and dead zones are common. | UV-resistant polycarbonate or glass lenses, engineered reflectors/lenses for precise beam control and minimal light scatter. |
| Mounting Hardware | Thin, stamped steel brackets with minimal adjustability. High vibrational fatigue rate; prone to bending and rusting within a year. | Heavy-gauge stainless steel or cast aluminum brackets. Multi-point attachment, often adjustable, designed to handle shear and torsional forces. |
| Internal Wiring | Thin 20-22AWG wire, cheap connectors, often no relay or undersized fuse. Voltage drop and thermal overheating are guaranteed. | 14-16AWG automotive-grade wire, Deutsch or similar sealed connectors, proper relay and fused circuit. Minimal voltage drop, reliable current delivery. |
| Thermal Performance | Small, shallow heat sinks. LEDs quickly de-rate their output to prevent self-destruction. Lumens drop significantly after 15 minutes. | Large, deep heat sinks with efficient thermal paths. Sustained lumen output even after hours of continuous operation. |
Setup and Installation Tips
Care and Maintenance Tips
You spent good money on that light bar; don't let it die an early death from neglect. Basic care extends its service life significantly. This isn't rocket science, but ignoring it guarantees failure.
- Regular Cleaning (Avoid Abrasives): Dust and mud build up, reducing light output and hindering thermal dissipation. Clean the lens and housing with mild soap and water. Avoid abrasive cleaners or brushes that can scratch the polycarbonate lens, creating micro-fractures that scatter light. Travel + Leisure mentions durability and weatherproof builds, which implies cleaning to maintain those qualities.
- Inspect Wiring and Connections (Corrosion is the Enemy): At least once a year, or after any particularly harsh trip, inspect the wiring harness, connectors, and relay for corrosion. Look for green powdery residue on terminals. Use dielectric grease on all exposed electrical connections to prevent moisture and galvanic corrosion. This maintains circuit integrity.
- Check Mounting Hardware (Vibration Loosens Everything): Vibrational stress will eventually loosen bolts. Check all mounting bolts for proper torque. If you see rust, remove the bolt, clean it, apply anti-seize, and re-torque. A loose mount means the light bar is experiencing excessive dynamic loading, which will eventually cause fatigue failure.
- Examine Seals (UV Degradation is Real): Over time, UV radiation and thermal cycling degrade rubber and silicone seals. Look for cracks, hardening, or signs of water ingress (condensation inside the lens). If you find a compromised seal, you might be able to repair it with RTV silicone, but it's often a sign of impending failure for the entire unit.
A Facebook post about a budget light bar mentioned it came with all hardware, but ensuring its longevity is up to you.
- Lens Protection (Sacrificial Layer): Consider applying a clear protective film over the polycarbonate lens. This sacrificial layer will take the abuse from road debris, branches, and UV, preserving the optical clarity of the main lens. Replace it when it gets too scratched.

Final Recommendations
Don't cheap out on your light bar if you genuinely rely on it for safety and utility. The failure modes are predictable: electrical short, water ingress, or mechanical fatigue. A $50 light bar is a temporary toy, not a piece of reliable equipment. Spend the money once on quality and avoid the headaches of constant replacement and roadside repairs.
- Prioritize Optics and Thermal Management: Lumens are a lie. Beam pattern and sustained output are what matter. A light that maintains 80% of its rated lumens after an hour is better than one that drops to 30%.
- Invest in Robust Mounting: Flimsy brackets fail. Period. Look for thick, cast, or heavy-gauge steel mounts with proper hardware.
Zero play means less vibration, less fatigue.
- Don't Skimp on Wiring: A proper fused and relayed harness is non-negotiable for circuit integrity and preventing vehicle fires. Use appropriate wire gauge. This isn't optional.
- Consider IP69K: If you're going to get truly dirty or wet, IP69K is the standard to aim for. Anything less will eventually succumb to moisture and corrosion.
- Maintenance is Not Optional: Clean it, inspect it, re-torque it.
Your light bar lives in a hostile environment. Treat it like the critical piece of equipment it is. Ignoring it guarantees a short service life.

