Setting the Scene
The factory pop-top on a Volkswagen California is convenient, sure, but it's basically a glorified tarp with an actuator. You're looking at a 10mm canvas thickness, maybe, and a wind rating that makes a slight breeze feel like a gale. I've seen those things flapping like a kite in a 20 MPH gust, and that's not exactly what I call 'structural integrity.' The VW California Club forum has plenty of owners asking how waterproof it really is.
Not a confidence booster.
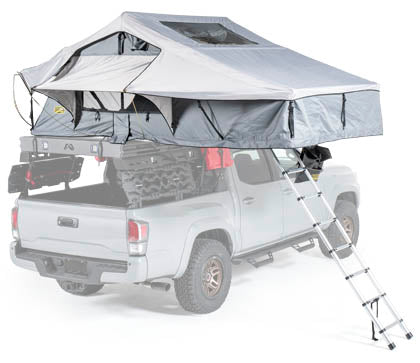
Adding an aftermarket rooftop tent to your California means bumping your sleeping capacity without turning the interior into a sardine can. That stock pop-top is fine for two, maybe three if you really like each other, but anything more and you're stacking bodies. You need a separate, elevated sleep zone, not a floor full of elbows. Escapade4x4 covers this well, noting how it frees up interior space.
Now, the big hurdle is your roof's dynamic load rating. A bare California usually has a factory rack system rated for around 110-165 lbs dynamic. That's the weight it can handle while driving. Your rooftop tent, plus its mounting hardware, eats into that fast. A common hard shell RTT weighs 150 lbs, leaving you maybe 15 lbs for your gear. Brilliant engineering, that.
Static load is what matters when you're parked and sleeping - that's often 5-7 times the dynamic load, so typically 500-1000 lbs. That's enough for a couple of adults and gear, but you still need to verify your specific van's rating. Overland Vehicle Systems emphasizes checking this. Don't just slap a tent on and hope for the best.
My concern isn't just the tent's weight, it's the torsional stress on the roof mounts from crosswinds and road vibration. You're adding a big sail to the top of your van. That factory roof rail attachment point wasn't designed for constant shear stress from a 150 lb box catching 40 MPH wind. You need a solid, integrated rack system, not just a couple of crossbars clamped to plastic trim.
We're talking about structural integrity here, not just 'more sleeping space.' If you cheap out on the rack, you'll be replacing roof sheet metal after your tent decides to become a projectile. The goal is to add a proper, stable platform, not just a temporary attachment point. Freespirit Recreation's guide details the various rack systems. Pick one that can handle the load, not just the marketing hype.
Key Features to Consider
The Specs That Actually Matter
When you're bolting a small apartment to your roof, you need to think about more than just square footage. My focus is always on the mechanical interface and the material properties that prevent failure. Here's what I care about:
| Feature | Why It Matters (Dirtbag Engineer's Perspective) |
|---|---|
| Shell Material (Hard vs. Soft) | Hard shells (ABS, fiberglass, aluminum) offer superior aerodynamic profiles, reducing parasitic drag by 15-20% compared to soft shells. This translates to less fuel consumption and reduced wind noise, which is just high-frequency vibration transmitted to the chassis. Soft shells are lighter, but their packed dimensions create more turbulence. OVS explains the difference. |
| Weight Capacity (Static/Dynamic) | Dynamic load is the maximum weight the roof can safely support while driving - usually 110-165 lbs for a California. Static load is for when parked, often 500-1000 lbs. Ignore the static at your peril; too much weight, and you're bending roof pillars. Too much dynamic, and you're cracking windshields from chassis flex. |
| Mounting System | Look for robust aluminum or steel channels with T-slot compatibility. The clamp load on the crossbars should be evenly distributed. Weak plastic clamps or thin-gauge steel will deform under thermal cycling and road vibration, leading to fastener loosening and potential tent detachment. This isn't theoretical; I've seen it. |
| Fabric Denier/Waterproof Rating | A 280D poly-cotton ripstop is a baseline. Anything less is basically a glorified picnic blanket. Look for a minimum 2000mm hydrostatic head rating. This measures water column resistance. Lower ratings mean water ingress at around 2 PSI of pressure - a heavy downpour. Don't trust 'water-resistant' claims. |
| Setup/Teardown Time | Hard shells often deploy in under 2 minutes, soft shells 5-10 minutes. This isn't just convenience; it's about minimizing the time the structure is exposed to wind loading during setup. A faster setup means less chance of a gust catching an open tent and ripping it from its mounts. This video shows a 30-second setup - impressive, but verify the structural integrity. |
| Mattress Thickness/Density | A 2-3 inch high-density foam (e.g., 1.8 lb/ft^3) is standard. Thicker doesn't always mean better; it's the density that prevents bottoming out. A cheap, low-density foam will compress to nothing, transferring all road vibration directly to your spine. |
| Ventilation/Condensation Control | Multiple screened windows and rainfly vents are critical. Without adequate airflow, your breath alone will condense on the interior walls. This isn't just discomfort; it leads to mildew growth, fabric degradation, and eventually, material failure. Evaporation is a thermodynamic process, and it needs a differential pressure. |
Don't let marketing fluff distract you from the hard numbers. The tent's weight, the fabric's denier, the water column rating - these are the specs that dictate longevity and reliability. Everything else is just a sales pitch.
Our Top Picks

Budget vs Premium Options
Cutting Corners or Investing: What's the Real Difference?
When you look at a $1,200 rooftop tent versus a $4,000 one, it's easy to assume you're just paying for a brand name. But in engineering terms, you're paying for material science, manufacturing tolerances, and the absence of failure modes. Even the factory VW California has its material limitations.
| Feature | Budget Option (~$1,000 - $2,000) | Premium Option (~$3,000 - $5,000+) |
|---|---|---|
| Shell Material | Often lighter gauge aluminum or ABS plastic. ABS can become brittle with prolonged UV exposure and thermal cycling, leading to stress cracks around mounting points. | Heavy-duty fiberglass, thicker aluminum with integrated stiffeners, or higher-grade composites. These maintain dimensional stability under extreme temperatures and UV. |
| Fabric Durability | 260D-300D polyester or poly-cotton with a lower 1500-2000mm hydrostatic head. Stitching might be single-pass, susceptible to seam failure under tension or abrasion. | 300D-600D ripstop poly-cotton, often with a 2500-3000mm hydrostatic head. Double-stitched, taped seams, and higher UV-resistant coatings for extended lifespan against solar degradation. |
| Mounting Hardware | Stamped steel brackets, thinner gauge aluminum channels. Bolts are often lower grade (e.g., Grade 5) and prone to fatigue failure from vibration. More play in the mounting interface. | CNC-machined aluminum extrusions, stainless steel hardware (Grade 8 equivalent), and custom-designed clamps. Tighter tolerances reduce vibration and shear stress on fasteners. |
| Ladder Construction | Telescoping aluminum, often with thinner wall thickness. More wobble and flex under load, leading to localized stress concentrations at hinge points. | Thicker gauge aluminum, often with wider steps and more robust locking mechanisms. Reduced deflection and improved torsional rigidity. |
| Mattress Quality | 2-inch low-density foam (below 1.5 lb/ft^3). Compresses quickly, offering minimal insulation or impact absorption. | 3-4 inch high-density foam (1.8-2.2 lb/ft^3) with an anti-condensation mat. Maintains loft and provides better thermal insulation and comfort. |
| Weather Sealing | Basic rubber seals, often with gaps or inconsistent compression. Prone to water and dust ingress, leading to corrosion of internal components and mold. | Multi-layered, high-compression seals (EPDM rubber), often with drip channels and integrated rainfly designs that actively shed water. |
My take? The budget options cut costs on material thickness and manufacturing precision. Those small tolerances add up to big reliability differences over thousands of miles of vibration and thermal cycling. You're not just paying for a nicer tent; you're paying for less mechanical stress and a lower failure rate. The premium tent might cost more upfront, but it'll save you headaches and potential repairs down the line.
Setup and Installation Tips
Bolting it Down: Setup and Installation Tips
Don't just yank it out of the box and throw it on the roof. You're dealing with a significant mass and aerodynamic load. The goal is to secure it so it doesn't become a 150 lb projectile at 70 MPH. This isn't just 'camping' anymore; it's basic mechanical engineering. Watching a VW California setup video is good, but they rarely show the nitty-gritty of the rack install.
- Verify Your Rack System: First, make sure your Volkswagen California has a robust roof rack. Factory crossbars often have low dynamic load ratings - sometimes as low as 110 lbs. A heavy hard shell RTT can exceed this before you even climb in. You need a platform rack or heavy-duty crossbars rated for at least 165 lbs dynamic. Don't eyeball it; check the spec sheet.
- Clean Mounting Surfaces: Before attaching anything, clean the underside of the tent base and the top of your crossbars with isopropyl alcohol. Any dirt, grease, or road grime can reduce the friction coefficient, allowing for micro-slippage and increased wear on mounting hardware. This is a common point of failure.
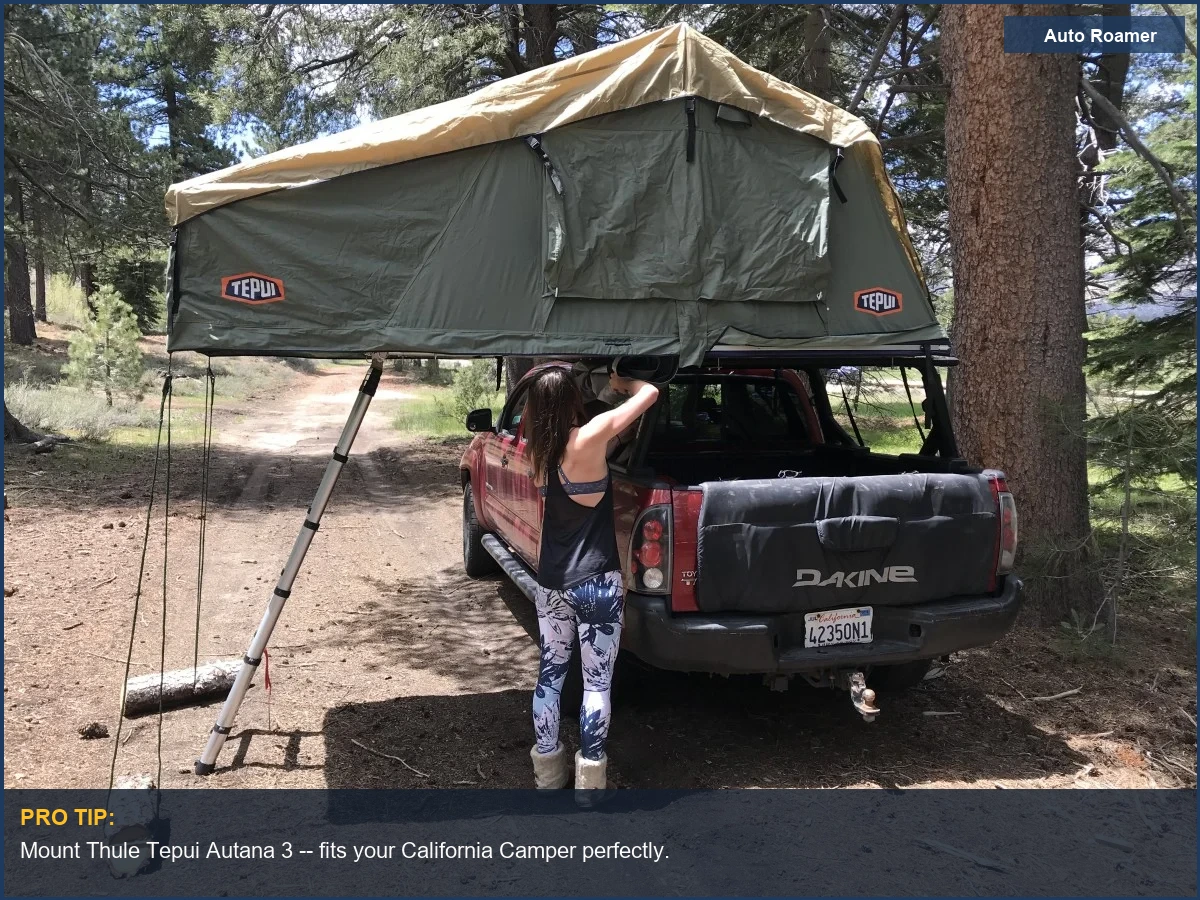
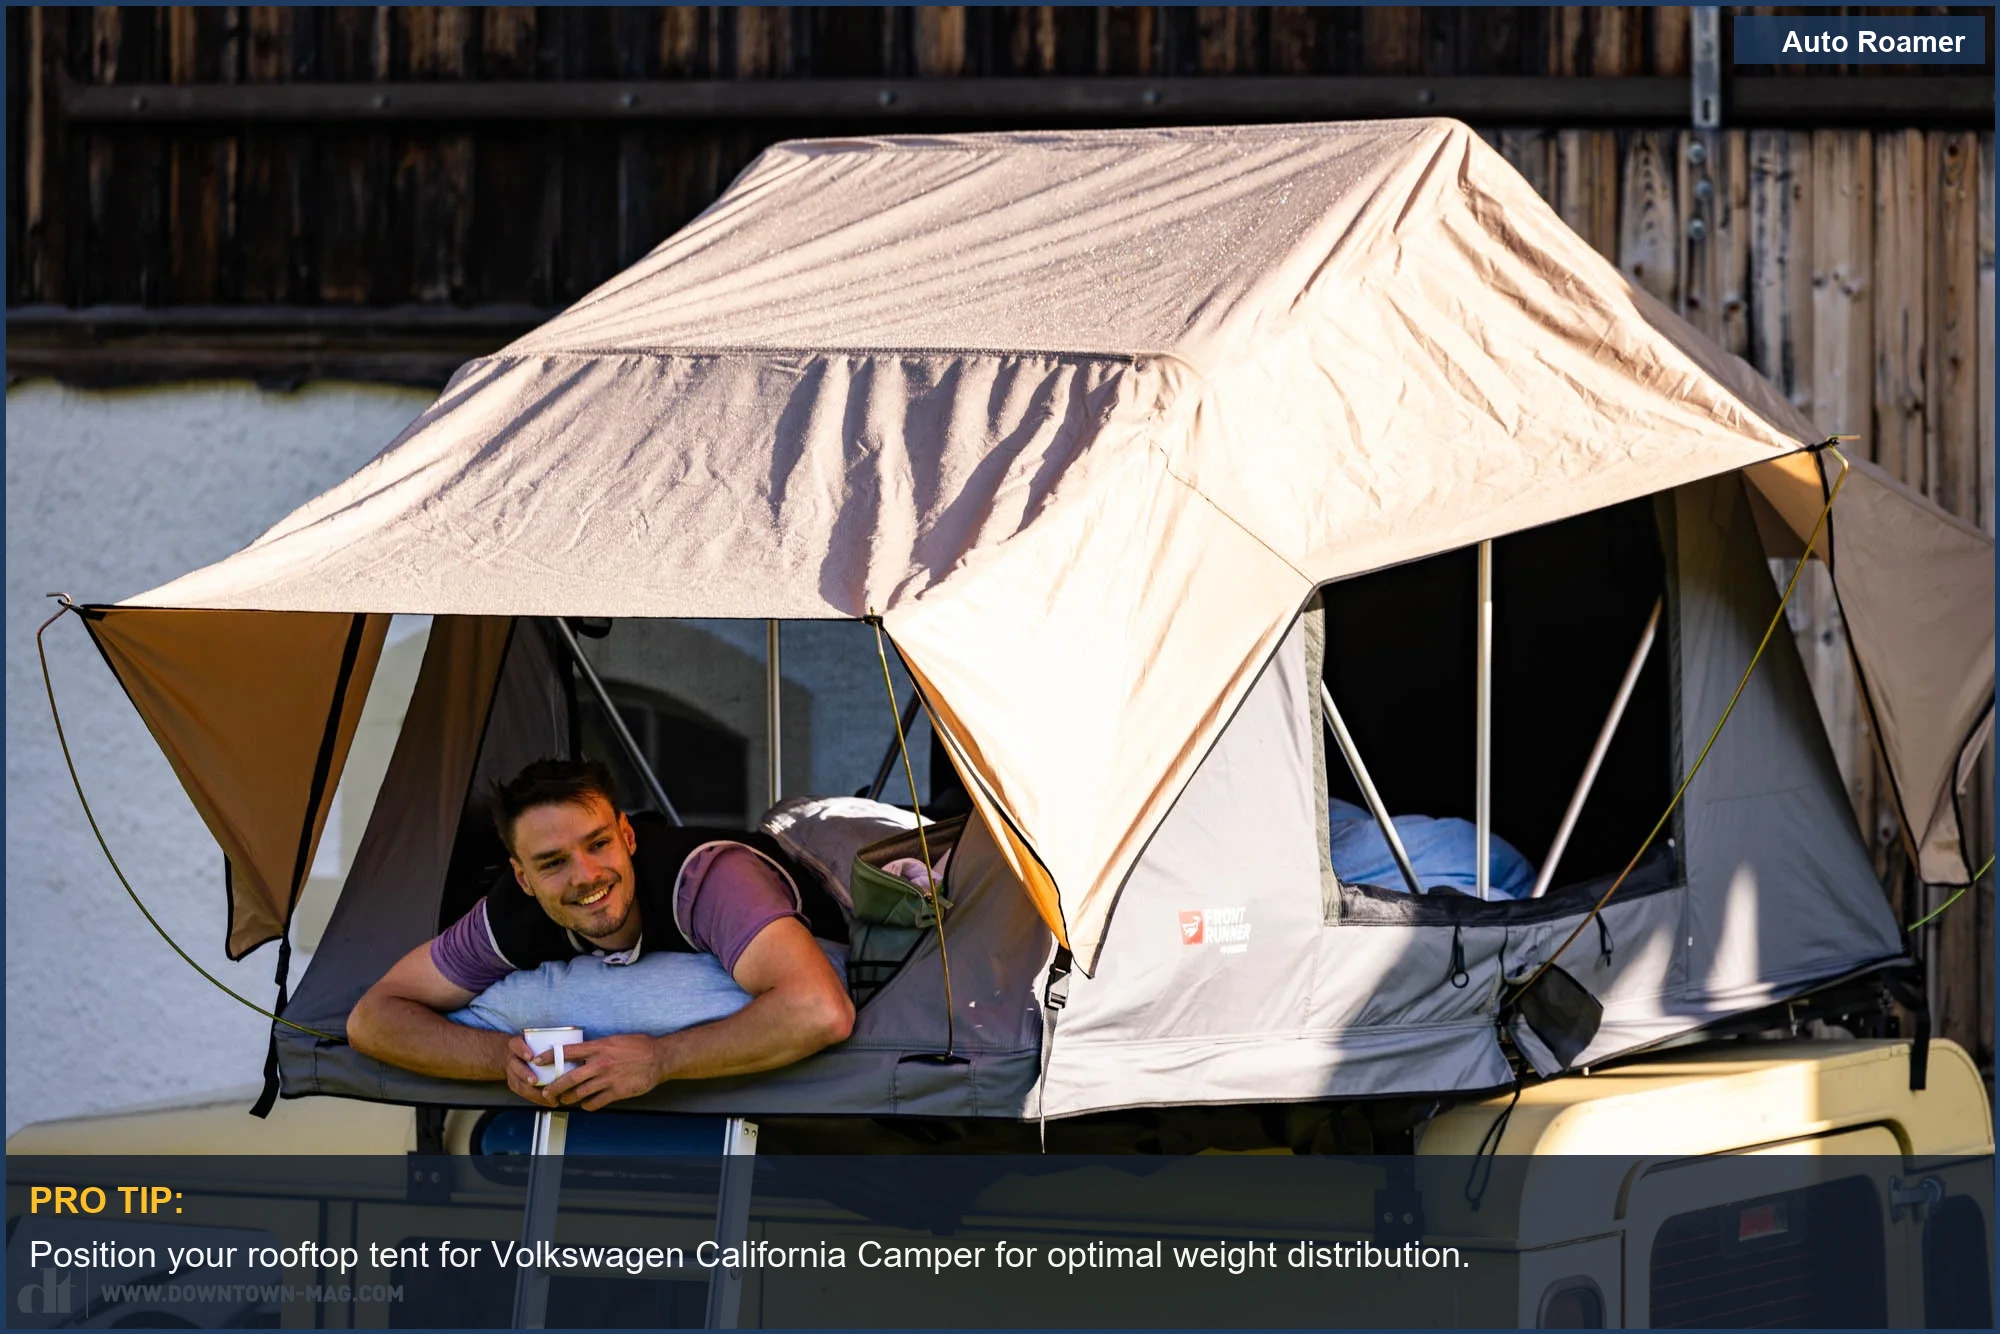
- Positioning for Weight Distribution: Center the tent's mass over your vehicle's axles as much as possible. This minimizes changes to the center of gravity and reduces torsional stress on the chassis during cornering. A tent too far forward or back acts like a lever, amplifying forces on the roof structure.
- Secure Mounting Hardware (Torque is Key): Use the provided U-bolts or T-slot bolts. Apply anti-seize to threads before tightening to prevent galling and ensure accurate torque readings. Torque all nuts to the manufacturer's specified value, typically 15-20 ft-lbs for M8 bolts. Overtightening can strip threads or deform mounting brackets; undertightening leads to vibration-induced loosening. Always use a calibrated torque wrench.
- Double-Check All Fasteners: After the first 50-100 miles, re-check the torque on all mounting bolts. Road vibration and thermal cycling can cause initial settling of the hardware, leading to a slight loss of clamp load. This is a critical step that most people skip, and it's why tents sometimes work themselves loose. Roadtrippers also advises checking your gear after the first drive. They're not wrong.

Care and Maintenance Tips
Keeping it from Falling Apart: Care and Maintenance Tips
Your rooftop tent is exposed to UV radiation, thermal cycling, and constant mechanical vibration. Neglecting maintenance isn't just about aesthetics; it's about preventing material degradation and eventual structural failure. This isn't a set-it-and-forget-it deal. Even a T4 pop-top canvas needs regular attention.
- Clean the Fabric Regularly: After each trip, deploy the tent and brush off loose dirt. Use a mild soap and water solution (no harsh detergents or bleach - they degrade waterproof coatings) to clean the canvas. Rinse thoroughly and ensure it's completely dry before packing it away. Moisture trapped in folded fabric leads to mildew, which is a biological attack on the fibers, reducing tensile strength.
- Inspect Zippers and Seams: Zippers are high-wear mechanical components. Clean them with a small brush and lubricate with a silicone-based spray or zipper wax to reduce friction and prevent corrosion. Inspect all seams for loose threads or signs of delamination - these are points of water ingress and structural weakness.
- Check Mounting Hardware: Every few months, or after particularly rough roads, re-torque all mounting bolts on the rack and tent. Vibration causes fasteners to loosen. Verify there's no play in the connection. Look for signs of abrasion or stress marks on the roof rails or tent base, indicating movement.
- Lubricate Moving Parts: If your tent uses gas struts or hinges for deployment, apply a light, non-corrosive lubricant (like dry PTFE spray) to pivot points. This reduces friction and wear, extending the life of the components. Don't use heavy grease; it attracts dirt and debris.
- Inspect the Mattress and Base: Pull out the mattress occasionally to check for moisture underneath. An anti-condensation mat helps, but isn't foolproof. Trapped moisture can lead to mold on the tent base or even corrosion of aluminum components. Air it out. Check the base for cracks or deformation, especially around mounting points.
- Store Properly: If storing for an extended period, remove the tent from the vehicle. Clean it thoroughly, ensure it's bone dry, and store it in a cool, dry place away from direct sunlight. UV exposure is the silent killer of fabric and plastic components, causing polymer chains to break down and material strength to diminish.
Final Recommendations
Look, adding a rooftop tent to your Volkswagen California isn't just about having another place to crash. It's about modifying your vehicle's load characteristics, aerodynamics, and overall structural integrity. Don't treat it like buying a new set of floor mats. Roadtrippers gives a good overview, but they don't get into the physics.
- Prioritize the Rack: A $1,500 tent on a flimsy $200 rack is a recipe for disaster. Invest in a heavy-duty platform rack or robust crossbars that exceed your tent's weight by at least 25%. This provides a safety factor against dynamic loading and unexpected impacts.
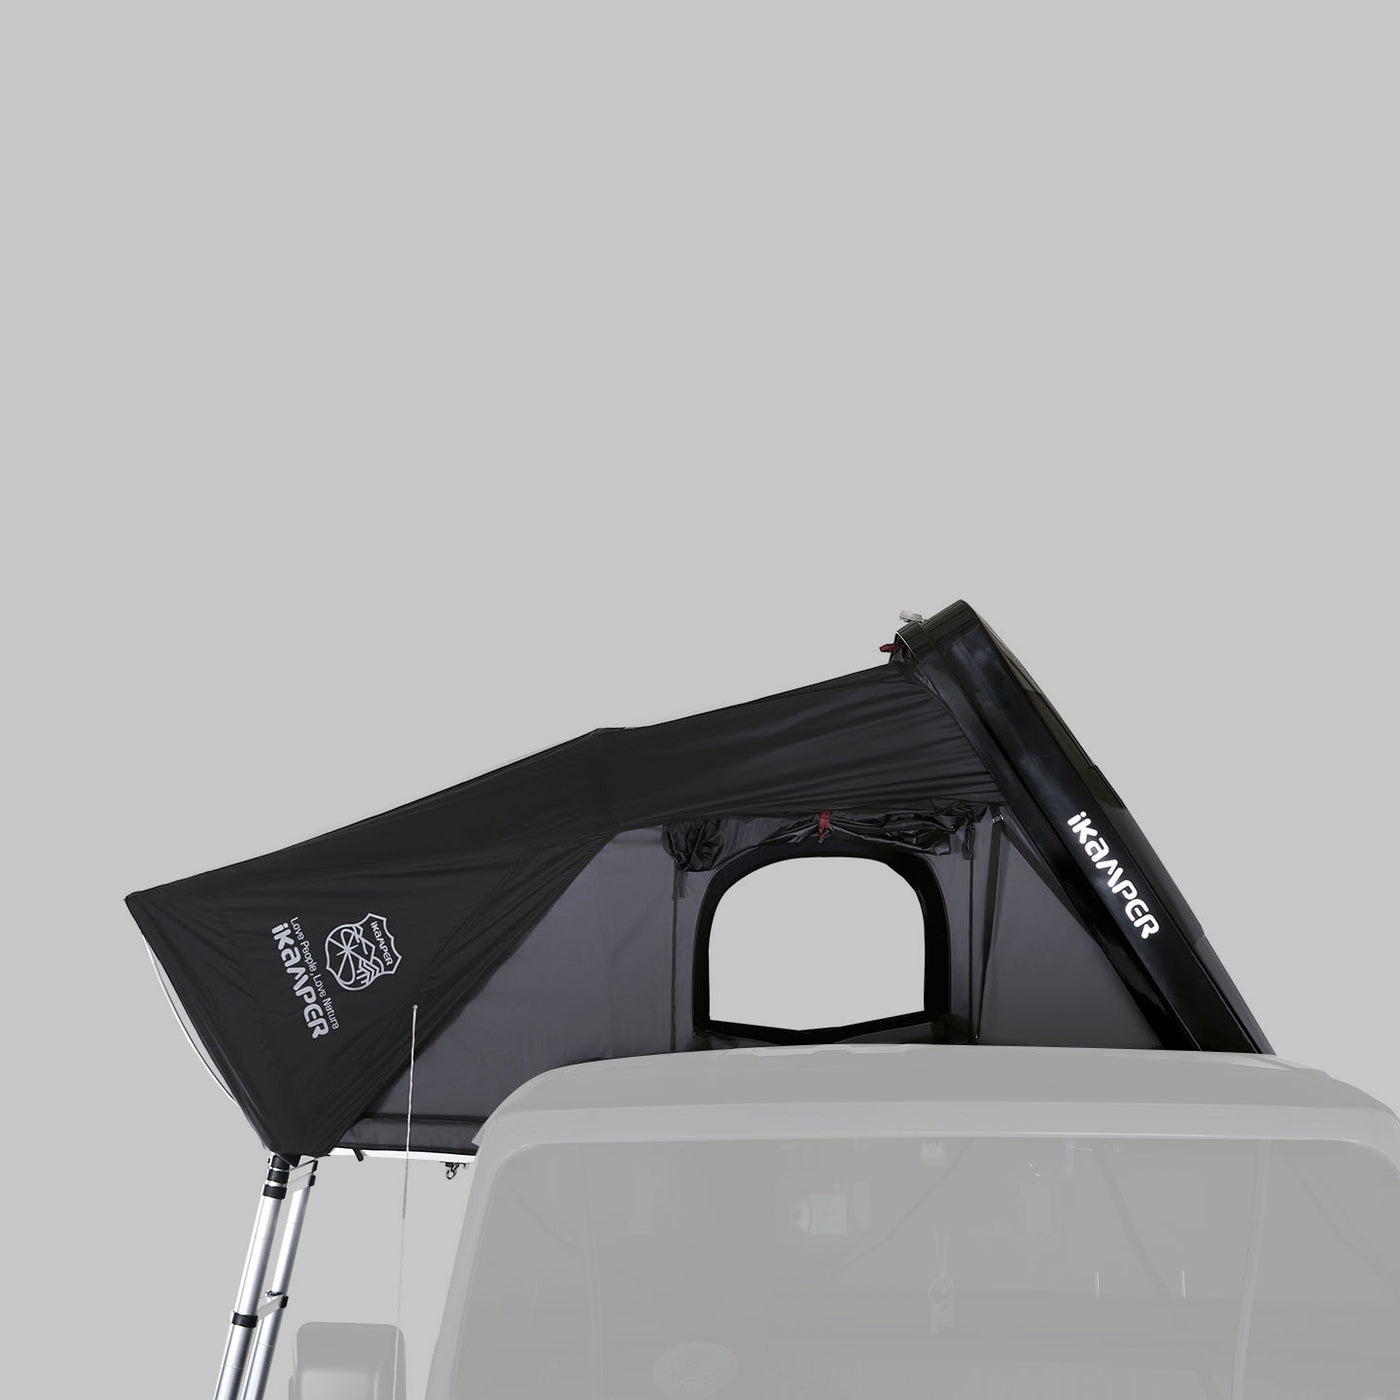
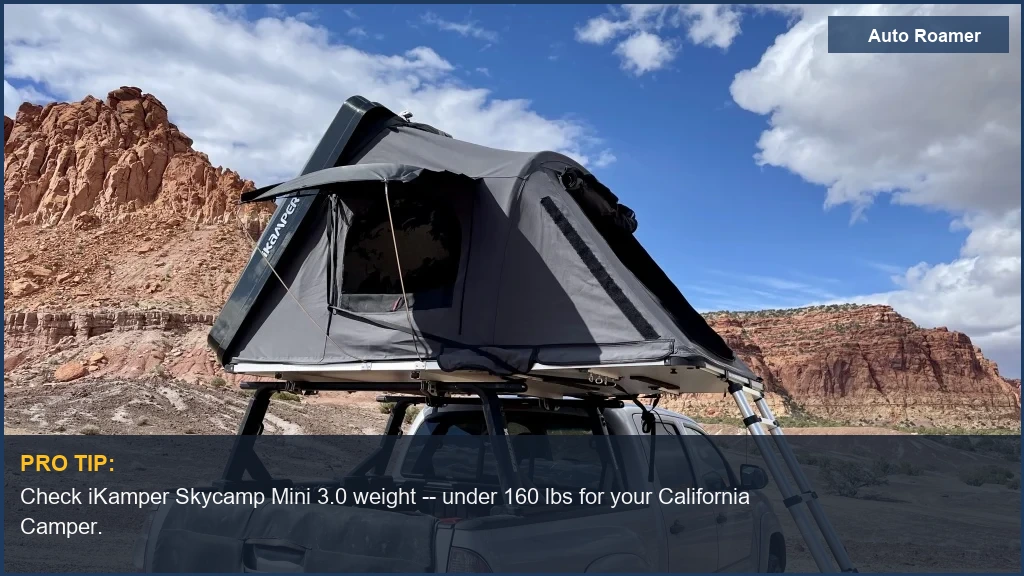
- Hard Shell for Longevity and Aerodynamics: While more expensive upfront, a hard shell tent like the iKamper Skycamp Mini 3.0 offers superior aerodynamics, reducing drag and fuel consumption by minimizing turbulence. Its rigid structure also handles thermal cycling and UV exposure better, leading to a longer service life.
- Don't Skimp on Fabric Denier: Aim for 300D-600D poly-cotton ripstop with a hydrostatic head of at least 2000mm. This is your primary barrier against the elements. Anything less and you'll be dealing with leaks and premature fabric degradation.
- Verify Mounting Hardware: Ensure all bolts are high-grade steel and torqued to spec. Check for play in mounting interfaces. Any movement equals accelerated wear and potential failure. This isn't rocket science, it's just clamp load management.
- Regular Maintenance is Non-Negotiable: Clean the fabric, lubricate zippers, and re-torque mounting bolts. These simple steps prevent costly repairs and extend the lifespan of your investment. Ignoring them is just inviting a failure mode.
