The Big Picture
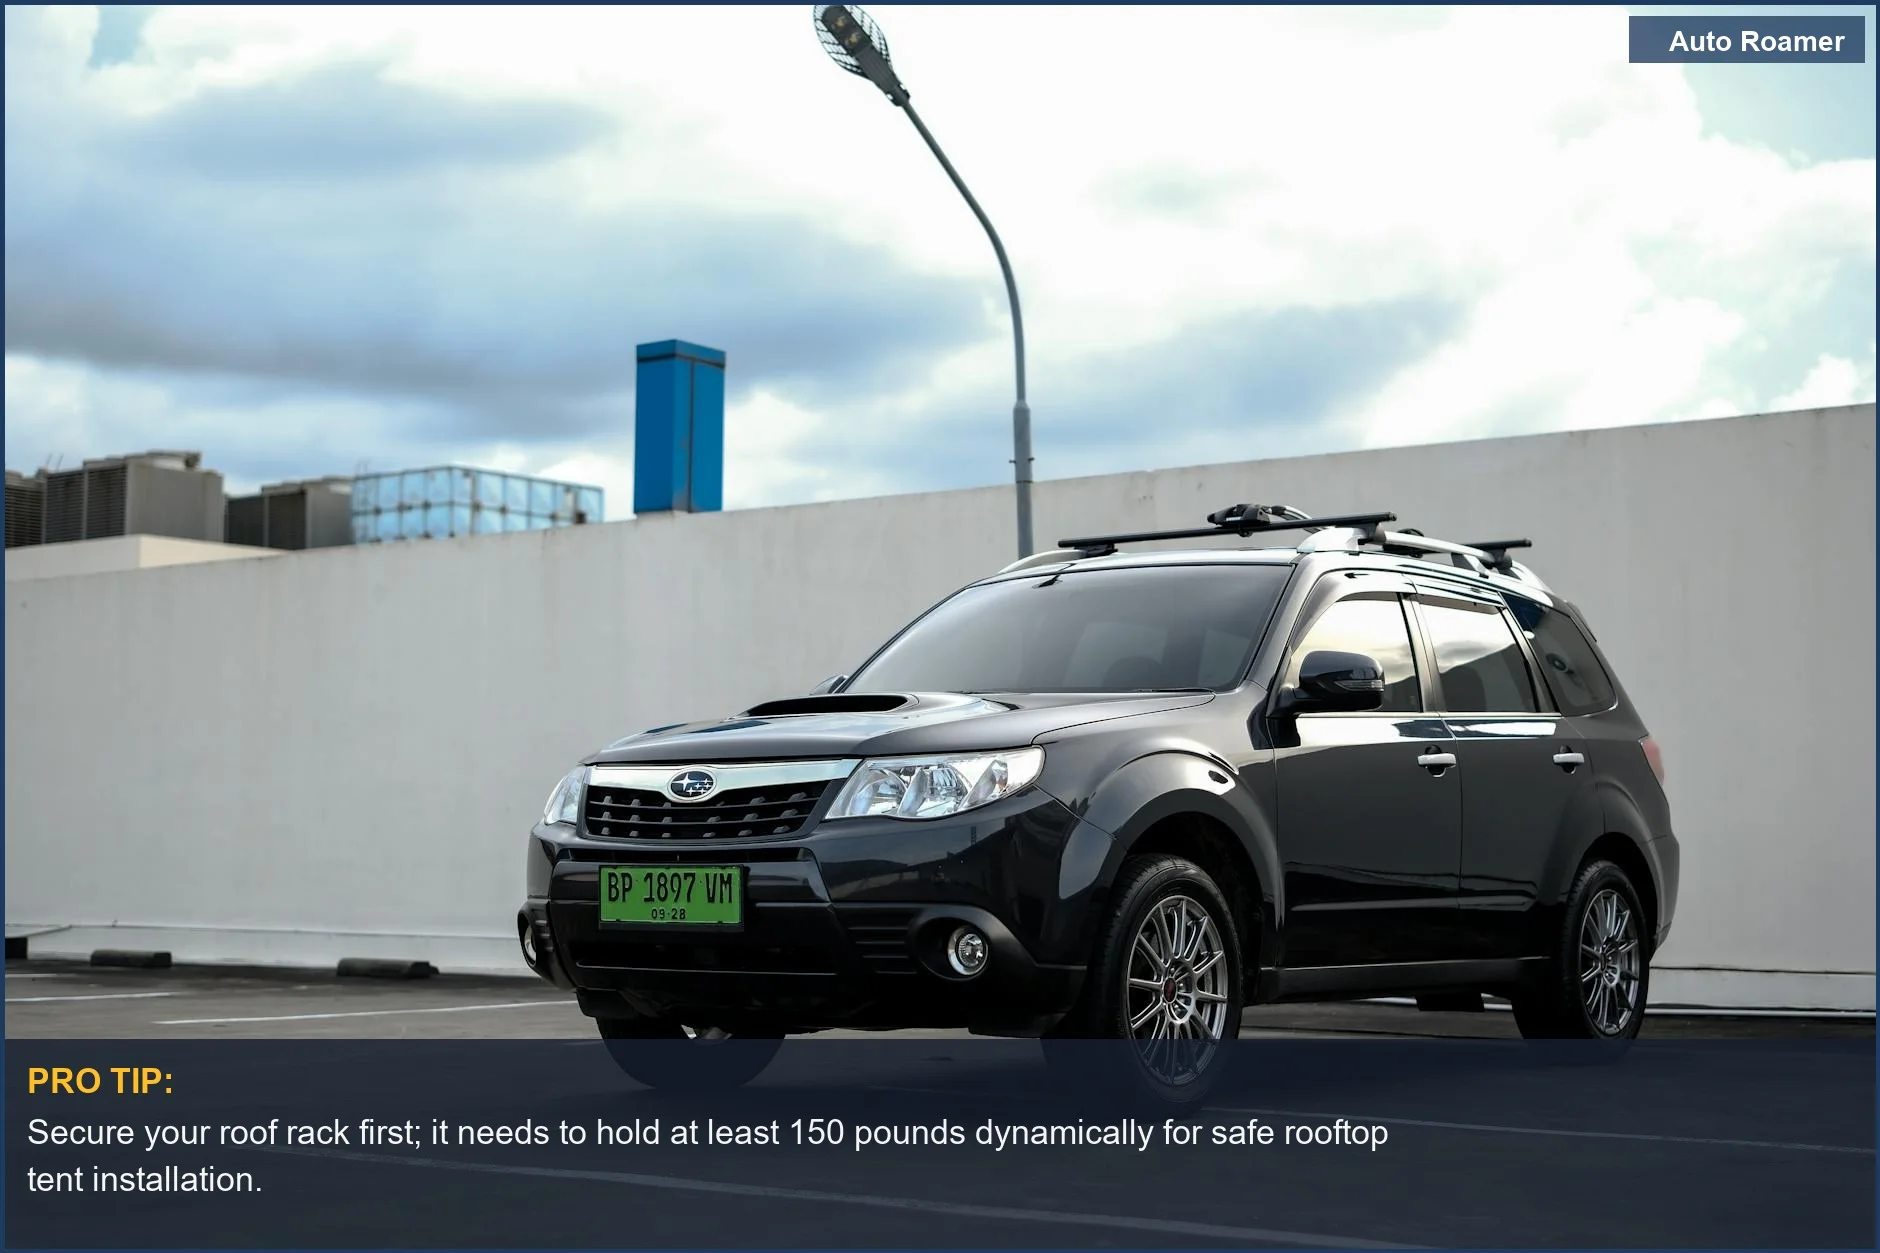
My first rooftop tent install was a comedy of errors on my aging Subaru Forester. I'd bought it used, already mounted with some questionable crossbars that looked like they were made from coat hangers. The tent itself, a $1500 clamshell model, felt like it weighed more than the car.
Muscling one up there with a buddy means sweating through your shirt in 70-degree weather, convinced you're going to drop it and destroy both the tent and the car's paint job. The real move? Realizing I needed a plan, not just brute force. This video showed me the pulley trick, which felt like cheating but saved my back. Others use ratchet straps and trees. Whatever works, right?
The Core Answer
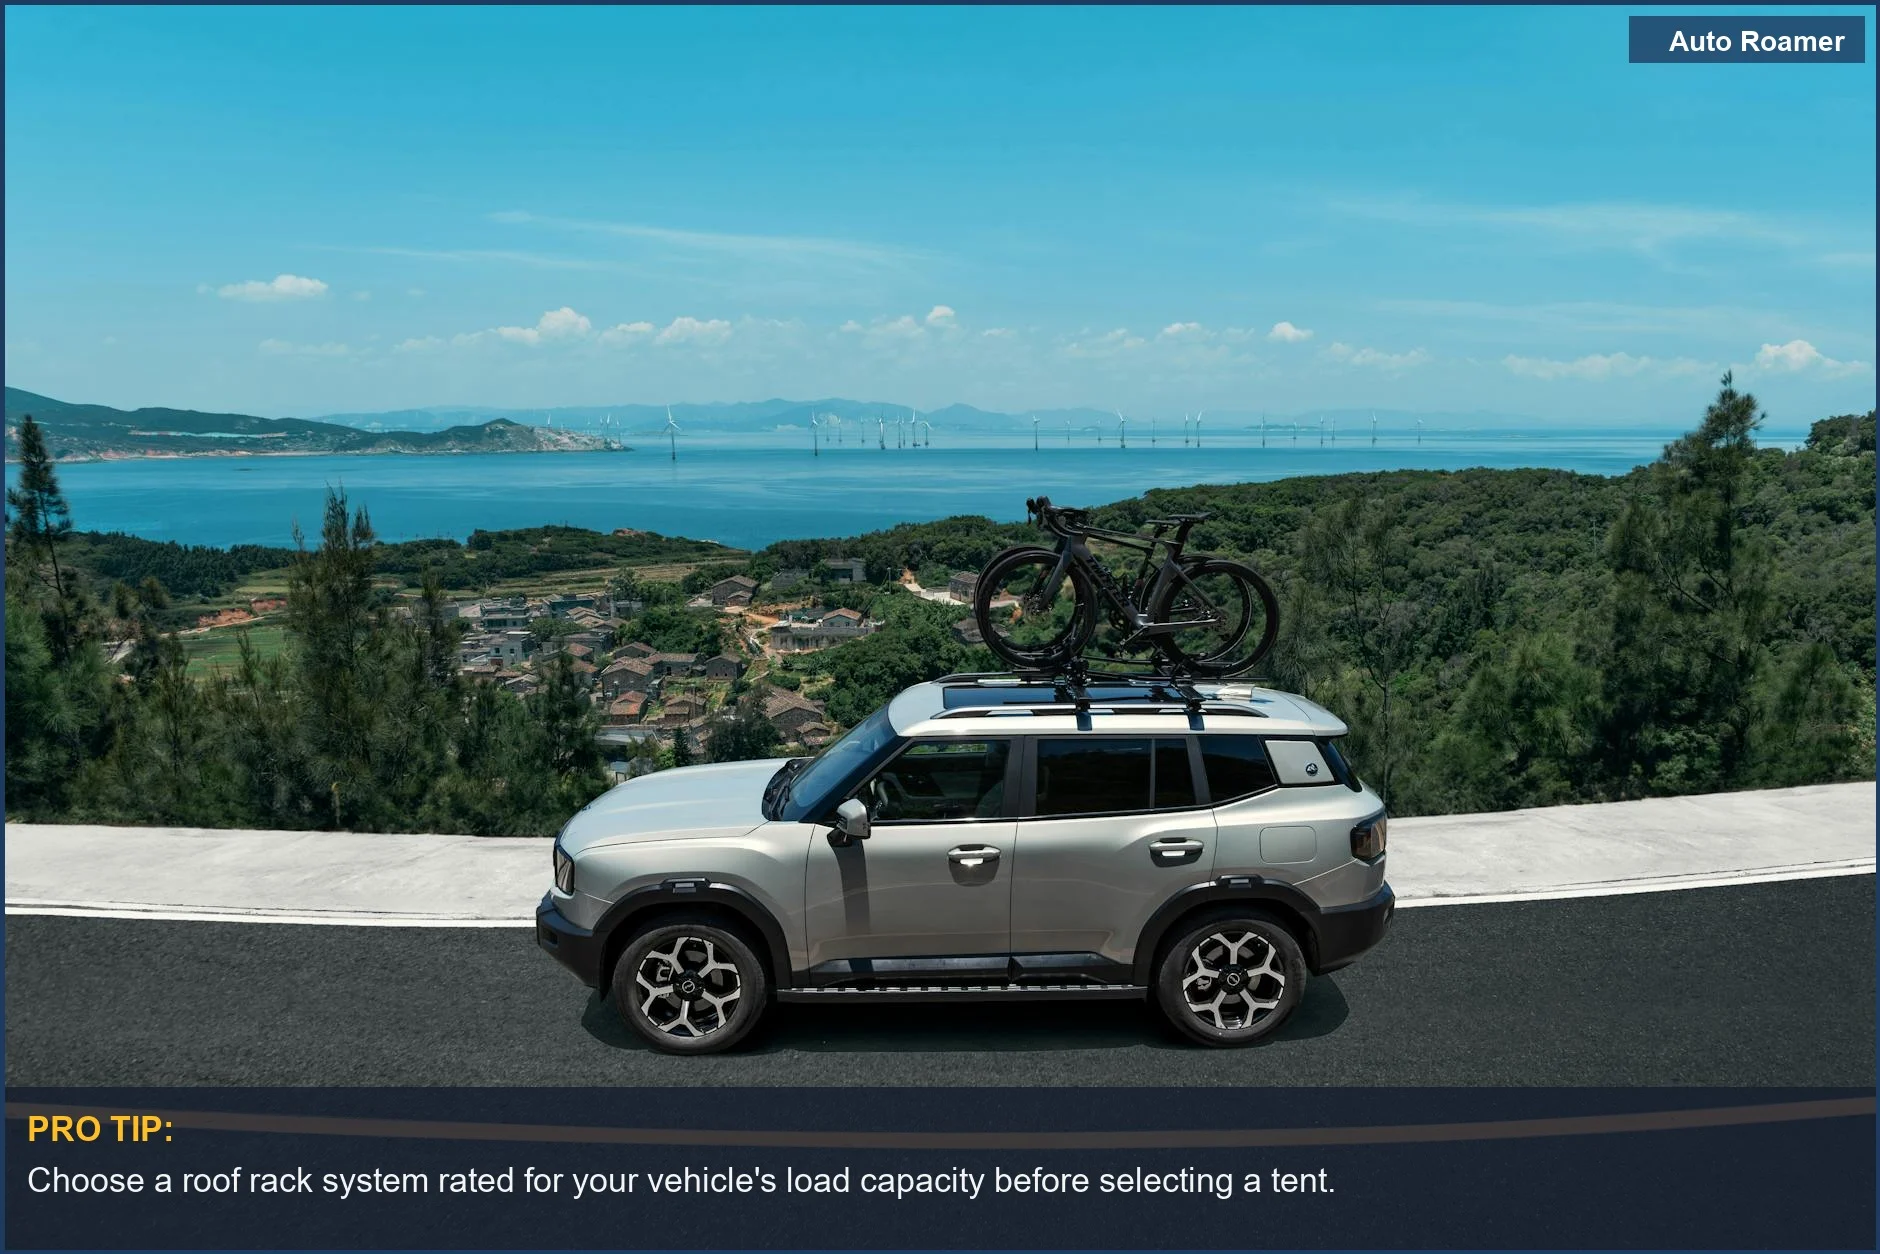
The honest version of installing a rooftop tent is that it's a two-person job, minimum, unless you're a contortionist with a garage hoist. You absolutely need a solid roof rack system first. Forget those flimsy factory racks on most sedans; you need something that can handle at least 150 pounds dynamically and 500 pounds statically just for the tent itself. My first tent was a 180-pound beast, and my Subaru's stock rack would have folded like a cheap suit.
First, get your crossbars set up. The spacing matters. Most tents recommend a spread between 36 and 48 inches, depending on the model to avoid excessive overhang. Make sure they're securely clamped down. I once had a crossbar come loose on a highway, and the subsequent thump-thump-thump was not the sound of adventure.
Now for the tent. Lay it upside down on a blanket or tarp on the ground. You'll see mounting channels underneath. With a helper, carefully lift the tent onto the roof rack. This is where you'll want to position it so it's centered side-to-side and with the proper front-to-back overhang. My first attempt had it so far back, my trunk wouldn't open all the way. Rookie mistake.
Slide the mounting brackets through the channels on the tent and over your crossbars. Tighten those bolts down. Seriously, tighten them. Then, double-check. And then, check them again. The Reddit crowd often shares clever single-person install tricks, usually involving some sort of pulley system or leveraging a sturdy tree, which is genius for solo mission folks.
Some tents come with a pulley system kit, or you can rig one up yourself with some rope and a sturdy branch. This is the game-time changer for solo installs. It takes the weight off your shoulders and lets you guide it into place. Hard shell tents are a bit easier to maneuver once they're on the rack, but the initial lift is still the main event.
Why This Matters for Your Setup
This isn't just about getting the tent on your car; it's about not having it fall off in the middle of nowhere.
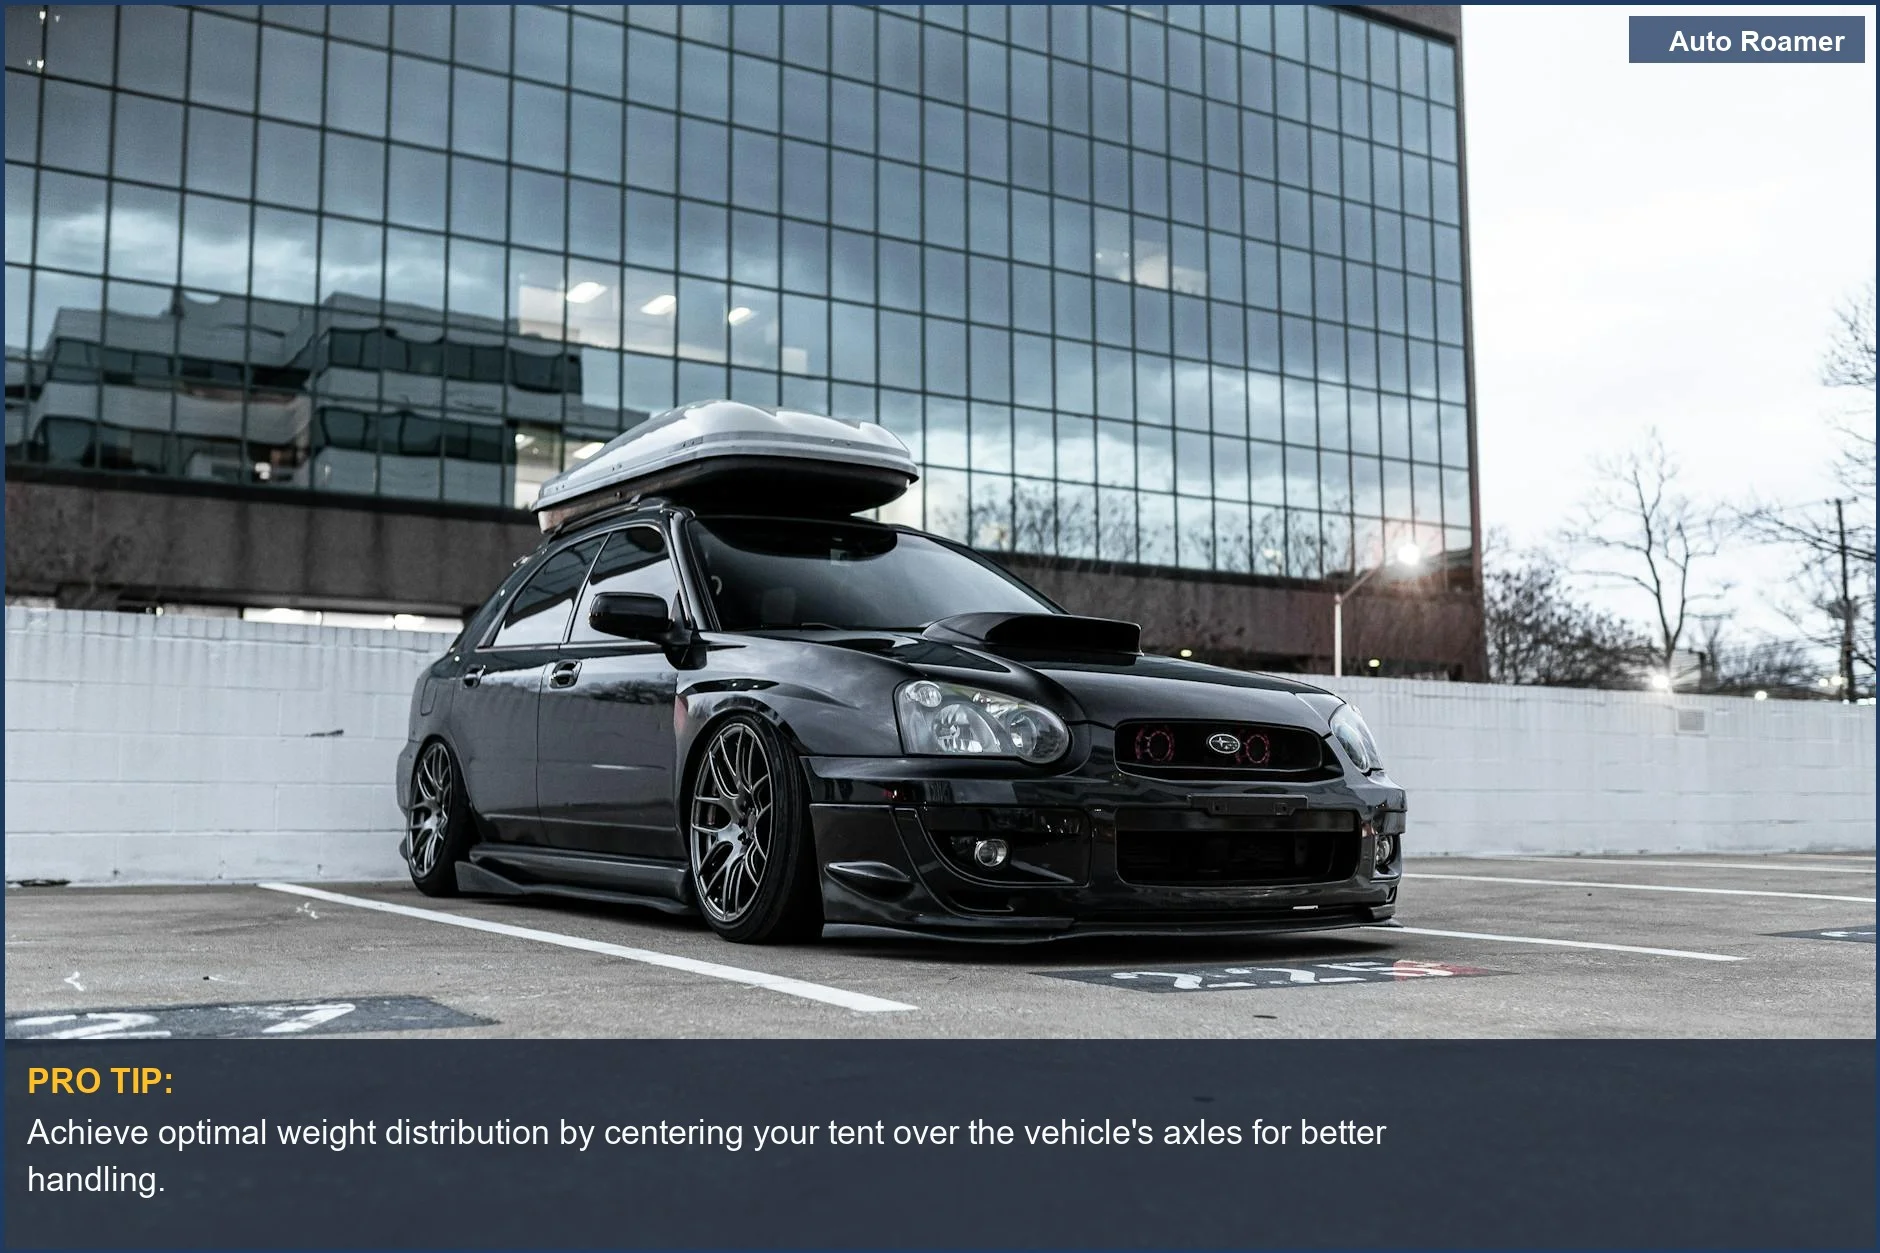
- Weight Distribution is Key: You want the tent centered as much as possible. My first trip, I didn't think about it, and my Outback felt like it was constantly leaning. It's not just about comfort; it's about safe handling and tire wear.
- Crossbar Spread Matters: Too narrow, and the tent might not sit right. Too wide, and you risk bending or breaking the crossbars. Always check the tent manufacturer's minimum and maximum spread recommendations against your crossbar specs.
- Tighten Everything, Then Tighten Again: Seriously, I can't stress this enough. I once heard a terrifying clunk from my roof and pulled over to find a mounting bolt half-way out. That's a $50 fix versus a potentially catastrophic accident. Follow the torque specs if they're provided.
- Know Your Rack's Limits: Don't assume your roof can handle a tent and a family of four plus gear. Check the dynamic (while driving) and static (when parked) weight ratings of your rack system. A typical setup handles 200 pounds dynamically, which is plenty for a tent and one person but might be tight for a larger family.
Making the Right Choice
Choosing the right roof rack is the actual first step, before you even look at tents. Don't skimp here. A cheap rack is a recipe for disaster.
- Consider Your Vehicle: A tiny Smart car isn't going to hold a massive hardshell tent. Match the tent size and weight to your vehicle's capabilities and your rack's load ratings for safety and longevity.
- The $50 Version vs. The $500 Version: You can sometimes get away with universal crossbars for under $100, but if you're serious about overland camping, investing in a quality rack system from brands like Thule, Yakima, or Prinsu is worth every penny. They're designed to handle the abuse and are vehicle-specific.
- Don't Be Afraid to Ask for Help: Seriously, your ego isn't worth a dented car or a broken tent. Most people who have RTTs are happy to lend a hand or offer advice. I've met some of my best camping buddies by awkwardly asking them how they mounted their tent at a trailhead.
- Regular Checks Are Non-Negotiable: Once it's on, check those bolts before every trip, and maybe even halfway through a long one. Vibrations are the enemy of tight fasteners. It's a small habit that prevents a huge headache and keeps you safe on the road.