Roadside Emergencies

Maintaining and Repairing Your Inflatable Car Bed for Longevity

Casey - The Weekend Warrior
5 min read
Includes Video

My first car camping trip was a $47 experiment in a Honda Civic hatchback in Shenandoah Valley. Mid-October. I had a Walmart foam pad, a sleeping bag rated to 40F, and zero idea that the temperature drops 15 degrees after midnight in the mountains.

My first car camping trip was a $47 experiment in a Honda Civic hatchback in Shenandoah Valley. Mid-October. I had a Walmart foam pad, a sleeping bag rated to 40F, and zero idea that the temperature drops 15 degrees after midnight in the mountains. By 2AM I was wearing every piece of clothing in my bag and still shivering. The fix was a $12 fleece liner from Amazon that turned my 40F bag into a 25F bag.

Three years later I still use that same liner on every trip.

That same cheap inflatable car mattress I bought for that trip eventually got a slow leak. I thought it was toast. Turns out, most of these things can be patched up for less than $5 in supplies, or sometimes even free if you've got some old bike patches lying around. Nobody tells you that when you buy the thing. It's a rookie mistake to just toss it. Source Name

My goal here is to save you from replacing a perfectly good air mattress because you didn't know how to do a quick fix. We're talking about keeping your road trip sleep setup functional without breaking the bank.

Maintaining and Repairing Your Inflatable Car Bed for Longevity — Key Specifications Compared
Key specifications for Maintaining and Repairing Your Inflatable Car Bed for Longevity

The Core Answer

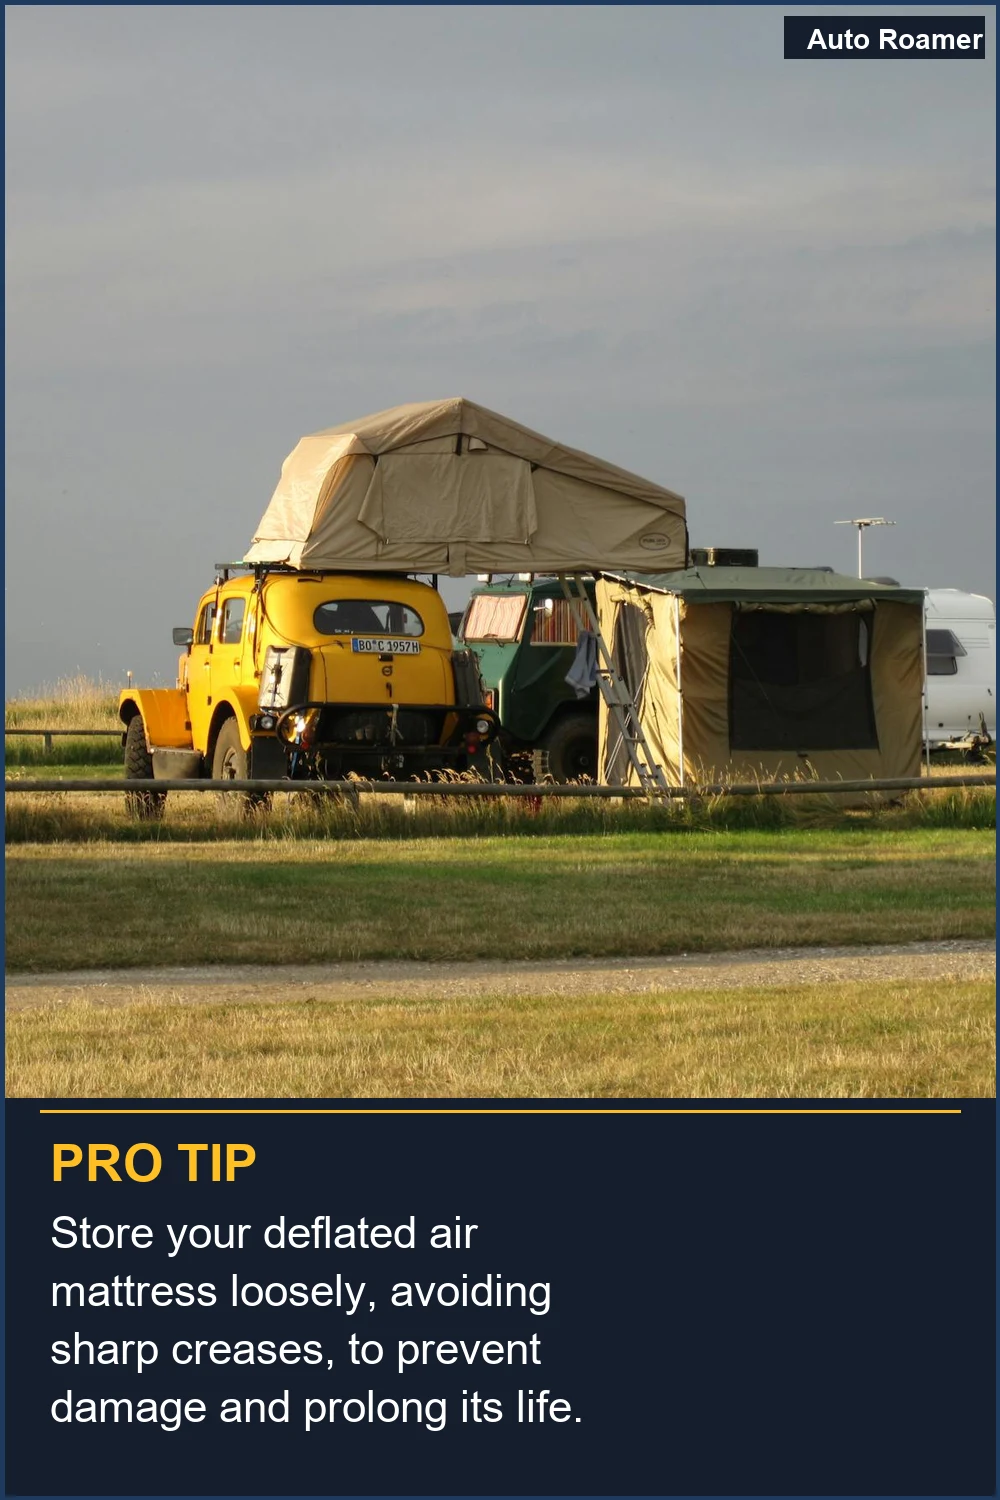
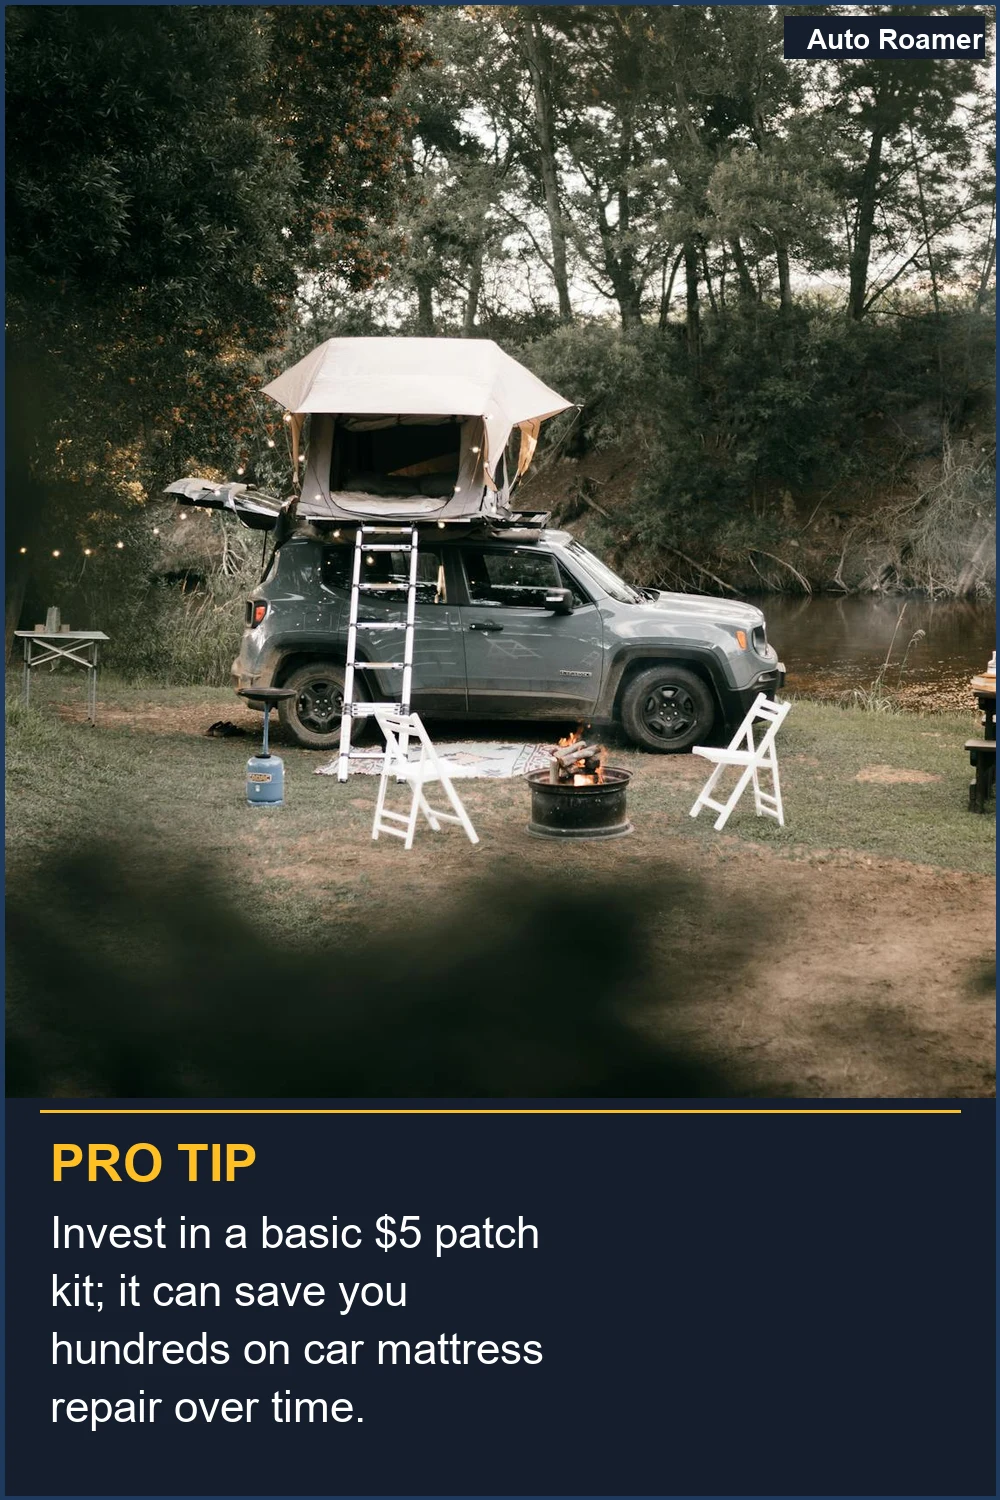
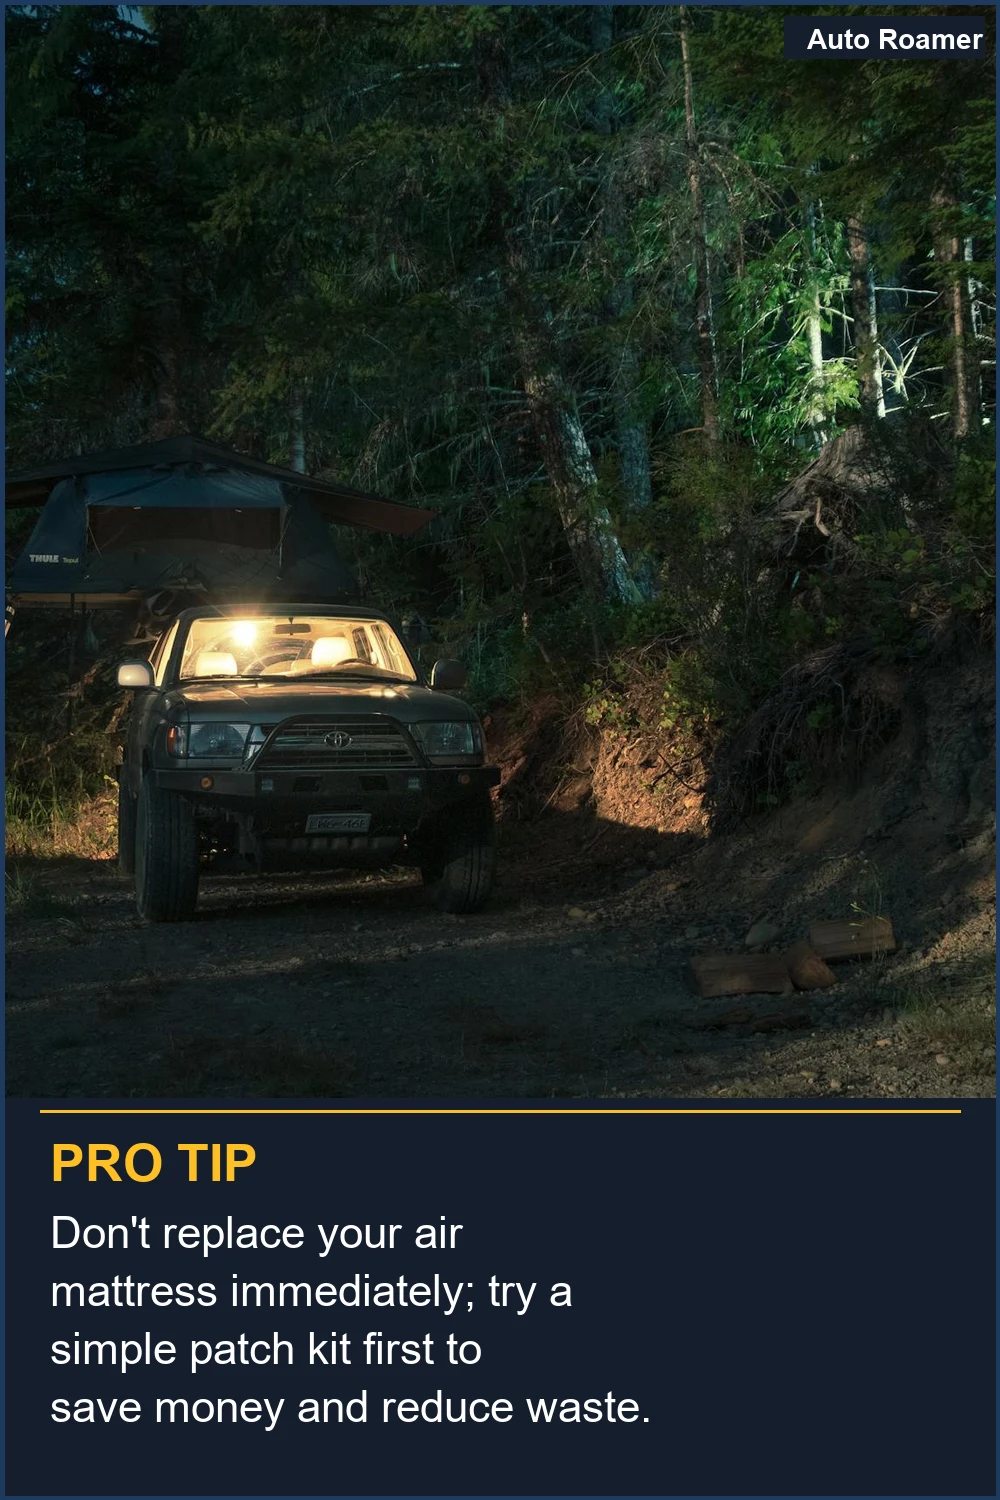
The real move with an inflatable car bed is to treat it like a serious piece of gear, not a disposable item. That means a little bit of maintenance goes a long way. After every trip, I try to deflate it completely, fold it loosely (avoiding sharp creases), and store it in a cool, dry place. My garage is usually fine, but I avoid throwing it in a damp shed Dynasty Mattress. If you get a leak, don't panic. The first step is finding it. Inflate the mattress fully and listen for hissing sounds. If that doesn't work, mix some dish soap and water in a spray bottle and lightly mist the surface. Bubbles will tell you exactly where the air is escaping. I learned this trick at a state park in Colorado when my mattress started deflating around 3 AM. Turns out, it was a tiny pinhole near the valve. Oreate AI Once you've found the leak, you've got options. For small holes, a simple patch kit from a bike shop or camping store works wonders. You can even use strong, waterproof tape like Tenacious Tape. Clean the area around the hole thoroughly with rubbing alcohol, let it dry, then apply the patch. Make sure it's large enough to cover the hole with some overlap. I fixed a small puncture on my old mattress with a patch that cost me $3. It held for two years. Instructables For larger tears, you might need a vinyl repair kit with a strong adhesive. These kits usually come with a fabric patch and a special glue. Cut a patch that's about twice the size of the tear, apply glue to both the patch and the mattress, and press firmly. Let it cure completely according to the instructions before reinflating. This is the $10 version of replacing the whole thing. GEAR AID What nobody tells beginners is that the fuzzy side can also be patched. It's a bit trickier, but kits designed for this exist. You can often use the same vinyl adhesive with a fabric patch, just make sure you prep the fuzzy surface well. I saw a YouTube video where a guy fixed a shredded fuzzy side with a combination of glue and some heavy-duty fabric. Looked pretty solid. YouTube Always test your repair by reinflating the mattress slowly and listening for any leaks. If it holds air for a few hours, you've likely succeeded. The honest version: sometimes a really bad tear is just too much, but most common leaks are totally fixable. It's worth the $5 patch kit before you drop $50 on a new mattress. Decathlon
If you're considering an inflatable car bed for road trips, you might want to explore the advantages of an inflatable car bed versus a regular air mattress.
Store your deflated air mattress loosely, avoiding sharp creases, to prevent damage and prolong its life.
An outdoor camping scene with a classic car and rooftop tent highlights the importance of treating your inflatable car bed as durable gear. Proper care can extend its lifespan significantly. | Photo by tady a ted

Why This Matters for Your Setup

  • Saves You Money: My first car camping mattress cost me $40. The second time it got a leak, I almost bought another one. Then I remembered I had a $5 patch kit in my tool bag. That patch held for another two years of weekend trips. It's the $50 version of buying a whole new bed. Instructables
  • Keeps You Comfortable: Waking up on the ground because your mattress decided to deflate overnight is a special kind of misery. I've done it at Zion National Park in the middle of the night. The air was cold, and I was miserable. A quick patch job the next morning saved my entire trip. Oreate AI
  • Reduces Waste: Let's be real, most of these mattresses aren't built to last forever, but they're also not designed to be thrown away after one season. Patching them is a small step towards less landfill fodder. My old mattress is still in my shed, ready for emergency guest duty thanks to a $10 repair. Dynasty Mattress
  • Builds Confidence: Learning to fix your gear is empowering. Instead of feeling helpless when something goes wrong, you can troubleshoot and solve the problem. It's a good skill to have, whether it's for your mattress or anything else on a road trip. GEAR AID
  • To maximize comfort during your trips, consider how to choose the right size inflatable car bed for your vehicle.
    Invest in a basic $5 patch kit; it can save you hundreds on car mattress repair over time.
    This serene camping setup by the river shows how a well-maintained inflatable car bed enhances your outdoor experience. Repairing minor leaks is a smart money-saving strategy. | Photo by Taryn Elliott

    Making the Right Choice

  • Don't Toss It Prematurely: Before you buy a new air mattress, try patching your old one. A basic repair kit costs less than $10 and can extend the life of your mattress significantly. I've seen people spend $70 on a new mattress when a $5 patch would have done the job. Instructables
  • Proper Storage is Key: Storing your mattress folded loosely in a cool, dry place is crucial. I once left mine balled up in a damp car trunk for months, and it started to smell funky and the material felt weaker. Avoid direct sunlight and extreme temperatures. Dynasty Mattress
  • Know Your Limits: While most leaks are fixable, a mattress that's completely shredded or has seams blowing out might be beyond repair. If the leak is massive or keeps coming back after patching, it might be time to invest in a new one. But give it a shot first. Outbax
  • DIY is the Game-Time Move: Repairing your own air mattress is the most accessible and cost-effective solution. You don't need special tools or a degree in engineering. Most repairs can be done in under 30 minutes with basic supplies. Oreate AI
  • To ensure a comfortable experience, don't forget to master the art of inflating and deflating your mattress properly.
    Don't replace your air mattress immediately; try a simple patch kit first to save money and reduce waste.
    An SUV parked in a forest campsite illustrates the value of extending the life of your inflatable car bed. A $5 repair kit can often prevent the need for a costly replacement. | Photo by Rhys Abel

    Frequently Asked Questions

    How much does it cost to repair a hole versus buying a new mattress?
    A decent patch kit for an air mattress usually runs between $5 and $15. You can often find them at outdoor stores or even your local bike shop. A brand new, decent quality car air mattress can easily set you back $40 to $80. So yeah, patching is usually the $5 version of fixing it. Instructables
    Do I really need a special 'vinyl repair kit' or can I just use duct tape?
    Duct tape is a temporary fix at best. It might hold for a night if you're lucky, but it's not designed for the constant flexing and pressure of an air mattress. A proper vinyl repair kit, or even strong waterproof tape like Tenacious Tape, will last way longer and actually create a seal. I learned this the hard way when my duct tape patch failed at 2 AM in the desert. GEAR AID
    What if I patch my mattress and it still leaks?
    If it's still leaking after a patch, the first thing to check is if you found ALL the holes. Sometimes there's more than one. Re-do the soapy water test. If you're sure you sealed the only leak and it's still deflating, the patch might not be adhering properly, or the tear might be too large for that type of repair. You might need a stronger adhesive or a larger patch. Oreate AI
    Can a poorly done repair permanently damage the air mattress?
    A poorly done repair, especially using the wrong kind of glue or tape, could potentially weaken the surrounding material over time. Using harsh solvents or excessive force during the repair process might also cause damage. However, a standard patch job with the right materials is unlikely to cause permanent damage to the mattress itself. It's more likely to just fail to hold air. Decathlon
    Is it true that you can fix an air mattress with a bicycle inner tube repair kit?
    Yeah, you totally can. A lot of the material is similar, and those little rubber patches and glue from a bike tube repair kit work pretty well for small punctures. I've used one myself on a camping trip when I forgot my actual patch kit. It's the $5 version of a solution. Instructables

    🏅 Looking for Gear Recommendations?

    Check out our tested gear guides for products that work with this setup:

    C

    Casey - The Weekend Warrior

    Weekend car camper and road trip enthusiast. Focuses on practical, budget-friendly solutions for families and first-time campers.

    Sources

    Related Articles