What You Need to Know
Choosing a roof box size isn't rocket science, but it can feel like it when you're staring at a wall of plastic. My first attempt to add storage to my Honda CR-V involved a cargo basket that was way too small, and I ended up with duffel bags strapped to the roof with bungee cords. Not exactly aerodynamic, and definitely not secure.
You need to figure out what you're hauling and how much space you actually have on your car's roof. It's about finding that sweet spot between fitting all your gear and not looking like a runaway U-Haul. Let's get this sorted so you don't end up with the same sad bungee cord situation I did. Rack Attack has a decent breakdown of how to approach this, but the real secret is measuring your car and your stuff.
Don't skip that part. It's the difference between a slick setup and a gear disaster waiting to happen. Rhino-Rack talks about vehicle dimensions, which is key. It's not just about the box, it's about your whole setup.
The Core Answer
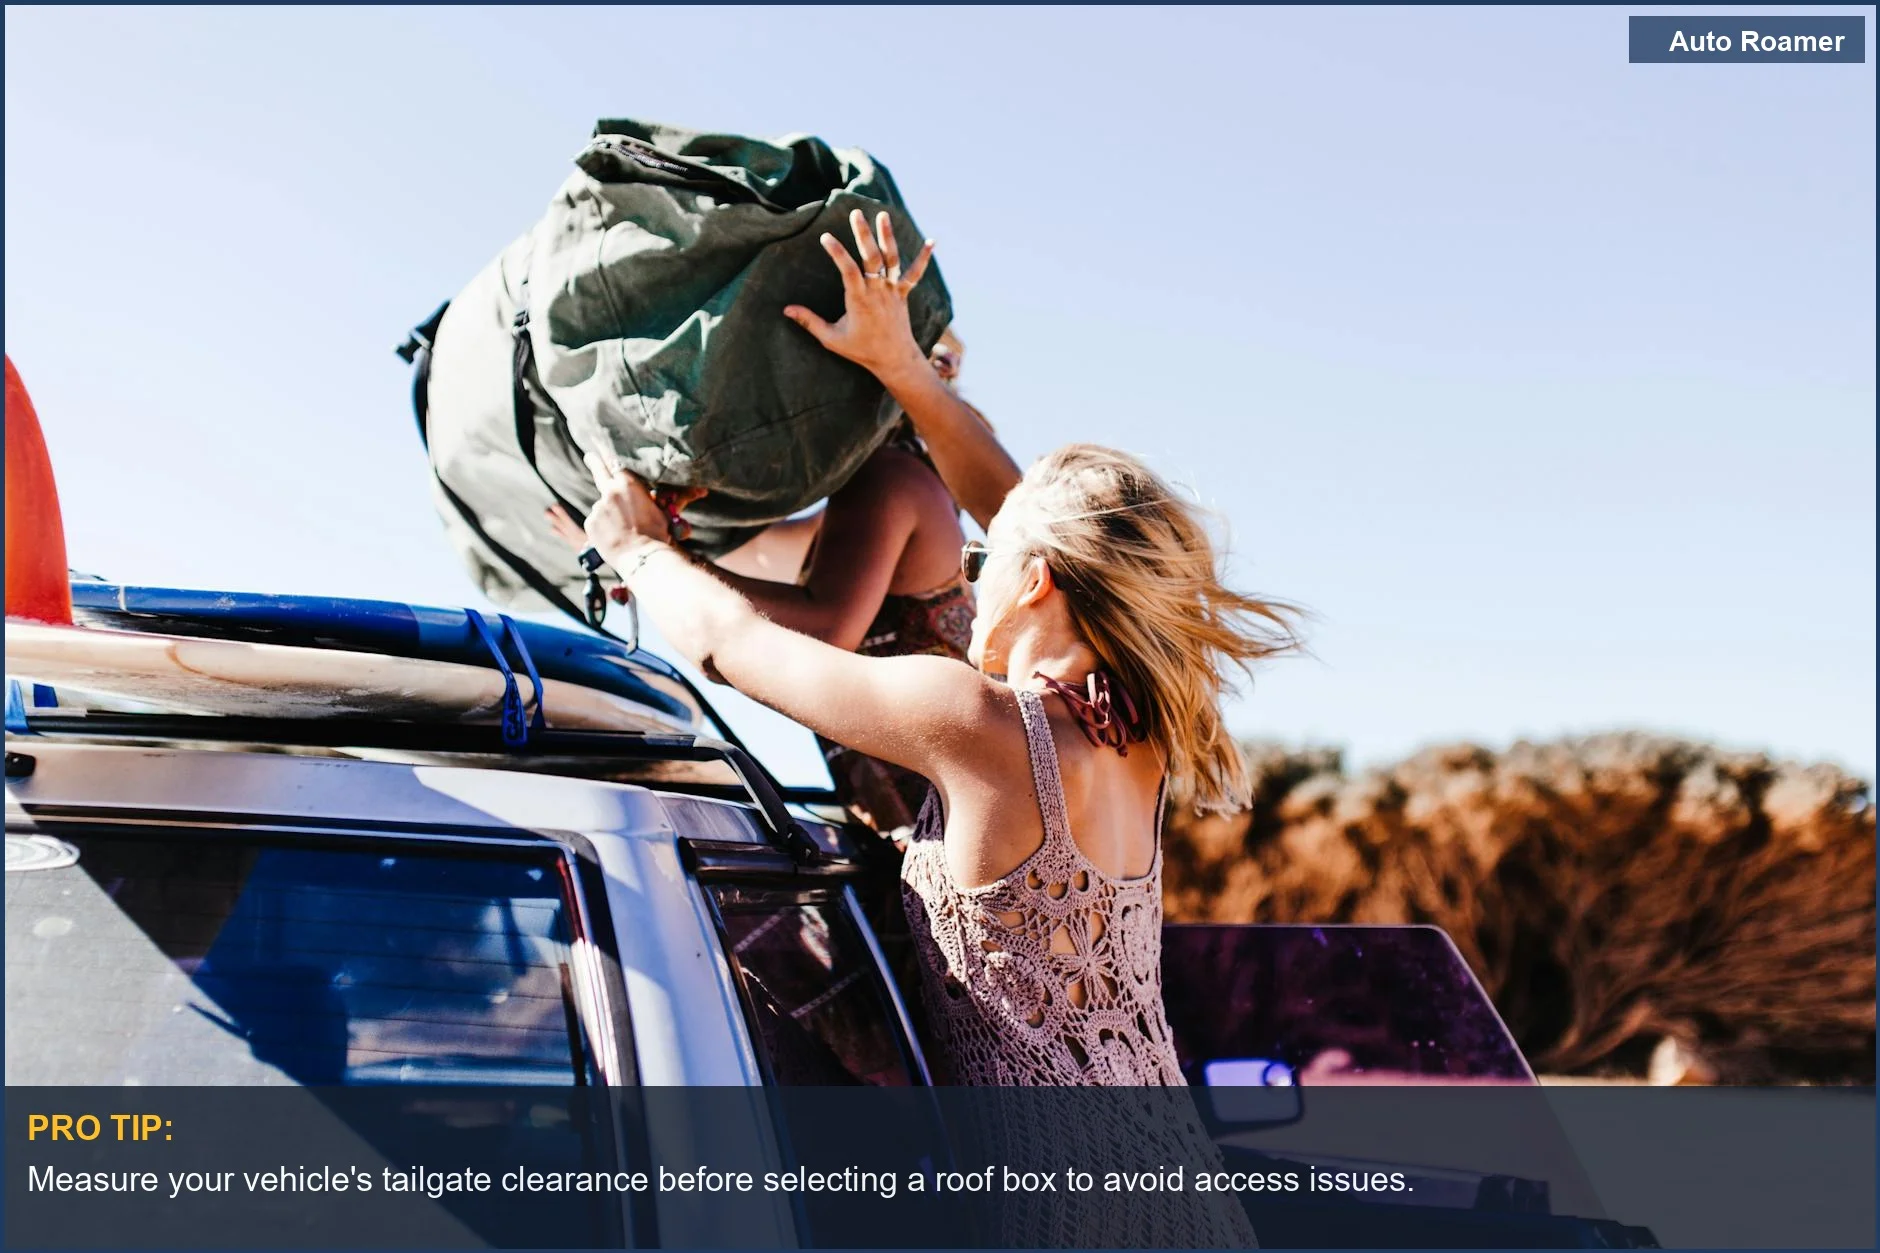
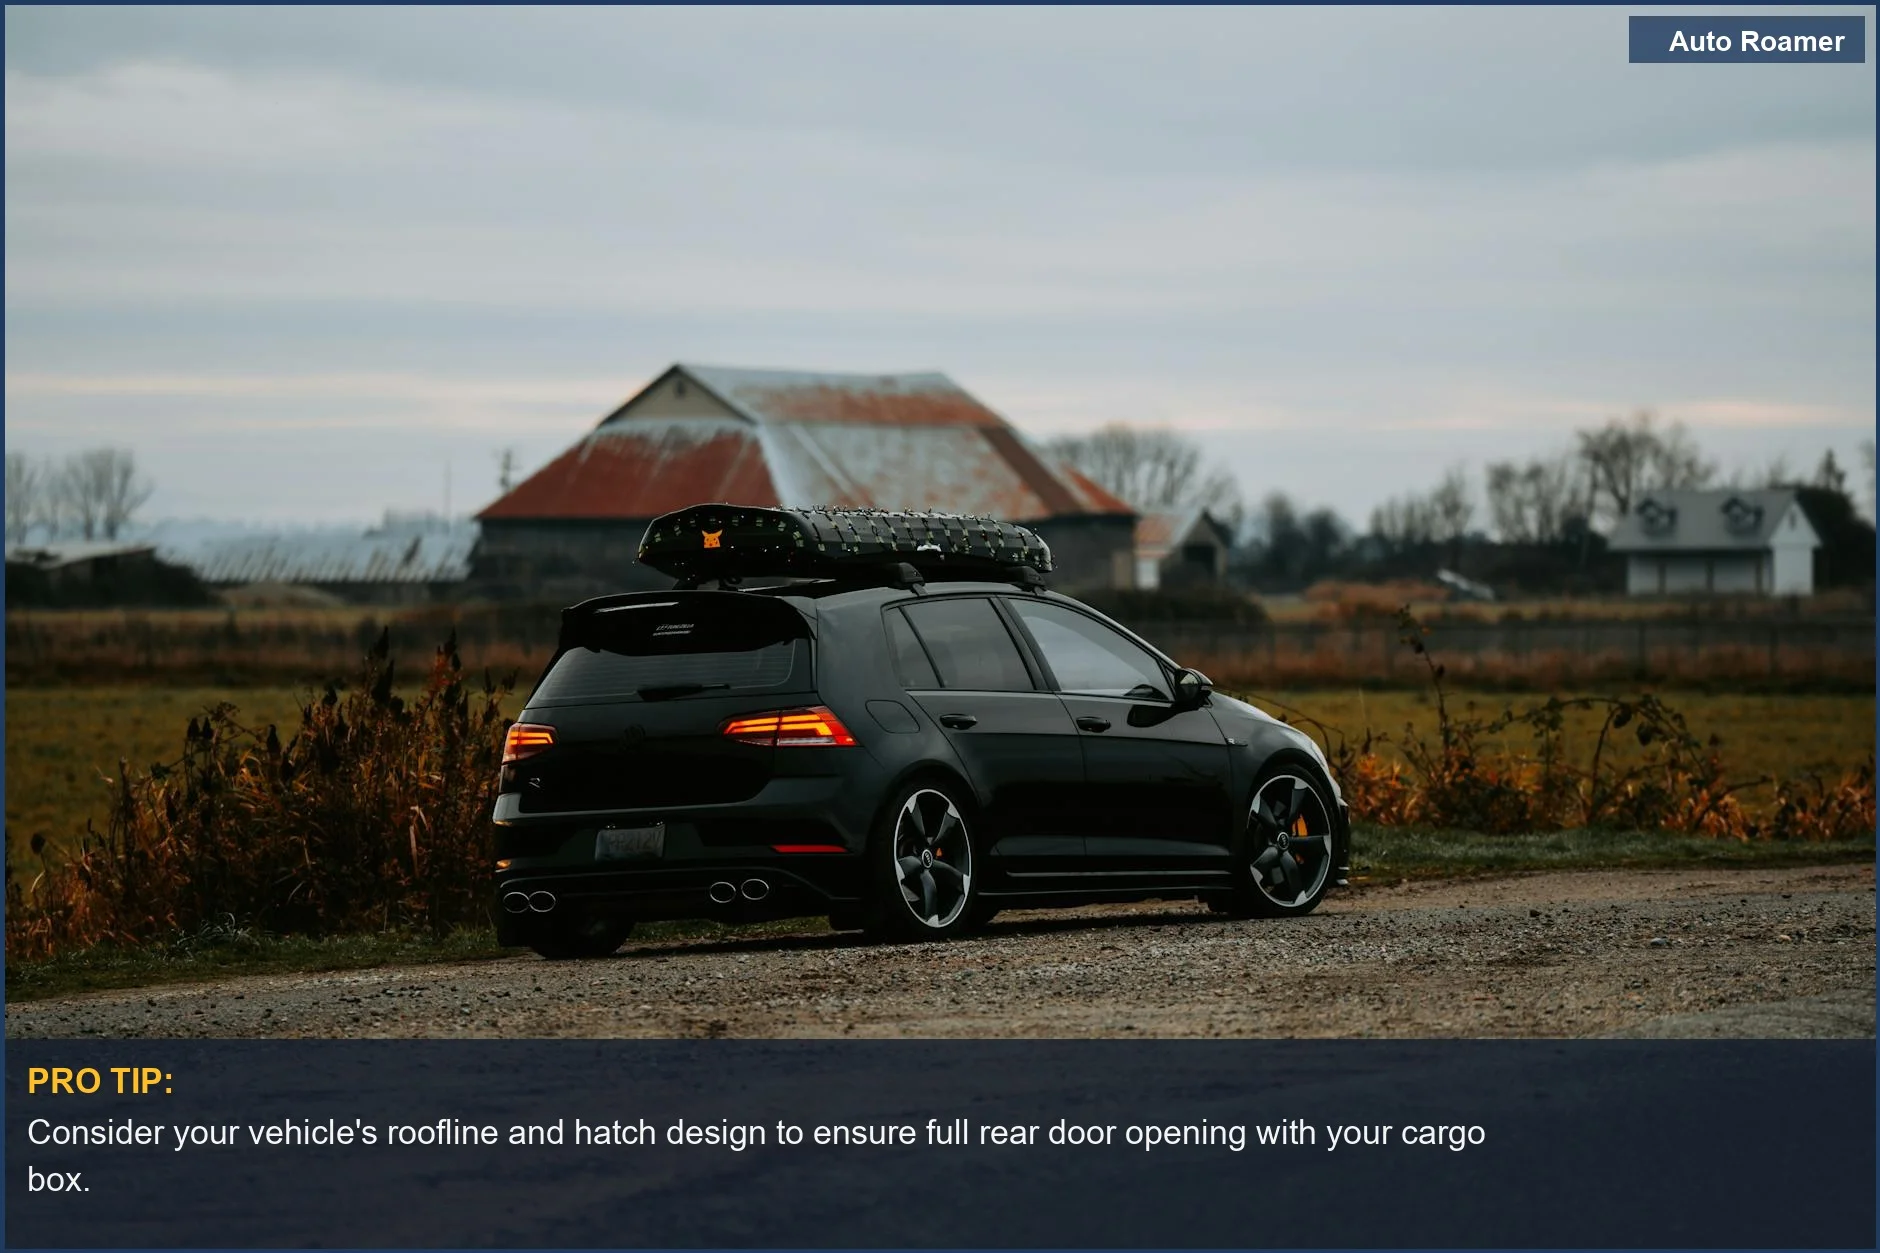
The biggest rookie mistake I see is people buying the biggest box they can find without thinking about their car. My buddy, Steve, did this for his Subaru Outback. He bought a 7-foot behemoth. Looked cool, but he couldn't open his tailgate at all. He spent 15 minutes trying to wedge it open before realizing the box was basically bolted shut. You've got to measure your vehicle's roof and, more importantly, where your rear hatch or trunk opens.
You need to make sure the box doesn't interfere with that. Thule's guide explains this 'hatch clearance' measurement. Basically, you measure from the center of your front roof rack to where the roof meets the hatch. Compare that to the box's "Front Clearance" spec. If your car's measurement is bigger, you're golden.
Another thing nobody tells you is about your roof rack bars themselves. The distance between them, called the "bar spread," has to match what the box can handle. Most boxes list a minimum and maximum bar spread. If your bars are too far apart or too close, the box won't mount securely. I learned this the hard way on my old Toyota RAV4. The bars were pretty close, and the box I bought had a minimum spread that was wider.
It wobbled like crazy until I bought different crossbars. This YouTube video shows you visually how these things fit, which is way more helpful than a dry manual.
Weight is also a big deal. Your car has a maximum roof load capacity, and the box itself has a weight limit, usually around 165 pounds. Don't just throw everything in there and assume it's fine. I always try to put the heavier stuff in the middle, between the roof rack bars. REI's advice on weight distribution is solid. It keeps your car from feeling tippy.
My first big camping trip, I crammed so much into my box that the back end of the car felt like it was dragging. Not fun.
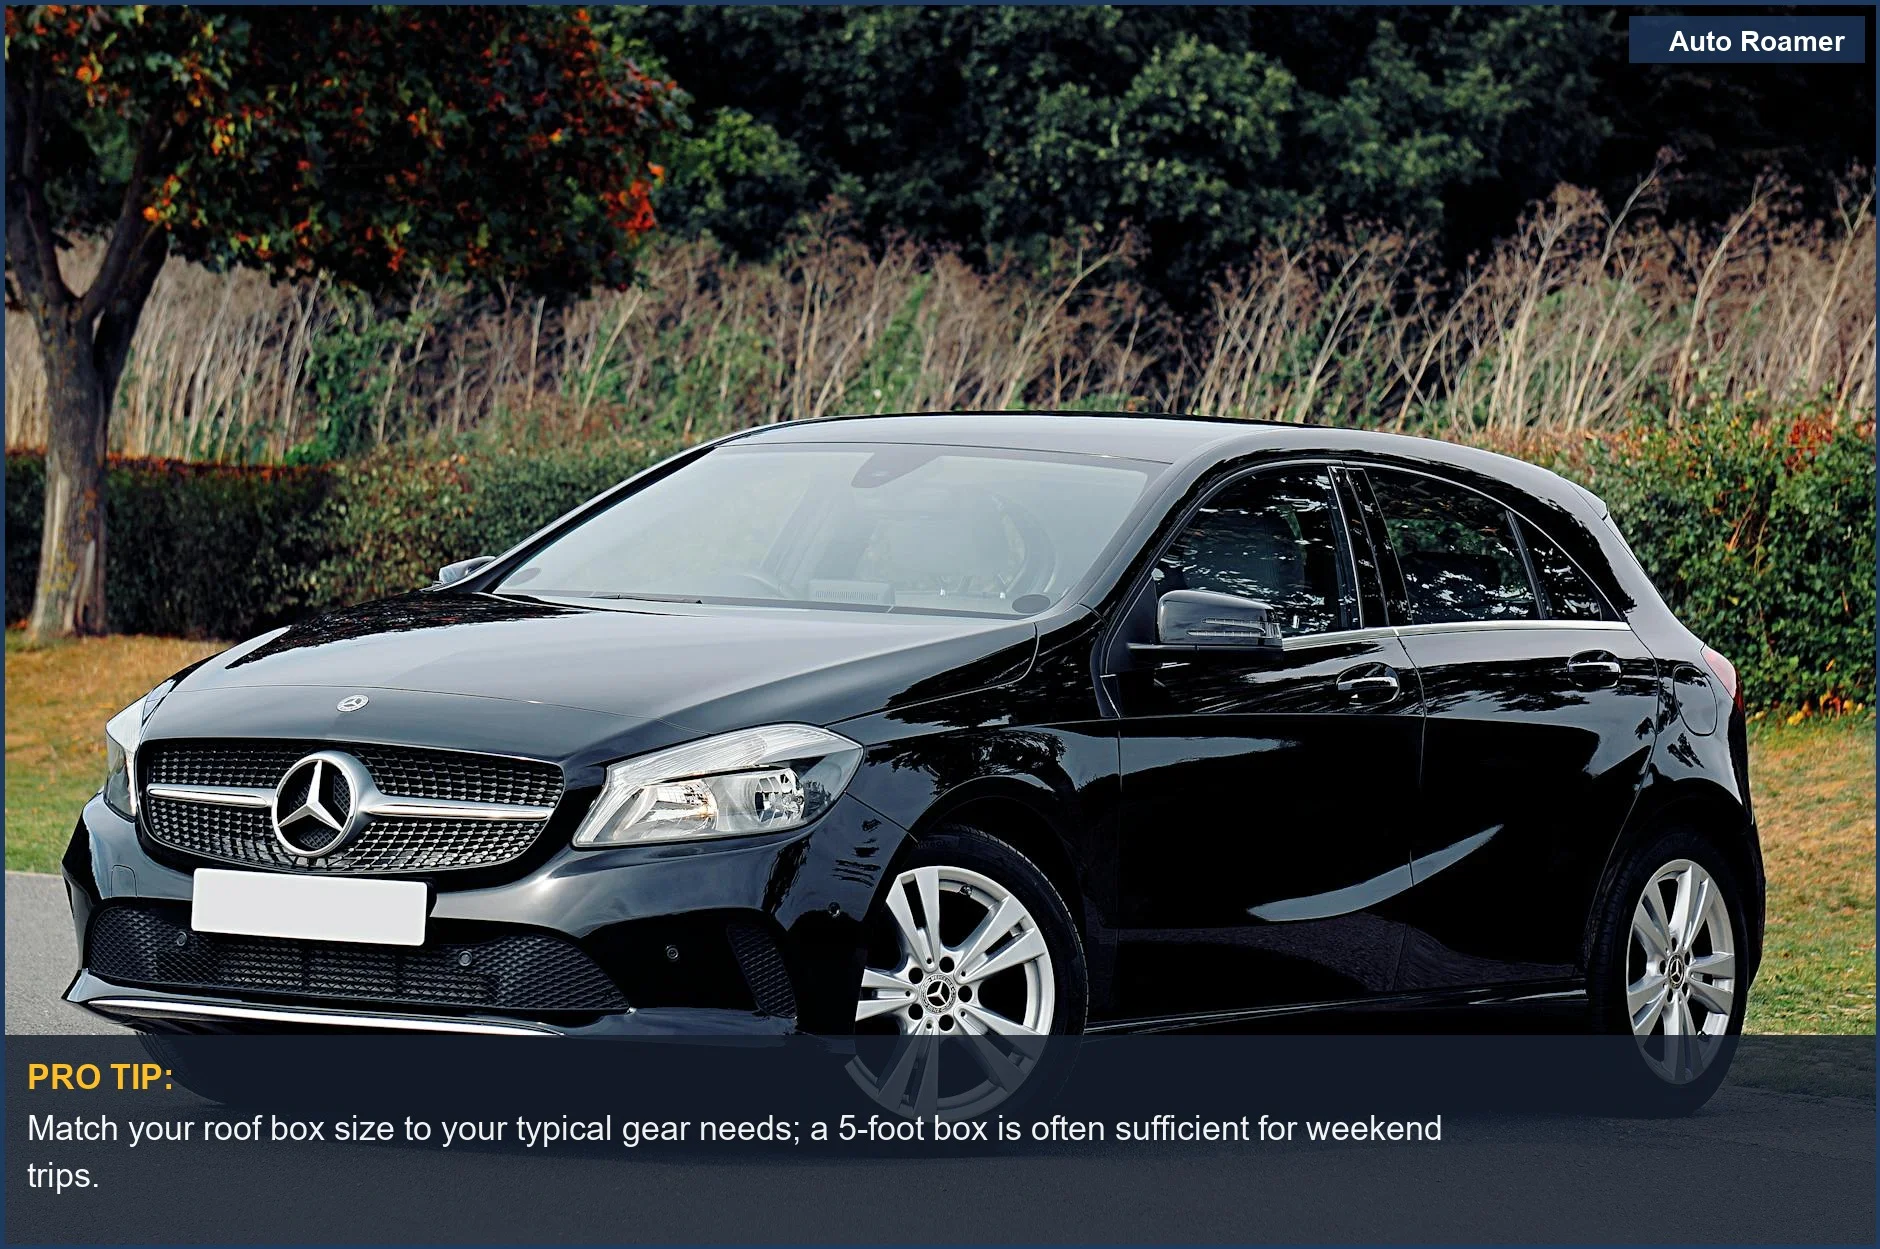
So, the real move is: 1. Measure your roof and hatch clearance. 2. Check the bar spread compatibility. 3. Know your weight limits. And for the love of all that is holy, do NOT buy the biggest box you can find just because it looks cool. Think about what you're actually bringing. For most weekend warriors, a mid-size box, maybe 5 to 6 feet long, is plenty.
Intrepid Camp Gear mentions this range for camping gear, and they're not wrong. It's the $50 version of buying a whole new car just for storage.
Why This Matters for Your Setup
- Hatch Clearance is King: I once saw a guy at Yosemite trying to pack up his car, and his huge roof box prevented him from opening his rear hatch more than halfway. He had to unload his entire cooler through a tiny gap. Hilarious for everyone else, not so much for him. Measure that gap before you buy. Seriously.
- Bar Spread Harmony: Your roof rack bars are like the foundation for your box. If they're too far apart or too close for the box's mounting system, you're asking for trouble. I had a box once that just wouldn't sit right because the bar spread was off. It made all sorts of wind noise. Rhino-Rack has specs on this, so check them.
- Weight Distribution: Putting all your heavy gear in one end of the box is a recipe for a wobbly ride. I learned this on a windy mountain pass. The car felt like it was going to tip. Distribute the weight evenly, with more in the middle between the bars. REI's advice on this is good. Think of it like balancing a seesaw.
- Vehicle Aesthetics (and Legality): A box that's way too big for your car just looks silly. Plus, in some places, an overhanging box can be a ticket waiting to happen. Stick to sizes that complement your vehicle, not overwhelm it. It's the difference between looking like you know what you're doing and looking like you borrowed your dad's car. Videos like this can give you a visual idea of scale.
Making the Right Choice
Picking the right size roof box boils down to a few key things. First, know what you're packing. If it's just weekend camping gear like sleeping bags and a tent, you probably don't need a 7-foot monster. A 5-foot box might be all you need. Intrepid Camp Gear confirms that shorter boxes work for camping essentials.
Second, measure your car. Don't guess. Measure your roof's length, especially at the back where your hatch opens. You need to ensure you can still get to your stuff without contortions. Thule has a clear method for this hatch clearance measurement.
Third, check the compatibility with your roof rack bars. The distance between them matters. If your bars are too far apart or too close, the box won't mount safely. Rhino-Rack details this requirement.
Finally, remember weight limits. Both your car's roof and the box itself have limits. Don't overload it. It's better to have a slightly smaller box that's safely loaded than a giant one that's a hazard. Infinite USA touches on rack choices, which is part of the equation.

