The Big Picture
Understanding how your dash cam draws power is crucial, especially if you're thinking about using one in a larger vehicle like an RV or even a car with a sensitive electrical system. This isn't just about plugging something in; it's about making sure your rig's battery doesn't end up as a sad, dead brick. A dash cam is essentially a tiny computer, and like any computer, it needs a stable power source.
If you connect it wrong, you're asking for trouble. My first car camping trip, I learned the hard way that a cheap battery pack can die in 2 hours. This is way more serious. Your dash cam can absolutely kill your car battery if you're not careful. It's not rocket science, but it does require a bit of common sense and knowing where your power is coming from.
Think of it like powering your phone; you need the right charger and to know when to unplug it. This is the same, just with higher stakes.
The Core Answer
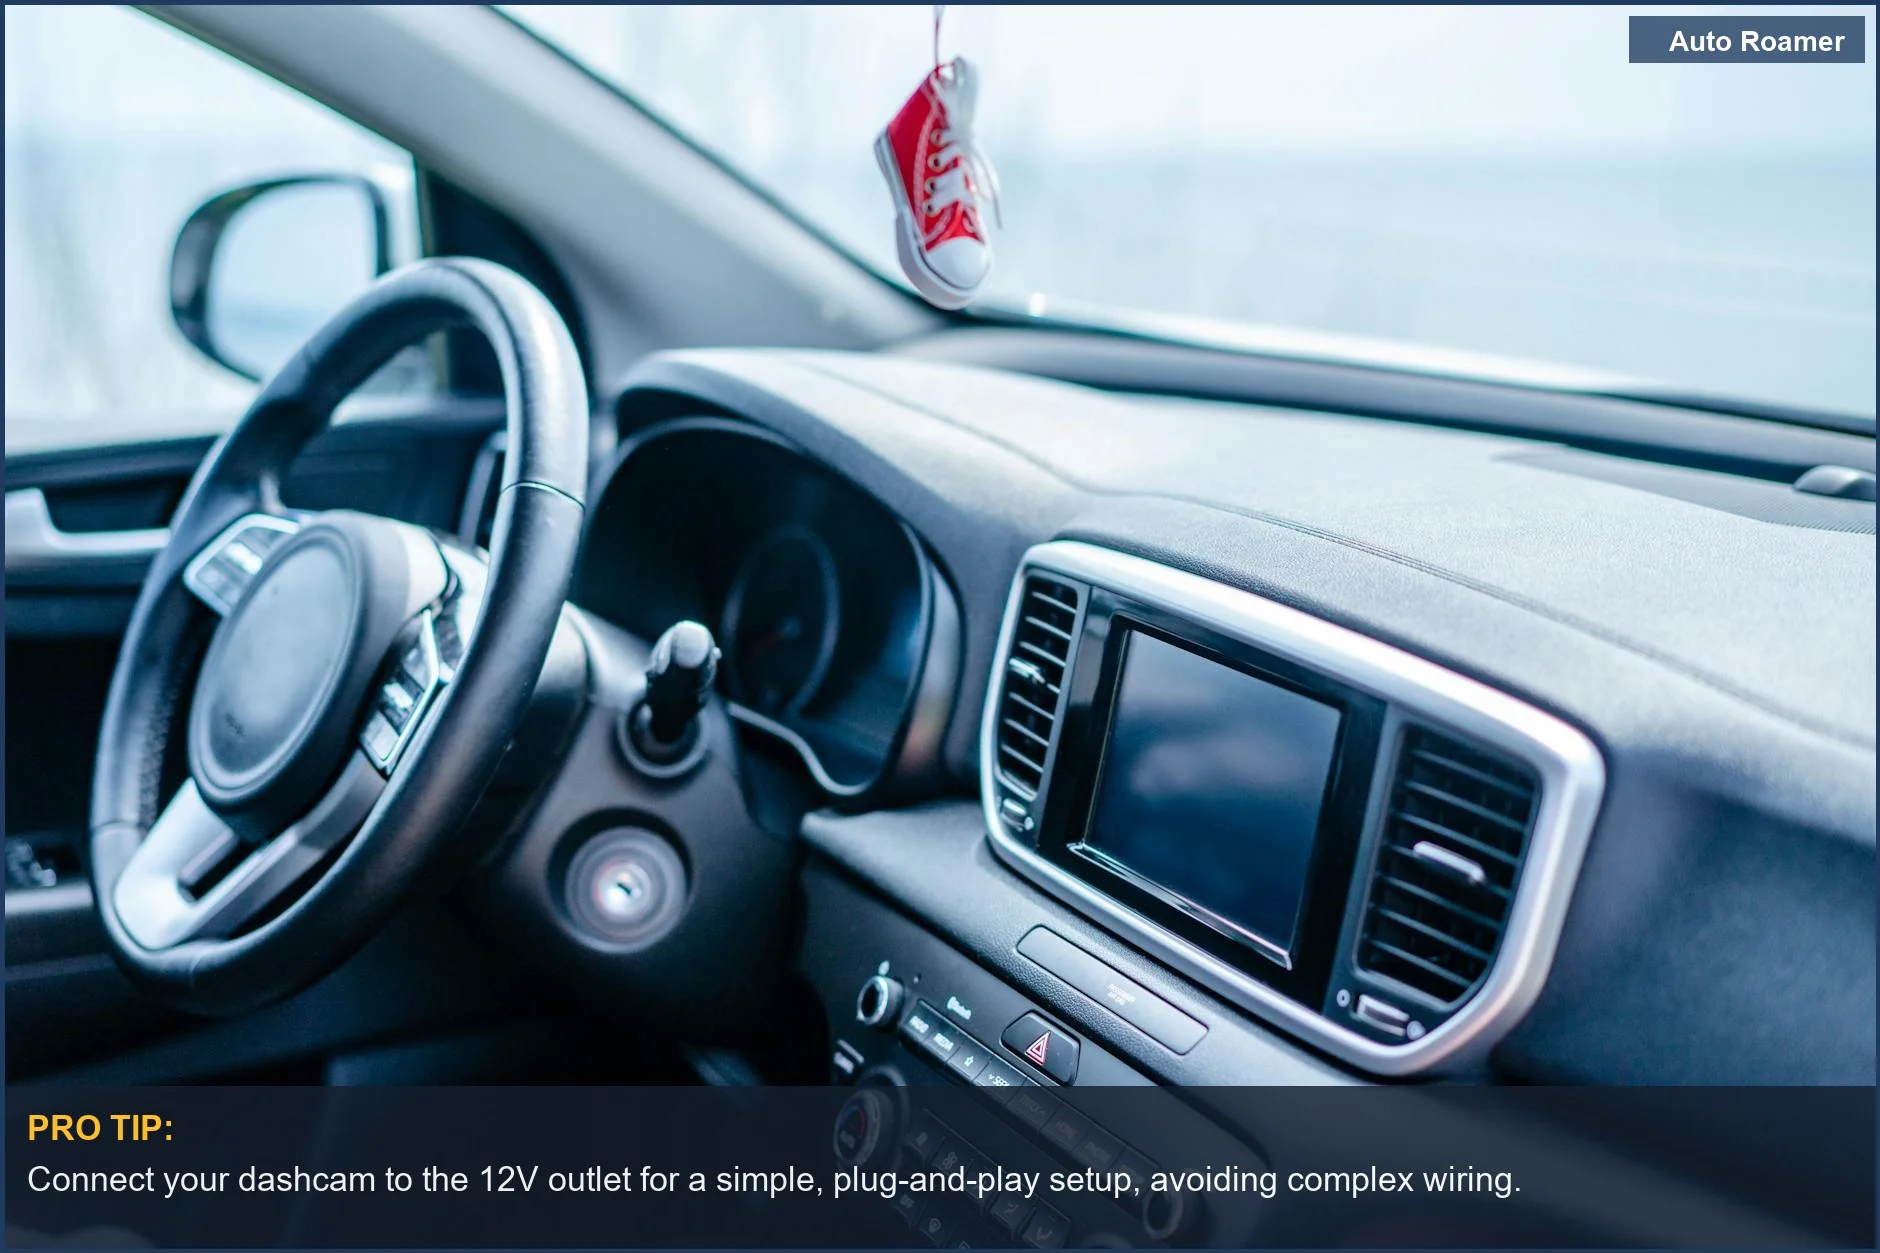
Alright, let's talk about how these little cameras actually get their juice. You've got two main ways to power a dash cam: plugging it into your 12V outlet (the old cigarette lighter spot) or hardwiring it directly into your vehicle's electrical system. The $50 version is plugging it in. It's easy, takes about 5 minutes, and you don't need any fancy tools. You just jam the plug in, and boom, it works when your car is on.
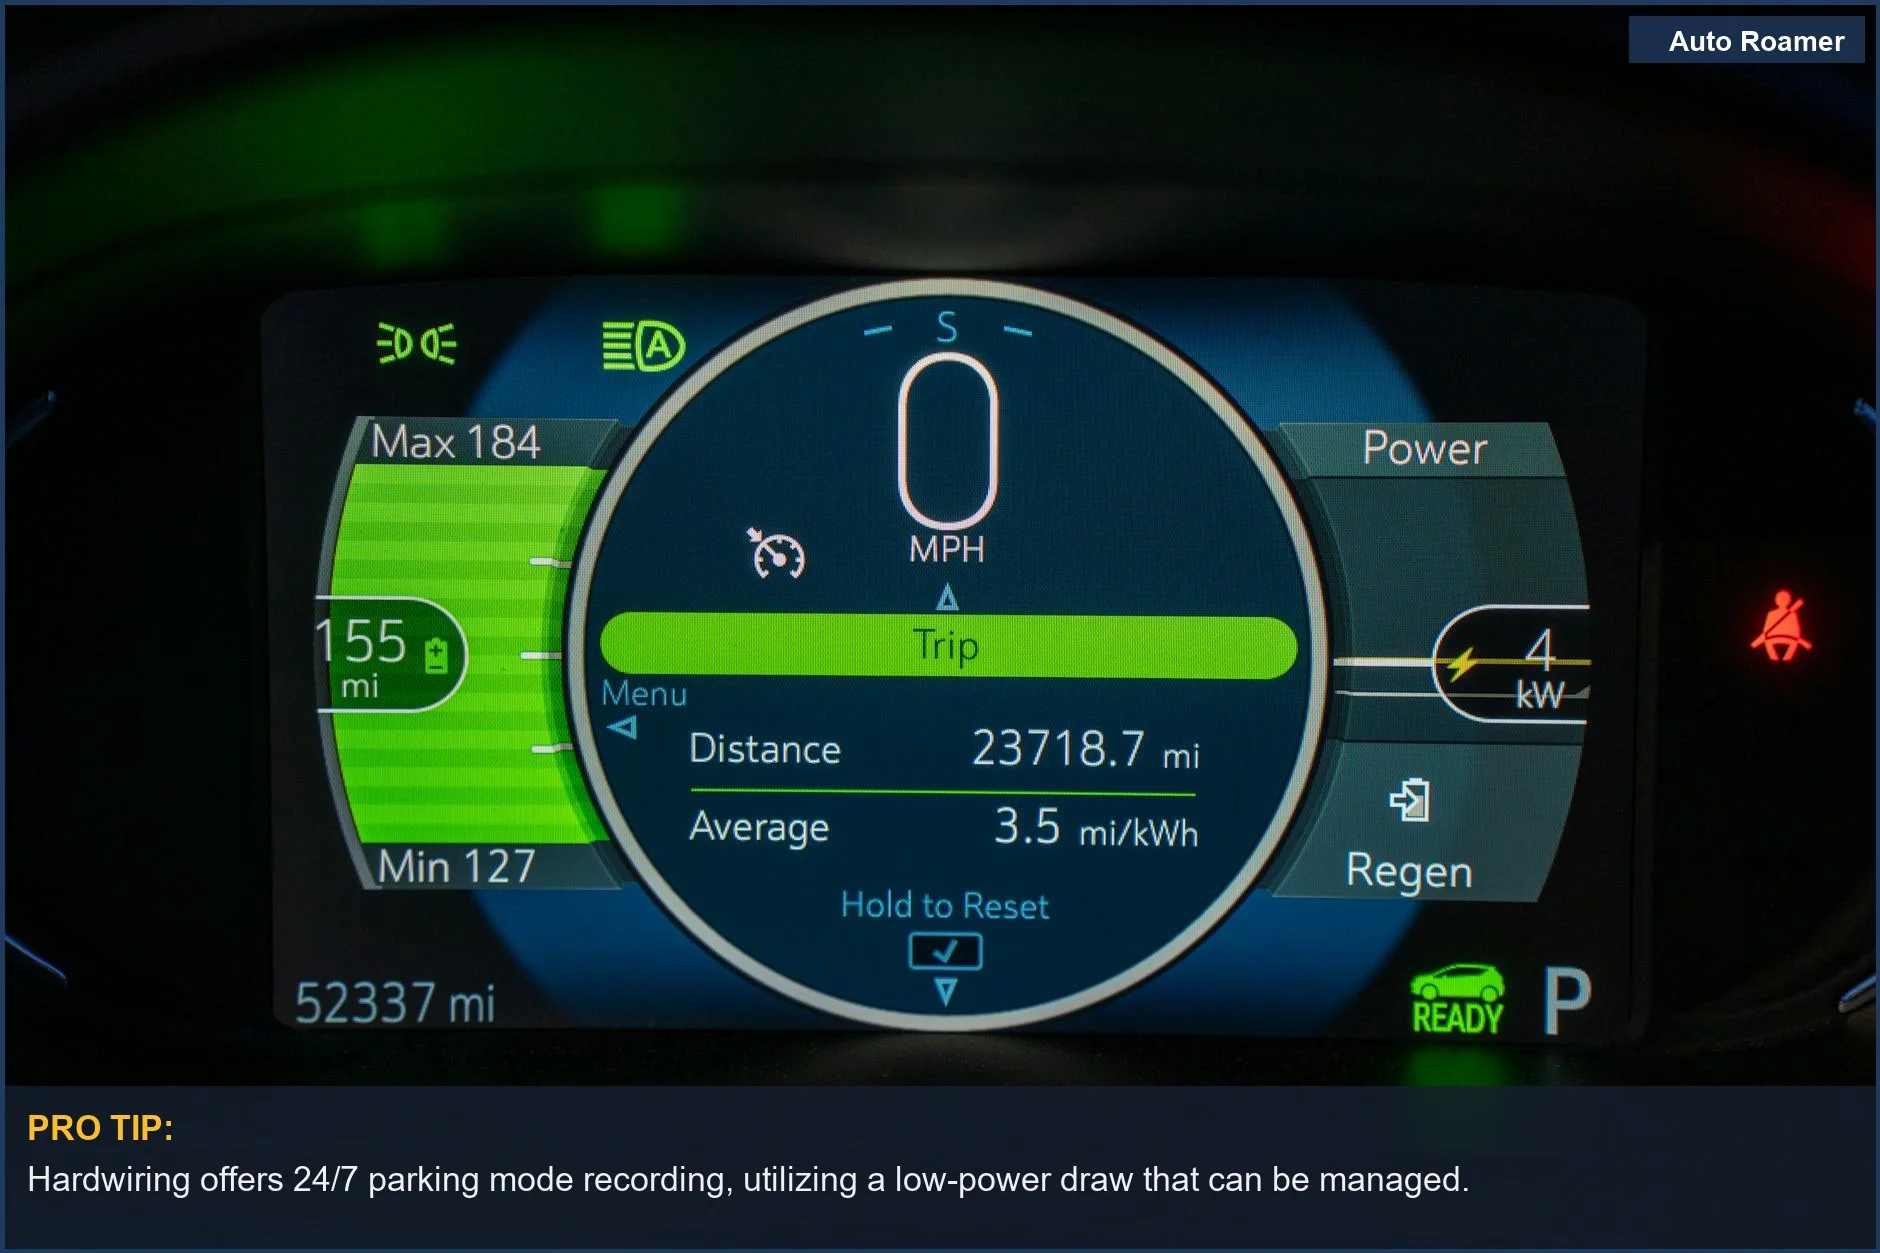
The real move, though, especially if you want your dash cam to keep an eye on things when you're parked (parking mode), is hardwiring. This means running a wire from the camera, usually up through your headliner or A-pillar, and connecting it to your car's fuse box. This setup gives you constant power, so it can record if someone bumps your car or tries to break in.
But here's the rookie mistake: just connecting it to any old fuse. You need to use a proper hardwire kit. These kits are typically around $20-$30 and come with a little box that manages the power. Mine used two 15amp fuses, which felt like overkill, but it worked. The crucial part is the low-voltage cutoff. Your car battery has a minimum voltage it needs to stay alive and start your engine.
If your dash cam drains it too low, you're stuck. Most installers set this cutoff around 12.2 volts, but it can vary. The plug-in method only powers the camera when the car is running, so no parking mode. The honest version is, for true peace of mind, hardwiring is the way to go, but you need to understand what you're connecting to. Don't just wing it; get a kit designed for this.
Why This Matters for Your Setup
This isn't just about keeping your dash cam running; it's about protecting your entire vehicle's electrical system.
- Battery Drain is Real: My first RV trip, I plugged in a little 12V fan, thinking it was no big deal. By morning, the house batteries were toast. Same principle applies here. If your dash cam is constantly drawing power, even a little bit, it adds up. An RV's 12V system is complex, and you don't want to mess with it without understanding.
- Parking Mode Pitfalls: If you want your dash cam to record when your car is off, you need a hardwired setup with a battery protection feature. I saw a guy on a forum who hardwired his directly to a constant power source without a cutoff. His car wouldn't start after sitting for two days. Brilliant engineering.
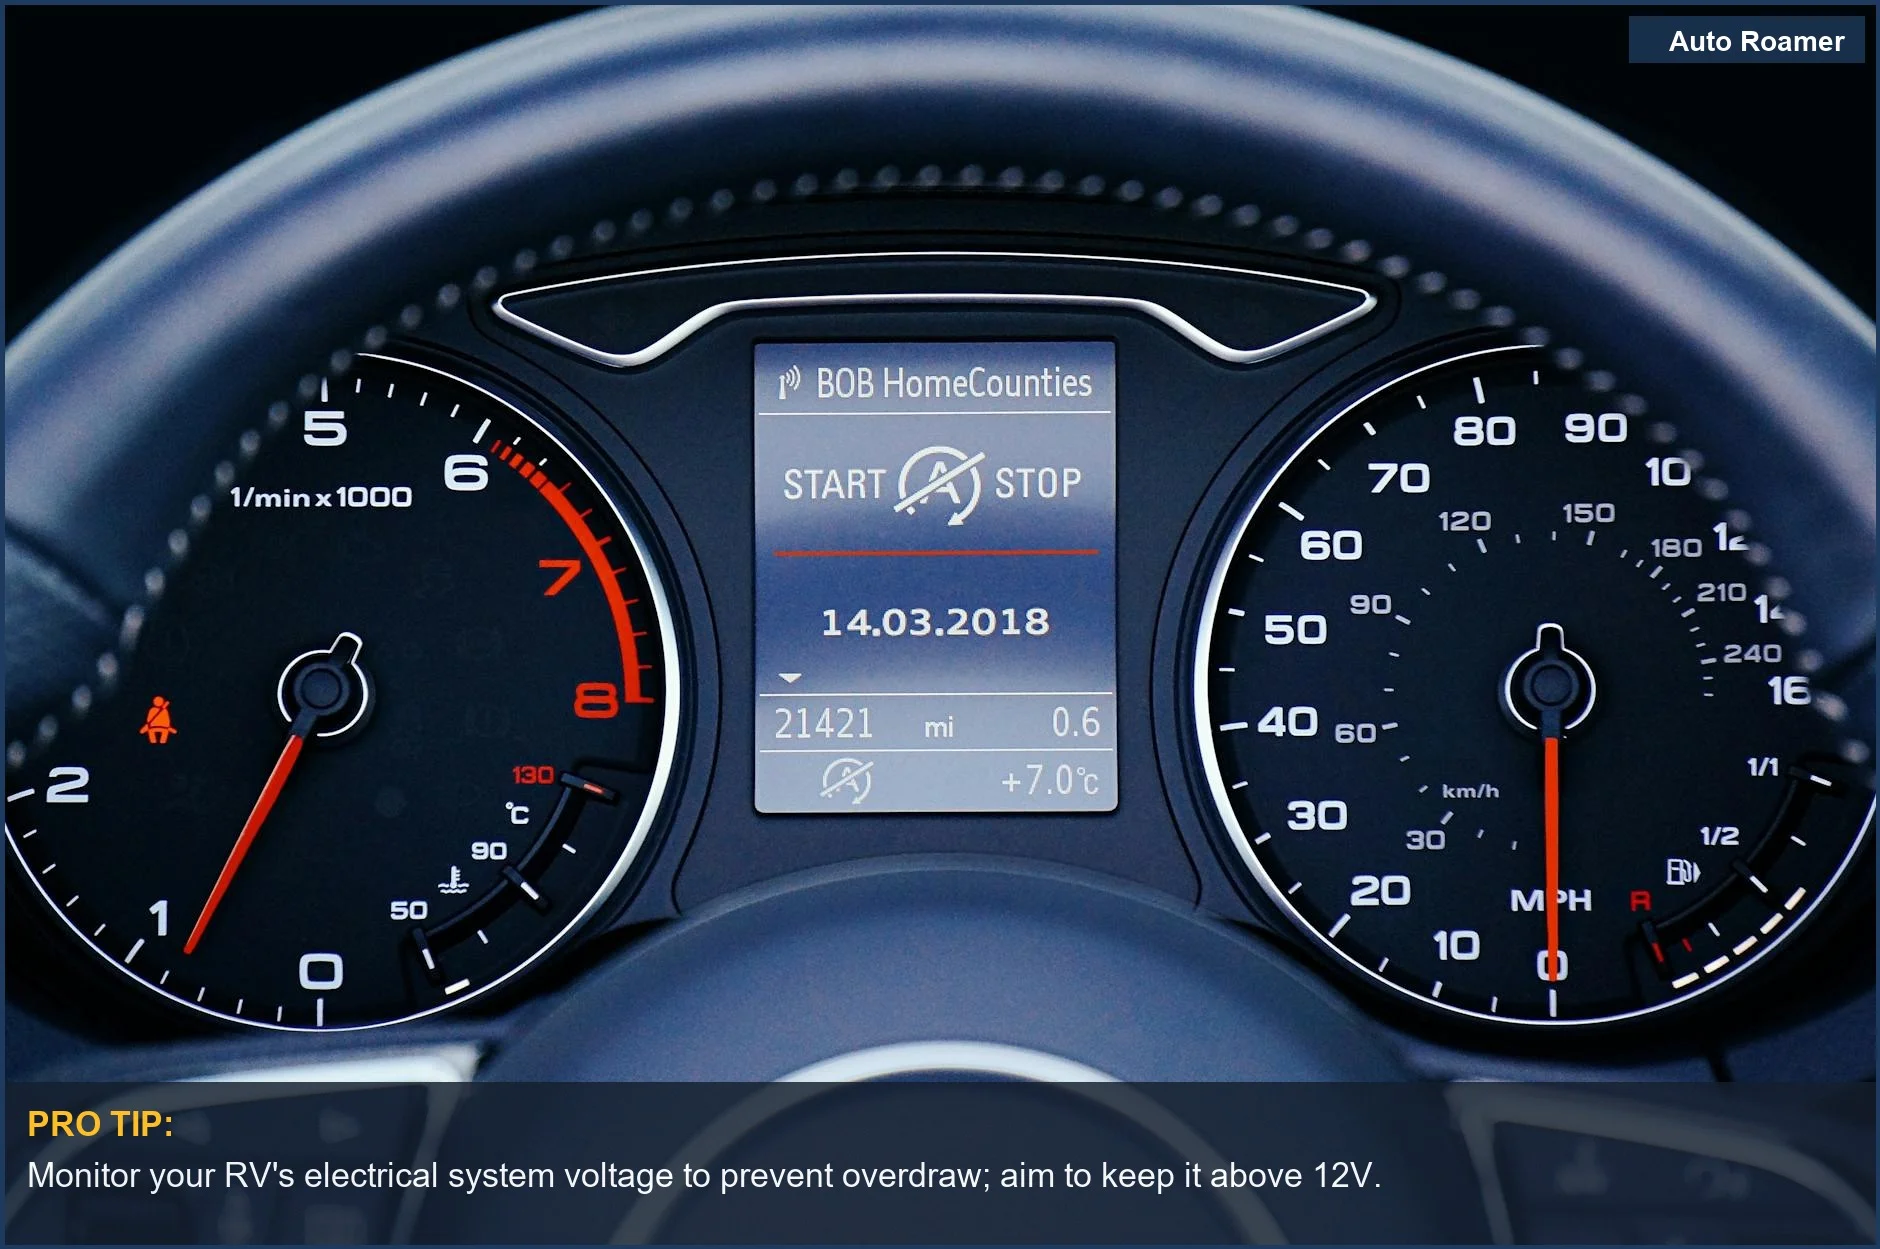
- Voltage Cutoff is Your Friend: This is the safety net. It tells the dash cam to shut off when the car battery reaches a certain voltage, preventing it from dying completely. Setting this to 12.2V is pretty standard, but you need to know your car's baseline voltage.
- RV Specifics: In an RV, you've got your chassis battery (for starting the engine) and your house batteries (for everything else). You generally want to power your dash cam from the chassis battery, not drain your living space power. Most RVers have a list of essential electronics, and a dash cam is becoming one of them.
Making the Right Choice
Choosing how to power your dash cam boils down to what you need it for.
- Simplicity vs. Security: If you just want recordings while you drive, plugging into the 12V socket is fine. It's the $10 version of dash cam power. But if you want parking mode and 24/7 protection, you need to go the hardwiring route.
- Battery Protection is Non-Negotiable: Don't be the guy who wakes up to a dead battery because his dash cam was too thirsty. Use a proper hardwire kit with a voltage cutoff. It's a small price to pay for peace of mind.
- Know Your Vehicle: Whether it's a car, truck, or RV, understand its electrical system. If you're unsure, it's always better to pay a professional. A bad install can cost way more than the camera itself. I've seen people fry entire fuse boxes trying to save a few bucks.
- Long-Term Investment: A properly installed dash cam and its power setup is an investment in safety and security. It's not just a gadget; it's a tool that can save you a lot of headaches down the road.

