Best Car Camping Window Screens for Ventilation (2026 Complete Guide)
My first car camping trip was a $47 experiment in a Honda Civic hatchback in Shenandoah Valley. Mid-October. I had a Walmart foam pad, a sleeping bag rated to 40F, and zero idea that the temperature drops 15 degrees after midnight in the mountains.
My first car camping trip was a $47 experiment in a Honda Civic hatchback in Shenandoah Valley. Mid-October. I had a Walmart foam pad, a sleeping bag rated to 40F, and zero idea that the temperature drops 15 degrees after midnight in the mountains. By 2AM I was wearing every piece of clothing in my bag and still shivering. The fix was a $12 fleece liner from Amazon that turned my 40F bag into a 25F bag.SnapShades install review.
Three years later I still use that same liner on every trip.
What nobody tells beginners about car camping in warm weather is that it's a mosquito buffet unless you get your window situation sorted. My second trip, I tried to just crack the windows a hair. Woke up with 17 bites on my face and neck. Rookie mistake.
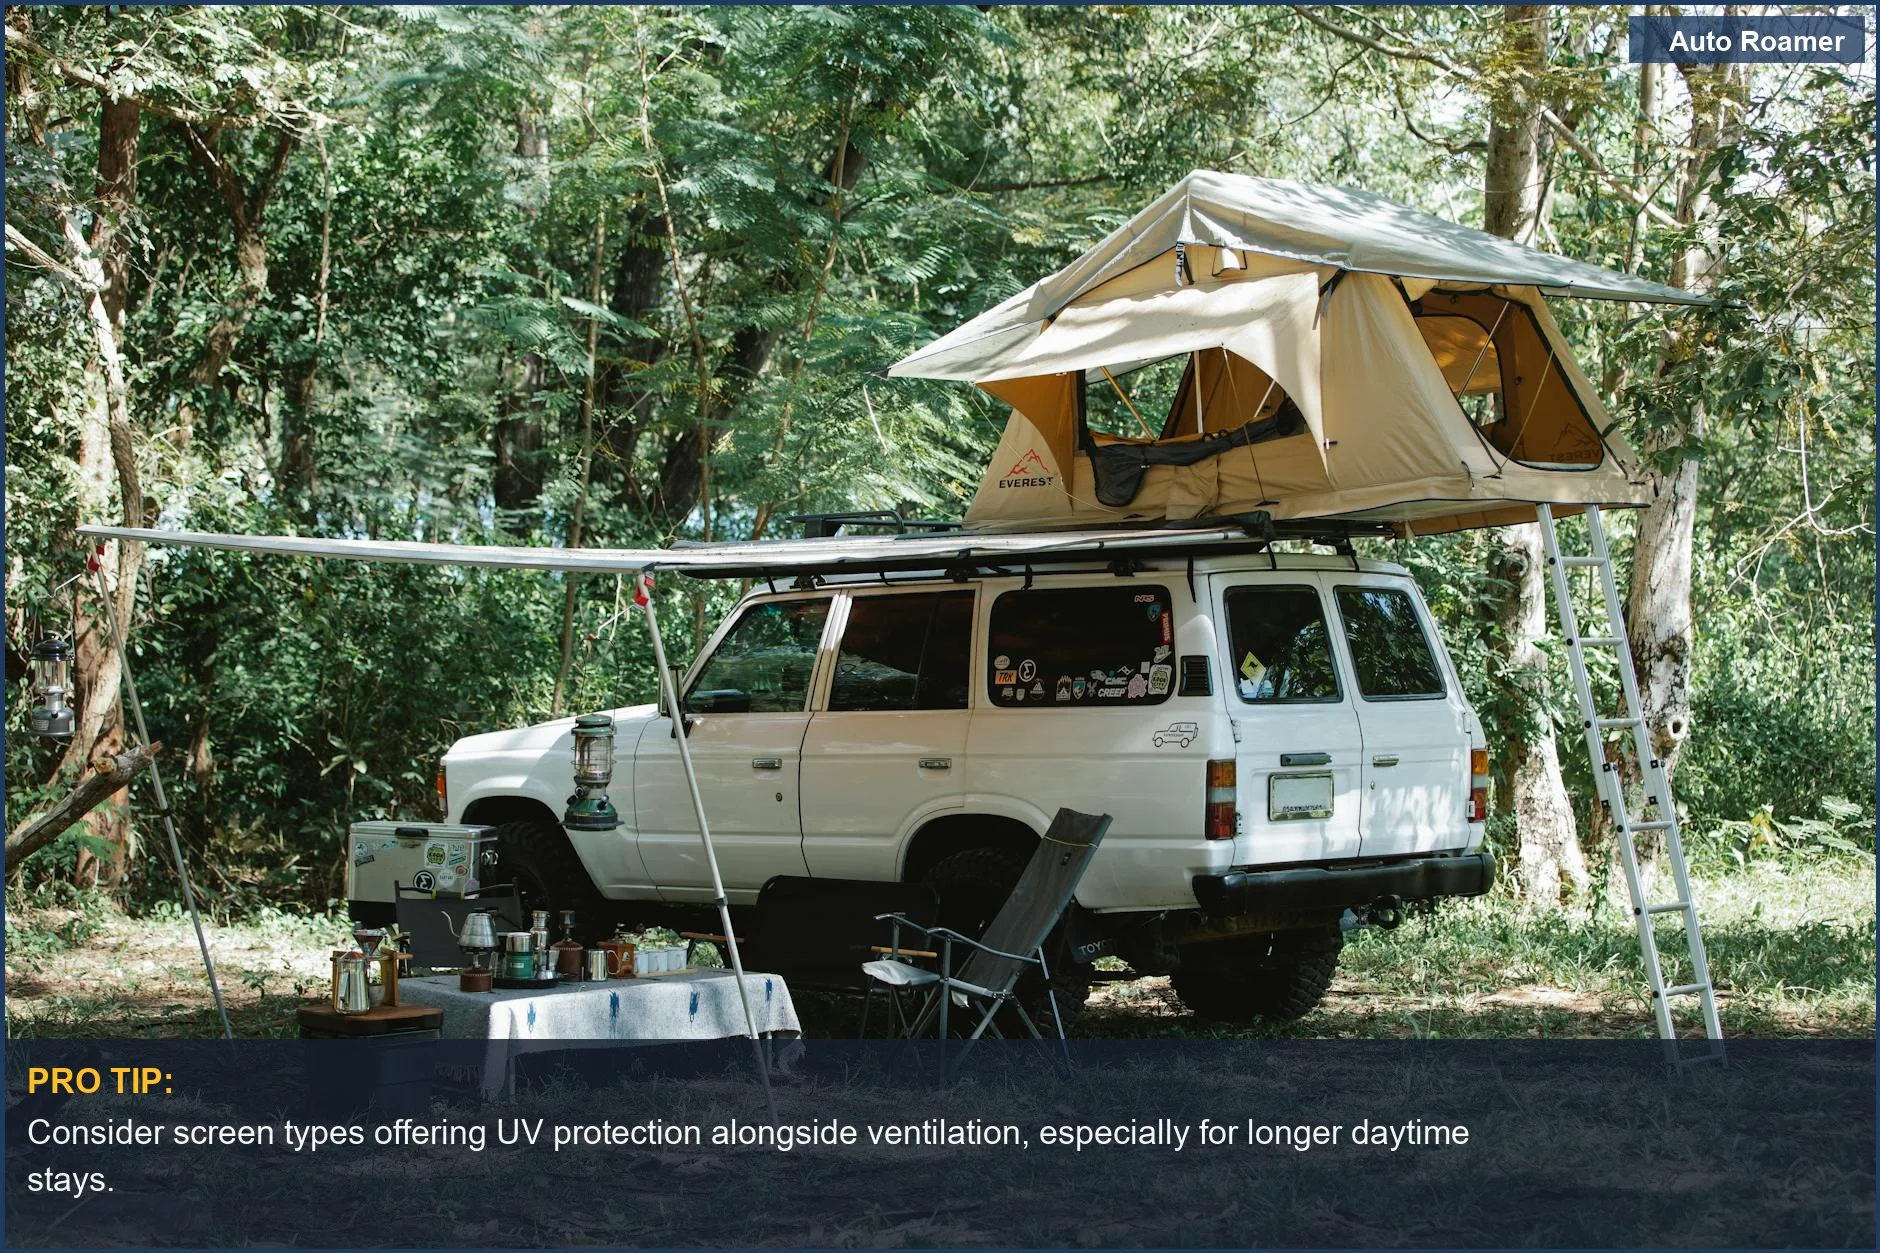
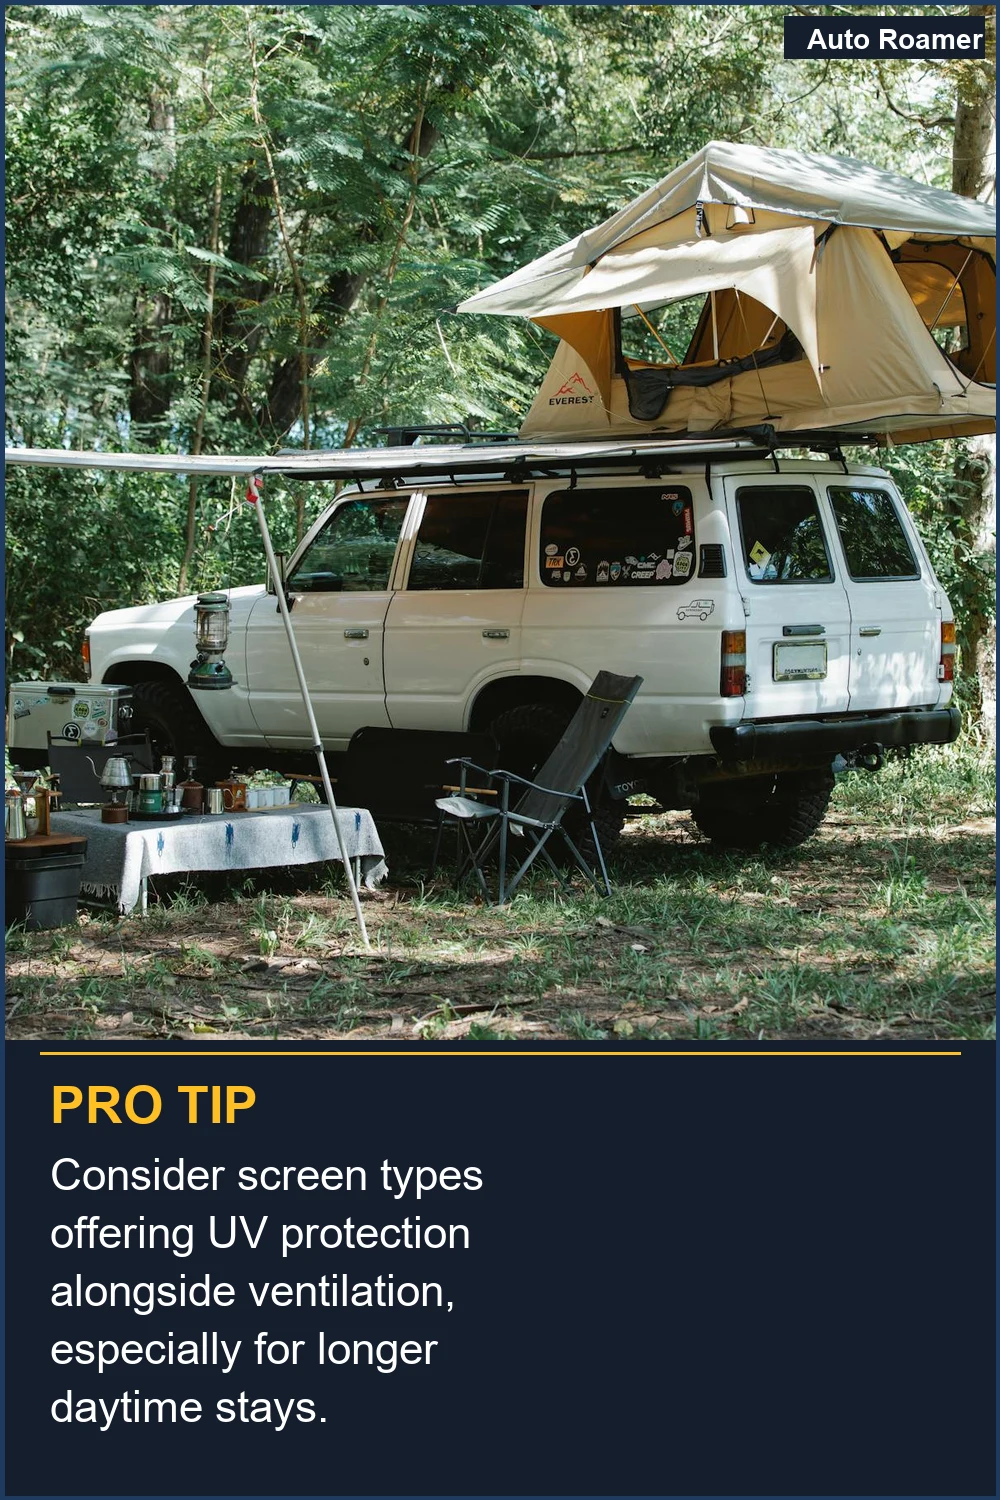
The honest version: you need airflow, and you need to keep the bugs out. Otherwise, you're either suffocating in a hot car or donating blood to the local insect population. It's a delicate balance.
I've tried everything from DIY mesh with magnets to expensive custom-fit screens. Some worked, some failed spectacularly. The goal is always the same: a decent night's sleep without feeling like you're in a sauna or a science experiment. Luno Car Window Screens are one option I found later.
This isn't about perfectly engineered solutions. This is about what actually works when you're 3 hours from home, the sun is setting, and you just want to sleep. Accessibility and real-world experience, that's the game-time philosophy.
Forget the fancy overland rigs for a minute. You probably have a car, and you want to sleep in it without getting eaten alive or baking. I've been there. Let me tell you what I learned the hard way so you don't have to.

Key Features to Consider
What Makes a Window Screen Actually Work?
My first attempt at car window screens was a $5 roll of mesh from a hardware store and some duct tape. I thought I was brilliant. It lasted exactly 43 minutes before the tape peeled off in the humidity of a South Carolina summer night. Field notes: duct tape fails in the heat. So, what actually matters? It boils down to a few key things that I learned through trial and error, usually involving mosquitoes. Amazon has a ton of options, but you gotta know what you're looking for. Here's the rundown on what to look for, based on what happened when I tried it:| Feature | Why it matters (The Weekend Warrior's take) |
|---|---|
| Fit | My first universal screen was less "universal" and more "a loose net flapping in the wind." Bugs got in. You need a snug fit, whether it's over the door frame or custom cut for the window. Otherwise, it's just decorative. This video explains features and benefits. |
| Mesh Density | I bought a screen once that looked great, but the holes were big enough for a small bee to fly through. It was a $15 lesson in mosquito anatomy. You want fine mesh, fine enough to stop gnats, not just the big stuff. My personal rule: if I can easily see through it from 10 feet away, so can a gnat. |
| Material Durability | Some screens feel like they're made for a child's toy. They rip, snag, or stretch out after one use. My first cheap screen developed a 3-inch tear on its second trip when I snagged it on a door handle. Look for something that feels robust, like a strong nylon. The $50 version will usually last longer. |
| Ease of Installation/Removal | If it takes 15 minutes to put on, you'll never use it. I had one magnetic screen that took forever to line up just right. The real move: something you can throw on or take off in under a minute, especially when it starts raining at 3 AM. |
| Privacy/Light Blocking | Some screens are just mesh. Others offer a bit of shade. My Honda Civic didn't have tinted windows, so a screen that offered some privacy was a bonus. It meant I didn't feel like I was sleeping in a fishbowl at the Walmart parking lot, which I have absolutely done. |
Our Top Picks
Screens That Actually Held Up (and a few that didn't)
I've cycled through enough window screens to outfit a small car dealership. Some were brilliant, some were a waste of gas money driving to the store. Here are the ones that passed my 'first-timer test' and actually delivered when it mattered. Deepsleep Overland has some premium options, but I'm talking about what works for the rest of us.
Budget vs Premium Options
The $20 Screen vs. The $150 Screen: What's the Real Difference?
I've seen window screens advertised for $15 and for $200. My immediate thought is always, "Is that $185 difference really worth it, or am I just paying for a fancy label?" The answer, as I found out, is usually somewhere in the middle. Some folks on Facebook talk about bug screens for specific vents, but for windows, it's a different beast.| Feature | Budget Options ($15-$40) | Premium Options ($70-$150+) |
|---|---|---|
| Fit | "Universal" fit, usually elastic sleeves. These work okay for most cars, but often leave small gaps around the edges if your window shape is unusual. I used a universal one on my old beat-up Camry, and it had a 1-inch gap at the top. Rookie mistake. | Custom-fit for specific make/model. These are precisely cut to your window shape, often with magnetic attachments or rigid frames. No gaps, no bugs. Brilliant engineering, if you have the cash. |
| Material | Thinner, more stretchable mesh. Can snag or tear more easily. My $18 screen from a big-box store developed a run in the mesh after its third use. It still worked, but it looked rough. | Denser, more durable mesh (e.g., 70D nylon 50x50 elastic mesh like Luno's). Often UV-resistant and less prone to stretching or tearing. These are built to last more than a few seasons. |
| Privacy | Typically just mesh, offering minimal privacy. You can see in, people can see out. If you're shy about sleeping in a parking lot, this isn't your best bet. | Often designed with a darker tint or a tighter weave to provide more privacy, sometimes even blocking UV rays. Skeeter Beaters are pricey but good for maximizing airflow and minimizing darkening. |
| Ease of Use | Simple sleeve designs are quick to put on but might require some fiddling to get snug. Magnetic ones can be a bit finicky if the magnets aren't strong enough. | Designed for quick, secure installation. Magnetic frames snap into place, or rigid frames slide in. Less fuss, more sleep. |
Setup and Installation Tips
Getting Those Screens On (Without Losing Your Mind)
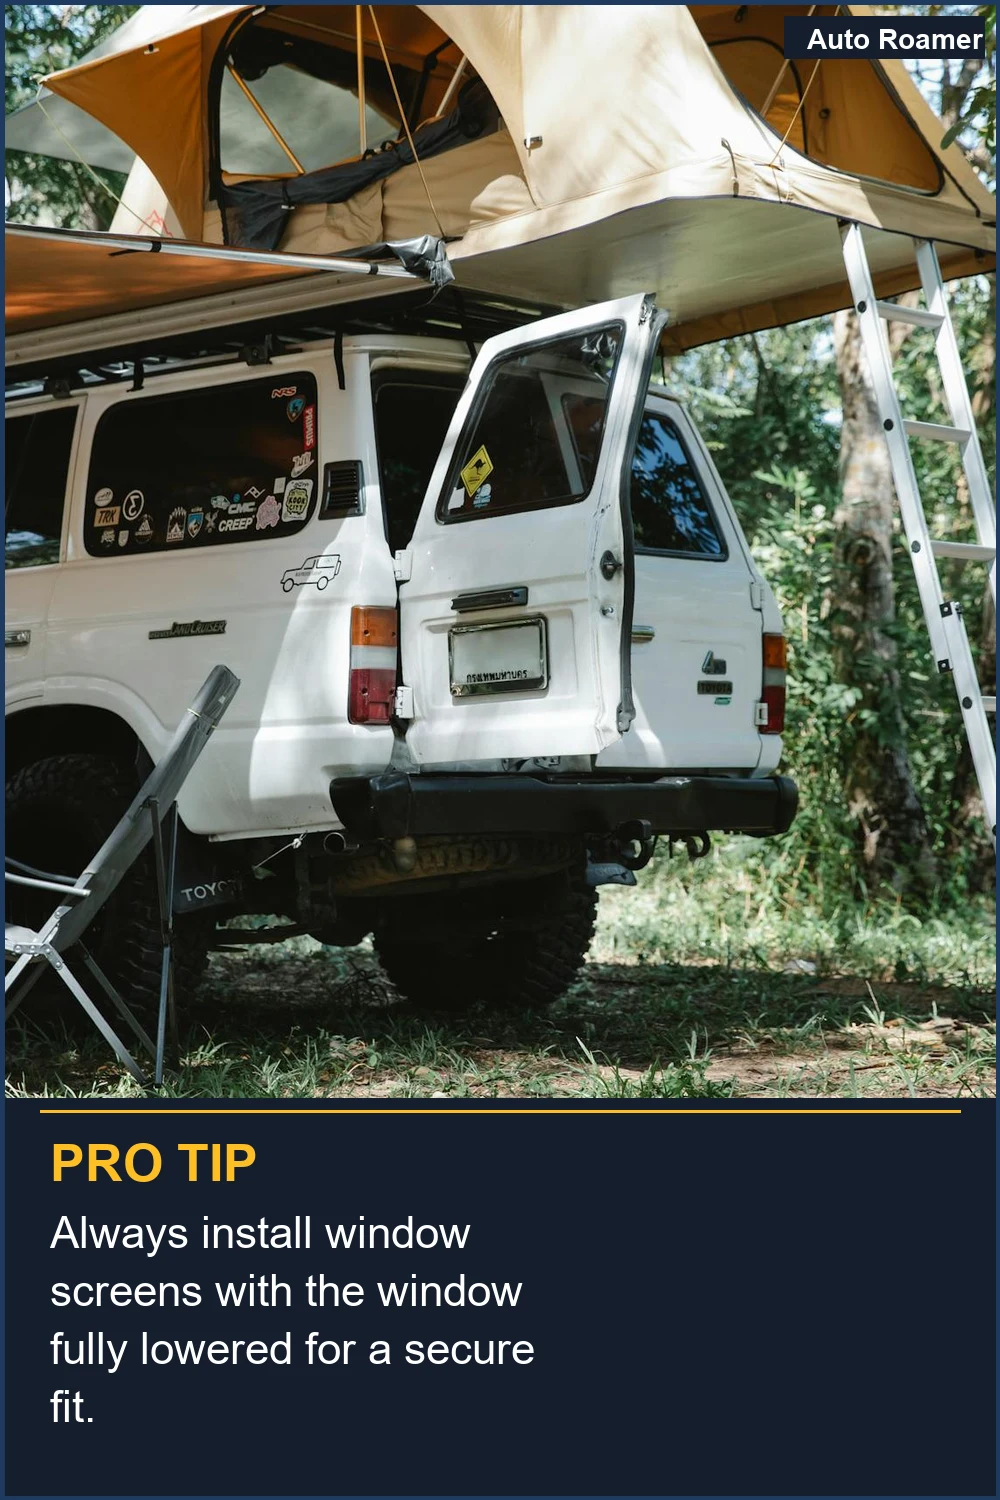
Nobody tells you how to properly install these things when you're fumbling in the dark. My first time with over-the-door screens, I tried to put them on with the window rolled all the way up. It didn't work. I felt pretty dumb standing there for 5 minutes. Some DIY solutions are out there, but for bought screens, there's a trick. Here's the field notes version of how to get your window screens set up without a wrestling match: 1. Roll Down the Window (Partially): This is the game-time move for sleeve-style screens. Roll your window down about 4 to 6 inches. This gives you room to slide the mesh sleeve over the top of the door frame. I learned this the hard way at a dark campsite in Vermont. 2. Slide Over the Door: Grab the screen's elastic opening and slide it over the top edge of your car door. Pull it down all the way around the door. Make sure the mesh part is on the outside of the window. Amazon has good visual guides for their products. 3. Adjust for Snugness: Once it's over the door, pull the bottom edge down as far as it will go. You want it taut. If it's too loose, bugs will find the gaps. My first screen was so loose it looked like a saggy diaper. Not effective. 4. Roll Up the Window (Carefully): Now, slowly roll your window back up. The screen should fit inside the window channel, holding it securely. Don't roll it all the way up, leave a few inches for airflow. This is the beauty of the sleeve design - you get ventilation without exposing the interior. 5. For Magnetic Screens: These are simpler. Just open your door, align the screen with the metal frame around the window, and let the magnets do their thing. Make sure there are no gaps. This is the real move for a quick, clean install, but you can't roll the window down with these.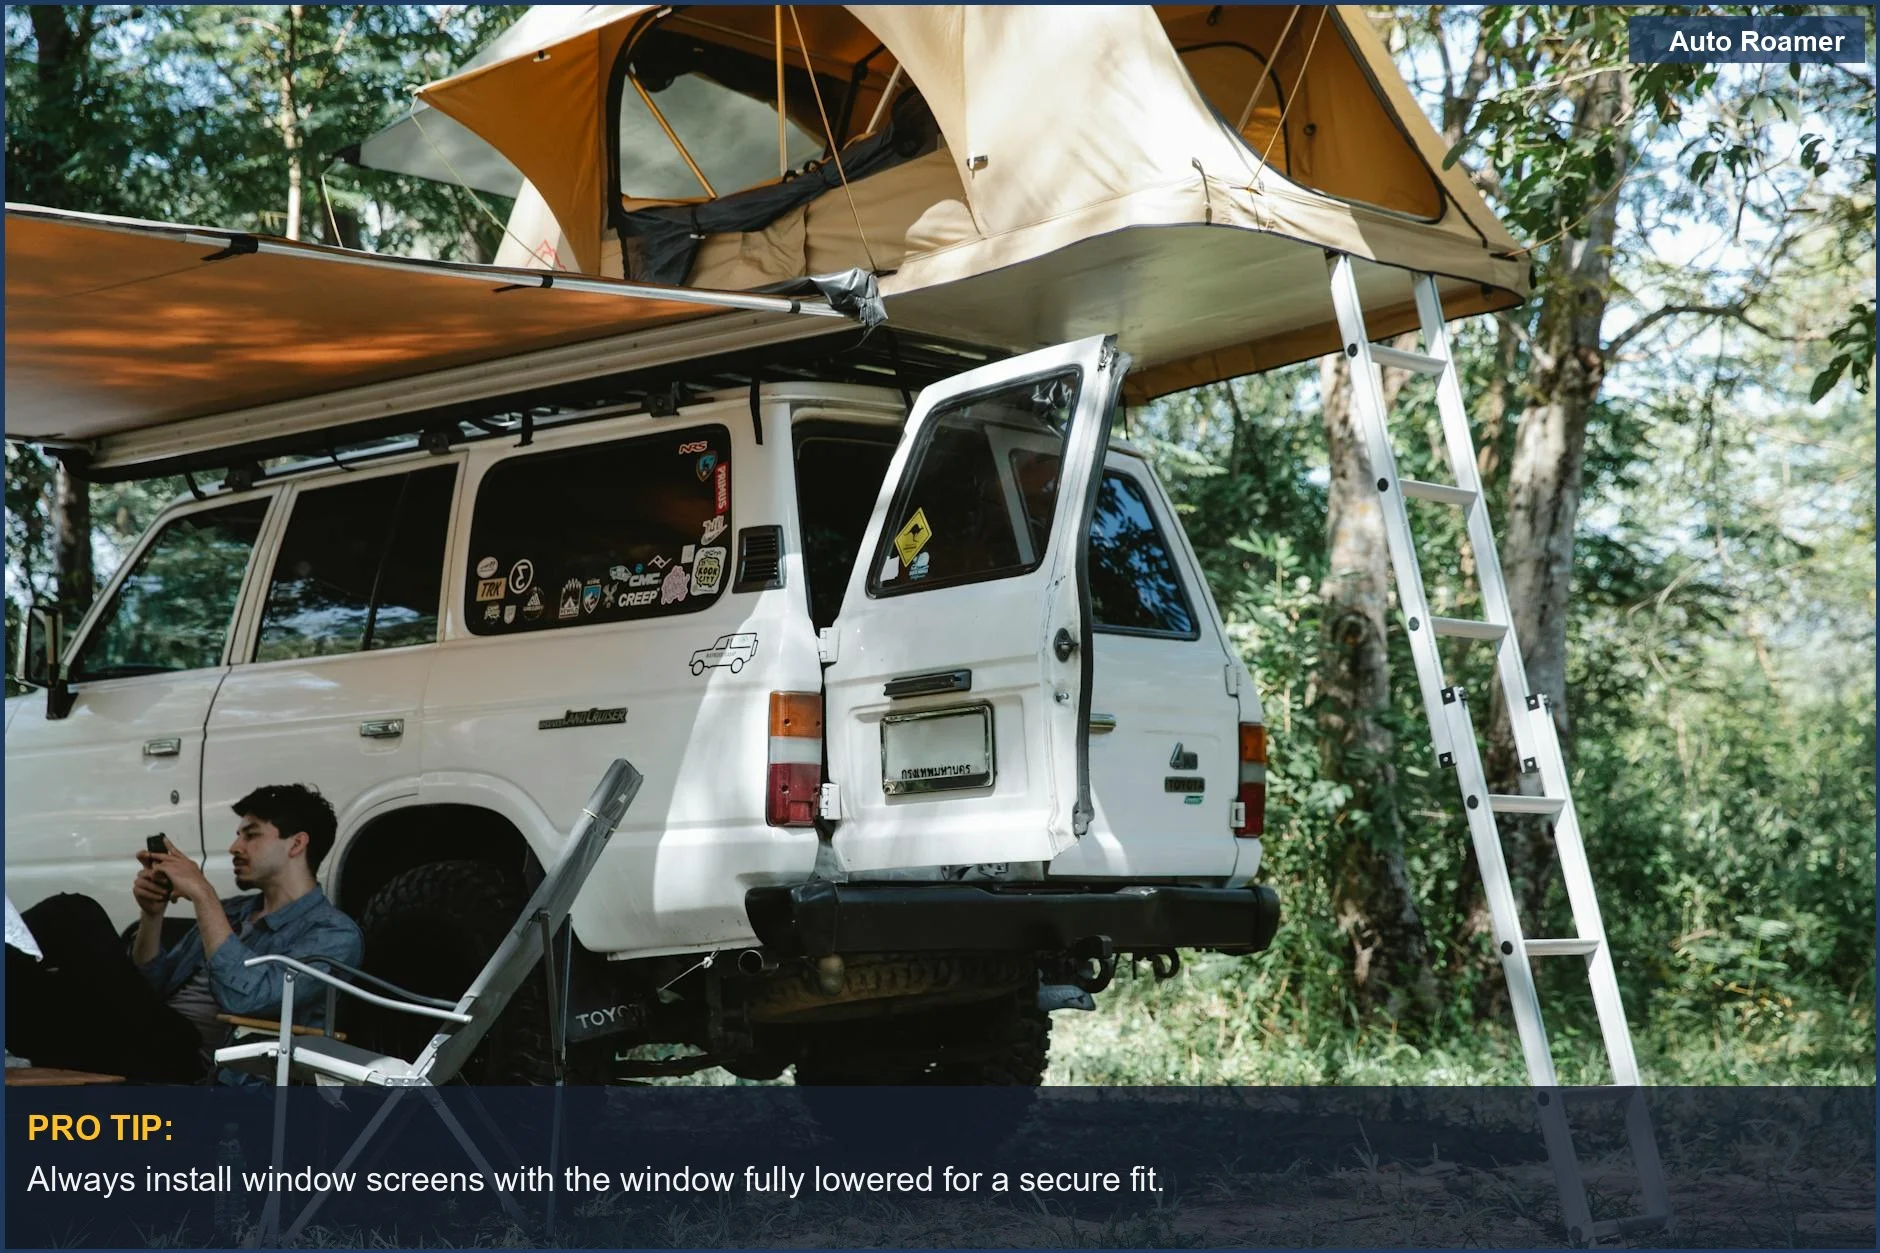
Care and Maintenance Tips
Keep Your Screens Bug-Free and Functional
I used to just wad up my window screens and throw them in the trunk. After a couple of trips, they were covered in dirt, twigs, and questionable stains. They also didn't last as long. A little care goes a long way, especially for the $50 version. Some DIY screen makers talk about maintenance, but even store-bought ones need attention. Here's how I learned to keep my screens in decent shape: 1. Shake 'Em Out: Before packing up, give each screen a good shake. My first time, I packed a screen with a bunch of dead bugs still in the mesh. Not pleasant to unpack. Get the loose dirt, leaves, and creepy crawlies off. 2. Gentle Wash (When Needed): If they get really dirty, don't throw them in the washing machine. I did that once with a cheap screen, and it came out with a massive tear. Instead, hand wash them in a sink with some mild soap and cold water. A quick rinse is usually all it takes. 3. Air Dry Completely: This is critical. Never store a damp screen. I made this rookie mistake at a humid campsite in Florida. I packed a slightly damp screen, and by the next trip, it had a lovely mildew smell. Air dry them flat or hang them somewhere out of direct sunlight. 4. Fold, Don't Crumple: Most screens come with a small storage pouch. Use it. Folding them neatly prevents snags and keeps the elastic from stretching out prematurely. My current screens have lasted three years because I stopped wadding them up like a dirty sock. 5. Inspect for Tears: Before each trip, give your screens a quick once-over. A small tear can become a huge problem when you're trying to keep mosquitoes out. Patch small holes with some tenacious tape or a bit of mesh repair kit. It's better than waking up with 10 bites.
Final Recommendations
The Weekend Warrior's Final Word on Window Screens
Look, car camping should be accessible, not an Olympic sport of gear acquisition. My honest version of window screens is this: you need them if you want ventilation without bugs. Period. Trying to rough it without them is a rookie mistake I've made more than once. Wirecutter also recommends shades for cooling.Frequently Asked Questions
Can I just use regular window tinting for privacy and bug protection, or do I really need these screens?
Do I need to measure my exact window dimensions, or will 'universal' screens actually fit my 2018 Toyota RAV4?
What if I get the over-the-door screens and it rains while my windows are cracked open?
Can repeatedly rolling my windows up and down with sleeve screens installed damage my car's window motors or weather stripping?
Some guides say to use painter's tape and mesh for a cheap DIY screen. Is that a good idea?
🏅 Looking for Gear Recommendations?
Check out our tested gear guides for products that work with this setup:
Sources
- Car Window Screens For Camping - Amazon.com
- Best/worst window screens? : r/carcamping - Reddit
- Review of car window screens for SUV campers - YouTube
- SnapShades window covers for Car Camping - Wow! Full Set-Up
- best-car-window-shades-and-sun-protection-the-complete-2025-guide-to-deepsleep-overland-car-camping-solutions?srsltid=AfmBOopL5CAV59IB6nsn7HoyTWFDlVa1AHIcNUhf8g0BF3otCn_rWzO
- Car Window Screens For Camping - Amazon.com
- Cheap(ish) Things to Cool Down Your Hot, Stuffy Car
- What is a good window mesh screen for cars? - Facebook
- TBO: Car Camping - DIY window bug screen mesh - YouTube
- What is the best window bug screen for the 2025 version? - Facebook
- Ventilation + Window Covers? : r/carcamping - Reddit
- Car Window Screens - Luno