It's Almost Never the Phone — It's the Surface, the Heat, and the Weight
A phone mount that keeps letting go of the dashboard is one of the most frustrating accessory failures, because it usually fails at the worst possible moment — mid-turn, over a bump, or the instant you reach for the navigation. And the reflex is always the same: the mount is junk, buy another one. But the uncomfortable truth is that most replacement mounts fail in exactly the same way, because the real problem is rarely the mount itself. It's the mismatch between the kind of mount you bought and the dashboard it's clinging to. Get that match right and a cheap mount holds for years; get it wrong and the most expensive mount on the shelf still ends up in the footwell.
Three forces are working against every dashboard mount, and understanding them is the whole fix. The first is the SURFACE: a modern dashboard is almost never smooth, hard plastic anymore — it's textured, soft-touch, padded vinyl, or leather, and that surface is hostile to the two ways mounts attach. Suction cups need a perfectly smooth, non-porous surface to seal against, which a grained dashboard simply isn't, and adhesive pads have to bond to plastics that constantly bleed softeners to the surface. The second force is HEAT: a parked car's dashboard can reach temperatures that soften suction-cup rubber and turn adhesive gummy, so a mount that held all winter starts dropping every afternoon in summer. The third is WEIGHT and leverage: a big phone in a thick case, often with a metal MagSafe plate added, hangs off the end of an arm, and that cantilevered weight multiplies the pull on whatever is gripping the dash.
This guide is diagnostic-first. Instead of a generic list of tips, it sorts the problem by your MOUNT TYPE — suction, adhesive, vent, or magnetic — because each fails for a different reason and each has a different fix. We start with why suction cups and dashboards are a bad marriage, walk a 60-second test to find which force is beating your mount, and then give the specific fix for each mount type. None of them begins with throwing money at a new gadget, and the most durable fix is often a different ATTACHMENT method entirely rather than a different brand.
- The SURFACE: textured, soft-touch, or padded dashboards that suction cups and adhesives struggle to grip.
- HEAT: a parked dashboard gets hot enough to soften suction-cup rubber and turn adhesive gummy.
- WEIGHT and leverage: a heavy phone in a case on the end of an arm multiplies the pull on whatever grips the dash.
Why Suction Cups and Modern Dashboards Are a Bad Marriage
A suction cup is brilliant on glass and useless on most dashboards, and the reason is pure physics. A suction cup holds because you press out the air underneath it and the higher air pressure outside clamps it down against a smooth, sealed surface. The seal is everything — and it only works on a surface that is both smooth and non-porous, like a windshield. A windshield is glass: flat, hard, perfectly sealed. That's why a dash cam can ride a windshield for years on a suction cup. A dashboard is the opposite of glass. It is textured with a fine grain or a leather-like pattern, often soft and slightly spongy, and that microscopic roughness leaves thousands of tiny channels for air to creep back under the cup. The vacuum bleeds away over minutes or hours, and the cup quietly lets go — often while you're driving and not watching it.
This is why so many people conclude their mount is defective when it isn't. The cup works perfectly when you press it down in the driveway, holds long enough to convince you, and then fails an hour later because the seal was always slowly leaking. Soft-touch and padded dashboards make it worse: the surface flexes under the cup, so even the initial seal is poor, and any vibration from the road works air back in. Heat compounds the failure, because warm rubber loses its elasticity and conforms less tightly, which is exactly why suction failures spike in summer. The cup that survived March is on the floor by July.
Most suction phone mounts try to solve this with a separate adhesive 'dash disc' — a hard, smooth plastic puck you stick to the dashboard, giving the suction cup the glass-like surface it needs. That disc is the real fix, and if your suction mount came with one and you skipped it, that's your problem in a nutshell. But the disc just moves the challenge down a layer: now the ADHESIVE under the disc has to hold to a textured, plasticizer-bleeding dashboard, which is its own battle covered below. The honest takeaway is that a bare suction cup pressed directly onto a textured dashboard will never hold reliably, no matter the brand. If that's your setup, you don't have a defective mount — you have the wrong attachment method for the surface.
The seal is everything, and it only works on a surface that is both smooth and non-porous, like a windshield. A dashboard is the opposite of glass.
The Four Failure Modes: Surface, Heat, Weight, and Worn Grip
Every dashboard-mount failure traces back to one of four forces, and naming yours points straight at the fix. The first is the SURFACE mismatch already described: a suction cup on bare textured plastic, or an adhesive pad on a dusty, oily, or silicone-treated dash that won't let it bond. Surface failures show up early — the mount never really held from day one, or it lasted only until the first warm afternoon. If your mount failed within days of a fresh install, suspect the surface before anything else, because no amount of re-pressing fixes a bond that can't form in the first place.
The second force is HEAT. A dashboard in direct sun is one of the hottest places in the car — it bakes all day behind the windshield, which acts like a greenhouse. That heat softens suction-cup rubber until it can't hold a vacuum, and it turns adhesive pads soft and gummy so they creep, slide, and peel under load. The signature of a heat failure is timing: the mount holds overnight and in the morning, then sags or drops in the afternoon, and it's far worse in summer or in hot climates. The third force is WEIGHT and leverage. A modern phone is heavy, a rugged case adds more, and a magnetic adapter plate adds a slab of steel — all of it hanging off the end of a mounting arm. That weight doesn't just pull straight down; on an arm it acts as a lever, and every bump in the road yanks on the attachment point with far more force than the static weight suggests. A mount rated for a bare phone can be badly overloaded by the same phone in an armored case.
The fourth force is a WORN or dirty grip. Suction cups age — the rubber hardens, takes a permanent set, and stops sealing — and they also just get dirty, because a film of dust or skin oil on the cup or the surface breaks the seal. Adhesive pads collect dust on their tacky face and lose their stick; vent clips fatigue and spread; magnetic mounts lose grip when the plate is thin or buried under a thick case. Worn-grip failures are gradual: the mount held fine for a year and slowly got less reliable. The fix differs completely depending on which of these four you have, so resist the urge to just press harder — diagnose first, then fix the actual cause.
- SURFACE mismatch: a suction cup on bare textured plastic, or adhesive on a dusty, oily, or silicone-treated dash.
- HEAT: a sun-baked dashboard that softens suction rubber and makes adhesive creep and peel.
- WEIGHT and leverage: a heavy phone, rugged case, and steel plate hanging off the end of an arm.
- A WORN or dirty grip: aged suction rubber, dust-fouled adhesive, fatigued vent clips, or a thin magnet plate.
The 60-Second Diagnosis: Find the Force That's Beating Your Mount
You can pin down the cause in about a minute, parked, with no tools. Start by identifying your mount TYPE, because that frames everything: is it a bare suction cup pressed on the dash, a suction cup on a stick-on disc, an adhesive pad stuck directly to the dash, a clip wedged in an air vent, or a magnetic mount? Write that down in your head before you touch anything, because the same symptom means different things on different mounts.
Next, run the timing test, which separates a surface problem from a heat problem. Re-seat the mount carefully when the car is cool and note how long it holds. If it lets go within minutes or hours even in cool conditions, you have a surface or seal problem — the bond never formed. If it holds reliably when cool but fails specifically after the car has been sitting in the sun or driving on a hot day, you have a heat problem. This single observation — does it fail on time, or fail on temperature — eliminates half the possible causes. Pair it with a load check: take the case off your phone, or strip the heavy armor case down, and see whether the lighter phone stays put. If shedding weight fixes it, the mount was simply overloaded by the phone-plus-case-plus-plate mass.
Finally, do the clean-and-press test on the actual grip. For a suction cup, peel it off, wipe both the cup and the surface with a little rubbing alcohol, let them dry, then press firmly and listen for a clean seal — if a freshly cleaned cup on a smooth disc still won't hold, the cup is worn out. For an adhesive mount, press the whole face down hard for a solid 30 seconds and leave it overnight before loading it; adhesive needs time and pressure to reach full strength. For a vent or magnetic mount, check the mechanical fit — does the clip still spring tight, is the magnet plate thin or hidden under a thick case? These three quick tests — type, timing, and grip — tell you which of the four forces you're fighting, and that's what decides the fix.
Fixing a Suction-Cup Mount That Won't Hold the Dash
If you have a suction mount, the fix is almost always about giving the cup a surface it can actually seal against, because a textured dashboard isn't one. The single most effective move is to install the adhesive dash disc that came with the mount — and if it didn't come with one, buy a stick-on suction-cup base disc, which is sold cheaply for exactly this purpose. The disc gives the cup a smooth, hard, flat plastic surface to grip, turning the dashboard into the equivalent of glass. Place the disc on the flattest part of the dash you can find, well away from curves, seams, and vents, because a cup straddling a curve never seals fully.
Prep is what makes or breaks both the disc and the cup. Clean the chosen spot thoroughly with rubbing alcohol to strip off the silicone dressings, dust, and skin oil that dashboards collect, and let it dry completely — these films are the number-one reason adhesives and suction both fail. When you apply the disc, press it firmly and then leave it undisturbed for at least a day before you hang any weight on it, because adhesive cures slowly and reaches full strength over 24 to 72 hours, not in the first minute. Then wet the suction cup lightly or clean it with alcohol, press it onto the disc, and lock the cam lever if your mount has one. A locking-lever or 'twist-to-lock' suction mount holds far better than a plain press-on cup, because it mechanically pulls the cup tighter rather than relying on your thumb pressure.
If a cleaned cup on a proper disc STILL won't hold, the cup itself is worn out. Suction rubber hardens and takes a permanent set with age and heat, and once it won't conform it can't seal — no cleaning revives it. At that point you replace the cup or the mount, but now you understand WHY, so you can buy a quality locking-lever model and keep using the disc. For choosing a replacement that's actually built for a dashboard rather than a windshield, our roundup of the best dashboard phone mount options sorts them by attachment type so you don't repeat the same surface mismatch. The principle never changes: smooth surface, clean prep, locking cup, patience on the cure.
Fixing Adhesive and Vent Mounts That Lift or Slip
Adhesive mounts fail for two reasons — a bad bond or heat — and both are fixable. A bad bond is a prep failure nine times out of ten. Dashboards are coated in protectant sprays, dust, and oils that no adhesive can stick through, so the cure is aggressive cleaning: wipe the spot with rubbing alcohol, let it dry fully, and only then apply the pad. Press the entire adhesive face down hard and hold it for a full 30 seconds, then — this is the step everyone skips — leave it overnight with NOTHING attached before you load it. Adhesive, especially the foam VHB-style tape on good mounts, reaches only a fraction of its strength on contact and needs a day or more to fully bond. Hang a heavy phone on it five minutes after sticking it and you'll peel it right off; wait a day and the same pad holds for years.
Heat is the adhesive mount's other enemy. On a dashboard baking in the sun, a soft adhesive turns gummy and slowly creeps downward under the phone's weight, and a cheap pad can let go entirely. If your adhesive mount slides or drops only in hot weather, the pad is heat-softening, and the fix is a mount that uses a genuine automotive-grade VHB adhesive rated for high temperatures rather than a generic sticky pad. Reposition the mount lower on the dash or to a spot that gets less direct sun if you can, and use a sunshade when parked to keep peak dashboard temperatures down — that single habit extends the life of every adhesive in the car.
Vent mounts dodge the surface problem entirely but bring their own failures. A vent clip slips when the vent louvers are thin, angled, or worn, and it spreads or fatigues over time so its spring grip weakens. Heavier phones overwhelm a vent clip quickly because the whole load hangs off a flimsy plastic fin, which can also crack the vent. The fixes are to clip onto the sturdiest, most horizontal louver available, to choose a vent mount with a hook that wraps OVER the louver rather than just pinching it, and to keep the phone light. If your vents are too delicate or your phone too heavy, a vent mount is the wrong tool — move to a disc-and-suction or a screw-down beam mount instead. Matching the mount to the load and the surface is the recurring theme; the same logic that keeps a dash cam keeps falling off the windshield from dropping applies here, just with different surfaces and forces.
Magnetic Mounts: Why They Sag, Slide, or Drop — and the Plate Fix
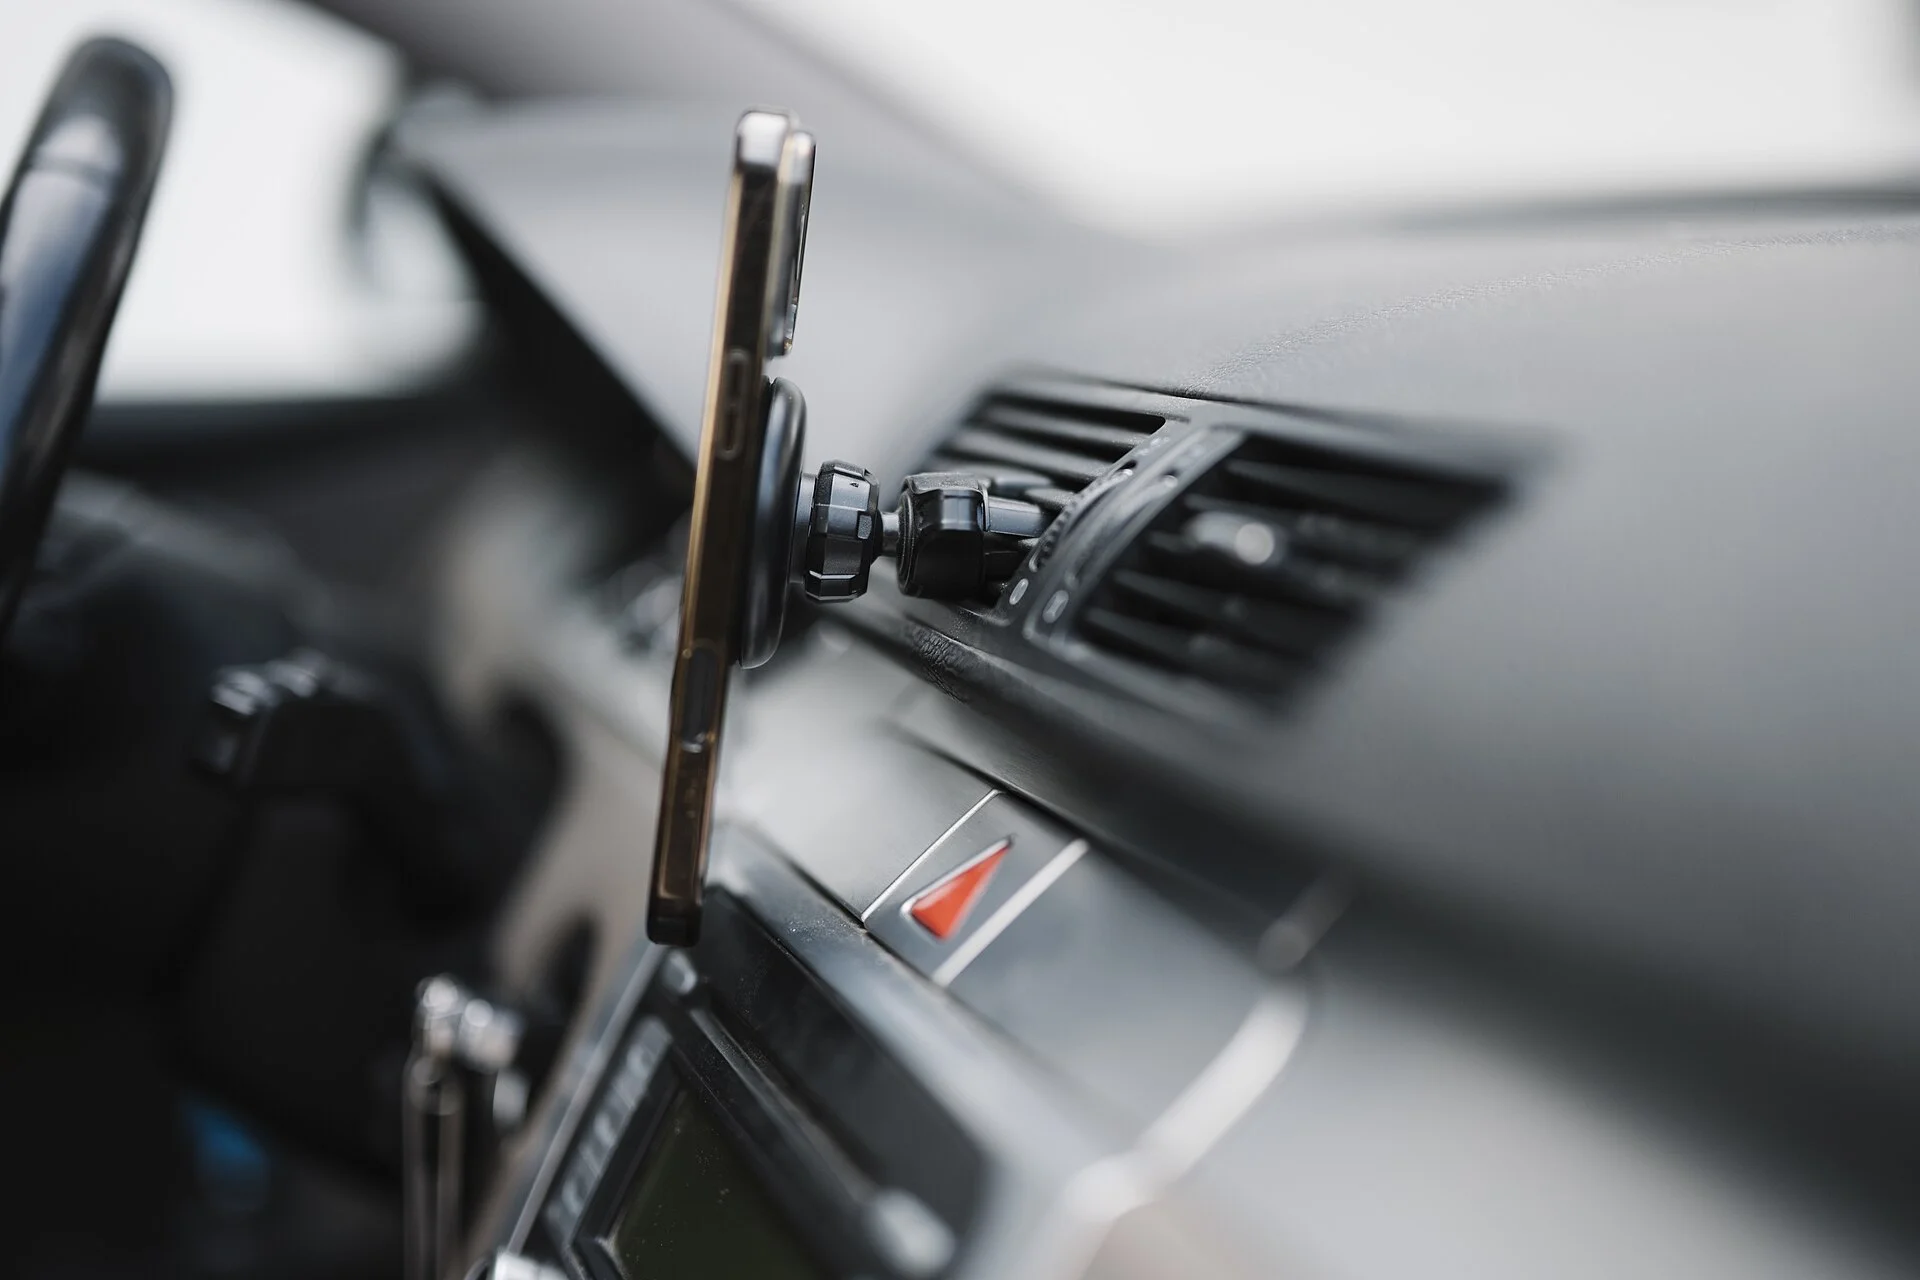
Magnetic mounts are the most convenient design and a favorite for good reason, but when they fail the cause is almost always the magnet-to-plate connection, not the mount's attachment to the dash. The grip of a magnetic mount depends on three things: the strength of the magnets, the size and thickness of the steel plate on the phone, and the distance between them. A weak grip usually means a thin, undersized adhesive plate, a plate buried under a thick case that holds it too far from the magnets, or simply a budget mount with feeble magnets. The phone doesn't fall straight off — it sags, rotates, or slides down the magnet face under road vibration, which is the classic magnetic-mount failure.
The fix is to maximize the magnetic coupling. Use the largest, thickest steel plate the mount provides and center it on the back of the phone or case so it sits directly over the magnets, and if you run a thick or rugged case, place the plate on the OUTSIDE of the case or switch to a thinner case so the steel sits as close to the magnets as possible — every millimeter of gap costs grip. If your phone supports MagSafe, a MagSafe-compatible magnetic mount aligns and grips far more strongly than a stick-on plate because the magnet array is built into the phone or case and self-centers. For wireless charging, make sure the metal plate doesn't sit over the charging coil, since the plate can block charging and heat up. Our guide on how to install a magnetic phone mount on the dashboard walks the plate placement and surface prep in detail.
The other half of a magnetic mount is still its base, which attaches by adhesive or suction-on-disc just like any other mount — so a magnetic mount that drops the whole phone-and-mount unit has a base problem, not a magnet problem, and you fix it with the adhesive and disc steps above. Diagnose which half is failing: if the phone slides off the magnet but the base stays put, fix the plate; if the entire mount falls off the dash, fix the base. People often debate the trade-offs of magnetic versus clamp car phone mounts, and the honest answer is that a magnet's only real weakness is this plate-and-gap issue — solve that and a good magnetic mount holds a heavy phone better than most clamps, with none of the fumbling.
Heat, Phone Weight, and Cases: The Forces You Can Actually Control
Two of the four failure forces — heat and weight — are partly within your control, and managing them keeps any mount alive longer. Heat is the bigger killer. A dashboard behind a windshield acts like a greenhouse and can climb far above the outside air temperature on a sunny day, and that heat is what softens suction rubber, turns adhesive gummy, and warps cheap plastic arms. The cheapest, most effective countermeasure is a reflective sunshade in the windshield whenever you park in the sun — it keeps peak dashboard temperatures dramatically lower and protects not just your mount but the whole dash. Where you can, position the mount out of the most direct sun, and avoid mounting right at the base of the windshield where heat concentrates most.
Weight is the other controllable force, and it's bigger than most people realize because of leverage. A phone on the end of a mounting arm acts as a lever, so every bump multiplies the static weight into a much larger yank on the attachment point. A flagship phone already weighs a fair amount; add a thick protective case, a wallet attachment, a pop-socket, and a steel magnet plate, and you can easily double the load the mount was designed for. If your mount holds a bare phone but drops the fully-loaded one, you've simply exceeded its capacity. Shedding the bulkiest case while driving, choosing a mount rated for heavy phones, and keeping the phone close to the mount's base rather than way out on a long arm all reduce the leverage that pries a mount loose.
Vibration ties heat and weight together. A loaded phone bouncing on an arm over rough roads works air back under a marginal suction cup, fatigues an adhesive bond, and walks a phone down a weak magnet — so anything that reduces vibration helps. A short, rigid mounting arm vibrates far less than a long flexible gooseneck, a tightly locked ball-joint stays put better than a loose one, and mounting to a solid part of the dash rather than a flimsy trim panel cuts the shaking. None of these are expensive, and together they remove the everyday forces that turn a 'good enough' mount into one that ends up in the footwell.
Match the Mount to Your Dashboard — The Bottom Line
A phone mount that keeps falling off the dashboard is almost never a defective product — it's a mismatch between the mount and the surface, made worse by heat and the weight of a modern phone. The single most important realization is that a dashboard is not glass: it's textured, soft, and chemically treated, so a bare suction cup can't seal to it and adhesive struggles to bond. Once you stop expecting dashboard-as-glass behavior and start matching the attachment to the real surface, the problem becomes simple to solve and rarely comes back.
Work it by type. A suction mount needs a smooth adhesive disc, an alcohol-cleaned surface, a locking-lever cup, and patience on the 24-to-72-hour adhesive cure. An adhesive mount needs aggressive prep, a full overnight cure before loading, automotive-grade high-temperature tape, and a shadier, cooler spot. A vent mount needs a sturdy over-the-louver hook and a light phone. A magnetic mount needs the largest plate sitting as close to the magnets as possible, ideally MagSafe, with the base fixed by the same disc-and-adhesive rules. Across all of them, control the two forces you can — park with a sunshade to beat the heat, and shed the heaviest case and shortest the arm to beat the leverage.
Diagnose before you spend. Identify your mount type, run the 60-second test to see whether you're fighting surface, heat, weight, or a worn grip, and apply the matching fix — most of which cost nothing but a few minutes and a little rubbing alcohol. Only when a properly prepped, correctly matched mount still fails is it time to replace it, and then you'll buy the right kind instead of repeating the mismatch. If you're starting fresh, choosing from a roundup of the best dashboard phone mount designs built for textured dashboards — rather than grabbing the first windshield cup on the shelf — is the surest way to make the falling-off problem disappear for good.
- Suction: a smooth adhesive disc, an alcohol-cleaned surface, a locking-lever cup, and patience on the 24-to-72-hour cure.
- Adhesive: aggressive prep, a full overnight cure before loading, and automotive-grade high-temperature tape.
- Vent: a sturdy over-the-louver hook and a light phone.
- Magnetic: the largest plate sitting as close to the magnets as possible, ideally MagSafe.