How to Choose the Right Jumper Cable Gauge for Your Vehicle
Jumper cable gauge is the unsung hero when your car decides to take a nap in the middle of nowhere. It's not just about how long the cables are; it's about how thick the wire is and how many amps it can actually push without melting into a sad puddle.
Jumper cable gauge is the unsung hero when your car decides to take a nap in the middle of nowhere. It's not just about how long the cables are; it's about how thick the wire is and how many amps it can actually push without melting into a sad puddle. Source Name. Think of it like trying to drink a milkshake through a straw the size of a pin.
You're not going to get much done, and you might even break the straw. Nobody tells you this when you're staring at a wall of cables at the auto parts store, usually while it's pouring rain and your phone battery is at 3%. The gauge number is confusing because lower numbers mean thicker, beefier cables, and higher numbers mean thinner, flimsier ones. It's a rookie mistake to grab the cheapest, thinnest set you can find.
I learned that lesson the hard way, trying to jump my old Corolla in 20-degree weather. Took forever, and I was pretty sure I was going to blow something up. Source Name.

The Core Answer
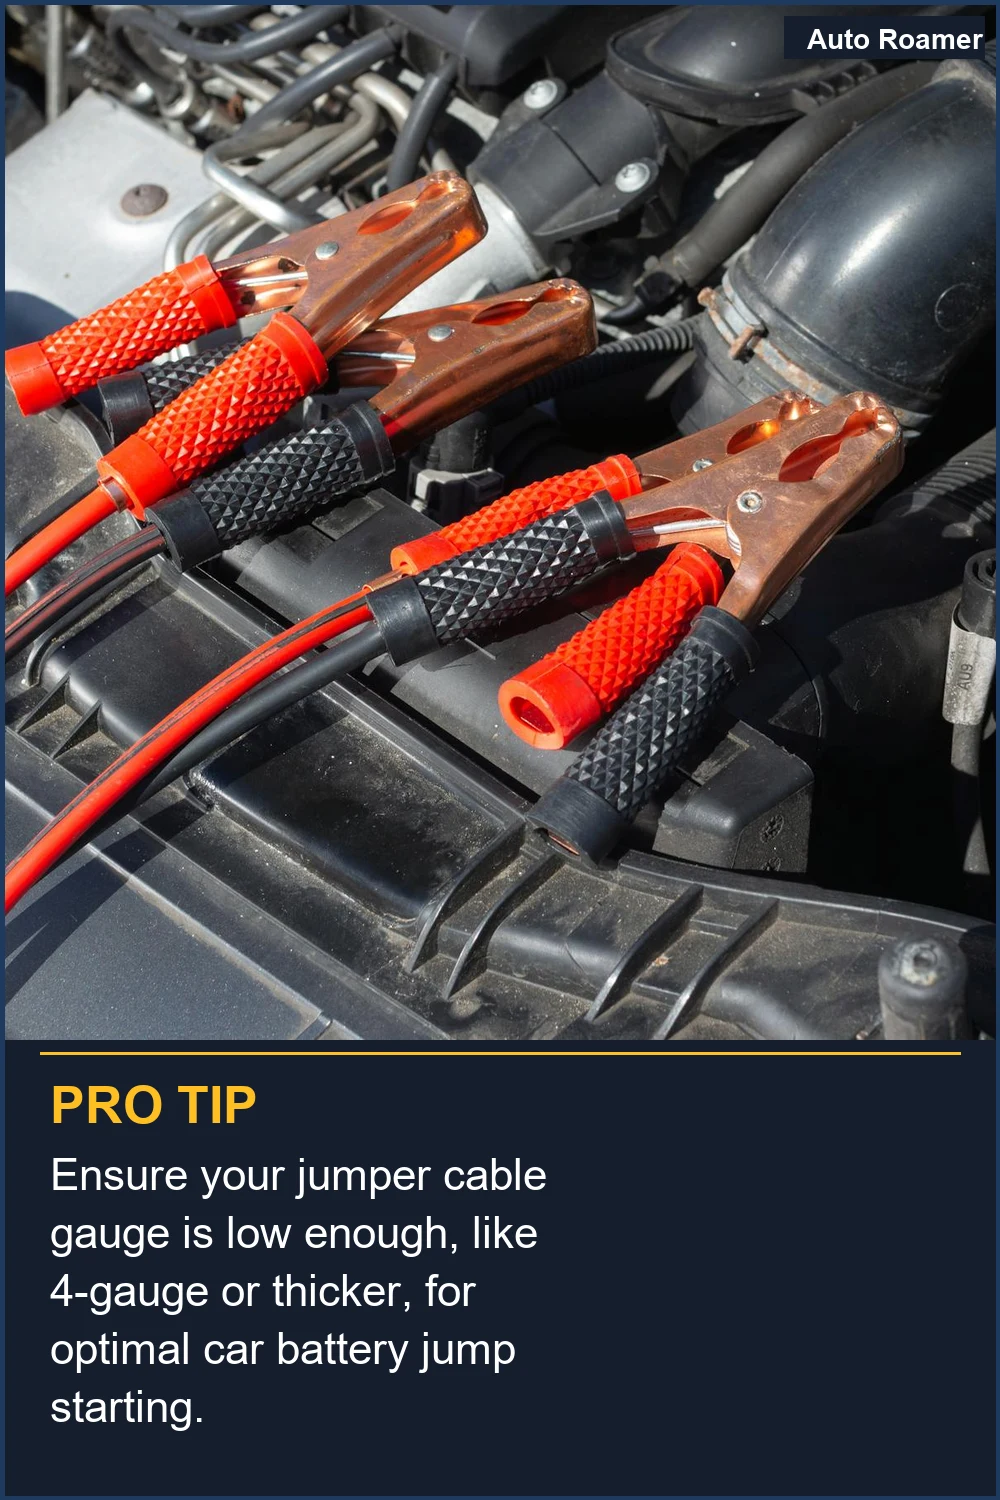
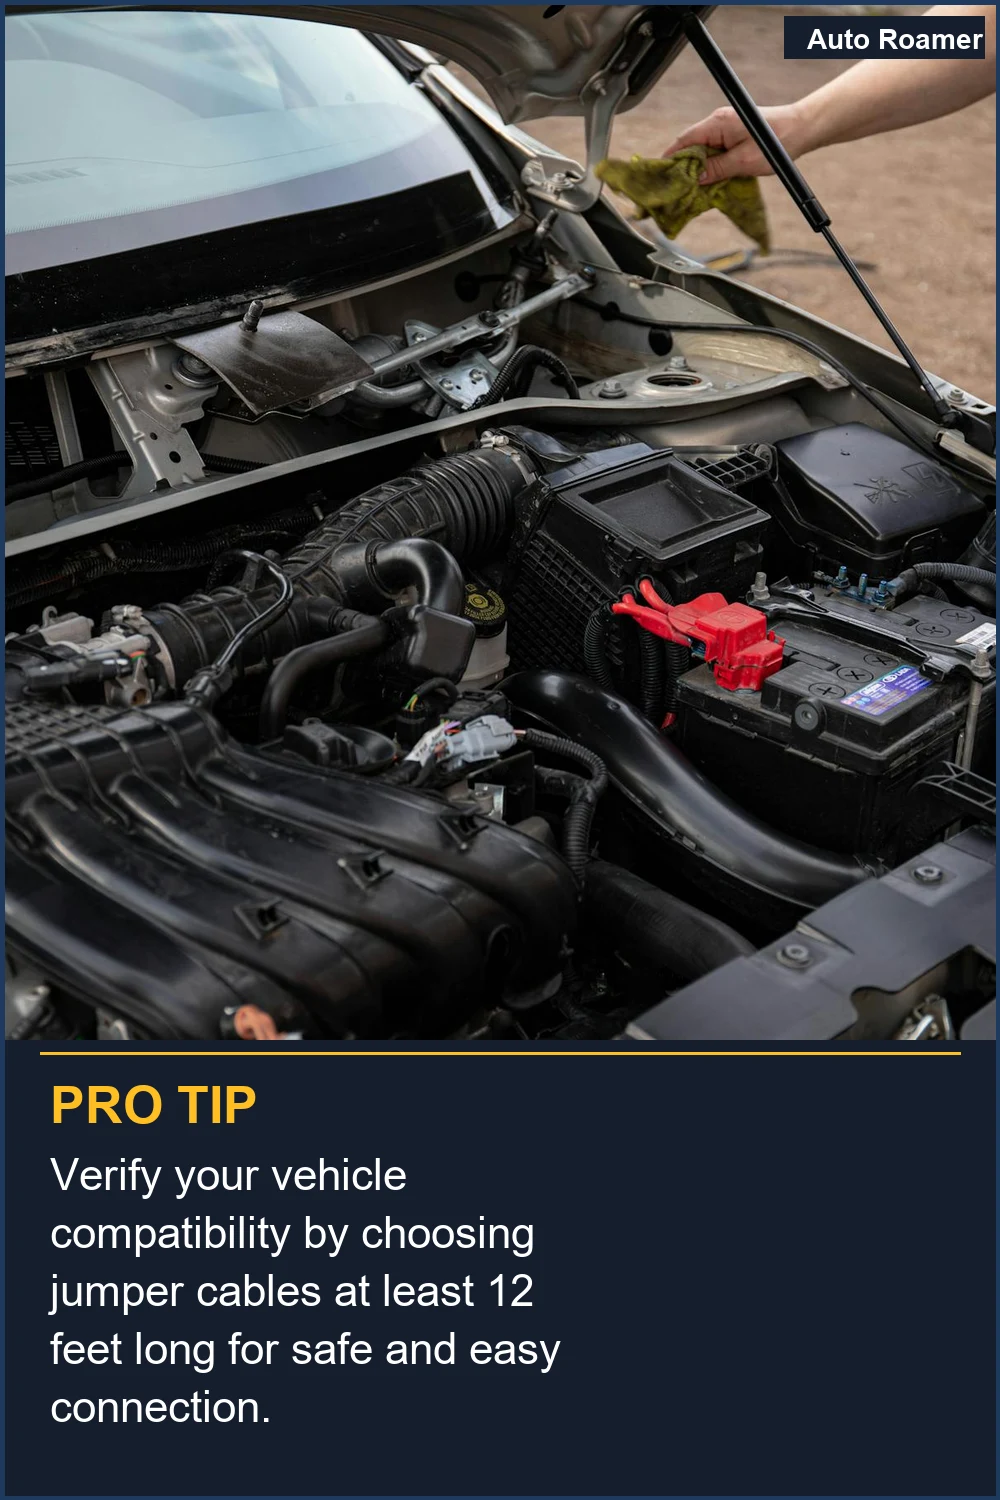
The real move with jumper cables is understanding that gauge number. It's basically a measurement of wire thickness. The lower the number, the thicker the wire, and the more juice it can handle Source Name. This is crucial because jump-starting a car requires a massive surge of amps to get that engine turning over, especially if the battery is completely dead. For most everyday cars, like sedans and smaller SUVs, a 6-gauge or 4-gauge cable is usually your best bet Source Name. These are thick enough to deliver the necessary power without overheating. I've seen guys try to jump their Ford F-150 with those flimsy 10-gauge cables you get in a cheap emergency kit, and it's just pathetic. It's like trying to put out a bonfire with a squirt gun. If you've got a bigger vehicle, like a large truck, diesel engine, or even a van, you'll want to step up to a 2-gauge cable Source Name. These are beefier and designed to handle the higher electrical demands of larger engines. Honestly, if you have a truck, don't even bother with anything less than 4-gauge, and 2-gauge is even better. I made the mistake of buying a 10-gauge set for my first truck, and it took about 15 minutes of cranking before it even sputtered. By then, the battery in the other car was probably toast too. Length matters too. You need enough length so the two vehicles aren't practically kissing, which is a safety hazard. Aim for at least 16 feet, but 20 to 25 feet is even better Source Name. Longer cables can sometimes mean a slight voltage drop, but it's usually negligible if you have a thick enough gauge. I once had to jump a buddy's minivan that was parked way out at the end of a gravel lot. My 12-foot cables wouldn't even reach. Stuck there for an hour waiting for someone else with longer ones. Never again. What nobody tells beginners is that many cheaper cables are made of Copper Clad Aluminum (CCA) instead of pure copper. CCA is aluminum wire with a thin copper coating. It's lighter and cheaper, but pure copper is a much better conductor and more durable Source Name. A 4-gauge pure copper cable is often as good as a 2-gauge CCA cable. If you're on a budget, at least try to get the thickest gauge CCA you can afford. But if you can swing it, pure copper is the way to go. It's an investment, but it'll save you headaches down the road. I used to always buy the cheapest ones, and they'd get all corroded and stiff after a couple of years. The pure copper set I bought three years ago still looks and works like new.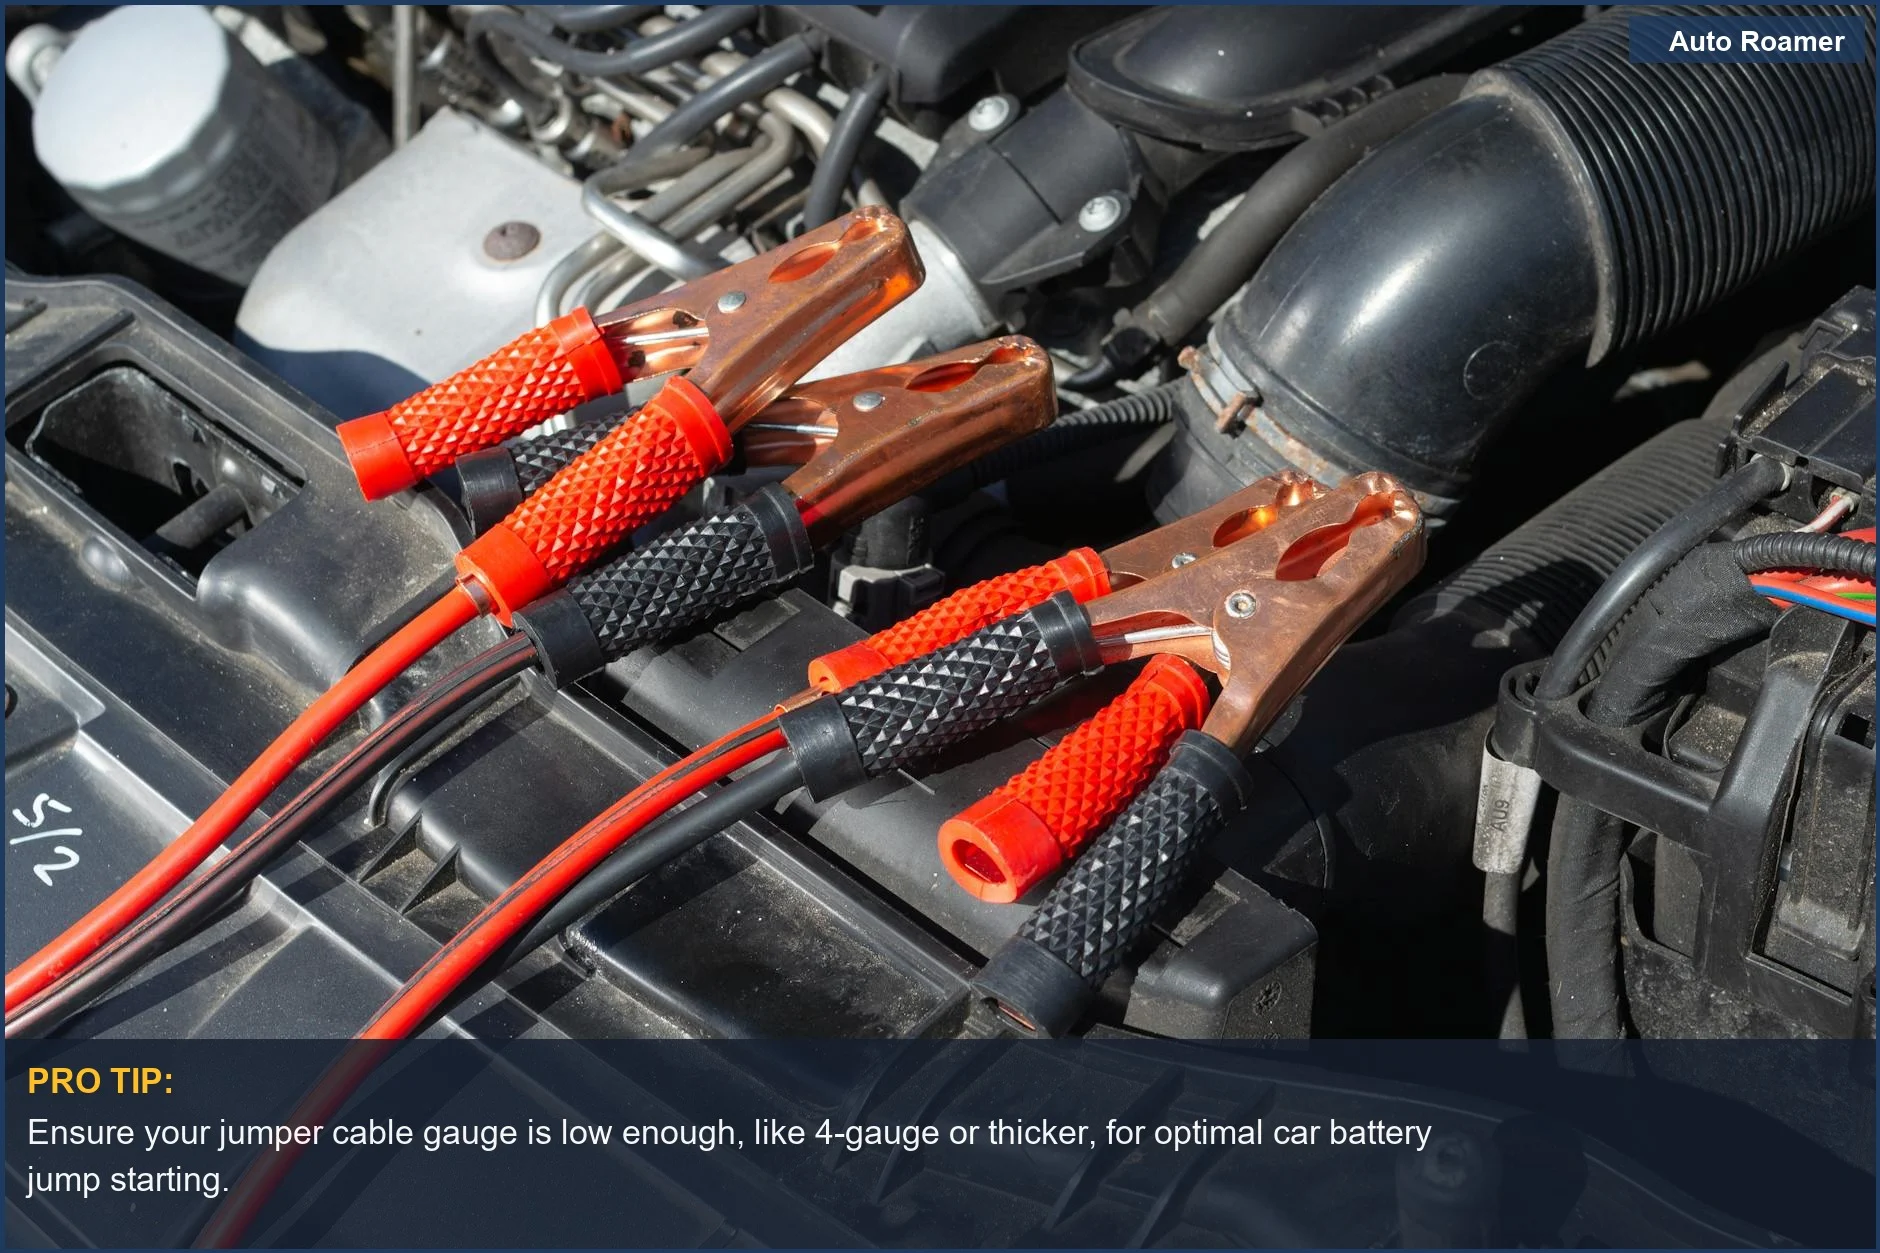
The Bottom Line
The honest version is you need cables thick enough to handle your vehicle's engine size and long enough to actually connect two cars safely. For most folks, that means at least 4-gauge, and for bigger rigs, 2-gauge is the game-time decision Source Name. Don't fall for the fancy packaging and the $20 price tag on those super thin cables. You'll just end up frustrated and potentially stranded longer. My field notes say that if you own a truck or anything with a larger engine, a 20-foot, 2-gauge set made of pure copper is the bomb. It might seem like overkill, but when you need it, you'll be thanking yourself. I've seen too many people struggle with inadequate cables, and it's a preventable disaster. Think of it as a small insurance policy against a really annoying day. So, what nobody tells beginners is that quality matters here. The $50 version might save you money upfront, but the $100 set that actually works when you need it is the real $50 version. I learned that the hard way trying to jump my dad's old diesel truck with some bargain-bin cables. It was a mess.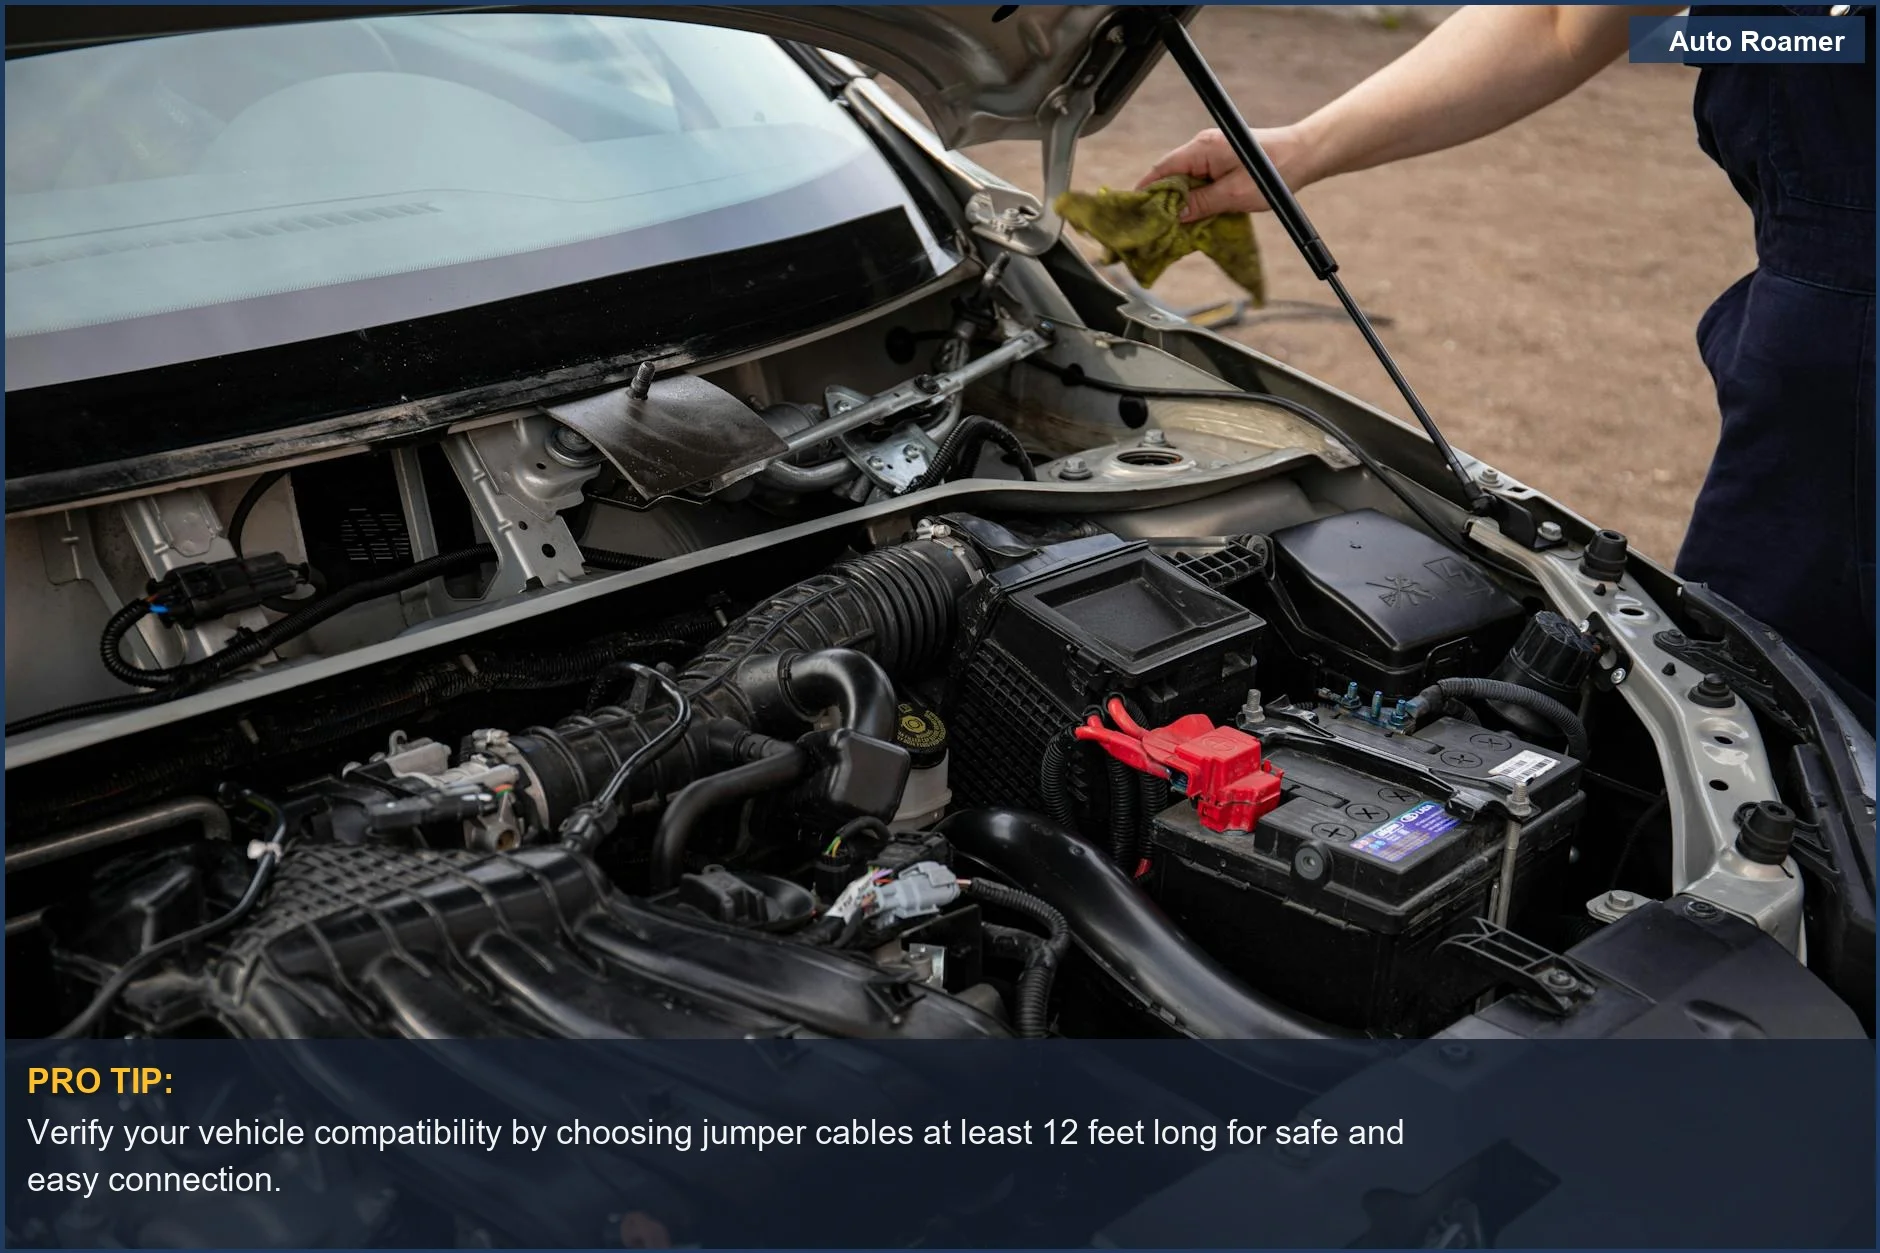
Frequently Asked Questions
If I just buy a cheap set of jumper cables for $20 and my battery dies, can I just take it to a mechanic to jump it for me instead?
Do I really need to buy a special tool to measure the gauge of jumper cables?
What if I connect the jumper cables correctly, but my car still won't start?
Can using the wrong gauge jumper cables permanently damage my car's electrical system?
I heard you're supposed to connect the negative cable to a ground point, not directly to the dead battery's negative terminal. Is that true?
🏅 Looking for Gear Recommendations?
Check out our tested gear guides for products that work with this setup: