
Setting the Scene
The sudden, sharp ping on your windshield is unmistakable. A rock, kicked up by that semi-truck barreling past on the highway, has just left its mark - a star-shaped chip. It looks small now, a minor annoyance, but winter is coming, and with it, temperature swings that can turn that tiny imperfection into a spiderweb of cracks Soldier Glass. Ignoring it is a gamble; moisture and dirt can seep in, making a simple fix impossible Auto Glass Now. The good news is you don't have to wait for a professional or risk a costly replacement. A DIY windshield chip repair kit can often save the day, provided you act quickly. These kits, often available for around $12 to $20, are designed to fill the void and prevent further spreading, keeping your visibility clear and your wallet happier RD Forum.
The Short Answer
To decide if you can fix a windshield chip yourself, assess its size, location, and type. If it's smaller than a quarter in diameter and outside your direct line of sight, a DIY kit is often viable.
What You Need to Know
How to Handle This
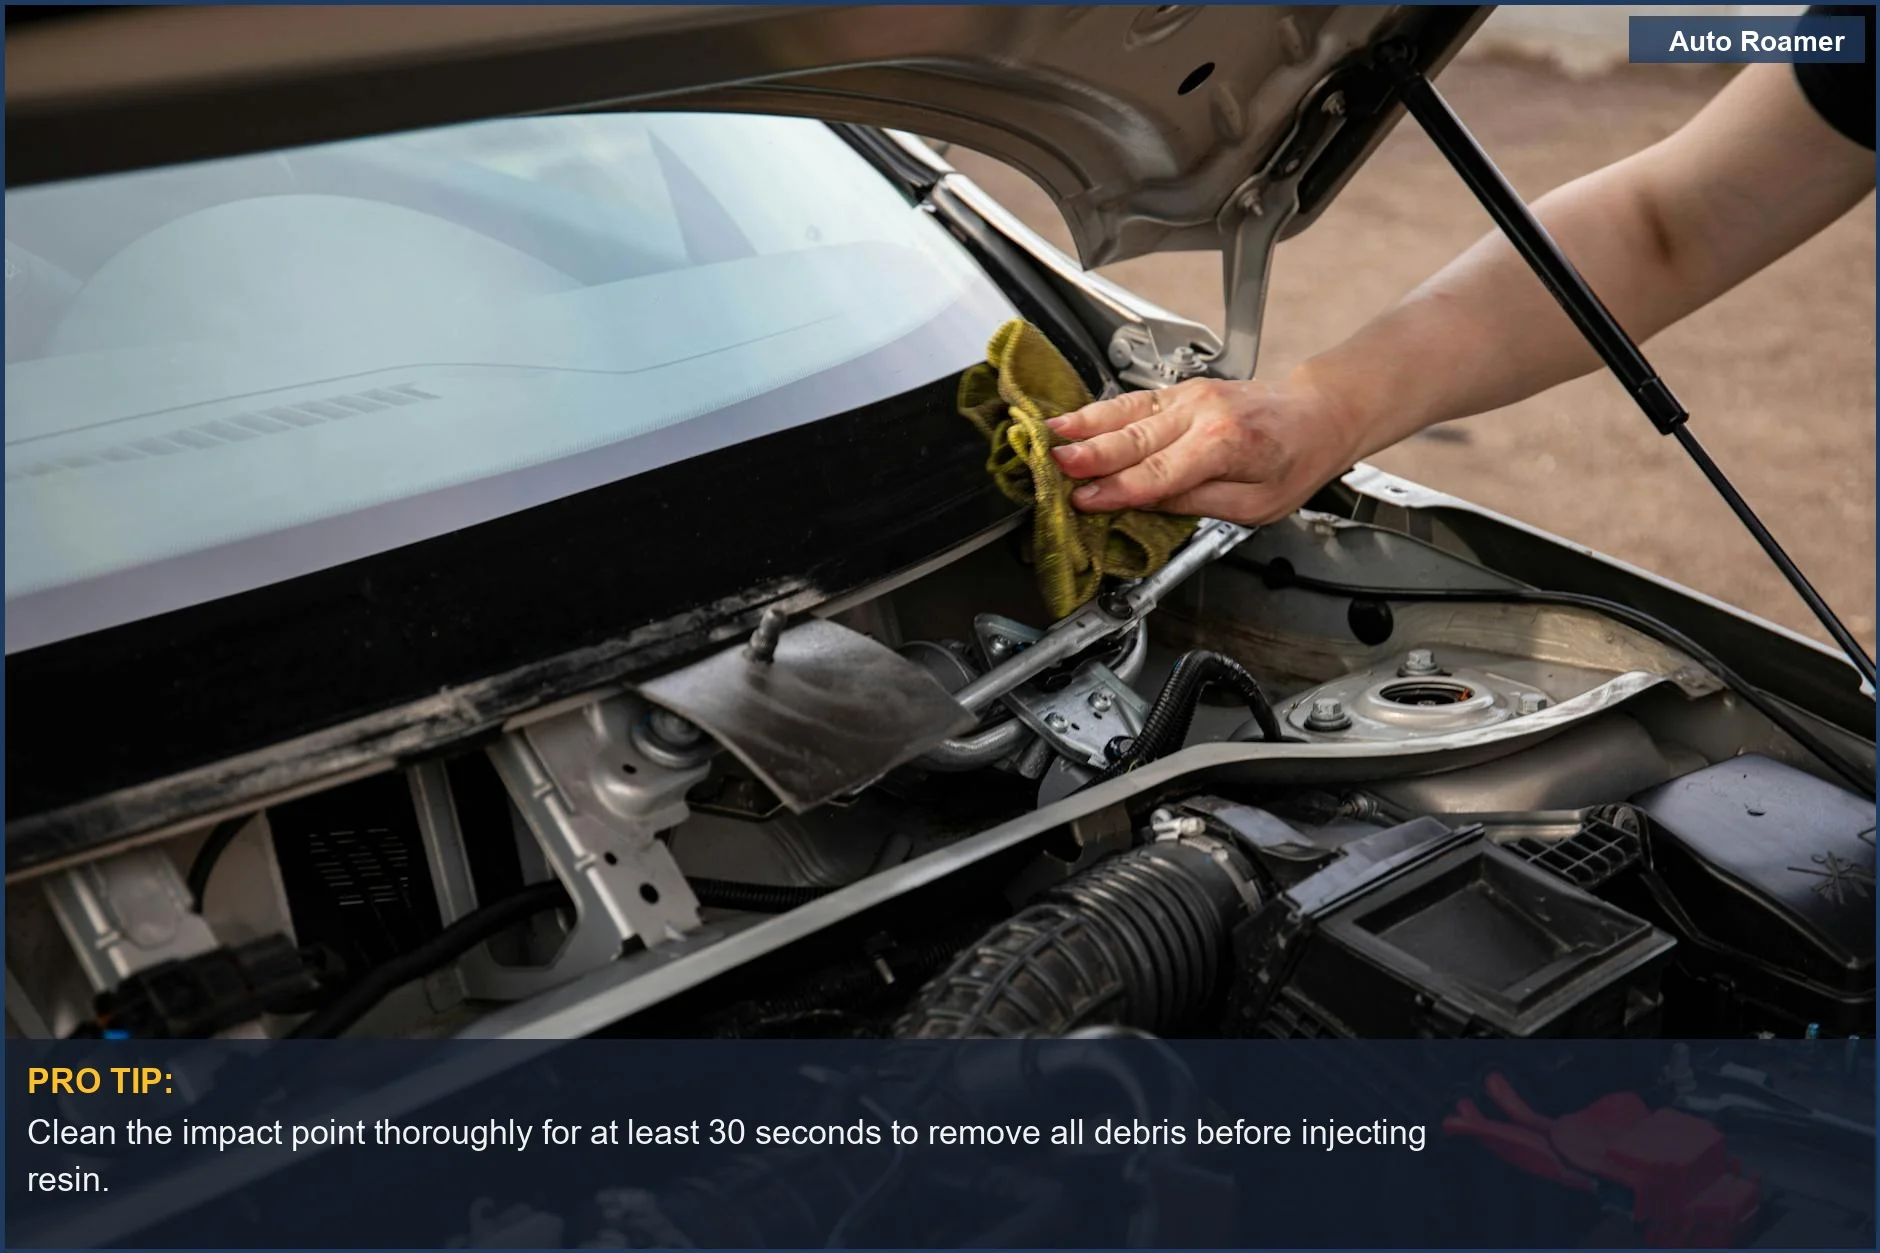
Clean the impact point - Before applying resin, clean the chip spotless. Use a clean cloth and glass cleaner to wipe away dirt, dust, and loose glass fragments. Debris sealed into the glass compromises the repair.
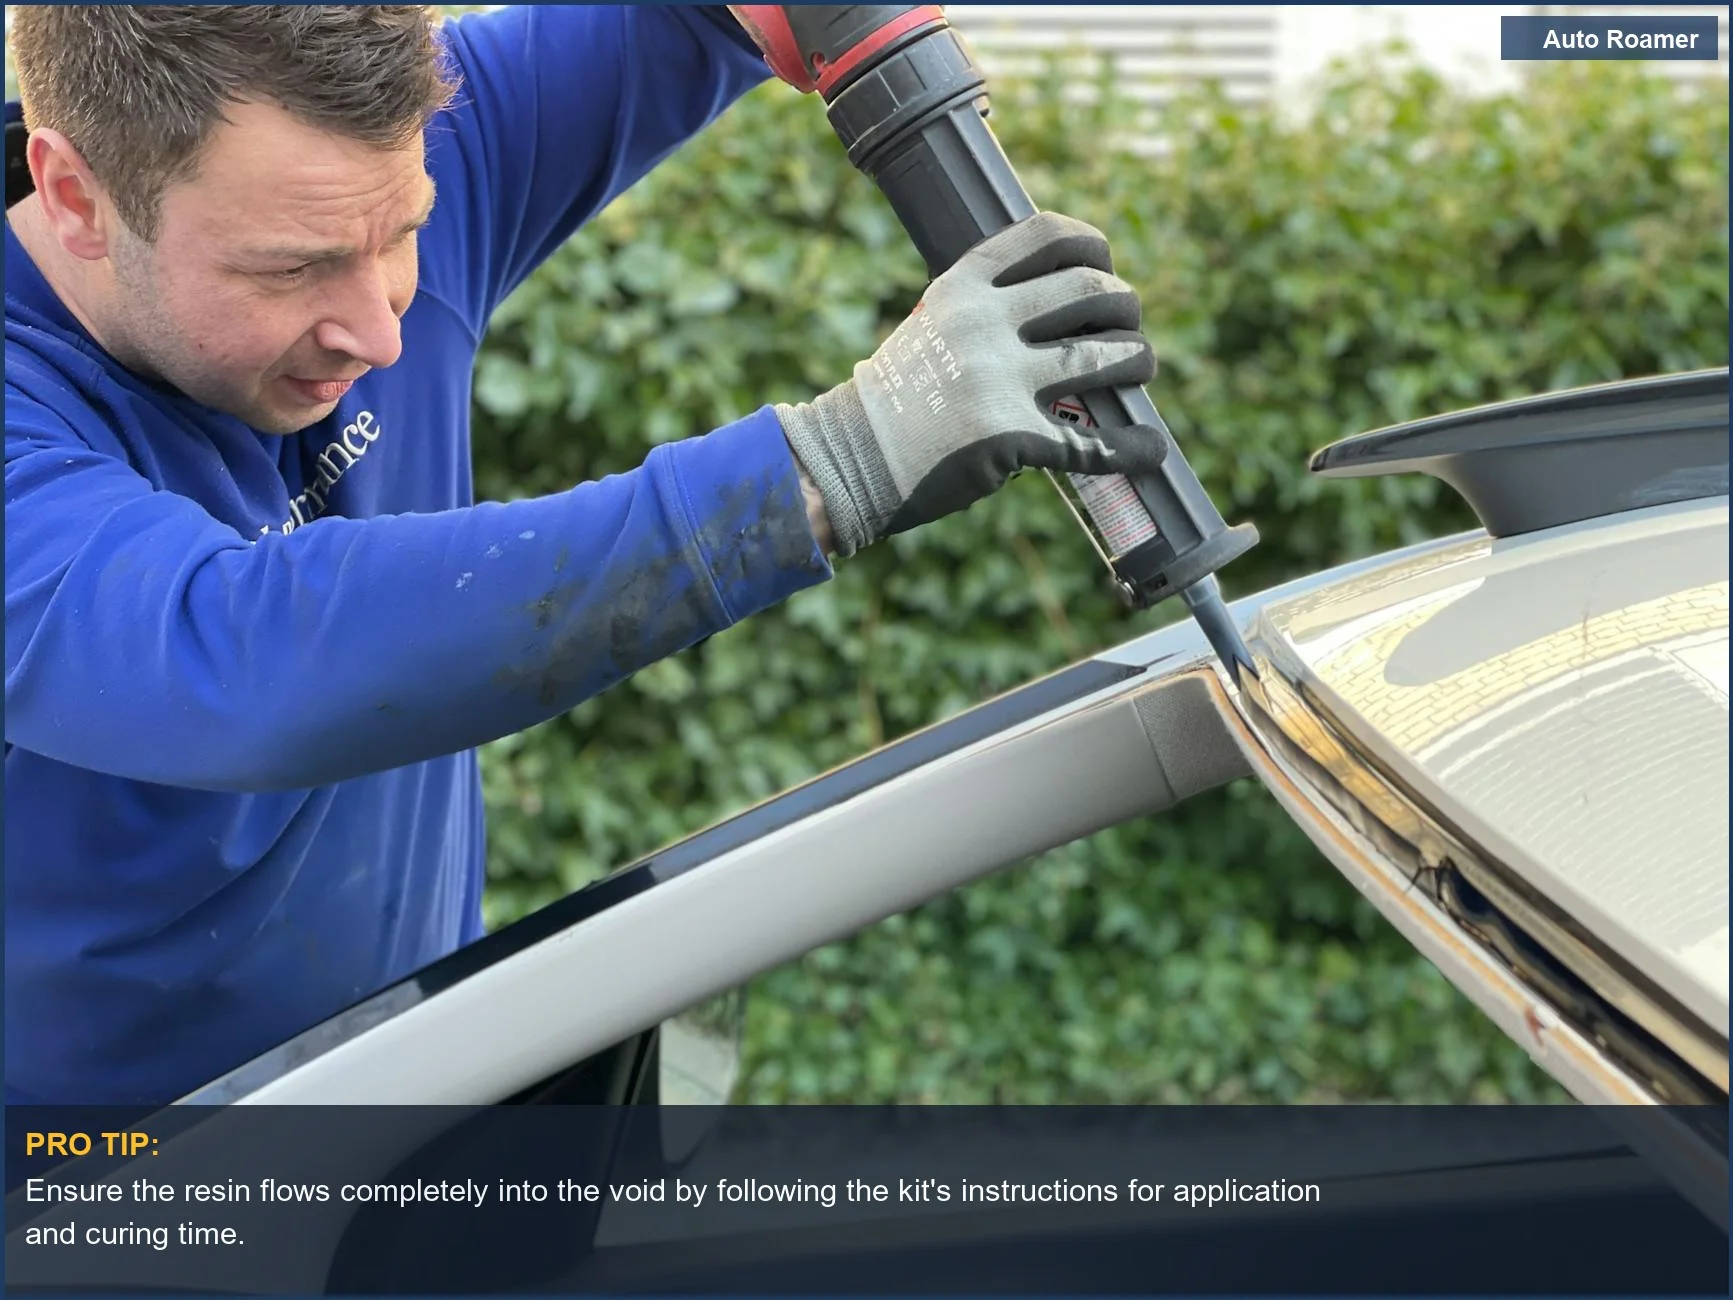
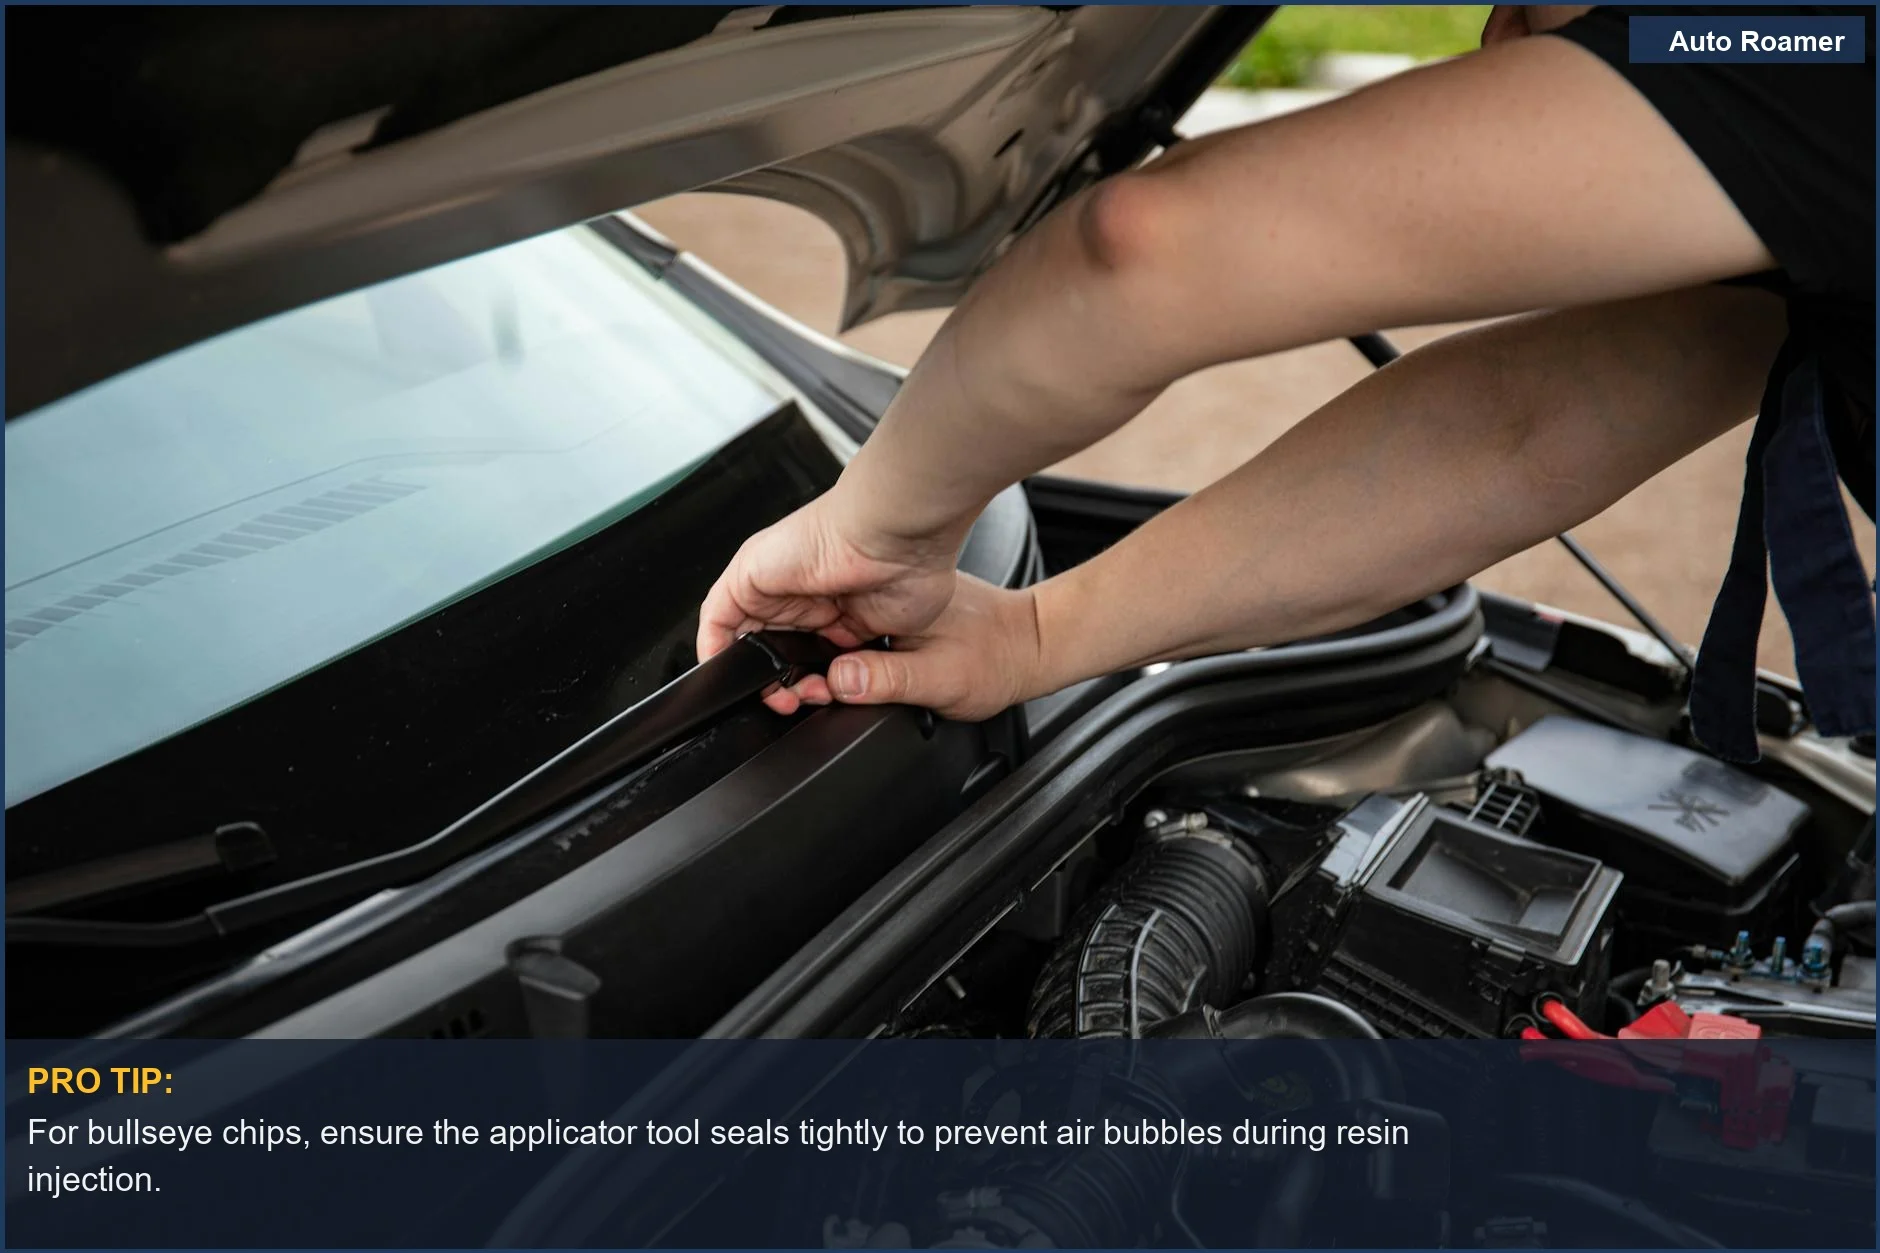
Apply the resin pedestal and seal - Adhere the kit's suction cup pedestal over the chip. Inject the repair resin into the pedestal to create a sealed environment. A poor seal allows air in and resin out, leading to an incomplete fill.
Use the syringe for vacuum and pressure cycles - Follow your kit's instructions precisely for vacuum and pressure cycles. This removes trapped air and forces resin into fractures. Insufficient cycles leave voids that weaken the glass. DIY Windshield Repair Kits -- Experiences? ...
Cure the resin - Place a curing film over the repair and expose it to direct sunlight or a UV curing light. On a bright, sunny day, this takes 10 minutes to an hour Can I repair this windshield crack with a DIY kit? : r/Cartalk - Reddit. Curing in shade or overcast weather prolongs the process. Avoid driving in extreme temperatures during curing.
Check for clarity - Remove the curing film and gently scrape away excess hardened resin with a razor blade. A successful repair makes the impact point nearly invisible and blends with the glass. If cloudy or the damage is still visible, the resin may not have fully penetrated or air bubbles are present.
What This Looks Like in Practice
- Subaru Outback, Cold Snap Bullseye A small bullseye chip on the passenger side of a Subaru Outback's windshield can appear after a drive through a mountain pass during a sudden cold snap. Caught within a day and treated with a common DIY kit like Rain-X's, with the instructions followed carefully to inject the resin, the fix takes hold. The repair held, preventing the chip from spreading further in the freezing temperatures.
- Honda CR-V, Three-Day Old Star Break A star break on a Honda CR-V's windshield, three days old and starting to show fine spiderwebbing, raises concern about moisture ingress and further cracking from temperature fluctuations. A basic kit costing around 12 bucks was used. The syringe mechanism allowed for good pressure to fill the tiny cracks radiating from the impact point. It's not invisible, but the spread was stopped.
- Ford F-150, Edge Chip Near Frame On a Ford F-150, a chip right near the windshield frame, close to the driver's side, proved more problematic. Wait too long and it can spread into a longer crack. With a repair attempted using a kit bought off Amazon for about $20, the resin couldn't fully penetrate the entire length of the crack. This scenario highlights the need for prompt action before a chip becomes a significant crack.
Mistakes That Cost People
Mistakes That Cost People
Attempting a repair when the chip is already spreading into a larger crack. Many DIY kits are designed for specific damage types, primarily small chips and short cracks. If you see the damage extending significantly, it's often beyond the scope of a home repair kit. Auto Glass Now notes that moisture and temperature changes can accelerate this spread. Pushing resin into a compromised area that's already developed extensive spiderwebbing can lead to a failed repair, making a professional replacement necessary.
Using super glue as a quick fix. While it might seem like a temporary solution to hold a chip together, super glue can actually contaminate the damage. The adhesive properties and chemical composition of super glue can interfere with the specialized resin used in windshield repair kits, making a proper bond impossible later. This contamination can permanently mar the glass and prevent a successful DIY repair.
Ignoring temperature guidelines. Most windshield repair kits require a specific temperature range to work effectively. For example, some kits work best when the temperature is at least 60F (16C) and can be left in an area with consistent conditions DIY Windshield Repair Kits -- Experiences? .... Attempting a repair in extreme cold or rapid heating can cause the resin to cure improperly, leading to a weak bond or visible imperfections.
Not properly removing air bubbles. The resin needs to fill the entire void of the chip or crack to create a strong bond. If air is trapped within the damage, the repair will be weaker and more visible. Many kits include a syringe for creating a vacuum to pull air out before injecting the resin, or pressure cycles to force it in. Failure to remove these bubbles means the resin can't fully displace the air, compromising the repair's integrity.
Repairing a chip in direct sunlight. While sunlight (or a UV curing light) is often used to cure the resin, doing so before the resin has fully penetrated the chip is a mistake. If the resin cures too quickly on the surface, it can seal the chip before it has a chance to fill the void completely, leaving air pockets and a weak repair. You need to allow the resin ample time to work its way into the damage before initiating the curing process.
Failing to address heated windshields. Vehicles with heated windshields, often featuring a fine wire element embedded in the glass, present a unique challenge. These wires can interfere with the repair process, potentially affecting the resin's ability to cure evenly or creating visual distortions. Attempting a DIY repair on such a windshield without understanding these specific requirements can lead to a botched repair or damage to the heating elements themselves, necessitating a professional assessment.
Key Takeaways
- Act fast: Address chips and small cracks promptly. Leaving them for an extended period allows moisture and dirt to seep in, making repairs more difficult and less effective. Think days, not weeks, to prevent further spread.
- Save big: A DIY windshield repair kit, often costing around $12 r/Cartalk, is a fraction of the cost of a professional windshield replacement, which can run significantly higher.
- DIY kits work: Many users have found success with inexpensive kits, often available for around $20 r/Autobody. They can effectively fill small chips and star breaks, making them less noticeable and preventing further damage.
- Follow instructions: While kits are generally straightforward, precision matters. Ensure you follow the application steps carefully, including proper resin application and curing, to achieve the best results for your repair cracked windshield yourself efforts.
- The single most important thing: Repair that windshield chip yourself the moment you notice it; the longer you wait, the higher the chance it will spread and require a costly full replacement.