The Short Answer: Use the Door-Jamb Number
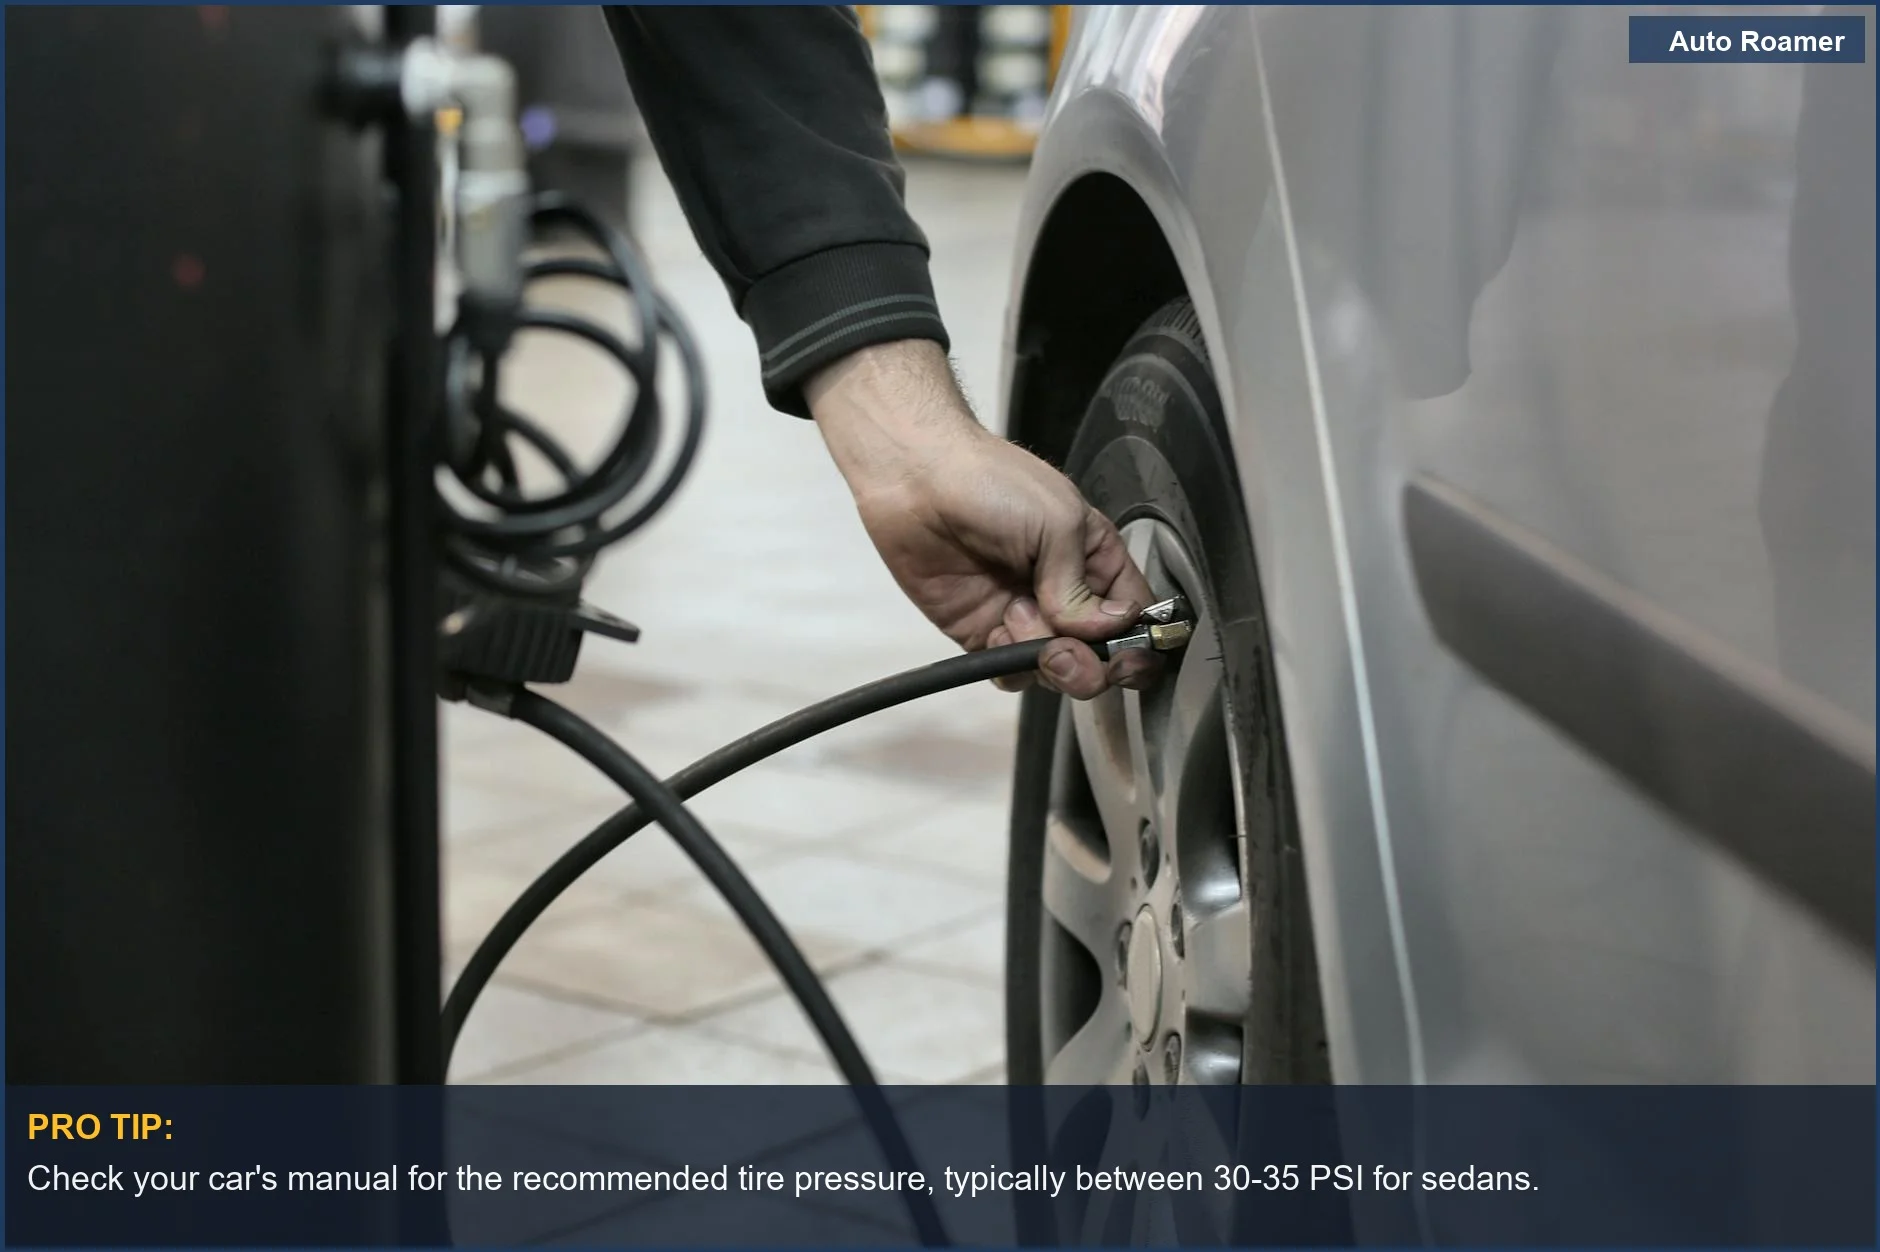
The PSI your car tires should be is the number listed on the placard in your driver's door jamb, or in your owner's manual. For the large majority of passenger cars that figure falls somewhere between 30 and 35 psi. Set all four tires to that pressure, check them when the tires are cold, and you have done the single most important thing for safe, even-wearing, fuel-efficient tires.
The number that trips people up is the other one — the bigger figure molded into the tire's sidewall, often something like 44 or 51 psi. That sidewall number is the maximum pressure the tire is rated to hold, not the pressure the carmaker wants you to run. Inflating to the sidewall maximum is a common and costly mistake; it is the ceiling of the tire, not the target for the vehicle.
The reason the placard wins is straightforward. The carmaker chose the recommended pressure to balance ride comfort, handling, braking, tread wear, and fuel economy for the specific weight and suspension of your car on those tires. The tire manufacturer's sidewall number knows nothing about your particular vehicle; it only states what the tire itself can safely contain. When the two disagree, the placard is the one tuned to your car, so it is the one to follow.
The rest of this guide unpacks the details that surround that simple rule: exactly where to find the placard, why you have to check pressure cold, how heat and altitude shift the reading, when to add air for loads and towing, what under- and over-inflation actually do to the tire, how the TPMS warning light fits in, and the practical steps for checking and filling. Master the placard idea first; everything else is refinement on top of it.
Placard vs. Sidewall Max: The Distinction That Matters Most
Two numbers describe tire pressure, and confusing them is behind most over-inflated cars on the road. Getting this distinction clear is the heart of choosing the right PSI.
- The placard (recommended) pressure. Printed on a sticker in the driver's door jamb — and repeated in the owner's manual — this is the cold inflation pressure the vehicle manufacturer specifies for the tires that came on the car. It is what you should actually set. It may list different front and rear numbers, and a separate, higher figure for full loads.
- The sidewall maximum. Embossed on the tire itself, this is the highest cold pressure the tire is built to hold, paired with its maximum load rating. It is a safety ceiling set by the tire maker, not a recommendation for your car. Running at this number on a typical sedan gives a harsh ride, a smaller contact patch, and faster center wear.
Think of it the way you would a speed limit versus the top speed on the speedometer. The speedometer shows what the car can do; the posted limit is what you should do for the conditions. The sidewall is the speedometer; the placard is the limit set for your situation. One tells you the limit of the equipment, the other tells you the right choice for the job.
If your car ever loses its door-jamb sticker — covered by aftermarket trim, or worn off on an older vehicle — the owner's manual carries the same recommended pressures, and a quick search of the make, model, and year will turn it up too. What you should never do is default to the sidewall maximum simply because it is the number you can read most easily on the tire.
One nuance worth knowing: if you have fitted non-original-size or different-load-rated tires, the placard figure is still the best starting point, but the ideal pressure can shift slightly to match the new tire's load-carrying curve. For the original-equipment size the car shipped with — which covers most drivers — the placard is exactly right as written.
It is also worth pausing on why the gap between the two numbers is so large. A modern passenger tire is engineered with a generous safety margin, so the sidewall maximum sits far above any pressure a normal car would ever need. That margin exists to cover hot days, fully loaded vehicles, and high-speed sustained driving without the tire approaching its true limit. Drivers see that big, confident number and assume it must be the right one, when in reality the carmaker deliberately runs the tire well below it for a better everyday ride and longer tread life. The two figures are not in conflict — they answer entirely different questions, one about the tire's capacity and one about your car's ideal setting.
Why You Have to Check Tires Cold
Every recommended pressure is a cold pressure, and that word is doing real work. "Cold" means the tires have not been driven on for at least a few hours, or for more than a mile or so — ambient temperature, before the friction of rolling has warmed them up.
The physics is simple: as a tire rolls, flexing and friction heat the air inside it, and warmer air exerts more pressure. Drive for twenty minutes on the highway and the pressure reading can climb several psi above where it started cold. If you 'correct' your pressures right after a drive, you will let air out to hit the placard number, and once the tires cool you will be sitting several psi under-inflated.
The reliable routine is to check first thing in the morning, before driving, or at least a few hours after the car has been parked. If your only chance to add air is at a gas station several miles away, you have two honest options:
- Check cold at home, then drive to fill. Note how far under each tire is at home, drive to the pump, and add roughly that shortfall — accepting that the warm reading will run a little high.
- Compensate for the heat. If you can only measure warm, add about 3 to 4 psi over the placard number to approximate the cold target, then re-verify cold the next morning and fine-tune.
Outdoor temperature matters even when you are not driving. Tire pressure changes by roughly 1 psi for every 10 degrees Fahrenheit of ambient change. That is why your TPMS light so often appears on the first cold morning of autumn: the tires did not leak, the air just contracted with the cold. The flip side is summer, when a tire set on a cold morning can read noticeably high by a hot afternoon. Always set to the placard number at the temperature you will actually be driving in, and re-check seasonally.
Adjusting for Heavy Loads and Towing
The placard number assumes a normally loaded car. When you pack the vehicle to the roof for a road trip, fill every seat, or hitch up a trailer, the tires carry more weight and often need more air to carry it safely.
This is exactly why many door-jamb placards list a second, higher set of pressures labeled for full load or maximum load, sometimes with different front and rear values. If your placard offers those figures, use them whenever you are near the vehicle's capacity. The carmaker has already done the math for you.
The principle is simple: more weight on a tire needs more air pressure to support it without the sidewall flexing excessively. Under-inflated tires under a heavy load build dangerous heat — the classic recipe for a highway blowout.
Some practical guidance for loaded driving:
- Use the full-load placard numbers when they are provided, rather than guessing.
- Favor the rear when the manual distinguishes — luggage and trailer tongue weight load the back of most vehicles more heavily.
- Never exceed the sidewall maximum, even when loaded. If a load would require more than that, the load itself is too heavy for the tire.
- Drop back to the standard placard pressure once you unload, so you are not riding around over-inflated every day.
Towing adds the trailer's tongue weight directly onto the rear axle, so the rear tires in particular benefit from the higher full-load figure. If you tow often, it is worth knowing your loaded pressures by heart and carrying a reliable gauge so you can confirm them before each trip rather than hoping the last setting still holds.
There is a comfort consideration too, and it cuts the other way from what people expect. Bumping pressure for a heavy load is not just about safety — it actually preserves ride quality and steering response. An overloaded car on standard pressures feels vague and wallowy because the sidewalls are flexing under more weight than they were set for; adding the recommended full-load air firms them back up so the car steers and stops the way it should. So the loaded-pressure adjustment improves how the vehicle drives while it protects the tires, which is a rare case where the safe choice and the comfortable one are the same. The only thing to remember is to reverse it: a car still riding on full-load pressures a week after the trip, now empty, will feel harsh and wear its tread centers, so dropping back to the standard figure once you unload completes the cycle.
What Under- and Over-Inflation Actually Do
Pressure that drifts away from the placard number in either direction costs you something real. Understanding the specific consequences makes it obvious why the recommended figure is worth hitting precisely.
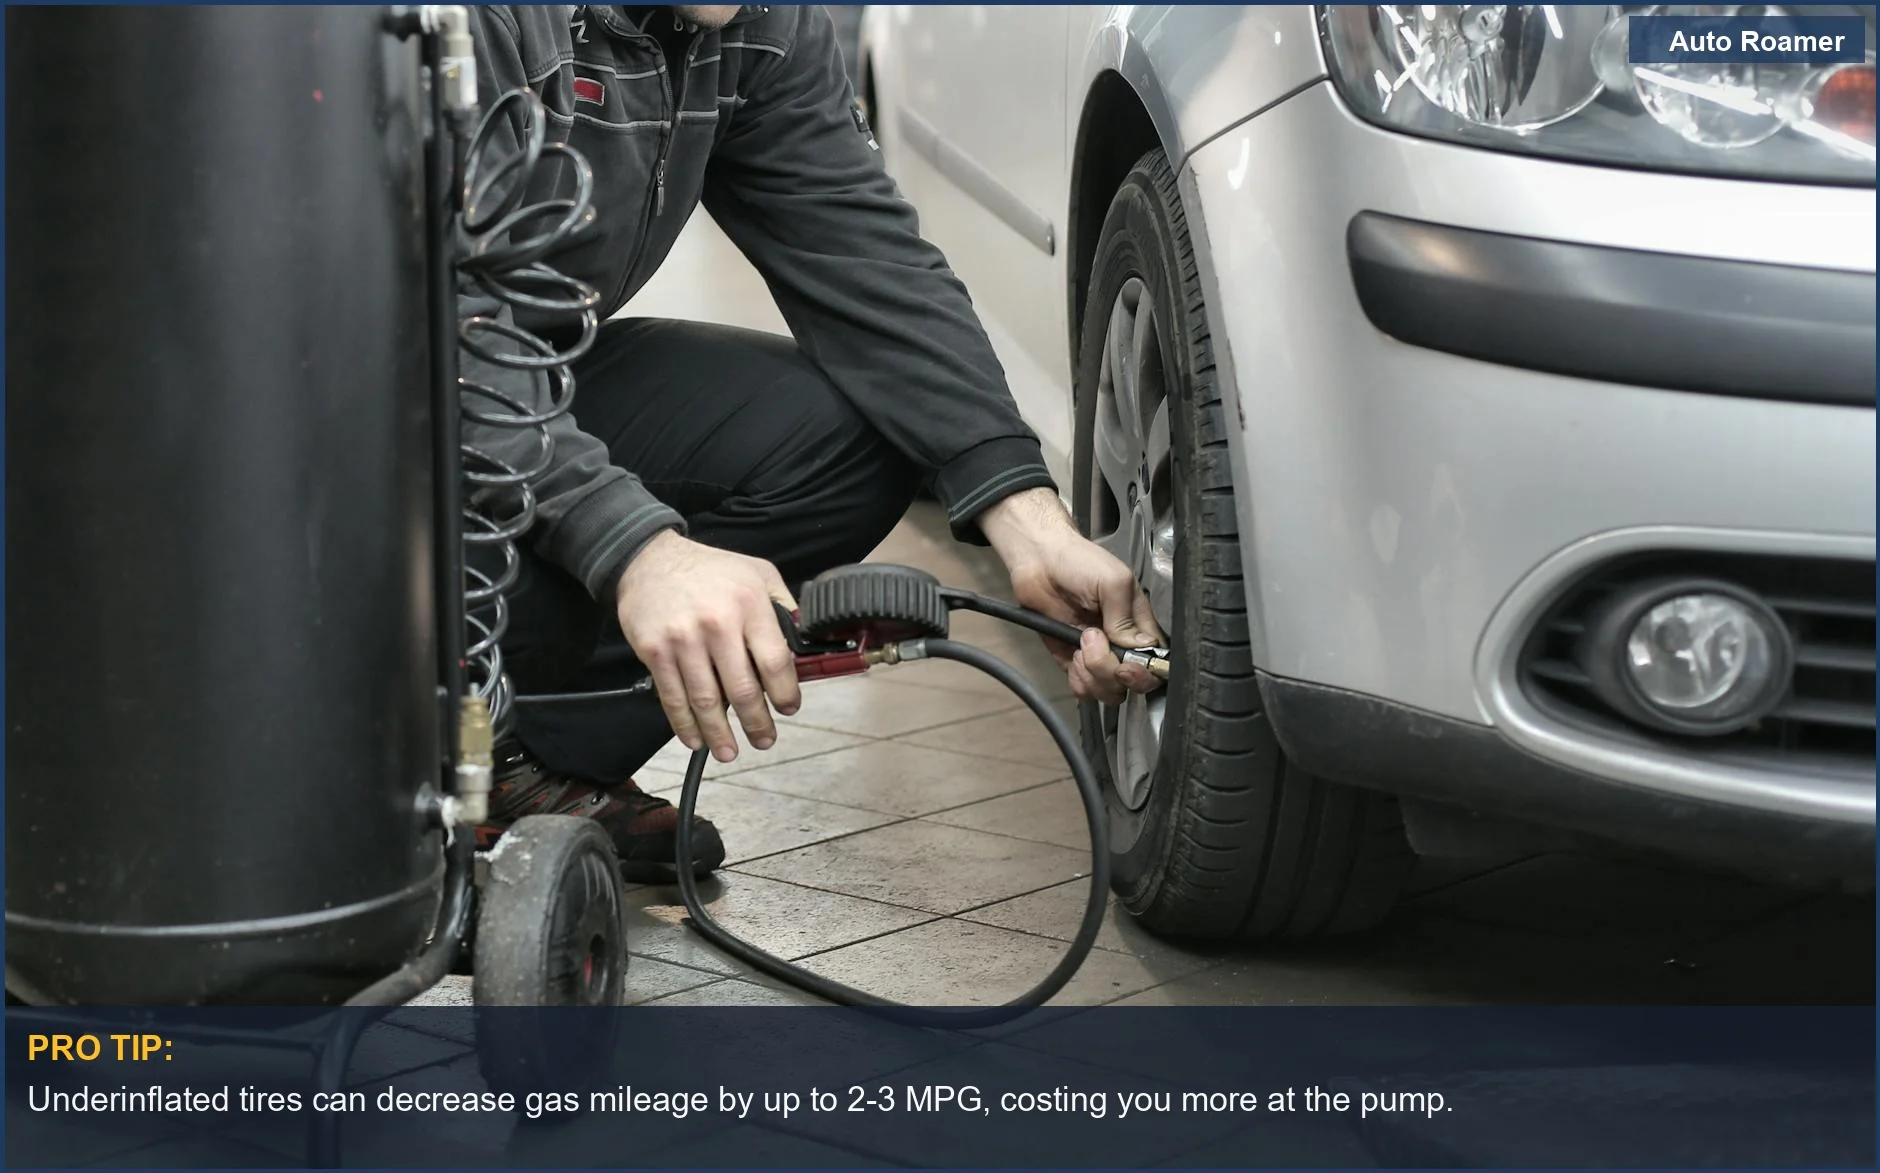
Under-inflation is the more dangerous direction, and the more common one because tires lose air slowly on their own. A soft tire flexes more as it rolls, and that constant flexing generates heat. Sustained heat is what breaks tires down and, at highway speed under load, can trigger a sudden blowout. Short of that, under-inflation produces:
- Faster, uneven wear on the outer shoulders of the tread, because the edges bear too much of the load.
- Worse fuel economy from the extra rolling resistance of a deformed tire — the U.S. Department of Energy notes that properly inflated tires improve gas mileage compared with under-inflated ones.
- Sloppier handling and longer stopping as the squishy sidewalls let the tire roll under itself in corners and under braking.
Over-inflation is less catastrophic but still costs you. Too much pressure rounds out the tread so only the center touches the road, shrinking the contact patch and producing:
- Center-of-tread wear, wearing out the middle of the tire long before the shoulders.
- A harsh, jittery ride, since an over-stiff tire transmits every bump straight to the cabin.
- Reduced grip, because the smaller contact patch has less rubber on the road, which can lengthen stopping distances and reduce traction in the wet.
The takeaway is that the placard pressure is not a loose suggestion but a genuinely optimized middle ground. Both too little and too much air degrade safety, wear, and economy in different ways, which is why a few minutes with a gauge each month pays for itself many times over.
It helps to picture the tire's footprint, the contact patch where rubber meets road. At the correct pressure that patch is broad and even, spreading the car's weight across the full width of the tread so braking, cornering, and wear are all balanced. Drop the pressure and the patch bulges at the edges while the center lifts slightly, loading the shoulders. Over-inflate and the opposite happens — the tread crowns up so only a narrow strip down the middle carries the load. Every wear pattern and handling complaint traces back to that simple change in footprint shape, which is precisely what the placard pressure is tuned to optimize. Reading your own tires confirms it: shoulders worn faster than the center point to chronic under-inflation, while a worn center strip flanked by deeper-tread edges is the signature of running too hard. The tread itself keeps an honest record of how well you have managed the pressure.
TPMS: What the Warning Light Means
Most cars built in recent years carry a Tire Pressure Monitoring System, or TPMS — the horseshoe-shaped warning symbol with an exclamation point that lights up on your dash. It is a useful safety net, but it is worth understanding what it does and does not tell you.
A TPMS warns you when a tire has fallen significantly below its target pressure — by regulation, typically once a tire is around 25 percent under the recommended figure. That is a meaningful drop, not a small one. By the time the light comes on, the tire is already well under-inflated and has been suffering the wear and fuel penalties for a while.
The TPMS light is a backstop for serious under-inflation, not a substitute for a monthly check with a gauge. A tire can be several psi low — enough to wear faster and cost you fuel — long before the light ever triggers.
There are two broad TPMS designs, and they behave a little differently. Direct systems use a pressure sensor inside each wheel and can often show you the actual psi per tire on the dash. Indirect systems infer low pressure from how fast each wheel spins via the ABS sensors, so they show only a warning, not numbers, and usually need a reset after you adjust pressures. If you want the difference spelled out, our guide to what the TPMS warning light means covers it in detail.
One seasonal note bears repeating here: a TPMS light that appears on the first cold morning is usually the air contracting in the cold, not a puncture. Top the tires back up to the placard pressure and the light typically clears. If it returns quickly or flashes, though, that points to a real leak or a sensor fault worth investigating.
How to Check and Fill Your Tires
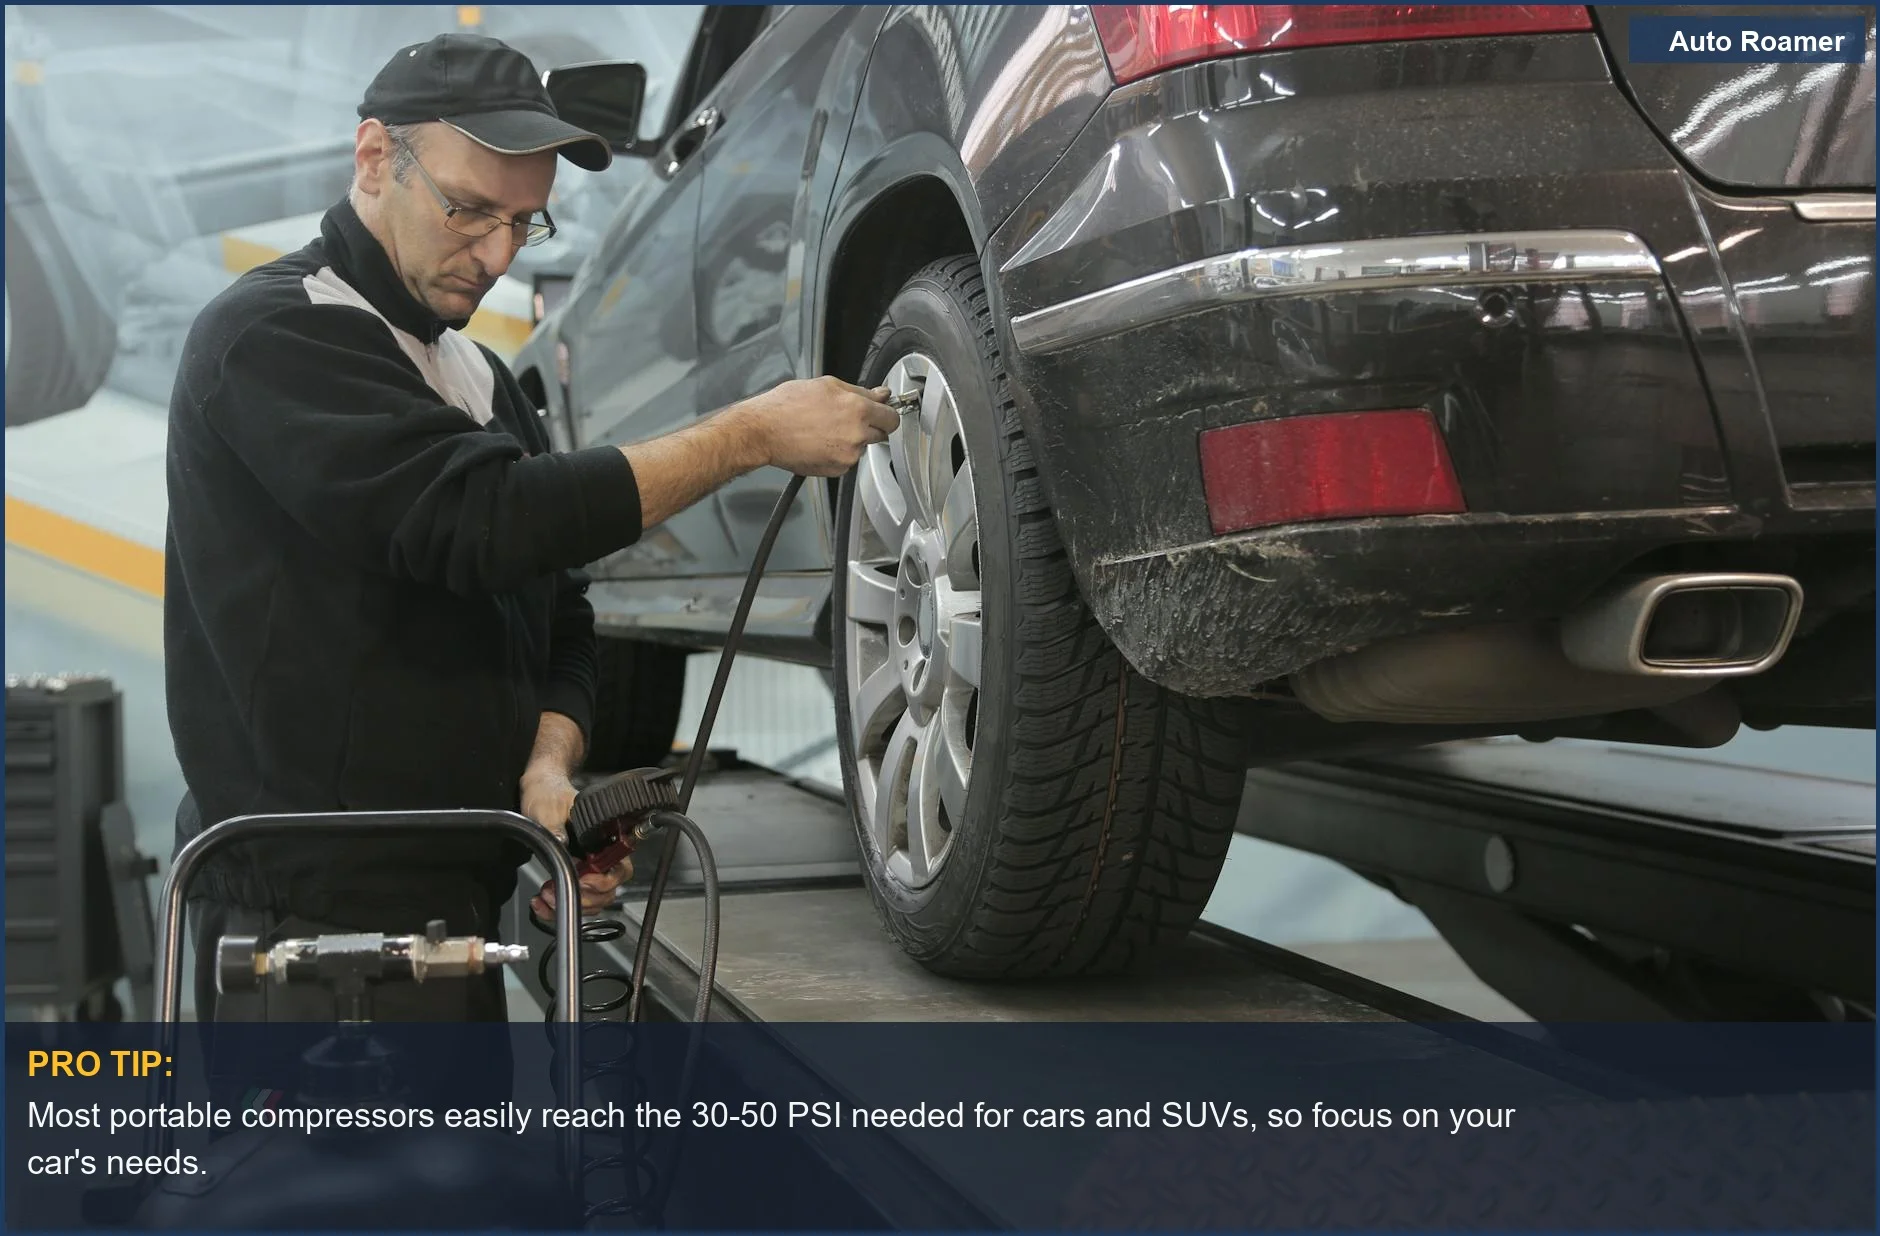
Putting all of this into practice takes only a gauge, a source of air, and a few minutes. The routine is the same whether you use a gas-station pump or a portable inflator kept in the trunk.
- Check cold. Measure before driving, or at least a few hours after parking, so heat is not inflating the reading.
- Find your target. Read the placard in the driver's door jamb (or the owner's manual) and note the front and rear numbers, plus any full-load figure if you are loaded.
- Measure each tire. Unscrew the valve cap, press a gauge squarely onto the stem, and read the pressure. Do all four, plus the spare if you keep one.
- Add or release air. Inflate low tires toward the target; if a tire is over, press the gauge's bleed nub or the valve pin to let a little out, then re-measure.
- Re-check and cap. Confirm each tire at the target and replace every valve cap to keep grit out of the stem.
A trustworthy gauge is the foundation of the whole exercise, since you can only set what you can accurately read — our roundup of the best tire pressure gauges covers digital and dial options. For the air itself, a compact 12-volt unit lets you top up anywhere; see our picks for the best portable tire inflators for a car. If you want to understand inflation speed and the airflow rating behind it, our explainer on CFM and tire inflation goes deeper.
Make it a monthly habit, plus before any long trip and whenever the seasons turn. Tires lose roughly a psi a month on their own even when healthy, so a quick check keeps them honest. And keep a gauge in the glovebox — the pressure readouts on gas-station pumps are notoriously inaccurate, and your own gauge is the one number you can trust.
Front vs. Rear, Seasons, and Staying On Top of It
A few finishing details separate someone who sets their tires once and forgets, from someone whose tires wear evenly for their full life. None of it is complicated, but all of it follows from the placard-first principle.
Front and rear may differ. Plenty of vehicles specify a slightly higher pressure on one axle — often the rear, to handle cargo, or the front on nose-heavy front-drive cars. Always read both numbers on the placard rather than assuming all four tires take the same pressure. Setting them all to the front figure when the rear wants more (or vice versa) quietly creates uneven wear.
Seasons move the needle. Because pressure shifts about 1 psi per 10 degrees Fahrenheit, a set-it-and-forget-it pressure from July will read low by January. Build a seasonal re-check into your routine, and do not panic when the TPMS light greets you on the first frosty morning — it is almost always just the cold.
A short maintenance rhythm keeps everything in line:
- Monthly: a cold check of all four tires (and the spare) against the placard.
- Before long trips: set to the full-load figure if you are packed or towing.
- At each season change: re-verify cold after a big ambient temperature swing.
None of this requires expertise — just the placard number, a decent gauge, and a few minutes of attention. The payoff is tires that wear evenly across their tread, deliver the fuel economy the carmaker intended, grip and stop the way they were designed to, and are far less likely to fail at speed. Consider what a single neglected month can cost by contrast: tires drifting a few psi low burn extra fuel on every trip, wear their shoulders prematurely, and edge closer to the heat buildup that ends in a roadside blowout — all of it invisible until the damage is done or the TPMS light finally trips. The monthly check exists precisely to catch that slow drift before it adds up, which is why it returns far more in saved fuel and tread life than the handful of minutes it takes. If the worst does happen, it helps to know in advance how to handle a tire blowout while driving. But get the pressure right and check it regularly, and a blowout becomes the rare exception rather than the looming risk it is on neglected, under-inflated tires.

