
The Big Picture
So, you're staring at a wall of sound-deadening material online, wondering if you should slap it on yourself or hand over your car keys and a wad of cash to someone else. It's a legit question. A first attempt at making an ancient hatchback quieter often involves some questionable spray foam and a whole lot of regret. This isn't about engineering specs; it's about what actually happens when you're elbow-deep in your car's door panel at 10 PM on a Tuesday.
The honest version is, both DIY and pro installs have their place. It all boils down to your tolerance for frustration and your budget. Reddit threads are full of people wrestling with this decision.
The Core Answer
Alright, let's break down the DIY versus Pro install for car soundproofing. Here's a useful analogy: a sleeping bag rated to 40F can leave you shivering by 2AM in the mountains, where the temperature drops 15 degrees after midnight.
The fix is a $12 fleece liner from Amazon that turns a 40F bag into a 25F bag — cheap insurance that keeps working trip after trip.
This whole soundproofing thing is kinda like that. You can buy a cheap liner (DIY materials) or pay for a high-end sleeping bag (professional install). The materials themselves are designed to absorb vibrations and block noise. Think of your car's metal panels like a drum; these materials stop them from resonating. You've got mats, sprays, and foams, each tackling noise differently. Different materials address different types of noise, like road rumble versus engine hum.
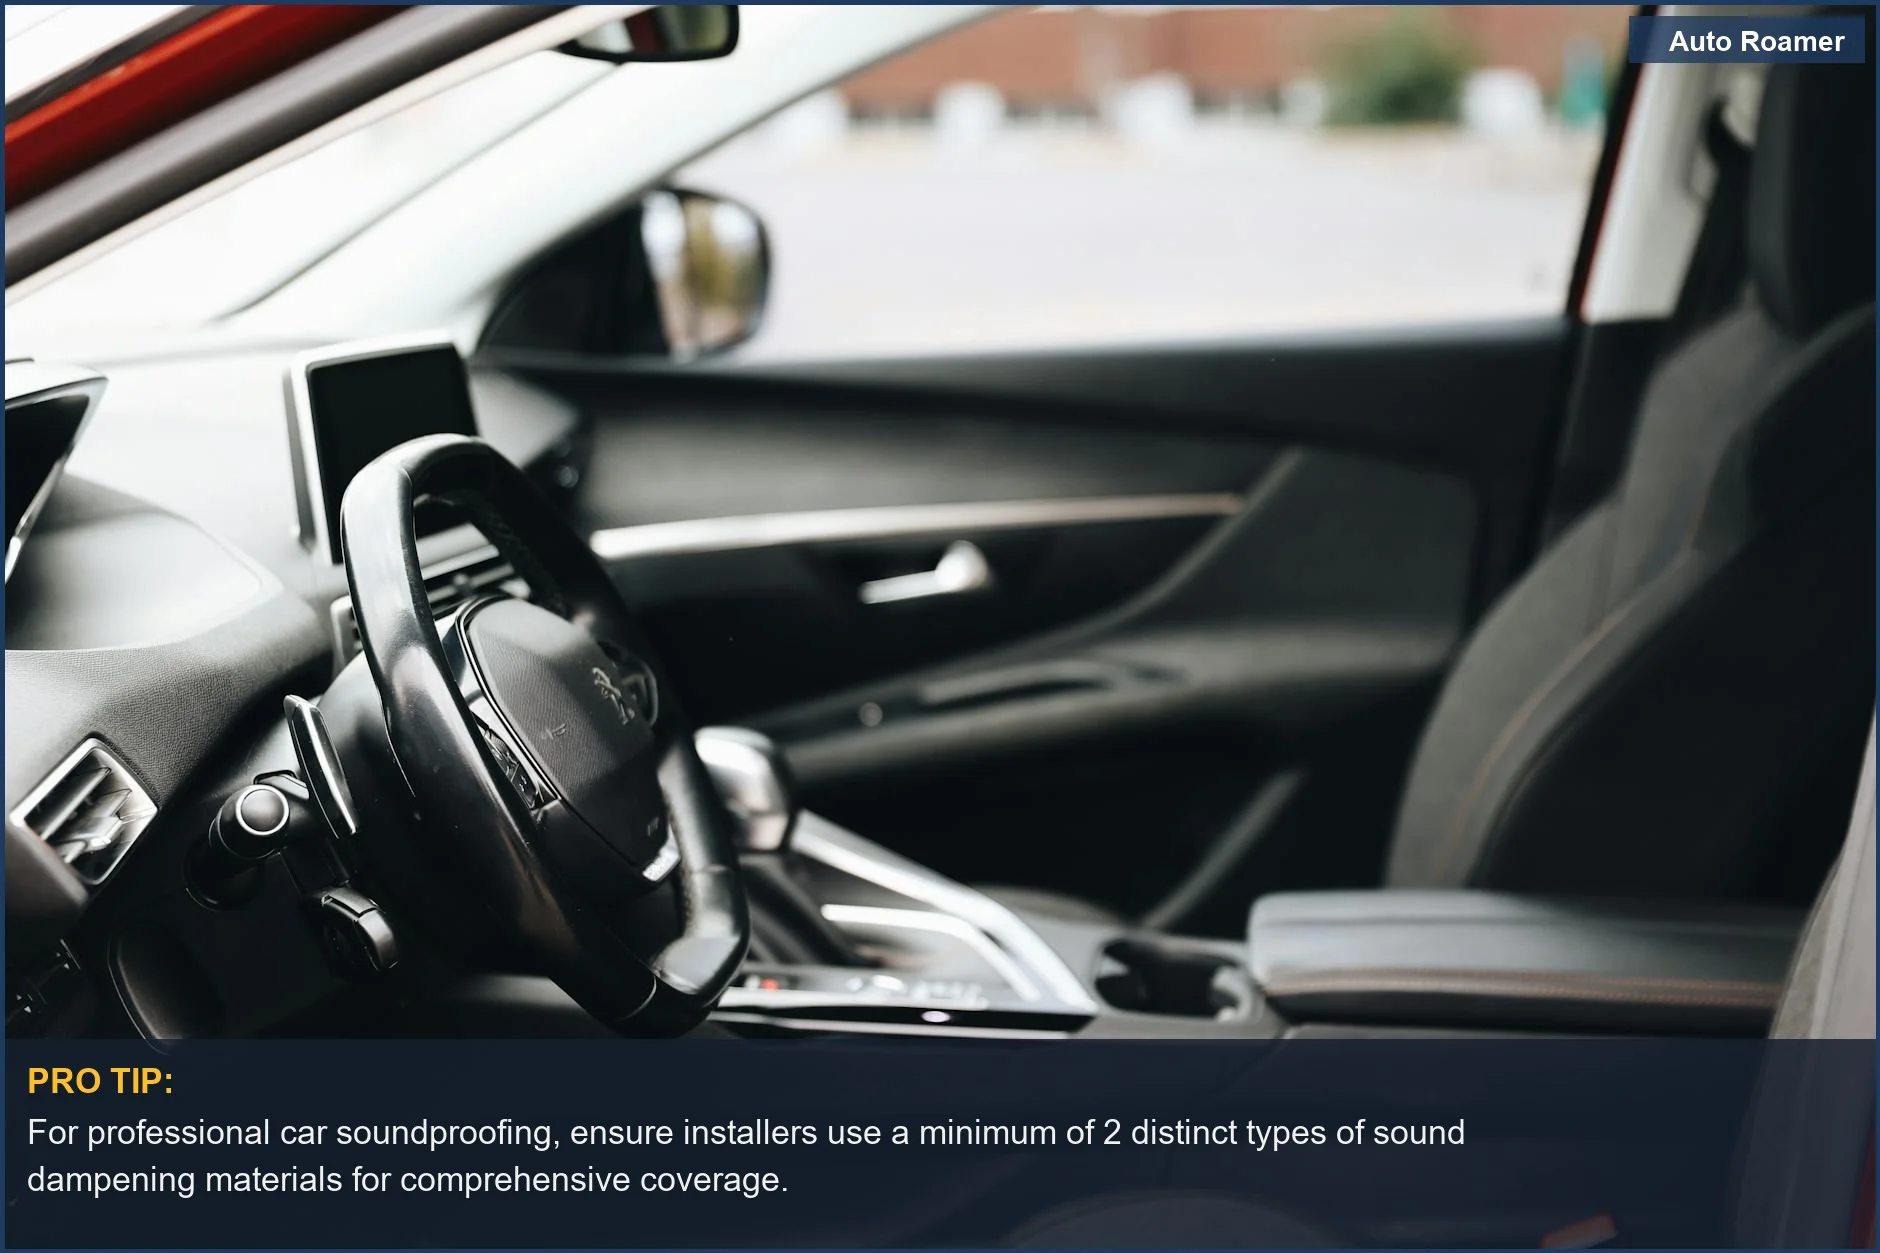
DIY is tempting because, yeah, it's cheaper upfront. The plan is simple: buy a big roll of that sticky butyl mat stuff and go to town. But a trunk can look like a construction site for weeks. The real move is understanding that it takes time and patience. You're not just slapping it on; you're often taking apart door panels, cleaning surfaces meticulously, and fitting it into every nook and cranny.
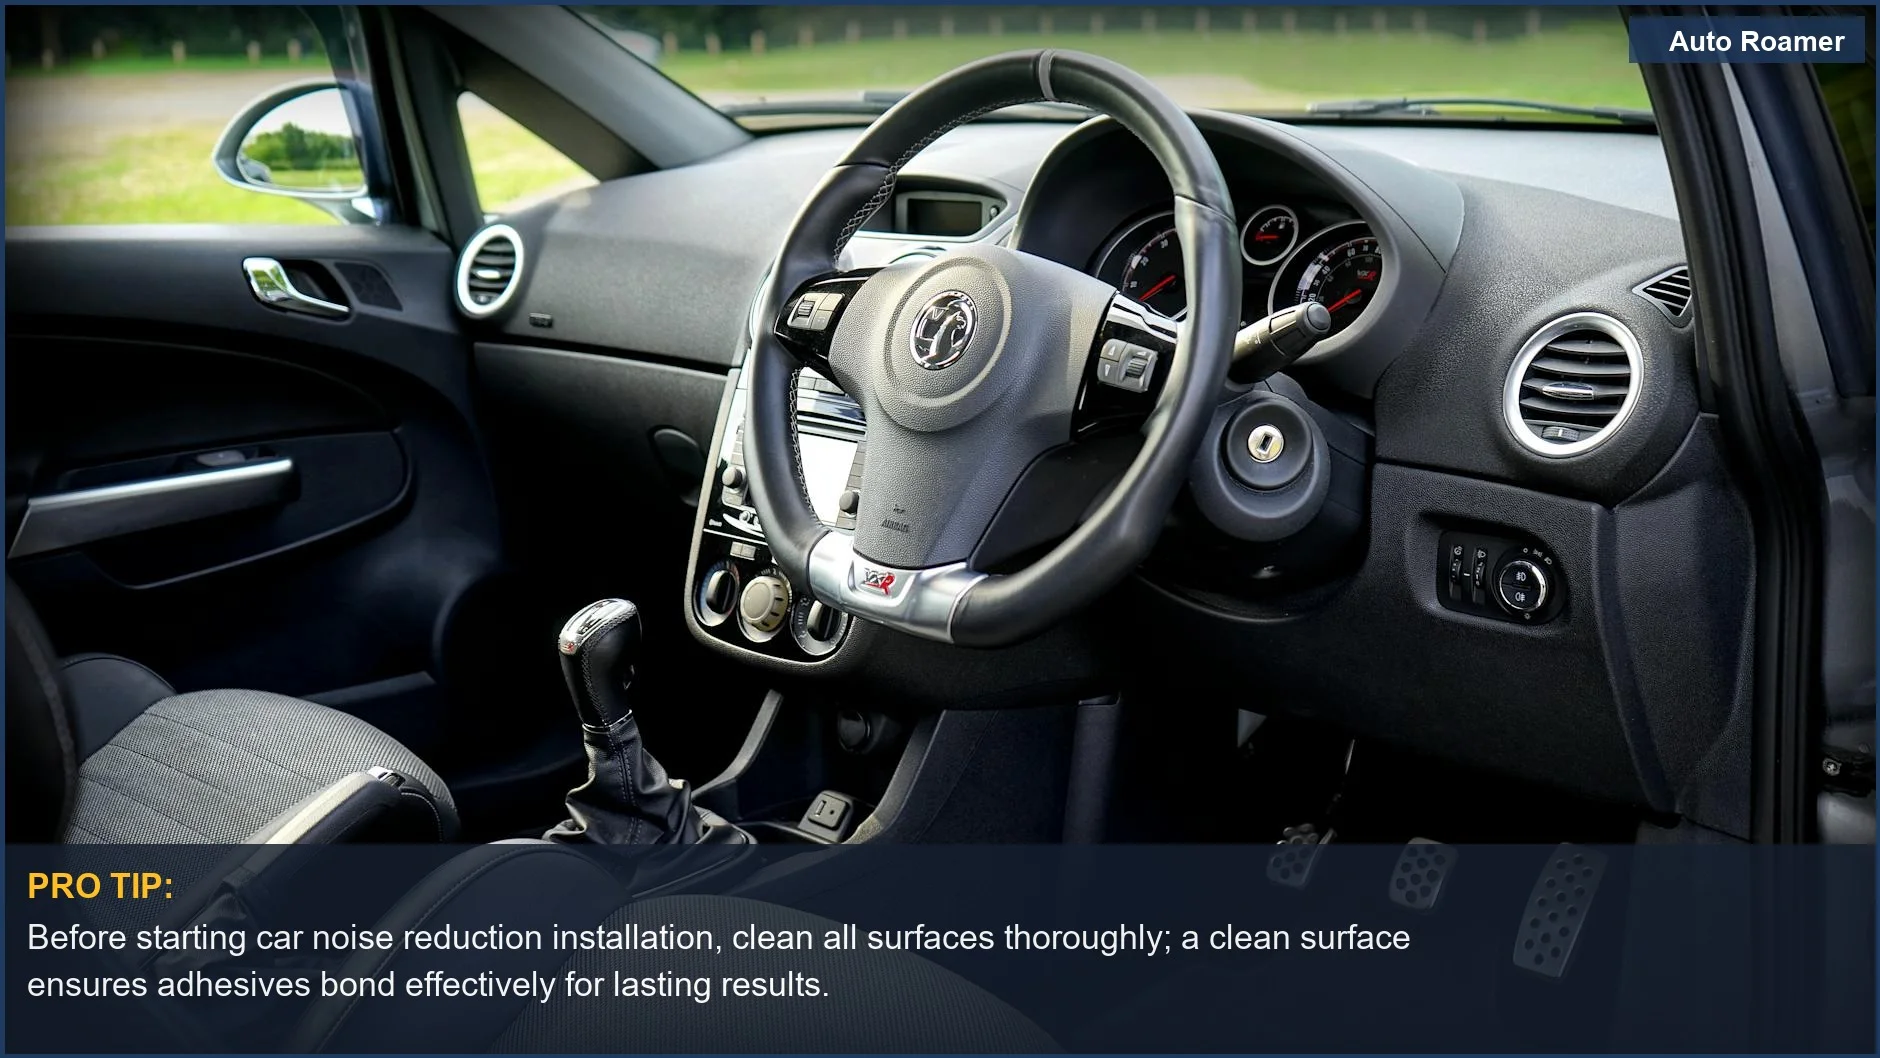
Poor surface prep is a rookie mistake that kills adhesion — panels peel off because of it.
Professional installation, on the other hand, costs more, obviously. We're talking potentially hundreds, even thousands, depending on how much you want to silence. But they have the tools, the experience, and crucially, they know where all the noise is hiding. They've probably dealt with every car model under the sun. The upside is you get a cleaner install, and they often guarantee their work.
Professional jobs generally yield more durable, high-quality results, which makes sense when you're paying for expertise.
It's not just about slapping mats on the doors either. You've got to consider the floor, the roof, the firewall, and even the trunk. A DIY attempt that focuses only on the doors leaves the road noise still deafening. The honest version: a truly quiet car needs a comprehensive approach. Pros are more likely to hit all those key noise sources, like wheel wells, which are often overlooked by beginners. Key noise sources are often hidden.
So, the core answer? DIY is for the patient, budget-conscious warrior who doesn't mind spending weekends wrestling with car interiors. Pro is for those who want it done right, quickly, and are willing to pay for peace of mind. The honest truth is that sometimes, paying for someone else's expertise is cheaper in the long run.
Why This Matters for Your Setup
Why does this even matter? Because a quieter car is a more enjoyable car. A road trip in an old economy car can feel like sitting inside a tin can being shaken by a giant. Every pebble sounds like a gunshot. People debate if it's worth it, but it absolutely is if you value your sanity.
- Road Noise: This is the big one. That constant hum of tires on asphalt? It's exhausting. Sound deadening tackles this by reducing vibrations in the floor pans and wheel wells.
- Engine and Transmission Noise: Ever feel like you're sitting on top of a lawnmower? Proper application, especially around the firewall and transmission tunnel, can make a massive difference.
- Wind Noise: At highway speeds, wind whistling around door seals and mirrors can be brutal. While not the primary focus of deadening mats, sealing gaps and adding mass helps.
- Audio Quality: If you've got a decent stereo, sound deadening turns your car into a much better listening environment. Less ambient noise means your music shines through. Even cheap speakers sound better once the doors are done right. It can be done in existing cars, and it makes a world of difference.
Making the Right Choice
So, how do you make the call? It's not a one-size-fits-all deal. If you're on a tight budget and have a weekend to spare, DIY is totally doable. Just be prepared for a learning curve. Avoid common mistakes like not cleaning surfaces properly - that's a recipe for peeling panels.
- DIY: Cheaper materials, more time investment, potential for mistakes but huge satisfaction if done right. Think of it as building your own awesome camping shelter instead of renting one.
- Professional: Higher cost, faster results, less personal hassle, and often a warranty. This is like booking a fancy glamping tent - convenient and comfortable, but you pay for it.
- Consider Your Goal: Are you trying to make your daily commute less grating, or are you building a mobile concert hall? The level of soundproofing needed dictates the approach.
- Your Car's Condition: Older cars might have more rattles and squeaks to chase down, which might make a pro install more appealing if you're not mechanically inclined. Installation can be challenging for beginners.
