
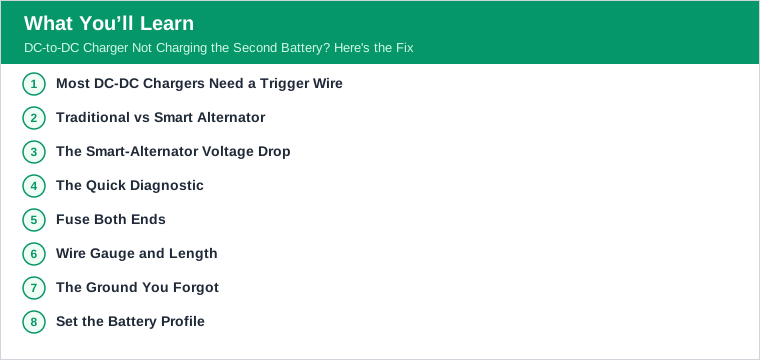
Most DC-DC Chargers Need a Trigger Wire
Here is the false economy that traps most people: they wire the two big cables, skip the little one, and wonder why nothing charges. Most DC-DC chargers do not auto-sense a running engine and require a D+ or ignition (IGN) trigger wire carrying a constant 12V when the engine runs. That thin wire is what tells the charger the engine is on and it is safe to start pulling power - without it, the charger just sits there.
It is an easy wire to dismiss because it carries almost no current and looks unimportant next to the heavy positive and negative cables. But it is the on switch. A charger with perfect main wiring and no trigger signal is a charger that never wakes up, and from the outside that looks identical to a broken unit. Plenty of brand-new installs 'fail' for exactly this reason.
Before anything else, confirm the charger actually needs the trigger and, if it does, that the wire is present and live. The trigger has to see a constant 12V while the engine runs - typically tapped from an ignition-switched source that goes hot with the key, not a permanently live one, so the charger shuts off when the engine stops. If the trigger is missing, mis-tapped to a dead circuit, or wired to a source that is not hot with the engine, add or fix it before you suspect the charger. This one wire is the number-one no-charge cause on fresh installs.
Traditional vs Smart Alternator
Whether you even need that trigger wire depends on what kind of alternator the vehicle has, and getting this wrong causes half the confusion. With a traditional, fixed-voltage alternator, charging begins when the starter battery reaches about 13.2V, with a working range of roughly 13.2-16.5V, and no IGN wire is strictly required - the charger can sense the raised voltage and start on its own. Older vehicles mostly work this way.
Modern vehicles are different. With a smart or variable-voltage alternator, the working voltage window is about 12.0-16.5V, and the IGN or D+ trigger wire is required so the charger knows the engine is running. Smart alternators deliberately vary their output for fuel economy, so voltage alone is no longer a reliable signal that the engine is on. That is why a charger that would self-start on an old truck refuses to on a new one unless it gets the trigger.
The practical takeaway: identify your alternator type before you troubleshoot. If the vehicle is recent and has a smart alternator - most are now - assume the trigger wire is mandatory and check it first. If it is an older fixed-voltage setup, the charger may run on voltage sensing alone, and a no-charge condition points elsewhere. Matching your wiring to your alternator type is the difference between a charger that works and one that looks broken but was simply never told the engine was running.
The Smart-Alternator Voltage Drop
Smart alternators cause a specific, maddening failure: the charger works for a few minutes, then quits. Smart alternators drop their output voltage - sometimes to 12.3-12.8V - once the starter battery is topped up, and that can stop a voltage-sensing-only charger. The charger sees the voltage fall below its start threshold, assumes the engine is off, and shuts down mid-drive.
This is why a setup can seem to charge right after startup and then mysteriously stop while you are still driving. As soon as the alternator decides the starter battery is full, it eases off, the voltage sags into the 12.3-12.8V range, and a charger relying on voltage alone loses its cue. The auxiliary battery stops charging even though the engine is running fine and the highway miles are rolling by.
The IGN trigger fixes exactly this. With a constant 12V trigger telling the charger the engine is on, it keeps charging regardless of how low the smart alternator lets the system voltage drift, because it is no longer guessing from voltage. If your DC-DC charger charges briefly then stops on a newer vehicle, this is almost certainly the cause - and the cure is to wire the ignition trigger rather than replace a charger that was working correctly the whole time.
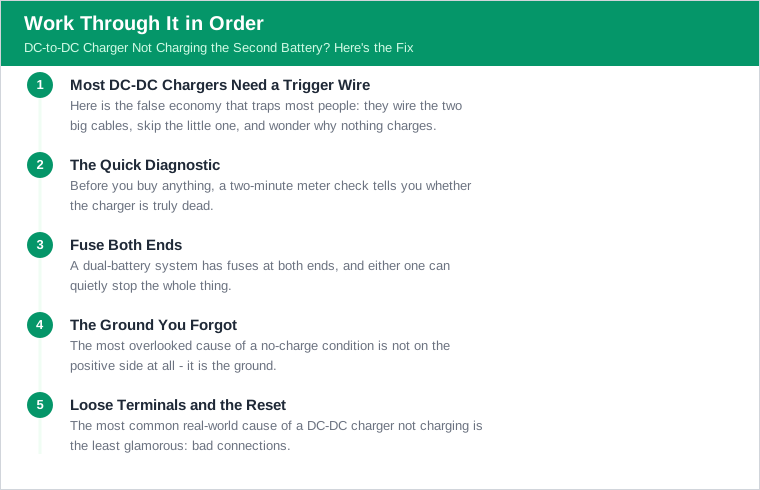
The Quick Diagnostic
Before you buy anything, a two-minute meter check tells you whether the charger is truly dead. With the engine running, measure both the input voltage and the D+ voltage at the charger. If both read above about 9V but the green power LED stays off, the charger is likely faulty. That is the clean signature of an internal failure: the inputs are present, the trigger is present, and the unit still refuses to come alive.
The value of the test is that it separates the charger from its wiring. If the input voltage is low, you have a main-cable, fuse, or ground problem feeding it. If the D+ trigger reads zero, the trigger wire is your fault, not the charger. Only when both are healthy and the LED is still dark does the evidence actually point at the unit itself. A cheap digital multimeter makes this a thirty-second check instead of a guessing game.
Do the readings in that order and you skip the expensive mistake of returning a good charger. Confirm input voltage first, then the D+ trigger, then look at the LED. Most of the time one of the first two readings is wrong, and you have found a wiring problem you can fix yourself for a few dollars. The faulty-charger verdict is real but rare, and it should only be reached after the meter has cleared everything upstream of it.
Fuse Both Ends
A dual-battery system has fuses at both ends, and either one can quietly stop the whole thing. Fuse both ends - the starter-battery end and the auxiliary-battery end - close to each battery, because a blown or corroded fuse on either side stops charging. People check the fuse near the starter battery, find it good, and never think to look at the one by the auxiliary battery under the bed or in the back.
The reason for two fuses is safety: each protects its cable run against a short, so a chafed wire cannot turn a battery into a fire. But it also means there are two single points of failure in the charging path, and a fault at either kills the current. A corroded fuse holder is just as effective at stopping charge as a blown element, and corrosion is common on the auxiliary end, which often lives in a damp, dusty part of the vehicle.
Check both. Pull each fuse and test it for continuity rather than trusting a glance, and inspect the holders for green corrosion or a loose grip on the fuse. Clean the contacts bright and make sure the fuse seats firmly. A dual-battery setup that charged fine for a year and then quit is very often a single corroded fuse on the auxiliary end - a two-dollar part and a five-minute fix, not a dead charger.

Wire Gauge and Length
DC-DC chargers move real current, and undersized or overly long cable strangles them. Wire gauge matters: the input side from the starter battery is commonly 6 AWG, and output runs up to about 3 m (10 ft) can use 8 AWG, with 6 AWG for longer runs. Undersized or too-long cables cause voltage drop that keeps the charger from reaching its trigger voltage or reduces the charge current below what the battery needs.
The trap is a long run on thin wire. A charger mounted far from the starter battery - a common layout when the auxiliary battery lives in the rear - sees significant voltage drop over a skinny cable, and that drop can pull the input below the threshold the charger needs to start or sustain charging. It looks like a weak charger; it is actually a cable that cannot deliver the voltage the charger requires at its terminals.
Size the cable to the run, not just to the charger. Use 6 AWG on the input, step the output to 6 AWG if the run is long, and keep every run as short as the layout allows. Do not forget the trigger wire in this accounting: the D+/IGN signal wire is small, typically about 16 AWG, because it carries almost no current - but it still has to reach a live ignition source. Right-size the heavy cables and the charger gets the voltage it needs to do its job.
The Ground You Forgot
The most overlooked cause of a no-charge condition is not on the positive side at all - it is the ground. Negative and ground cables must match the positive cable in gauge and length, because a poor ground is a frequent no-charge cause. Current has to complete a circuit, and a ground that is undersized, loose, or landed on a rusty, painted, or dirty surface throttles the whole system just as effectively as a bad positive connection.
People instinctively focus on the positive cables and treat the ground as an afterthought, bolting it to whatever bare-looking metal is handy. But a high-resistance ground drops voltage under load exactly like a thin positive wire, and it can keep the charger from ever seeing the voltage it needs. A ground strap that looks fine but is bolted over paint or rust is a classic hidden fault.
Treat the ground with the same respect as the positive. Match its gauge and keep its length sensible, land it on clean bare metal - grind away paint and rust to bright steel - and torque it down tight. On both the starter and auxiliary ends, a clean, solid ground is not optional. When a system that should charge simply will not, and the positive side checks out, the ground is the next place to look, and it is where a lot of stubborn no-charge problems hide.
A cheap trick pays off here: run the auxiliary battery's ground all the way back to the starter battery's negative rather than trusting the chassis as the return path. The vehicle body has bolted seams, rust, and paint between the two ends, and every one of those adds resistance you cannot see. A dedicated ground cable of the right gauge removes the guesswork entirely, and it costs a few dollars of wire. It is exactly the kind of small up-front spend that saves a weekend of chasing a phantom charger fault later.

Set the Battery Profile
A DC-DC charger has to be told what kind of battery it is feeding, and the wrong setting causes wrong or absent charging. Set the DIP switches or the battery-type profile to match the auxiliary battery chemistry - lithium/LFP, AGM, gel, or flooded - because a mismatched profile causes the charger to use the wrong charging voltage, or none at all. Each chemistry wants a different voltage profile, and the charger will not guess correctly on its own.
This one bites people who upgrade a battery without updating the charger. Swap a flooded auxiliary battery for a lithium one and leave the DIP switches on the old profile, and the charger delivers a voltage that is wrong for lithium - too low to properly charge, or a profile the battery's own management system rejects, so it appears not to charge at all. The hardware is fine; the configuration is stale.
Open the charger and read the DIP-switch chart in the manual, or set the profile in the app if it is a smart unit, and match it exactly to the auxiliary battery you actually have installed. Double-check it after any battery change. A correctly profiled charger delivers the right voltage and charges predictably; one left on a mismatched profile can look broken while doing precisely what its wrong setting told it to do.
Loose Terminals and the Reset
The most common real-world cause of a DC-DC charger not charging is the least glamorous: bad connections. Loose or corroded terminals are among the most frequent culprits, so inspect and re-torque every connection in the system. Every terminal - positive, negative, and trigger, on both batteries and at the charger - is a place where vibration can loosen a bolt or moisture can grow corrosion, and any one of them can break the charging path.
Vehicles are a hostile environment for connections. Constant vibration backs off bolts that were only finger-tight, heat cycles expand and contract the metal, and damp or salty air corrodes exposed copper. A connection that was solid at install can be the fault a year later without anyone touching it. This is why re-torquing and cleaning terminals resolves so many no-charge complaints on setups that used to work.
When the wiring checks out but the charger seems stuck, try a full reset before condemning it. To clear a lockout, disconnect the charger from the starter battery, wait a few seconds for the charger to discharge internally, then reconnect for a full power reset. Many chargers latch into a protective state after a fault - a low input, a reversed connection, a wiring error - and a clean power cycle brings them back once the underlying wiring is fixed. Clean the terminals, reset the unit, and a charger that seemed dead often comes right back to life.

The Verdict: Trigger, Fuse, Ground, Then the Charger
A DC-DC charger that will not charge the auxiliary battery almost never needs replacing. Work it in order: confirm the ignition trigger wire is present and live (mandatory on the smart alternators in most modern vehicles), then check the fuses at both ends, then the ground, then the cable gauge and length, and finally the battery profile. Those wiring items cause the overwhelming majority of no-charge complaints.
Use the meter to keep yourself honest. With the engine running, if input voltage and the D+ trigger both read above about 9V and the LED still stays off, the charger is genuinely faulty. If either reading is wrong, you have found a fixable wiring problem instead. That single check saves people from returning good chargers over a missing trigger or a corroded fuse.
It helps to know the charger's own numbers while you diagnose. Common output ratings are 20A, 40A, and 60A - a 40A 12V charger outputs up to about 616W - and the input operating range is typically about 8-16V DC, which is why voltage drop from thin cable or a smart alternator's sag matters so much. Size the wiring for that current, feed the charger a clean trigger and a solid ground, set the right battery profile, and a dual-battery system charges reliably every drive - no new charger required.