
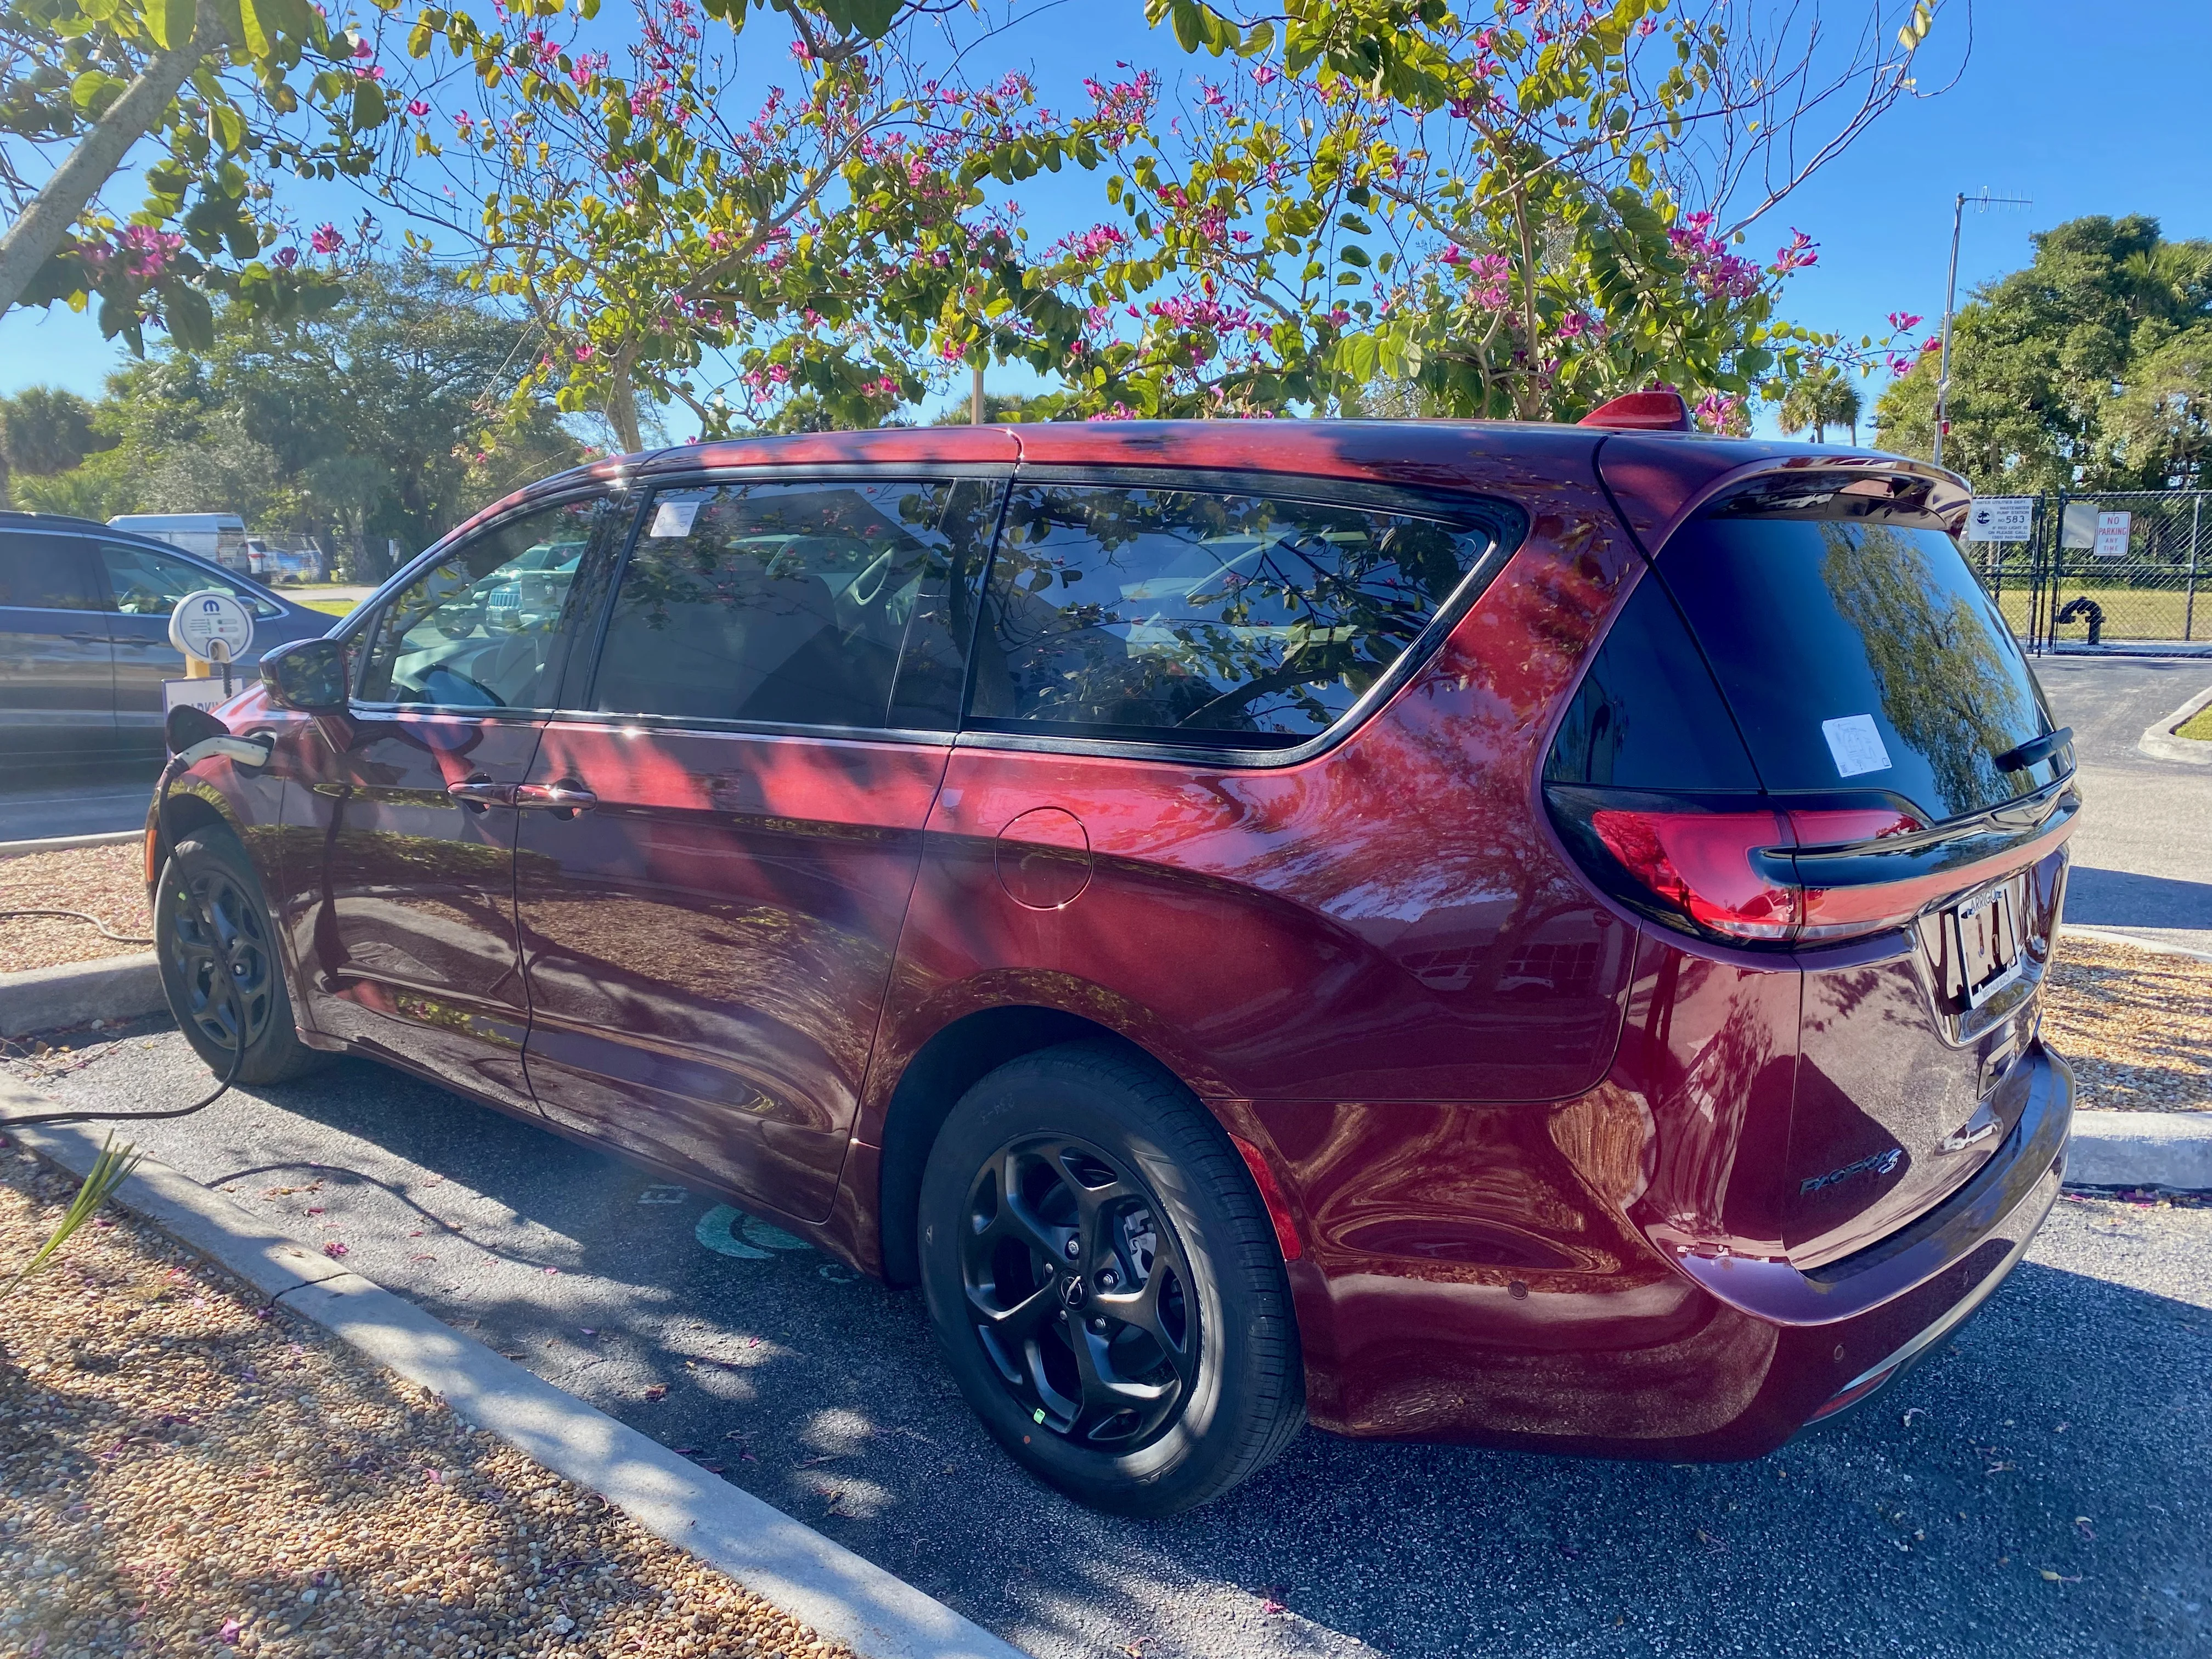
Why the Spare's Location Matters When the Cargo Bay Is Your Bed
A flat tire is an inconvenience in a parking lot and a genuine problem at a trailhead at night. The step everyone skips when they plan a Pacifica sleep setup is figuring out, in advance, exactly where the spare and jack live — because in a minivan converted for sleeping, those tools are almost always buried under the very floor you are lying on.
The Chrysler Pacifica hides its recovery equipment in two different places, and neither is obvious in the dark. Knowing the layout before a trip is the difference between a ten-minute tire change and an hour of unloading gear onto wet ground while you hunt for a jack.
The published owner's-manual layout is clear once it is spelled out, and it rewards a dry run at home. The goal here is a clean, calm procedure: know where each piece sits, know how to reach it without emptying the whole vehicle, and confirm what your specific Pacifica actually carries before you need it.
That last point is the one that surprises people. A growing share of Pacificas ship with no spare at all — just a sealant kit — so the first job is not learning the change procedure but confirming there is a tire back there to change to.
There is also a comfort angle that pure roadside guides miss. A camper who knows the tools are clustered low on the driver's side can build the sleeping platform to keep that corner accessible, rather than discovering the conflict at the worst possible moment. The layout should shape the build, and the build should never bury the one thing you might need in an emergency.
Where Chrysler Stows the Jack and Tools
The primary storage is straightforward: on the Pacifica, the jacking tools, the spare, and any tire service kit are stowed behind an access panel on the left-hand side of the vehicle, according to the owner's manual. That left-side panel is the first place to look, and it is worth opening once in the driveway so the location is muscle memory rather than a search.
Inside the second-row seat storage compartment — the deep well that makes the Pacifica's Stow 'n Go seating possible — the jack sits right side up in the recessed area closest to the sliding door, toward the rear of the cavity. The spare, when present, wedges on top of it.
The smaller tools are kept with the tire itself. A styrofoam insert in the center of the spare holds the lug nut wrench and the compressor, so once the wheel is out, the wrench and inflator come with it. That is a tidy arrangement, but it means the wrench is only accessible after the tire is freed.
The practical takeaway is that everything for a tire change is clustered on the driver's side, low, and under the floor. A camping load stacked on that floor sits directly on top of the access route, which is exactly why the pre-trip dry run matters.
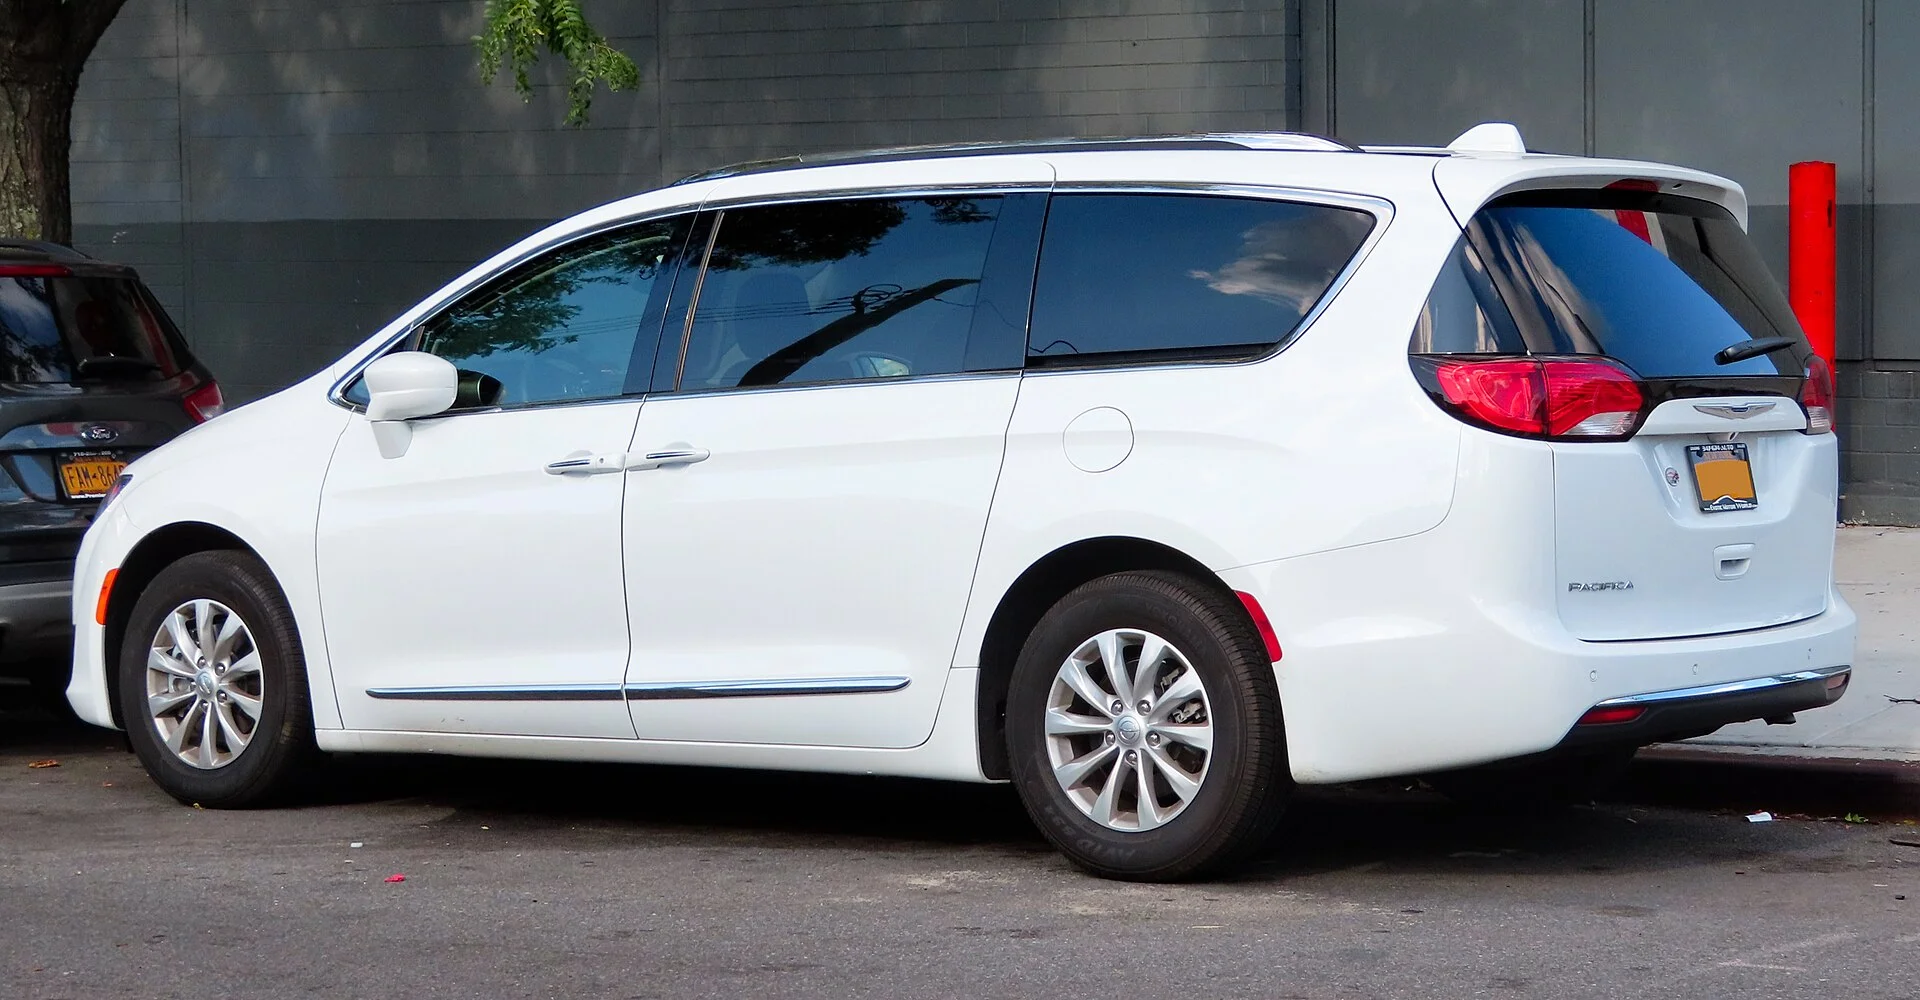
The Tire Service Kit Many Pacificas Carry Instead
Here is the detail that catches owners off guard: many newer Pacificas do not carry a spare tire at all. Instead they ship with a Mopar Tire Service Kit — a bottle of sealant and a small inflator for temporary repairs — located in the rear hatchback compartment rather than under the second-row floor.
This is not a Chrysler quirk. Only about half of new vehicles include any spare, and most that do use a compact temporary spare, according to industry reporting. Automakers delete the spare to save weight and free up packaging space, and the Pacifica's deep Stow 'n Go wells are prime real estate for that decision.
A sealant kit is genuinely useful for a nail-hole puncture, which is the most common failure. It is useless for a sidewall gash, a blowout, or a bent wheel — the failures most likely on a rough forest-service road where camping actually happens. That gap is the reason the kit-versus-spare question matters more for a car camper than for a suburban commuter.
Because the answer varies by model year and trim, the only reliable way to know what your Pacifica carries is to look. Open the rear hatch compartment for the kit, open the left-side panel for a spare, and read the owner's manual. Assuming there is a spare because minivans traditionally had one is how people end up stranded.
Reaching the Gear With the Floor Loaded for Sleep
A Pacifica set up for sleeping usually has a mattress or platform running the length of the flat floor, with bins of gear tucked into the footwells and under any raised platform. That load sits squarely over the second-row wells where the jack and spare live, so the retrieval plan has to account for moving it.
The cleanest approach is to keep whatever covers the driver's-side second-row well as the most accessible item in the whole setup — a single bin or a rolled pad you can lift out in one motion, rather than a strapped-down platform section you have to unbolt. Planning the load around the access panel, not the other way around, saves the worst of the work.
If the build uses a fixed platform, a hinged or removable panel over the driver's-side well is worth designing in from the start. It turns a full teardown into lifting one lid. Owners who skip this discover the problem exactly once, in the rain, and rebuild afterward.
Whatever the layout, the principle is the same: the tire-change tools are under the bed, so the bed has to come apart to reach them. Make that the fastest, driest part of the setup and a roadside flat stays a minor event instead of a trip-ending one.

The Retrieval Sequence, In Order
Working the change in a set order keeps it calm and keeps parts from walking off into the dark. Run it this way:
- Park on firm, level ground, set the parking brake, and clear the sleeping load off the driver's-side second-row area.
- Open the left-hand access panel and the second-row seat storage compartment to expose the well.
- Lift out the spare tire; the lug wrench and compressor come with it, held in the styrofoam insert at the center of the wheel.
- Retrieve the jack from the recessed area closest to the sliding door, toward the rear of the cavity.
- Loosen the lug nuts a quarter turn before jacking, while the tire is still on the ground.
- Jack at the manufacturer's lift point, swap the wheel, snug the lugs, lower the vehicle, then torque the lugs in a star pattern.
The one step people rush is loosening the lugs before the wheel is off the ground. A tire that spins while jacked up cannot be broken loose safely, and a minivan on a scissor jack is not the place to be pushing hard. Break them free first, every time.
Reverse the order to stow everything, and make sure the wrench and compressor go back into the styrofoam insert so they are with the tire next time rather than loose in a footwell.
What to Check Before Every Trip
A spare is only useful if it holds air, and a stowed spare is the tire people never think to check. A compact spare that has sat under the floor for years can be soft or dry-rotted exactly when it is needed. A quick pressure check when airing up the road tires costs nothing and prevents the worst-case discovery.
Confirm the jack turns freely and the wrench actually fits the lug nuts — aftermarket wheels or locking lugs can make the factory wrench useless, which is a nasty surprise on the shoulder. If the Pacifica uses locking lug nuts, the key adapter has to travel with the tools, not in a glovebox that may be locked or empty.
For a service-kit Pacifica, check the sealant bottle's expiration; tire sealant has a shelf life and hardens over time. An expired bottle is dead weight. Replacing it is cheap insurance for the puncture it can actually fix.
None of this takes more than a few minutes, and it is best done at home before the trip rather than discovered at a campsite. The reps will not remind you; the owner's manual lists the tools, and a five-minute check confirms they all work together.
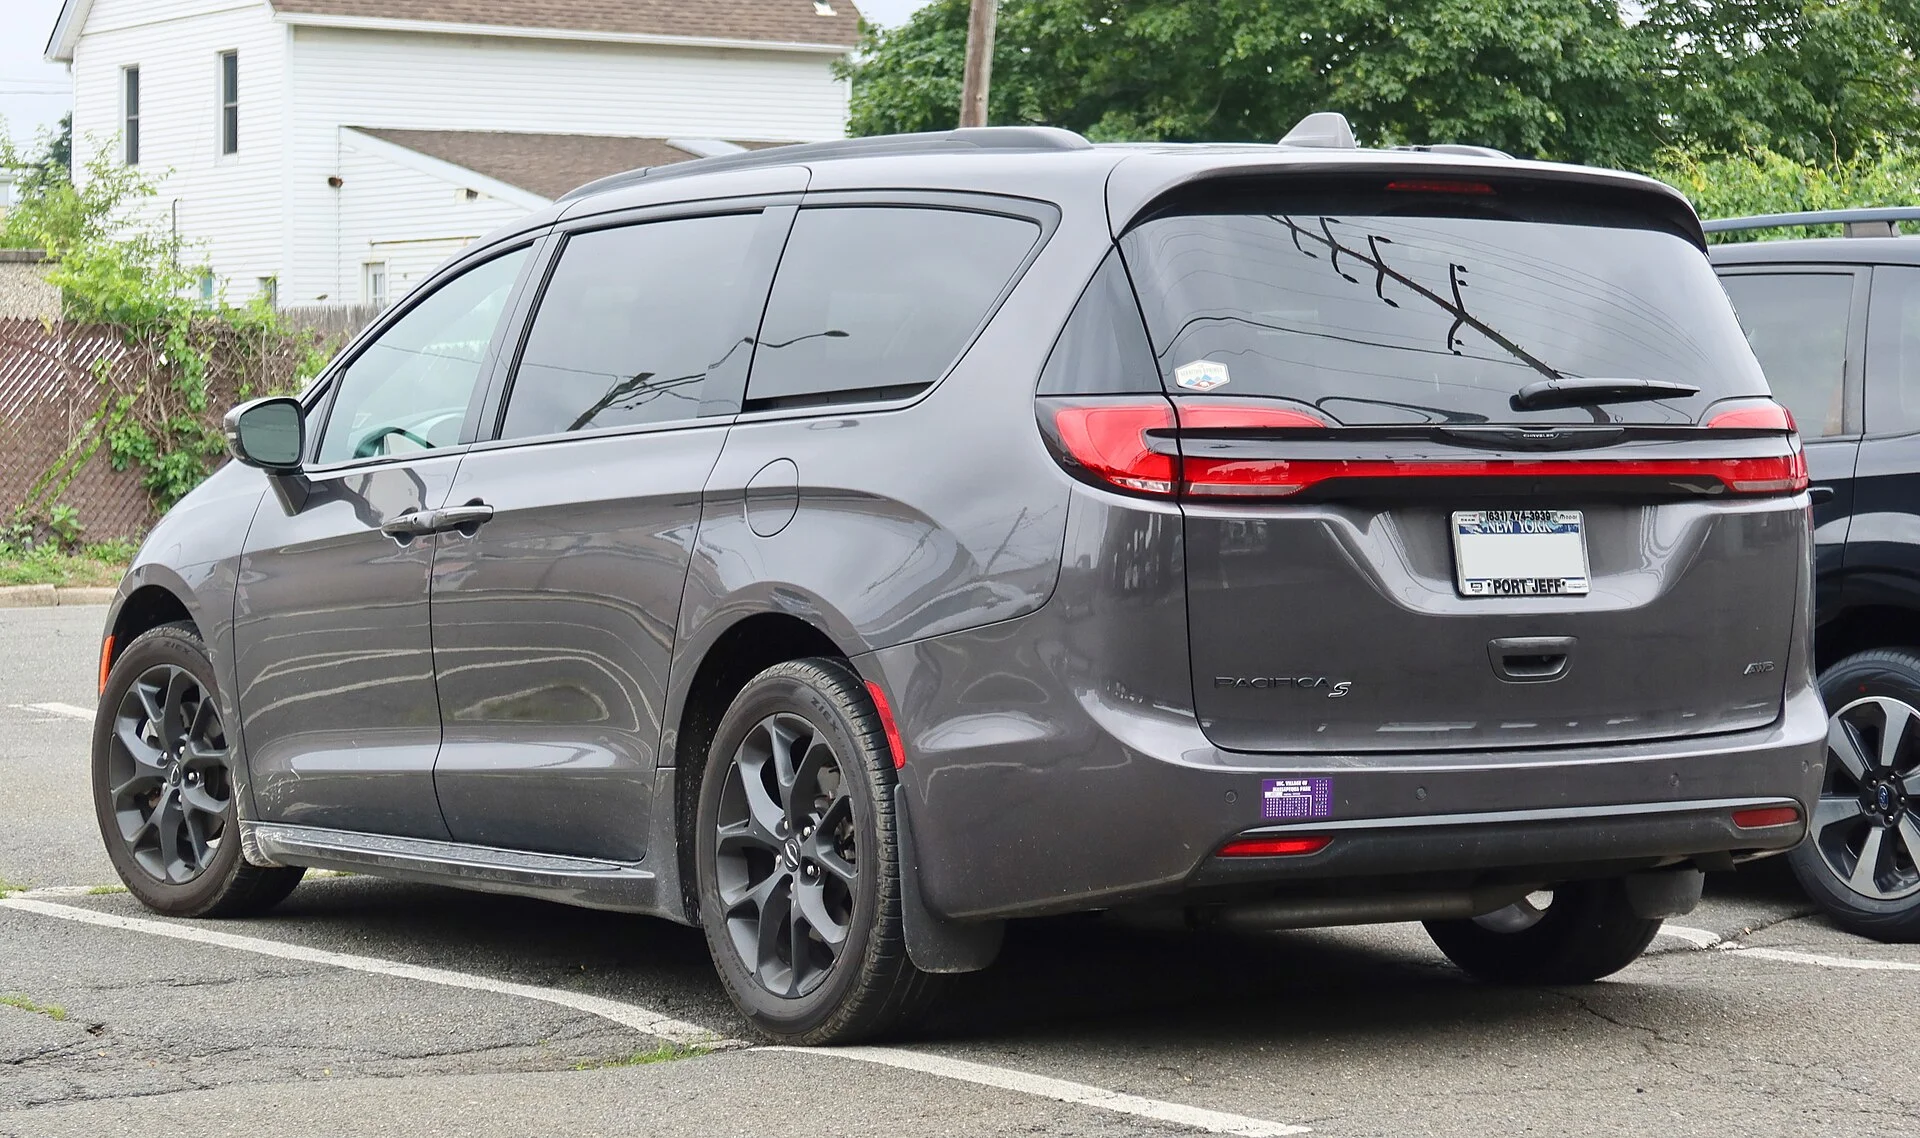
Adding a Real Spare If Yours Lacks One
For campers who regularly leave pavement, a sealant kit is not enough, and the fix is to carry a real spare. Aftermarket spare-tire kits sized for the Pacifica are available and typically include a compact temporary spare, a jack, and a wrench, restoring the capability the factory deleted.
The honest trade-off is space and weight. A spare and jack take up room a sleeping build wants for gear, and they add weight the automaker removed on purpose. For a camper, that trade is usually worth it — a puncture kit cannot help a slashed sidewall, and being stranded far from a parts store is exactly the scenario overlanding invites.
Where to carry it is the real question in a minivan already packed for sleep. Some owners stow a compact spare in a rear cargo bin, others mount it externally on a hitch carrier to keep the interior clear. A quality aftermarket spare tire kit gives you the choice; the point is having a mountable tire, not the specific mounting.
Whatever the mounting, the same pre-trip discipline applies: check the pressure, confirm the jack and wrench fit, and know the retrieval sequence cold. A spare you added is only better than the factory kit if you can actually get to it and use it when the floor is your mattress.
How the Under-Floor Layout Differs From a Traditional Spare Well
Older minivans and many SUVs put the spare in a dedicated well under the rear cargo floor, or hung it beneath the tail on a winch cable. The Pacifica's decision to move the tools into the second-row Stow 'n Go wells is a direct consequence of that seating system, and it changes the retrieval logic for a camper.
A rear-well spare is annoying for a sleeper because it sits under the foot of the bed, but it is at least a single lift point. The Pacifica's left-side, second-row location is further forward, under the middle of a typical sleeping platform, which is why the access-panel corner deserves special attention in any build. The tools are not at the tail where you might expect them; they are amidships.
The upside of the Stow 'n Go packaging is that the wells are deep and enclosed, so the jack and spare are protected from road spray and stay clean and dry. A winch-mounted underbody spare, by contrast, bakes in salt and grime and can seize on its cable exactly when needed. The Pacifica's indoor storage is genuinely better in that respect.
Understanding this difference is what lets a Pacifica owner plan smarter than a generic guide allows. The tire is dry and protected but centrally buried; the winning move is a build that treats the driver's-side second-row lid as a hatch, not a foundation. That single design choice reconciles the factory packaging with a comfortable, functional sleeping setup.

Common Mistakes That Turn a Flat Into a Crisis
The failures that strand people are rarely the tire change itself; they are the assumptions made weeks earlier. The first and biggest is never checking whether the van has a spare at all. A camper who assumes a spare is present, then finds only a sealant bottle after a sidewall gash on a gravel road, has run out of options before the jack ever comes out.
The second common mistake is a load plan that entombs the tools. A fully strapped, bolted platform with gear packed on top over the driver's-side well can take twenty minutes to dismantle in the dark and rain. That is time and misery that a hinged access lid eliminates entirely, and it is worth building in before the first trip rather than after the first flat.
A third is the wrench-fit trap. Aftermarket wheels, locking lug nuts, or a missing key adapter can render the factory tools useless, and the shoulder of a forest road is a terrible place to learn that. The fix is a single dry run at home, wrench actually on the lugs, confirming everything mates before it matters.
The last mistake is ignoring the spare's own condition. A compact spare that has sat under the floor for years can be flat or dry-rotted, so the recovery tire fails at the moment of need. Every one of these is prevented by the same cheap habit: look, rehearse, and check before the trip, not during the emergency.
The Verdict: Confirm First, Rehearse Second
The Chrysler Pacifica's tire-change gear lives in two documented places — the jack and any spare behind the left-side access panel in the second-row storage well, and, on many newer models, a Mopar sealant kit in the rear hatch compartment instead of a spare. The single most important step is confirming which setup your specific van has, because assuming a spare is there is the mistake that strands people.
Once you know what you are carrying, the rest is preparation. Design the sleeping load so the driver's-side well stays reachable, rehearse the retrieval sequence once in the driveway, and check the tire's pressure and the tools' fit before every trip. A tire change under a made bed is only hard if it is the first time you have tried it.
For anyone who ventures onto rough roads, the case for adding a real spare is strong: a sealant kit fixes a nail, not a gash, and the failures that end trips are the ones a kit cannot touch. The room and weight it costs are a fair price for not being stuck.
Handle it the calm way — confirm, rehearse, check — and a flat becomes a ten-minute chore rather than a night-ending crisis. That is the whole point of knowing where the spare lives before you need it, not after.