The Short Answer for Beginners
If you are buying your first car-camping stove, the Coleman Cascade Classic is the safest place to start. It is a two-burner propane stove with roughly 20,000 total BTUs, push-button (matchless) ignition and fold-up wind guards, and it runs on the green 16.4 oz propane canisters sold at every gas station and hardware store. Nothing about it is clever, and that is the point: a beginner stove should light on the first try, simmer without scorching, and cost little enough that a dented lid does not ruin your week.
The other five stoves below earn their place for specific reasons. Here is the quick version before we get into specs:
- Coleman Cascade Classic — best all-round beginner stove; cheap, simple, parts everywhere.
- Gas ONE GS-3400P — cheapest way in; a single dual-fuel (butane or propane) burner.
- Camp Chef Everest 2X — most cooking power (40,000 BTU) for campers who actually cook.
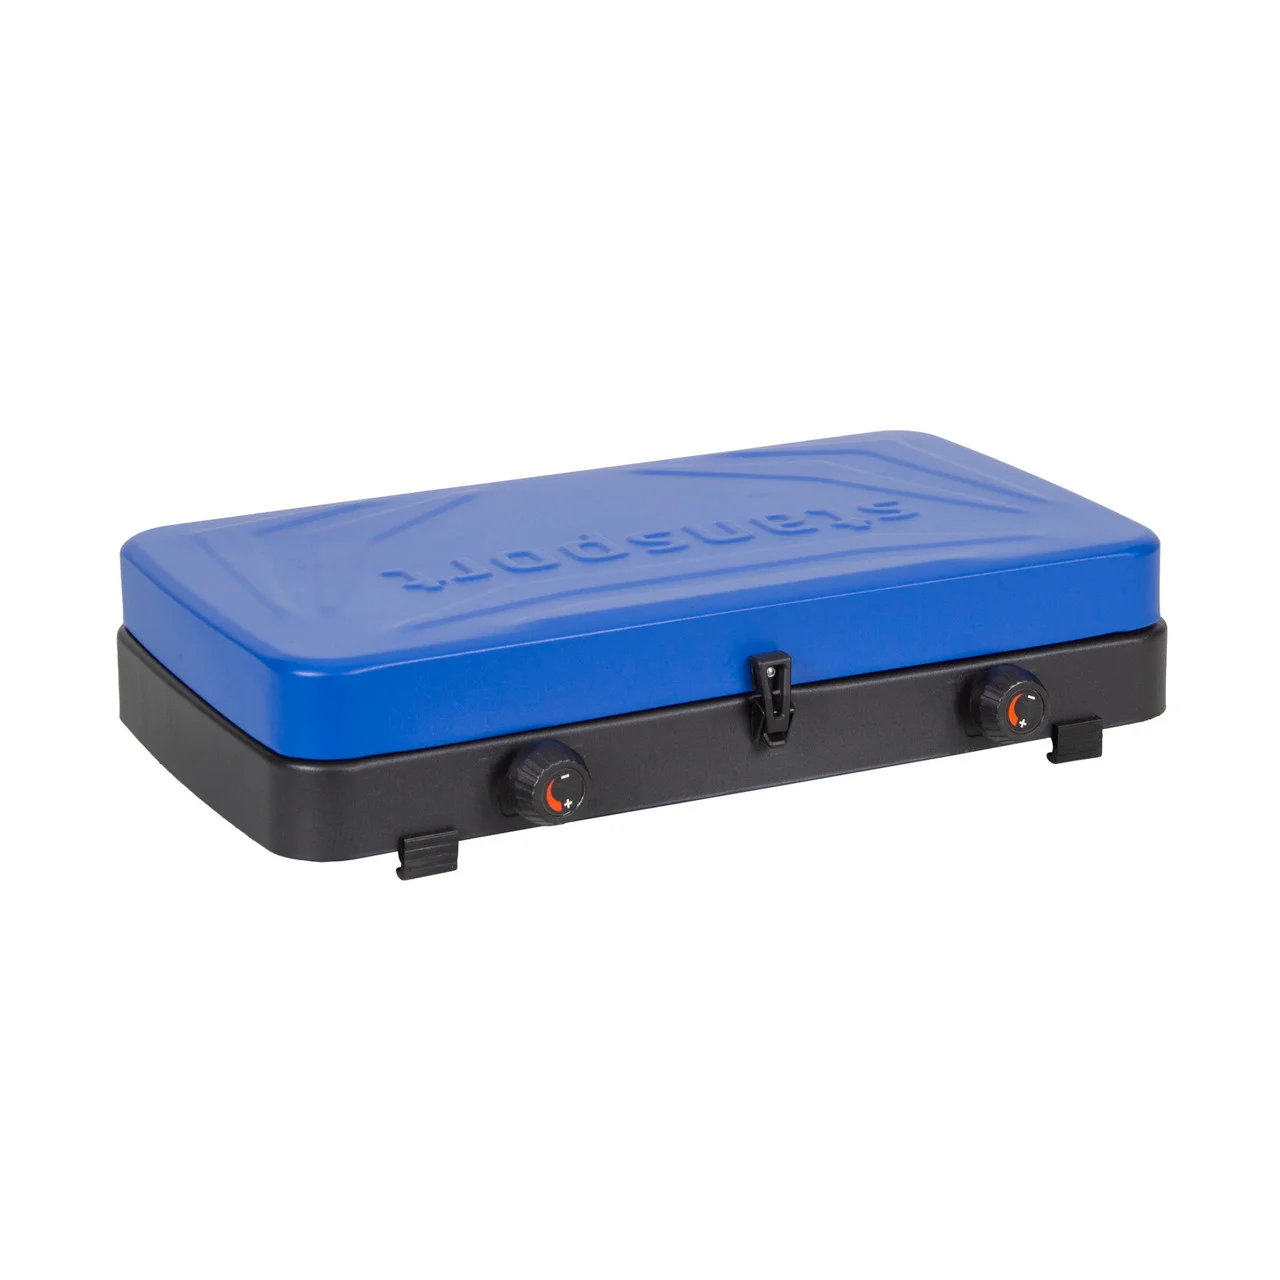
- Stansport 2-Burner — budget two-burner with a built-in regulator for steadier flame.
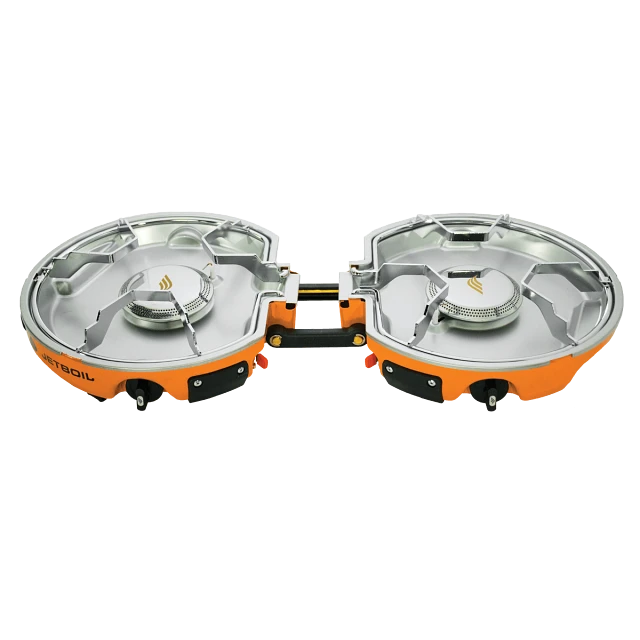
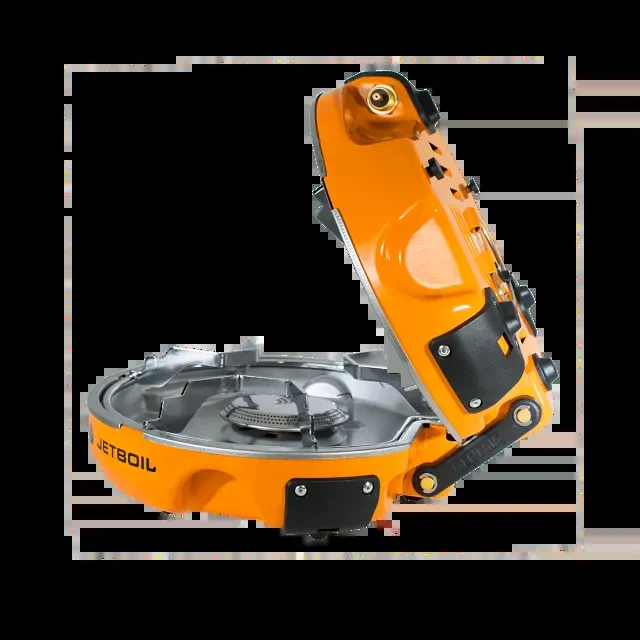
- Jetboil Genesis Basecamp — packs flat and comes as a full cook system with pot and pan.
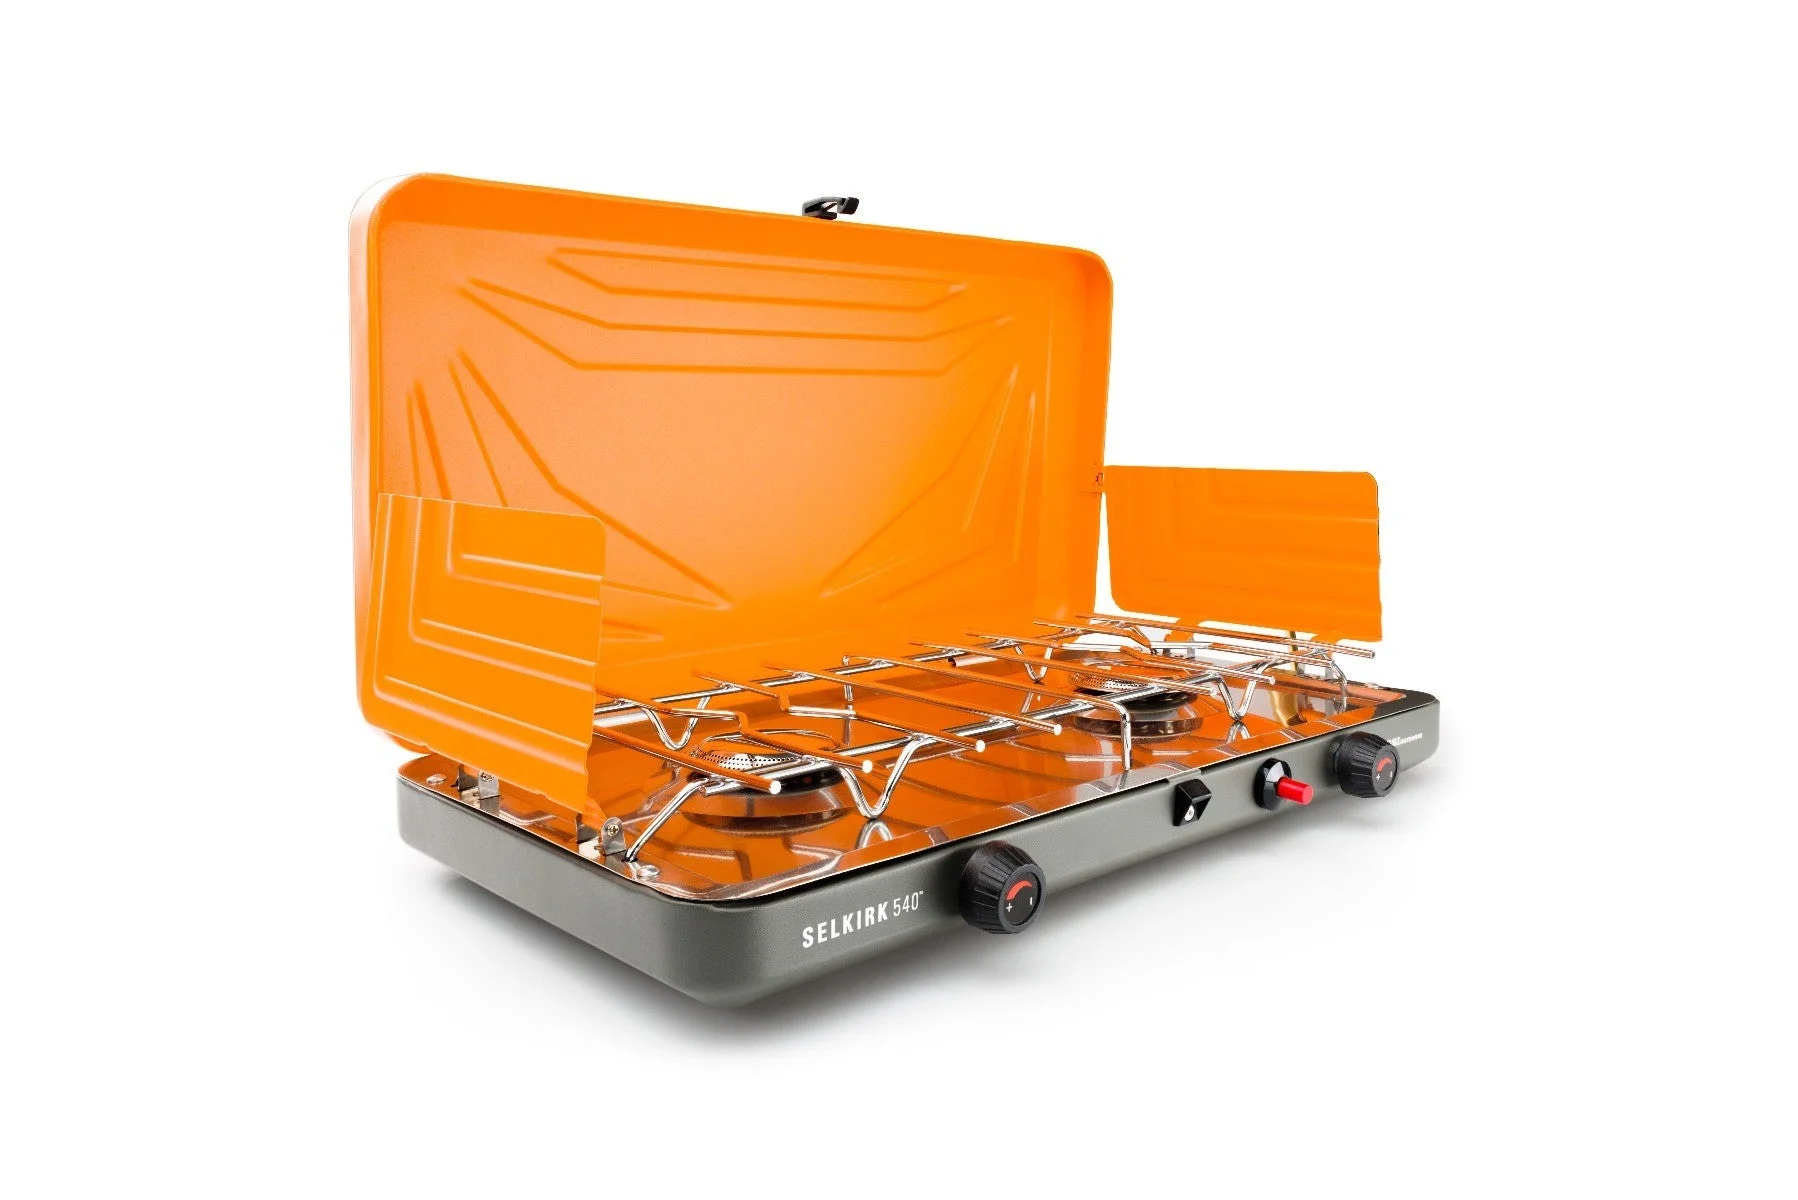
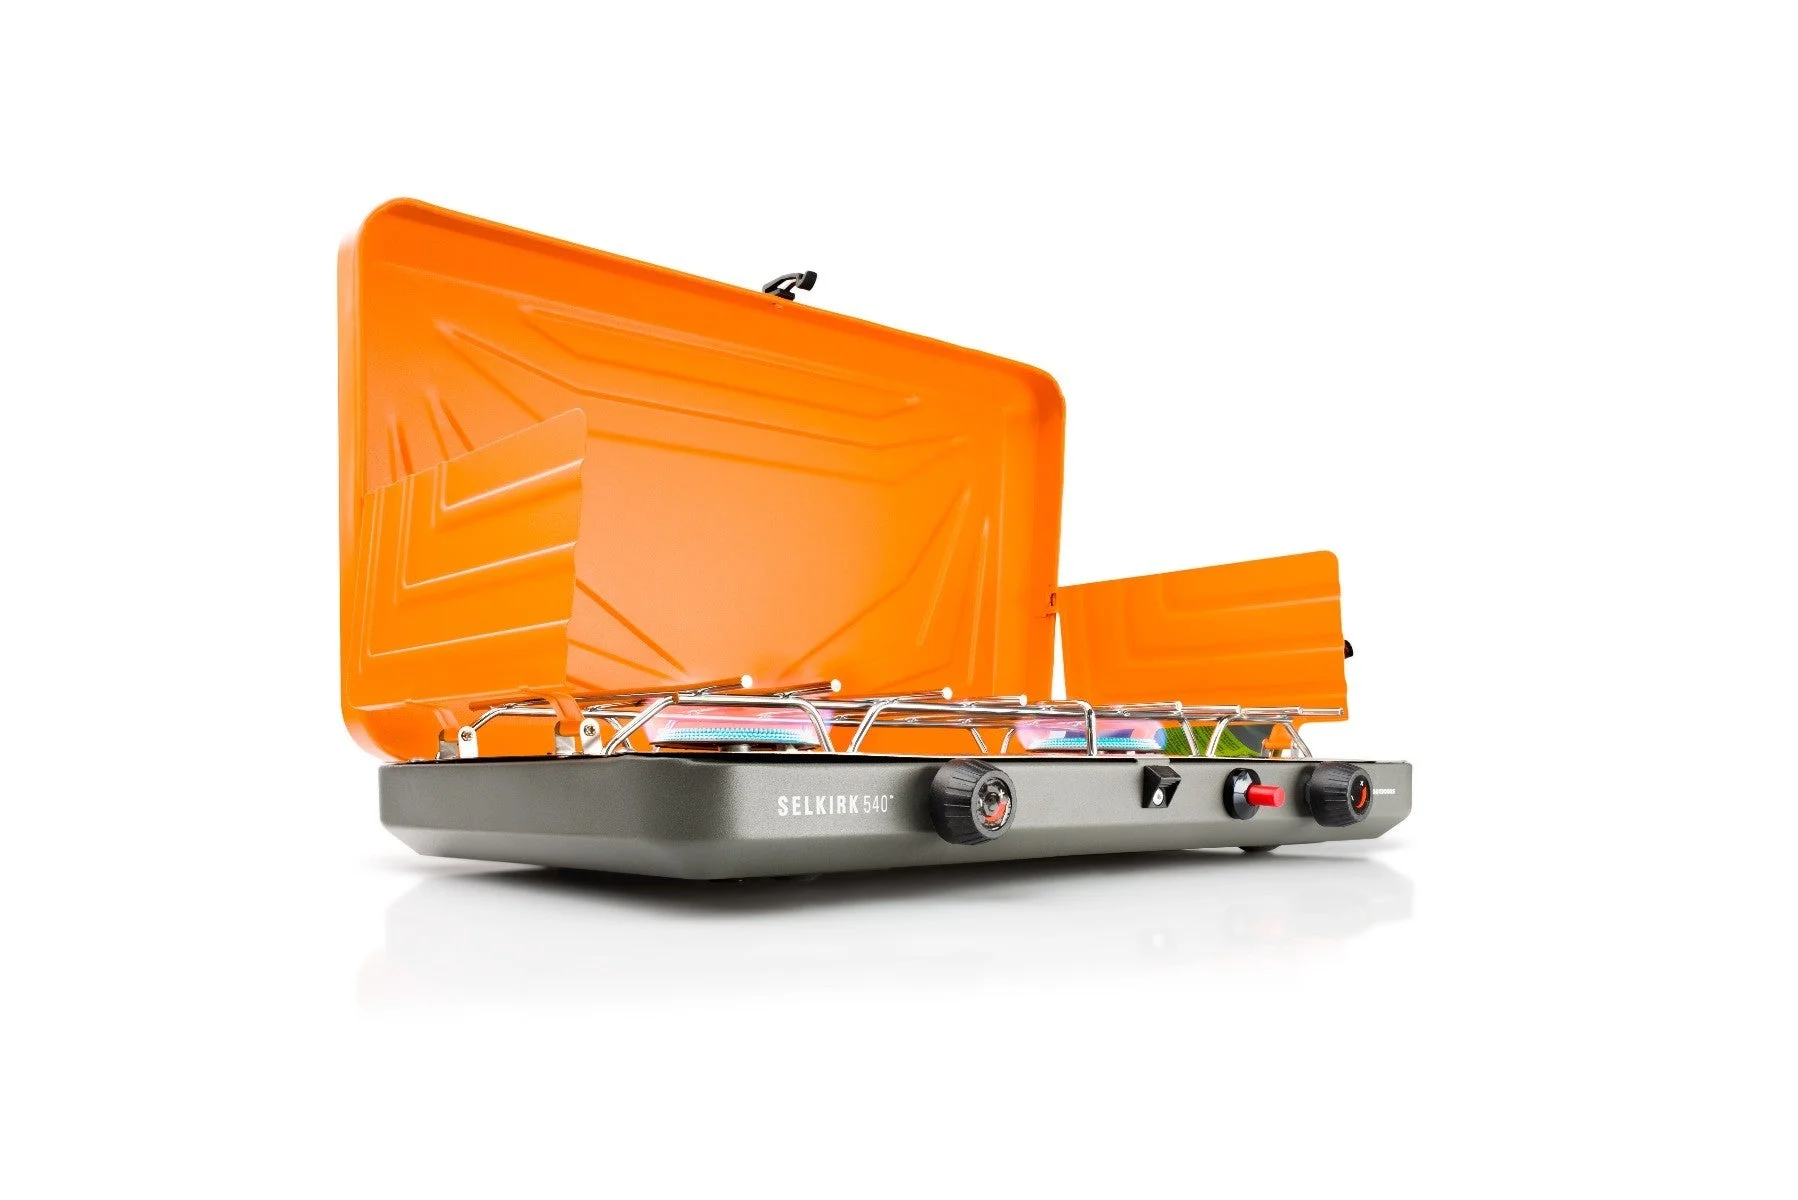
- GSI Outdoors Selkirk 540 — wide cooking deck and tall wind guards for two big pans.
What Actually Matters in a Beginner Stove
Marketing copy buries the three things that decide whether a first stove is a joy or a regret. Learn these and you can judge any stove on the shelf, not just the six here.
Fuel type. Beginner car-camping stoves run on one of two fuels. The green 16.4 oz propane bottle is the default: cheap, sold everywhere, and works in the cold. Butane canisters (used by the Gas ONE) are lighter and great indoors-adjacent cooking, but they sputter below about 40°F. For general car camping, propane is the more forgiving first fuel; dual-fuel stoves that take both give you an escape hatch.
BTU output. A BTU rating is how fast a burner puts out heat. More is not automatically better — high BTU boils water fast but can scorch eggs, and it drains fuel quicker. A single burner around 8,000–12,000 BTU is plenty for one or two people; 20,000 total across two burners (the Coleman, the Stansport) suits a small group. The 40,000-BTU Camp Chef Everest 2X is overkill for boiling tea and exactly right for a cast-iron skillet.
Rule of thumb: pick the lowest BTU that still cooks what you actually eat. Raw power is the thing beginners overbuy and rarely use.
Ignition. A piezo (push-button) igniter throws a spark so you never hunt for a lighter in the wind. Every stove here except the budget Stansport has one. It is the single feature that most reduces first-week frustration.
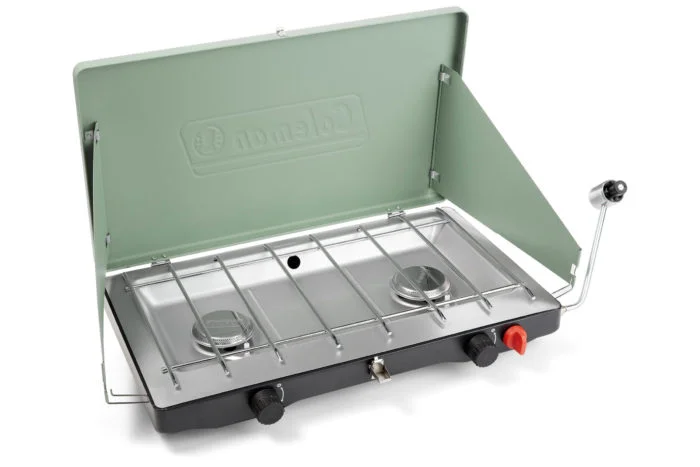
Coleman Cascade Classic — The Best All-Round First Stove
The Coleman Cascade Classic is the stove most experienced campers hand a beginner, and the reason is boring reliability. Two independently adjustable burners total about 20,000 BTU, the push-button InstaStart ignition lights without a match, and the lid plus side panels fold up into wind guards. It runs on the universal 16.4 oz propane bottle, so refueling is never a special trip.
What makes it a beginner stove specifically: the flame control is forgiving enough to actually simmer (many cheap stoves only do "off" and "blowtorch"), the porcelain grate wipes clean, and Coleman parts and canisters are stocked at essentially every outdoor and hardware store in the country.
There are honest limits. The pressed-steel body is not as rigid as a Camp Chef or GSI, the wind guards are short enough that a stiff breeze still steals heat, and the burners are sized for small-to-medium pans rather than a 12-inch cast-iron skillet. None of that matters for the cooking a beginner actually does — eggs, pasta, foil packets, coffee — which is exactly why it tops the list. If you only read one entry here, this is the one to buy, and you can upgrade later without ever regretting the small outlay.
Best for: the camper who wants one stove that simply works and is sold at every hardware store on the way out of town.
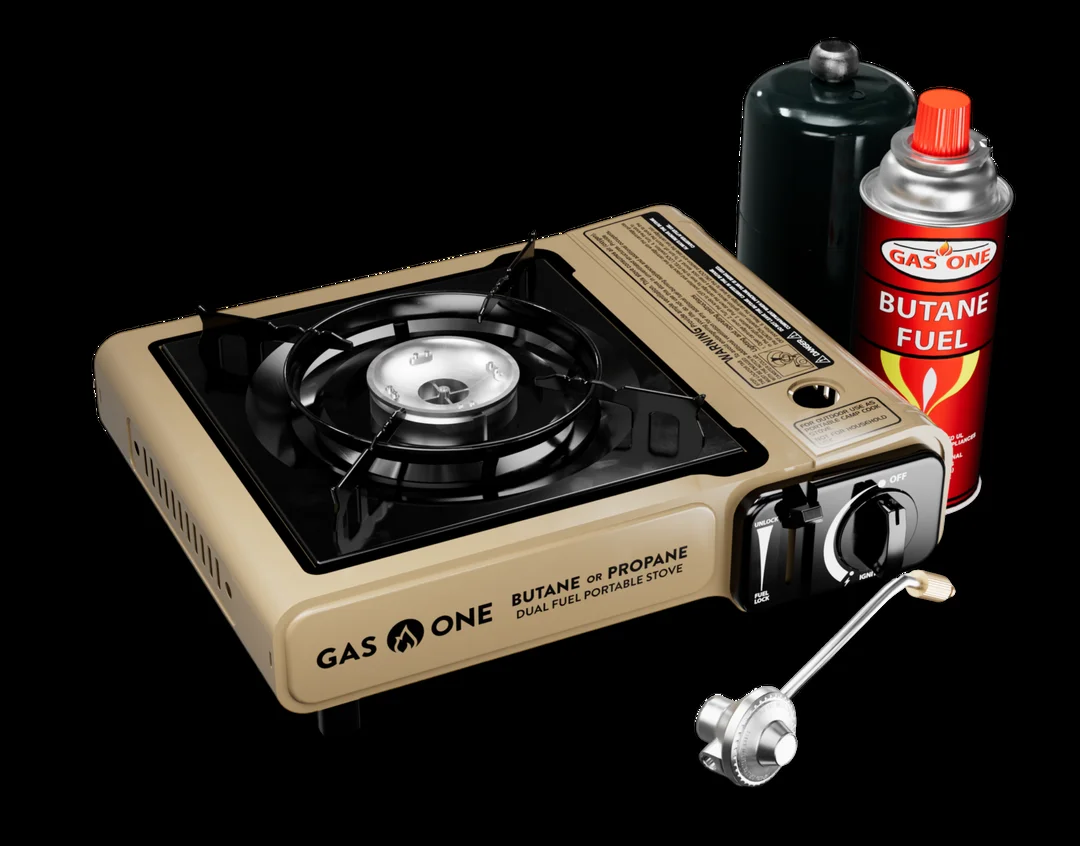
Gas ONE GS-3400P — Cheapest Way to Start
The Gas ONE GS-3400P is a single-burner dual-fuel stove that costs less than a tank of gas. It accepts both 8 oz butane cartridges and, with the included adapter hose, the green 16.4 oz propane bottles — rare flexibility at this price. It puts out around 8,000 BTU, lights with a piezo igniter, and has a pressure-sensing cartridge-eject safety mechanism.
It is the right pick for a solo camper, a backup stove, or anyone testing whether car camping is for them before spending more. The trade-off versus the two-burner stoves is obvious: one burner means you boil or fry, not both at once, so meal prep is sequential rather than parallel. It is also tabletop-sized and tippy on uneven ground — set it on something flat. For the price of two coffees, though, it removes every excuse not to have a working stove in the trunk, and the dual-fuel adapter means you are covered whether you find butane or propane on the road.
- Fuel: butane cartridge or propane via included adapter
- Output: ~8,000 BTU, single burner
- Ignition: piezo push-button
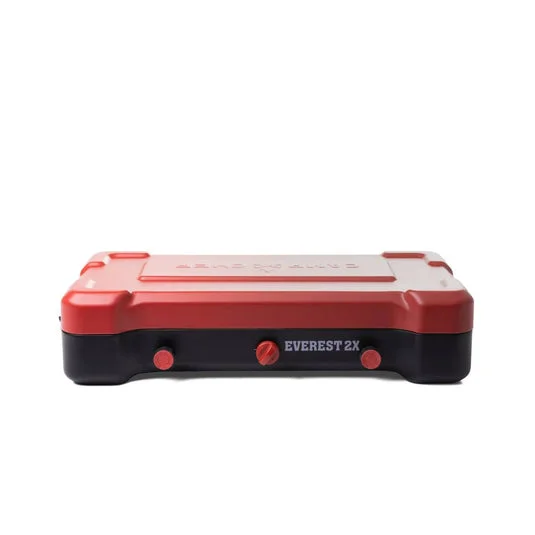
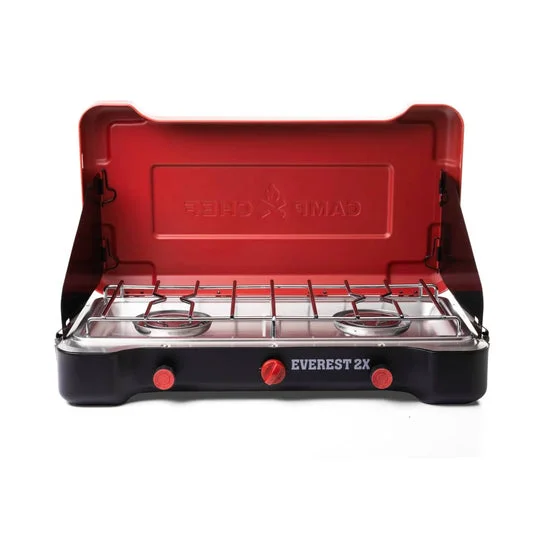
Camp Chef Everest 2X — Most Power for Real Cooking
If your idea of camp food is more than boiling water, the Camp Chef Everest 2X is the upgrade. Its two burners deliver 20,000 BTU each — 40,000 total — with a three-sided wind screen and matchless ignition, and it latches shut like a suitcase. Reviewers consistently rank it at or near the top for raw performance.
It is not a budget pick, and a true beginner may never use all that heat. But it simmers as well as it roars, so it grows with you rather than being outgrown. The matchless ignition, the deep three-sided wind screen and the rigid latching case also make it the most weather-proof and travel-proof stove in this group — the kind of gear that survives being thrown in and out of a trunk for years. Buy it if you already know you like to cook and want one stove for the next decade rather than a starter you will replace. Think of the extra money as skipping the upgrade step entirely.
- Output: 40,000 BTU (two 20,000-BTU burners)
- Wind: deep three-sided screen
- Build: rigid latching suitcase case
The Budget and Pack-Smart Picks
Two more stoves round out the field for specific needs.
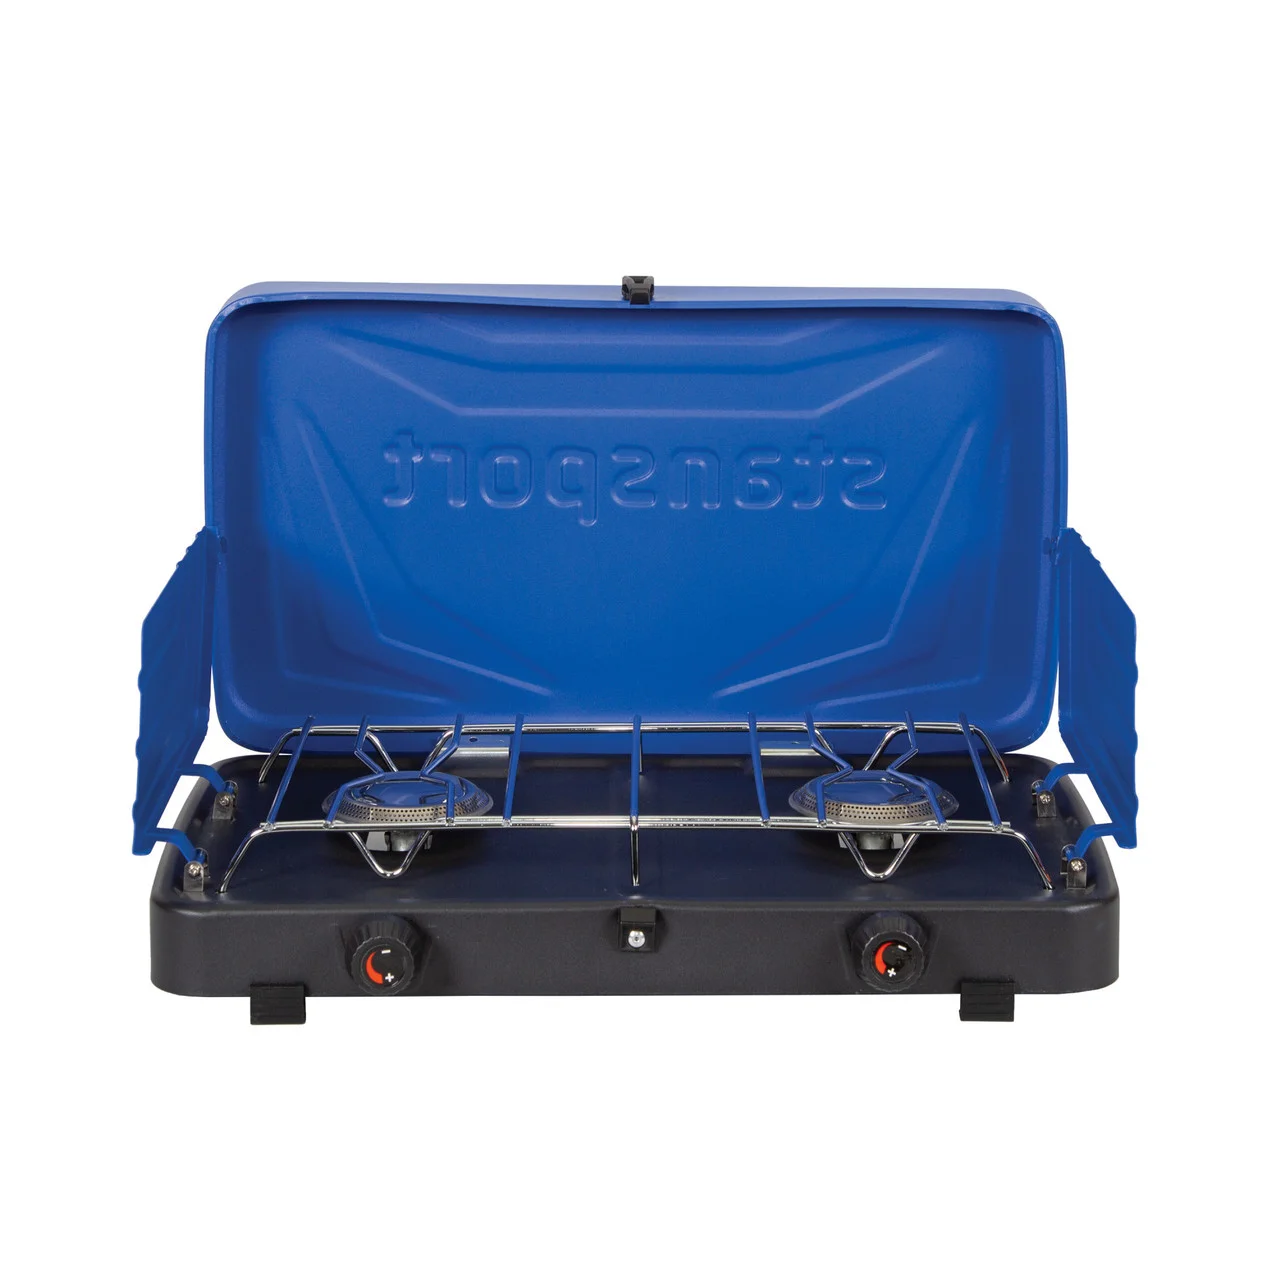
The Stansport 2-Burner Regulated Propane Stove is the bargain two-burner: roughly 20,000 total BTU across two stainless burners, a built-in pressure regulator for a steadier flame as the bottle empties, and a removable grate. It skips the piezo igniter (bring a lighter), which is the main concession to its low price.
The Jetboil Genesis Basecamp takes a different tack: two 10,000-BTU burners fold flat into a stack that nests with the included 5-liter pot and fry pan, so it ships as a complete cook system. It is the choice when trunk space is tight and you would rather buy one box than assemble a kitchen.
The GSI Outdoors Selkirk 540 splits the difference with twin 14,000-BTU burners, tall wraparound wind guards and a cooking deck wide enough for two full-size pans — a comfortable family stove with a built-in handle and piezo ignition.
One safety note that applies to all three, and indeed to every stove in this guide: stability matters as much as heat. A tall pot of boiling water on a wobbly stove is the real camp hazard, not the flame itself. The Stansport and GSI sit low and wide; the Jetboil stack is taller, so give it a genuinely level surface. Whichever you choose, set it on a sturdy table or flat ground, keep the propane bottle off to the side rather than under the burners, and never leave a lit stove unattended near a tent.
Five Mistakes First-Time Buyers Make
The stove is rarely the problem on a first trip — the decisions around it are. Avoid these and almost any stove here will serve you well.
- Buying too much BTU. Beginners equate power with quality and end up with a roaring burner that scorches food and burns fuel. Match output to what you cook, not to the box claim.
- Bringing one canister. A 16.4 oz propane bottle does not last as long as people expect under high heat or cold. Always pack a spare; running dry mid-meal is the classic first-trip story.
- Choosing butane for cold trips. Butane loses pressure below roughly 40°F and can refuse to light. For shoulder-season or mountain camping, propane or a dual-fuel stove is the safer call.
- Never testing it at home. The worst place to learn that you are missing the propane adapter or that the igniter is finicky is a dark, windy campsite. Light it once in the backyard first.
- Skipping wind protection. Wind, not weak burners, is why food cooks slowly outdoors. Use the fold-up guards, orient the stove away from the breeze, and your effective heat goes up without spending a cent.
Notice that four of the five are free to fix. A modest stove used well outperforms an expensive one used carelessly, which is the whole argument for starting simple.
How to Choose Yours in One Minute
Match the stove to how you camp, in order of how common each case is:
- First stove, general use, 1–4 people → Coleman Cascade Classic.
- Tightest budget or solo → Gas ONE GS-3400P (or the Stansport if you want two burners cheap).
- You actually cook — skillets, big meals → Camp Chef Everest 2X.
- Minimal trunk space / want a full kit → Jetboil Genesis Basecamp.
- Family of four-plus, two big pans → GSI Outdoors Selkirk 540.
Whichever you pick, buy two propane bottles, not one, and light it once in the backyard before the trip. The most common beginner mistake is not the stove — it is arriving at camp having never run it.