What You Need to Know
Installing a car phone mount without messing up your dashboard is more about understanding your materials than having a toolbox full of specialized gear. My first attempt involved a suction cup that decided to go rogue on a 90-degree day in Arizona, leaving a sticky ghost of its former self on my windshield. I learned real quick that not all surfaces are created equal, and neither are the sticky bits on these mounts.
The real move is picking the right mount for the right spot, and giving it the respect it deserves to actually stick.
It's not about brute force; it's about finesse, like trying to get a stubborn tent stake out of hard ground without bending it. You can often get away with the $10 vent clip, but if you want something solid, you might need to think about how it actually attaches.
This isn't rocket science, but one wrong move can leave you with an eyesore or worse, a mount that's more of a hazard than a help on your drive. How to install a car cell phone mount is the goal, not how to repaint your dash.
The Core Answer
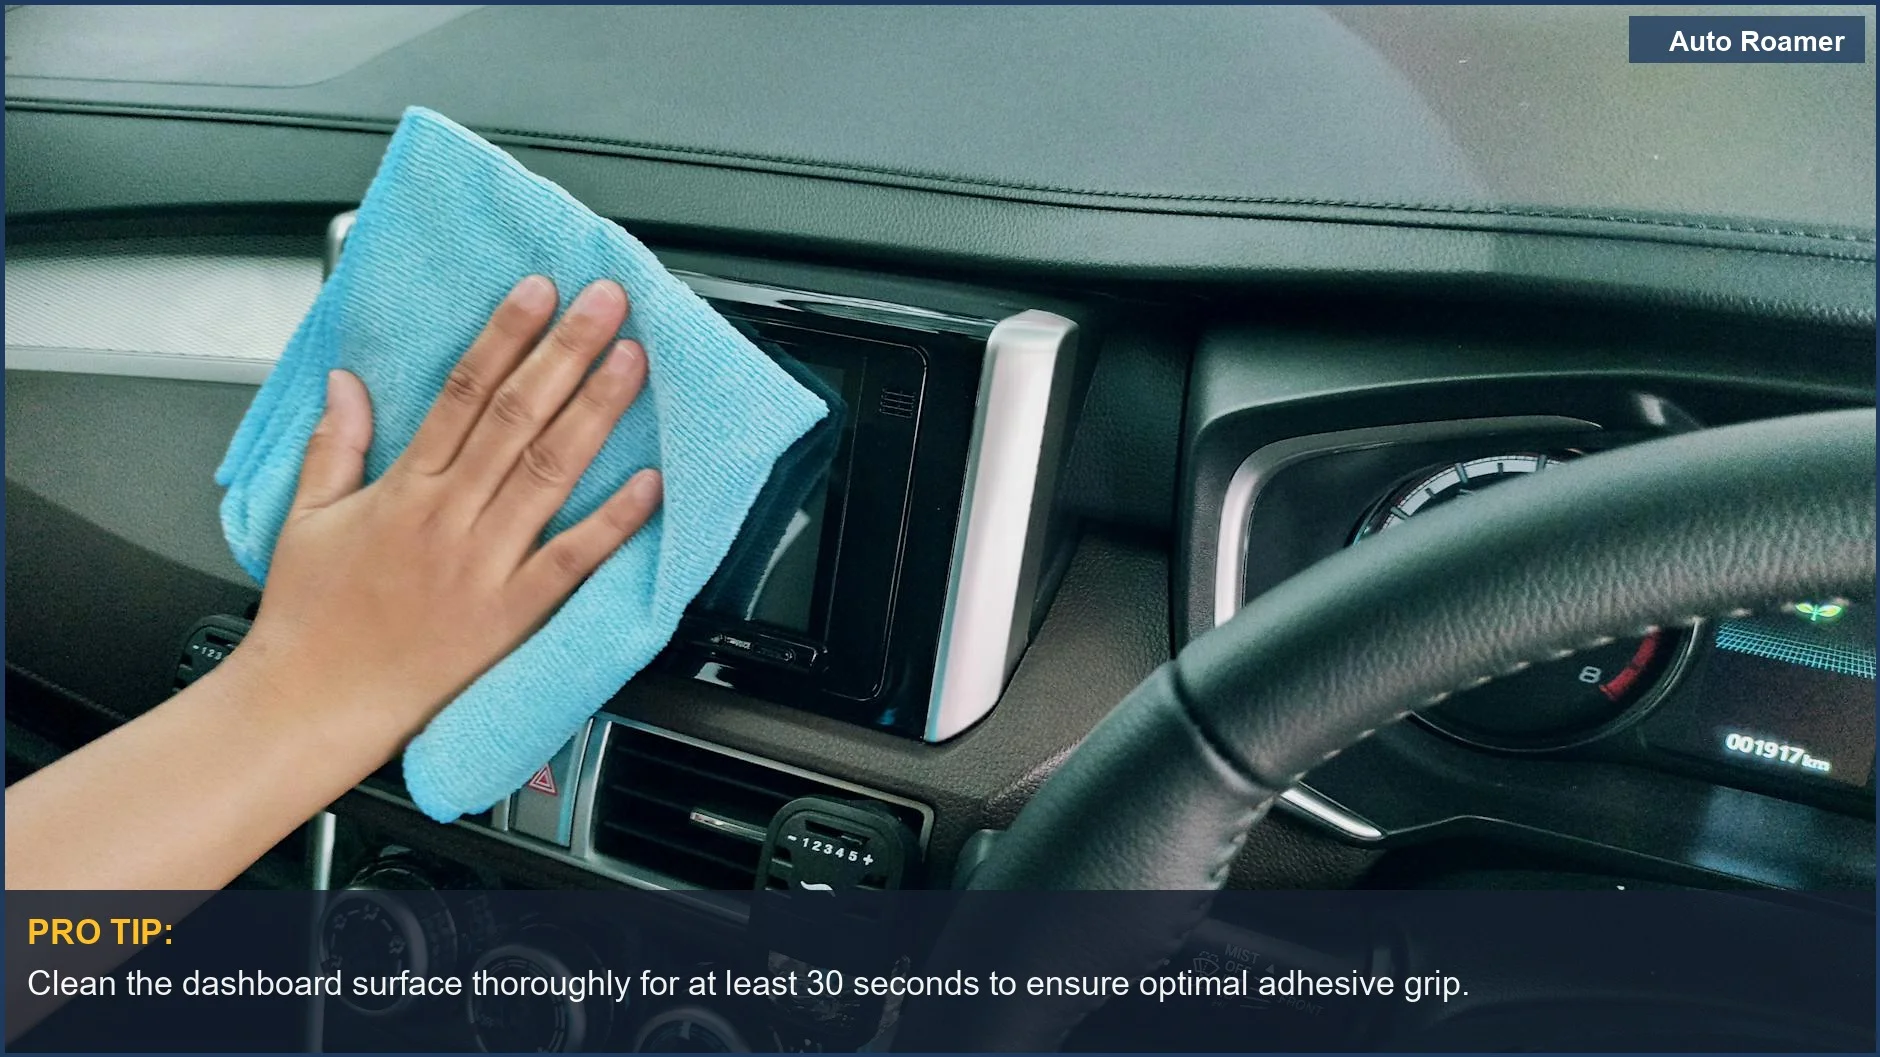
The core of not damaging your car when you install a phone mount boils down to choosing the right type of mount and then, crucially, preparing the surface. Think of it like setting up camp: you wouldn't just throw your tent down on a pile of rocks, right? You find a flat, clear spot. Same with your car.
For dashboard mounts, the biggest rookie mistake is assuming any flat spot will do.
Some adhesives are strong, but they can also be sticky in a bad way, leaving residue or even lifting finishes on older cars. The honest version is that if your dashboard has a weird texture or is made of soft plastic, a direct adhesive might be a bad idea. You might want to look for a mount that uses a transferable adhesive pad, which is designed to stick firmly but come off cleaner later.
Permanently attaching my phone mount discussions often highlight this. I once saw a guy's dash look like it had a bad sunburn after trying to peel off an old mount. That's a $500 mistake right there.
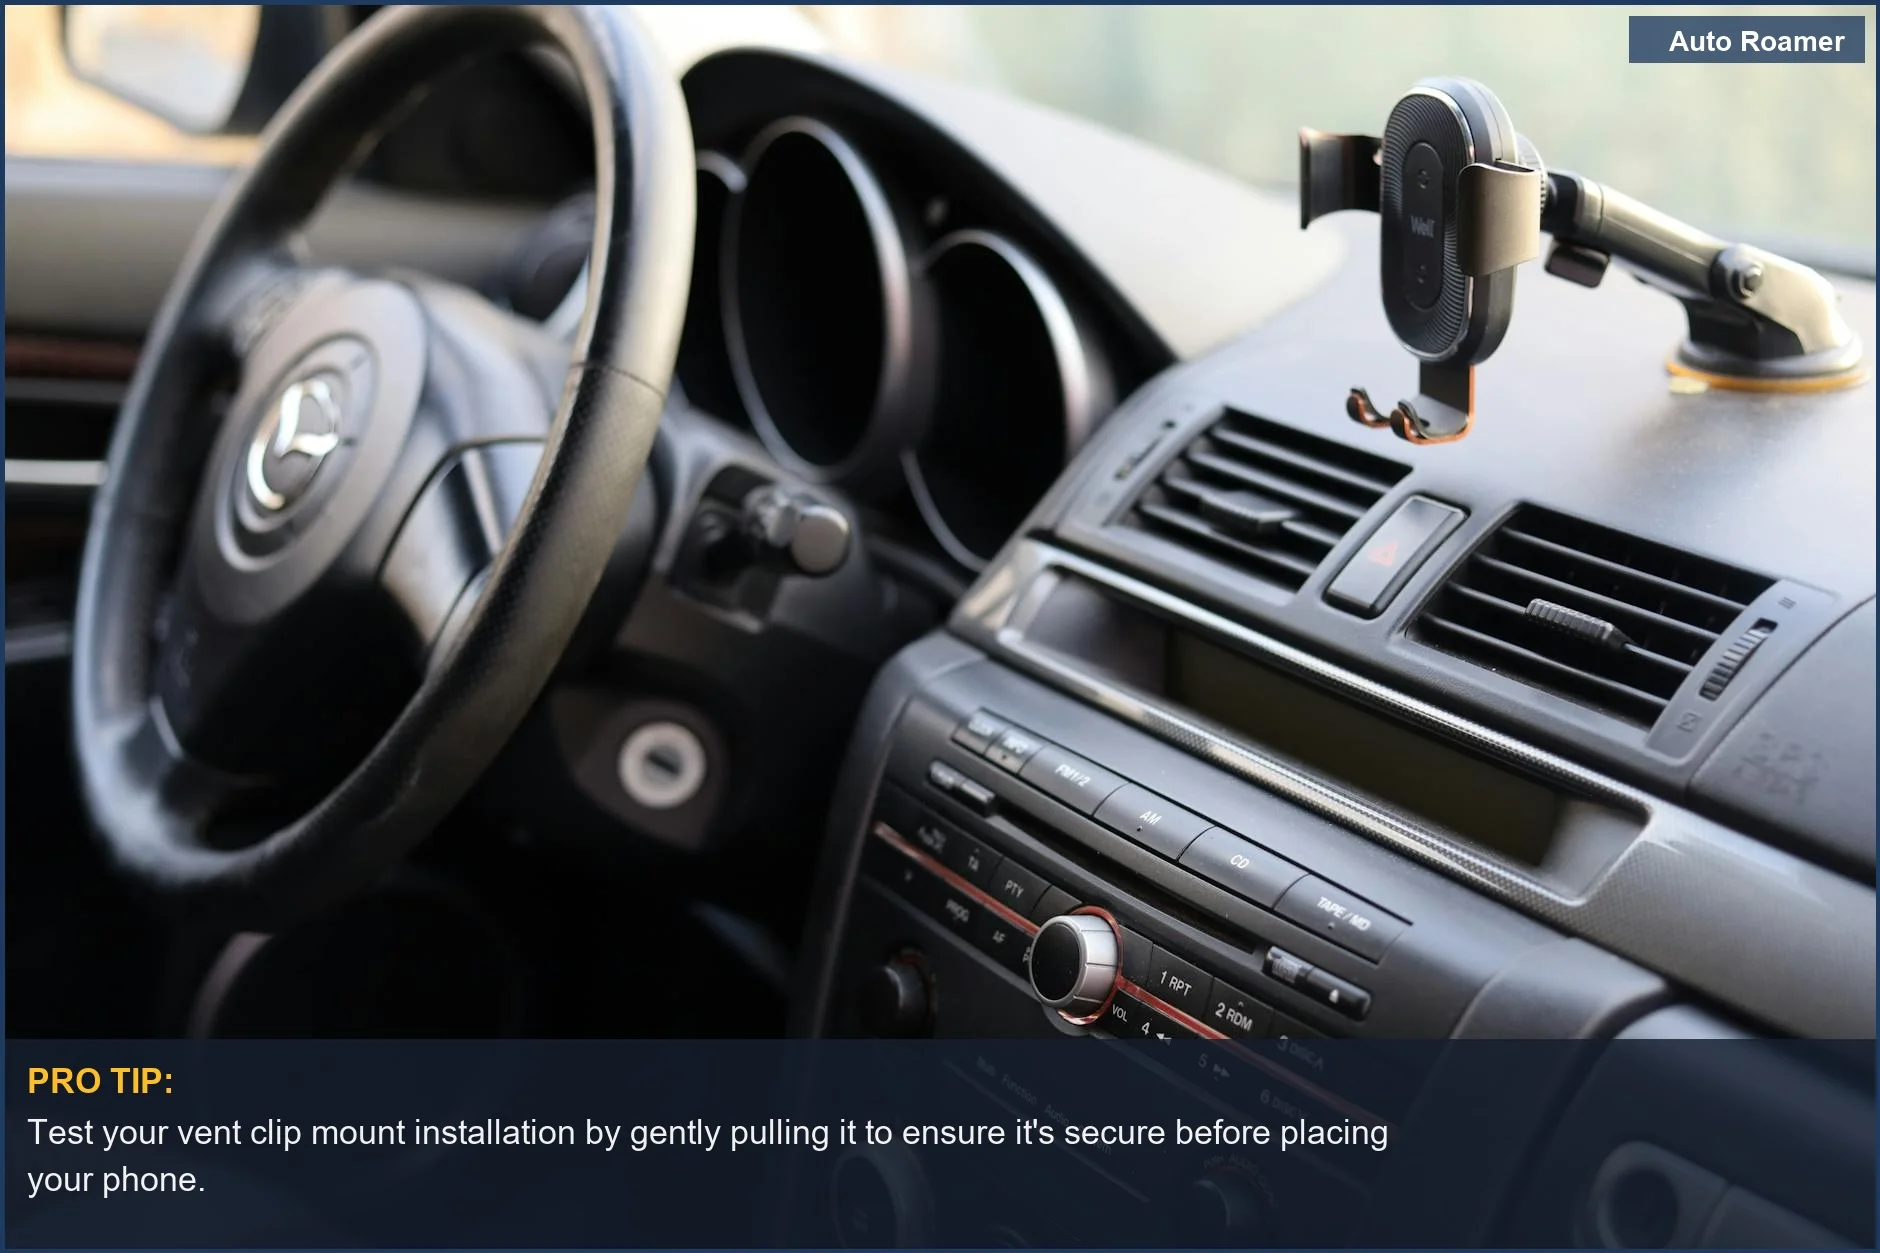
Vent clip mounts are generally safer for surfaces because they don't use adhesive. However, the real move here is to make sure the clip isn't too aggressive. Some clips have sharp edges or are designed for thicker vents.
If you have delicate louvers on your air vents, a heavy mount could bend or break them. That's a $15 mount causing a $200 repair bill. The guide to install car phone holder mentions this, but what nobody tells beginners is to gently test the clip's grip before fully committing. Give it a wiggle.
Suction cup mounts are often seen as the least invasive, especially for windshields. The key here is a clean surface.
I learned this the hard way during a heatwave in Nevada. My windshield mount kept sliding down because the glass was covered in a fine layer of desert dust. You need to clean the glass with glass cleaner and a microfiber cloth. Let it dry completely before attaching the suction cup. How to easily install car cell phone mount videos often gloss over the prep work.
Give the suction cup a little twist after you press it down to help create a seal.
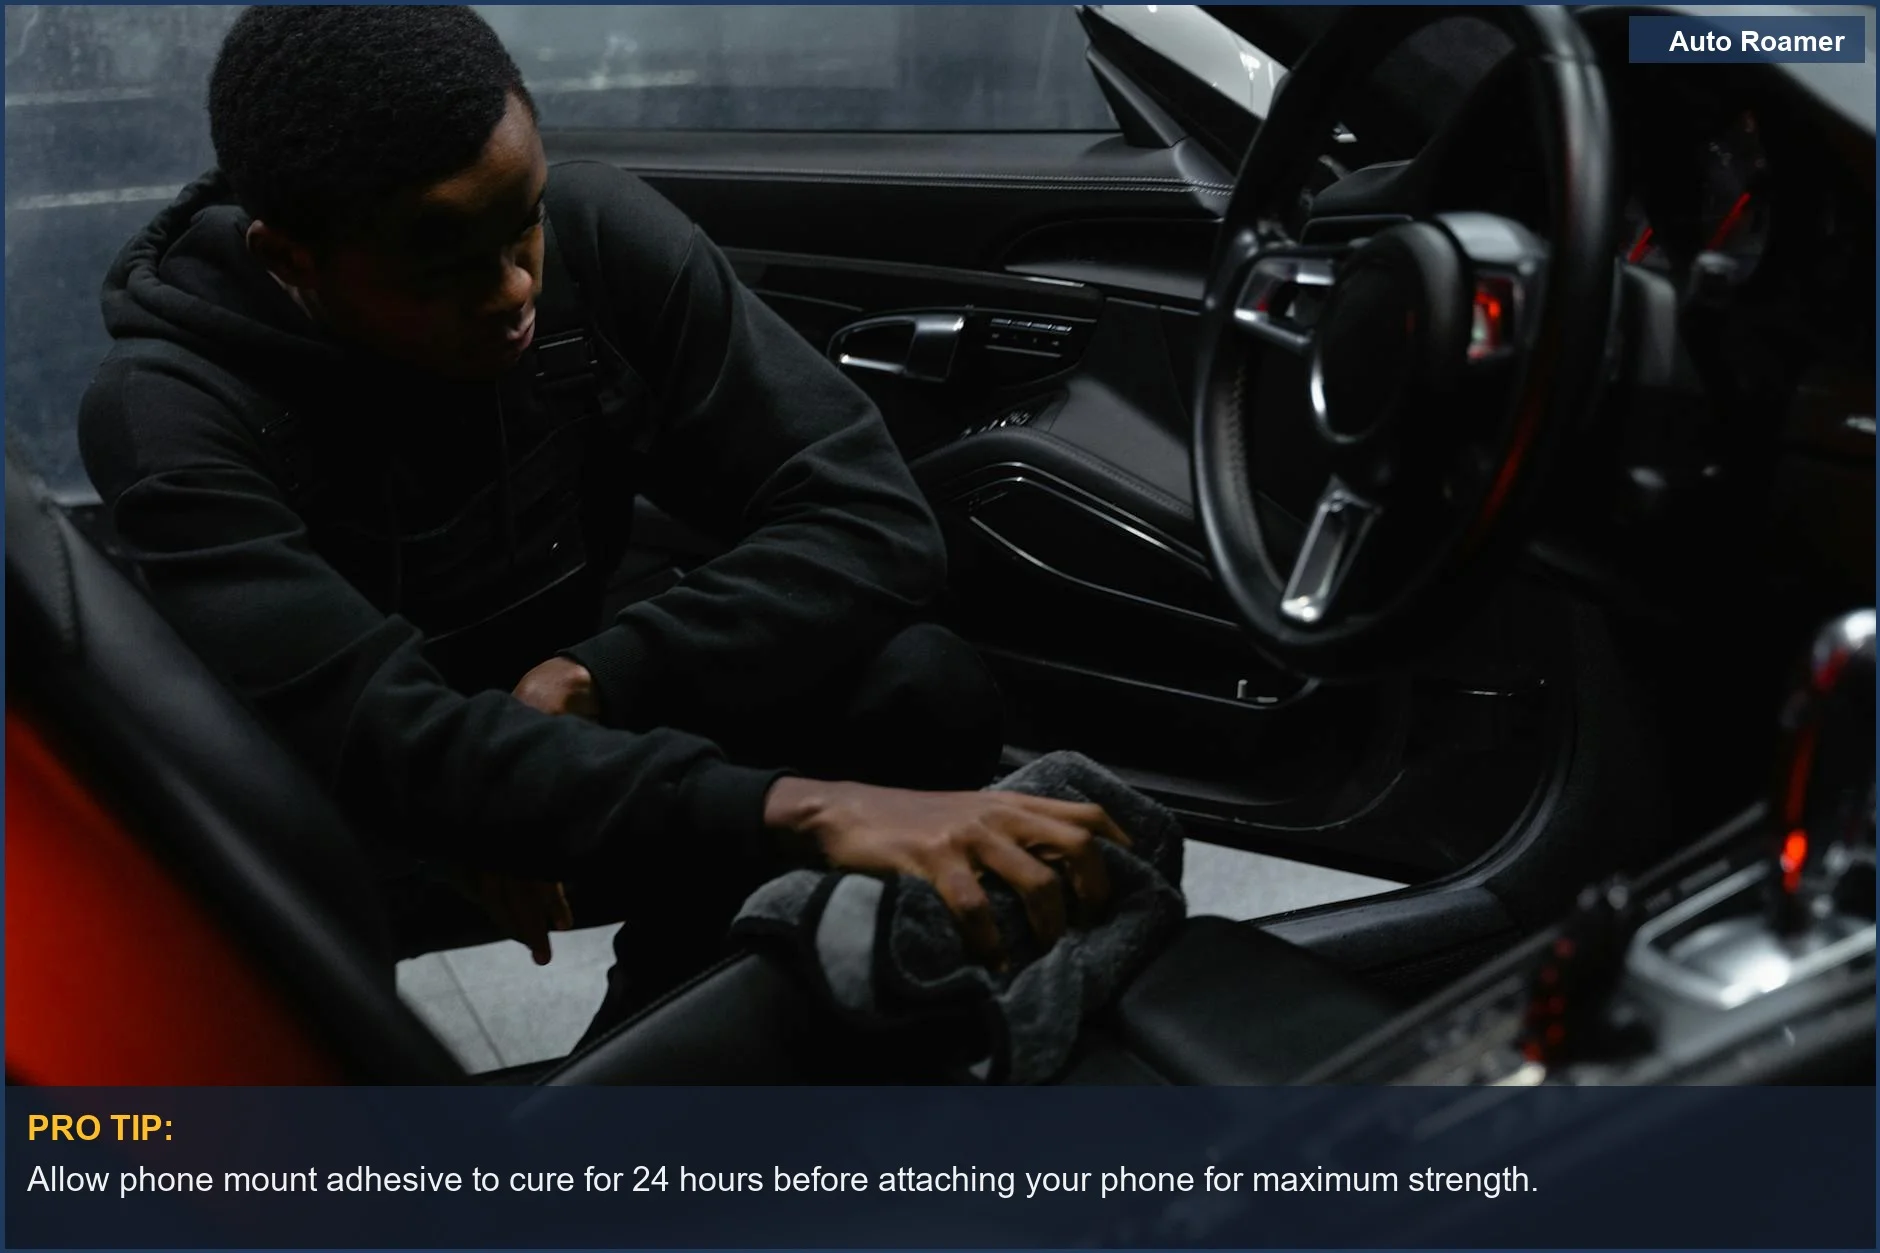
Finally, and this is game-time advice: always let adhesives cure. The how to install phone mount in car without damage guide says 24 hours. I've seen people put their phone on immediately after sticking it, and then wonder why it fell off. That mount isn't magically bonded in 5 minutes. Patience is key.
It's the difference between a mount that holds your phone securely for years and one that becomes a projectile during your first sharp turn.
Why This Matters for Your Setup
This isn't just about keeping your phone from flying around; it's about preserving the value and look of your vehicle. I remember a buddy who used some generic super glue on his dashboard for a mount.
Let's just say his 'permanent' solution ended up costing him a new dash panel.
Here's the breakdown of why this matters for your setup:
- Avoids Costly Repairs: Yanking off a mount that's been on there too long, especially one with aggressive adhesive, can rip off trim pieces or leave permanent marks. The $20 mount suddenly becomes a $200 repair.
- Maintains Aesthetics: Nobody wants a car interior that looks like a science experiment gone wrong.
Clean installation means a clean car, which is always a win.
- Ensures Safety: A mount that's poorly installed can fall off while you're driving, distracting you or worse, blocking your view at a critical moment. The Safety Triangle Method is critical here for placement.
- Future Resale Value: If you ever plan to sell your car, a pristine interior is a huge selling point. Scratched dashboards or damaged vents? Not so much.
Making the Right Choice
Choosing and installing a phone mount without causing damage is all about being deliberate. It's like packing for a weekend trip: you bring what you need, you pack it smart, and you don't overdo it. My first few trips involved way too much gear I never used, and I've learned to pare it down.
The real move is to understand the mount type and your car's interior. Don't just slap it on and hope for the best.
Think about where it goes, how it attaches, and give it time to set. Car Phone Mount, Where is the Best Place to Mount?? videos can give you ideas, but your car's specific materials are the final say. A little patience now saves you a lot of headaches, and cash, later. This whole process should be less than an hour, but the results last the life of your car, or at least until you decide to upgrade your mount.

