First, Figure Out What Kind of Noise You Actually Have
That noise overhead at 60 mph is one of the most common complaints from anyone who runs a roof rack, and the good news is that it is almost never a sign that you bought a bad product. As the team at MyCargoRacks puts it bluntly, the whistle comes down to how the rack is set up and the shape of the bars — not a manufacturing fault. Before you spend a dollar, the single most useful thing you can do is name the sound, because each type points to a different cause and a different fix.
There are really three families of roof-rack noise. The first is a high, steady whistle or howl that appears at a particular speed and holds a clear pitch — that is an aerodynamic tone coming off the bars themselves. The second is a lower hum or drone that swells and fades, which usually traces to airflow through an open channel or a missing end cap. The third is a rattle, buzz, or vibration that changes with road texture rather than just speed, and that one is almost always a loose mount or a load shifting against the rack rather than an air problem at all.
This guide walks through the physics of why bars sing, then gives you a diagnosis path and a set of fixes ordered cheapest-first — starting with the free ones and ending with a bar upgrade only if you genuinely need it. The aim is for you to silence the noise for the least money and effort, and to understand why each step works so you are not just throwing parts at it.
Why a Roof Rack Whistles: The Physics in Plain English
The whistle has a real name. Engineers call it an Aeolian tone, and it is the same effect that makes wind sing through power lines or a tensioned wire. When air flows past a blunt object like a crossbar, it cannot stay attached to the back of the bar; instead it peels off in alternating swirls. Those swirls — vortices — shed off the top and bottom of the bar in a regular, repeating pattern. Aeroacoustic studies of automotive roof crossbars describe exactly this: oscillating vortices behind the bar vibrate at a corresponding frequency, and when that frequency lands in the audible range you hear a tone.
In aeroacoustic terms, oscillating vortices behind the bar vibrate at a corresponding frequency; when that frequency lands in the audible range, you hear a tone. The bar is, quite literally, a wind instrument you never meant to build.
The shape of the bar decides how loud and how pure that tone is. Research into crossbar wind-noise prediction found that a square-profile bar throws off a dense, organized wake — what fluid dynamicists call a Kármán vortex street — and that organized shedding is what produces a strong, single-pitch whistle. A round bar is meaningfully quieter, and an aerofoil (wing) shape is quietest of all. The reason is subtle but important: the trailing edge of the bar is the main contributor to the Aeolian tone, so a bar with a tapered, sharpened trailing edge gives the vortices nowhere clean to form, which kills the pure tone. The leading edge mostly governs the broadband 'rushing' noise, not the whistle.
Speed matters because the tone scales with airflow. The noise depends on how fast air moves over the surface, the surface shape, and the resulting drag. That is why most people first notice the whistle somewhere around 45 to 55 mph and why it gets more insistent the faster you go — the shedding frequency rises with speed until it sits squarely in the range your ears find most annoying. Crosswinds and the angle of the air hitting the bar matter too, which is why a rack can be silent on a calm day and sing on a gusty one, or change pitch when you pass a truck. Understanding this is the whole game: every fix that works does one of two things — it disrupts the regular vortex shedding so the swirls can never line up into a single frequency, or it changes the bar's shape so the vortices never organize into a clean tone in the first place. Hold that idea and the rest of this guide stops being a grab-bag of tricks and becomes a short list of ways to attack the same root cause from cheapest to most permanent.
Open Channels and Missing End Caps: The Free Fix People Skip
Before you blame the bar profile, check the things that turn an otherwise quiet bar into a flute. Most crossbars have a T-slot channel running along the top for mounting accessories, and many ship with a rubber strip or click-in filler meant to close that channel when nothing is bolted into it. A1 Roof Racks notes that if those channels are left open, air rushing through them makes whistling or humming sounds, and that covering them with foam tape or rubber strips makes a big difference. This is the most common overlooked cause of a sharp, high-pitched whistle, and the fix often costs nothing if you still have the filler strips that came in the box.
Run a quick zero-cost check of the three usual open-air culprits before anything else:
- Open T-slot channel — close it with the rubber filler strip that came with the bars, or with foam tape.
- Unseated or missing end cap — snap it back in or replace it so the bar is no longer an open tube.
- Unused accessory mounts — remove empty wheel or fork brackets standing in the airflow.
The second thing to check is the end caps on the bars. A crossbar is usually a hollow extrusion, and if an end cap is missing, cracked, or not fully snapped in, you have left an open tube that can resonate like a whistle or organ pipe at certain speeds. Reseating or replacing the caps is a two-minute job that silences that particular tone entirely. Owner forums are full of people who chased a mystery whistle for weeks only to find one popped end cap.
Finally, look at what is mounted but unused. Empty wheel brackets, fork mounts, or accessory clamps left standing in the vertical position whistle on their own — Yakima and Etrailer both flag this, and the fix is simply to remove any hardware you are not using on this trip. If your noise only shows up when a specific accessory is attached, that accessory's blunt leading edge is the source, not the bars, and you can treat it directly rather than re-engineering the whole rack.
Tighten and Reposition Before You Buy Anything
Two of the most effective fixes are free, and you should always try them before spending money. The first is checking for loose hardware. MyCargoRacks lists loose hardware as one of the most common causes of roof-rack noise and vibration: over months of driving, the towers, feet, and clamps that hold the rack to the roof can back off a fraction, and once a contact point is no longer snug it can buzz, drum, or amplify an aero tone. Go around every mounting point with the supplied tool and bring each one back to firm — not gorilla-tight, which can crack plastic feet, but solidly seated. If your noise is more of a drumming hum that changes with road bumps rather than a pure whistle, loose mounts or a load vibrating against the rack is the likely culprit, and tightening alone may end it.
The second free fix is repositioning the bars. Every crossbar has what MyCargoRacks calls a resonance sweet spot. Because the tone depends on how cleanly the wake forms behind the bar, sliding a bar just two or three centimeters forward or backward along the roof rails can change the airflow pattern enough to break up the whistle. This works especially well when the front bar happens to sit in the turbulent air coming off the top of your windshield; nudging it out of that pocket can make the noise vanish. It costs nothing but ten minutes and a tape measure, so it is always worth trying before you reach for an accessory. Just make sure you keep the bars within the spacing your rack and vehicle specify, since spreading them too far reduces load stability.
If tightening and repositioning together knock the noise down to a level you can live with, you are done — and you have spent nothing. If a clear tone survives both, the next steps disrupt the airflow directly.
The Cheapest Tone-Killer: Wrap the Front Bar With Cord
If you still have a pure whistle after tightening and repositioning, the cheapest real fix is also one of the most reliable: wrap the front crossbar with paracord or rope. Overlandaholic describes the technique precisely — wind a few tight coils of cord evenly along the front bar, spacing them an inch or two apart. It looks crude, but it works on solid aerodynamic grounds. Remember that the whistle comes from vortices shedding in a regular, repeating pattern; the spaced coils interrupt that regularity along the length of the bar so the wind can never lock into a single consistent frequency. No steady frequency means no tone.
One owner report put it simply: rope lashing on the front crossbar eliminated a significant amount of wind noise when tested at 65-plus mph — the exact speed band where the whistle is most intrusive.
This is the same principle behind the helical strakes you see wrapped around tall industrial chimneys and some bridge cables — they exist specifically to break up organized vortex shedding. On a roof rack, a couple of dollars of cord does the same job. One owner report cited by MyCargoRacks found that rope lashing on the front crossbar eliminated a significant amount of wind noise when tested at 65-plus mph, which is exactly the speed band where the whistle is most intrusive.
A few practical notes. Wrap the front bar first, since it meets the air first and is usually the dominant noise source; only wrap the rear bar too if a tone survives. Pull each coil tight so it cannot flap and create a new buzz, and tie the ends off cleanly. Use a UV-resistant cord if the rack lives outside, because cheap nylon will sun-rot in a season. It is not the prettiest solution, but for the cost of a coffee it solves the problem outright for a lot of people, and it is fully reversible if you decide to go a different route later.
Fairings and Weatherstripping: The Mid-Tier Fixes
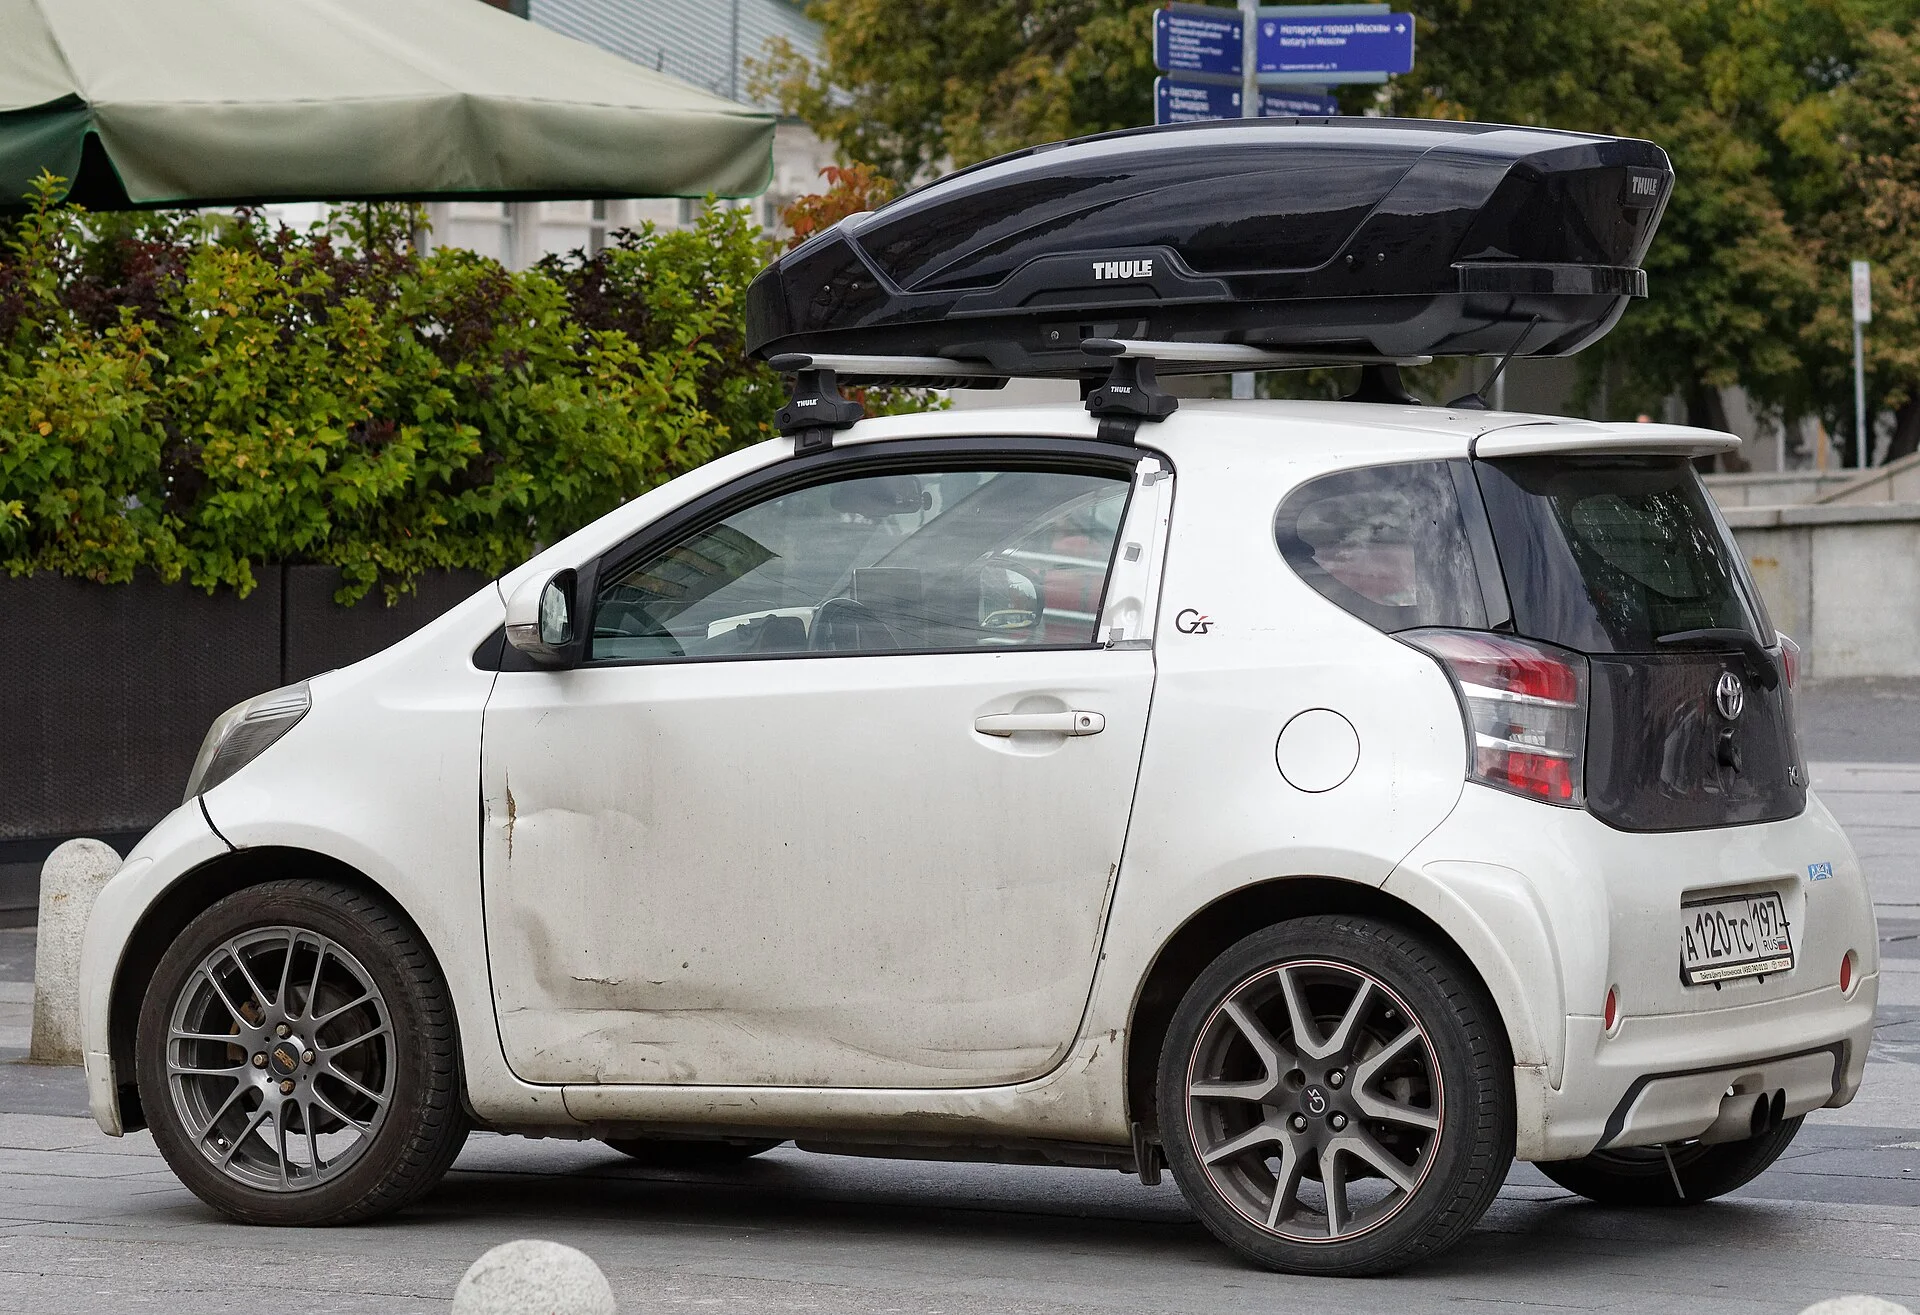
If you want something cleaner-looking than cord, or the cord only partly tamed the noise, the next step up is a fairing — also sold as a wind deflector or air screen. A fairing is a wedge-shaped panel that mounts to the front crossbar and redirects airflow up and over the rack instead of letting it slam into the bars and accessories head-on. Overlandaholic and MyCargoRacks both rate it among the easiest, most effective fixes, and a Thule fairing on square bars has been reported to cut highway wind noise by roughly 40 percent. Fairings shine in two situations in particular: when you are running square or round bars rather than aero bars, and when you have accessories mounted — a basket, a bike tray, a box — that create a blunt leading edge for the wind to trip over.
There is one honest caveat worth knowing. On a rack that already uses low-noise aero bars, a fairing occasionally introduces a new low-frequency hum of its own, so it is a fix to test rather than assume. If your bars are already wing-shaped and quiet on their own, try the cheaper steps first; if your bars are square and you carry gear most of the time, a fairing is usually money well spent. Common options include the Yakima WindShield and Thule's deflector, both sized to the width of your bars.
The companion mid-tier fix is weatherstripping. MyCargoRacks recommends placing adhesive weatherstrip between the wind deflector, the crossbars, and the mounting points: it cushions the parts so metal does not rattle against metal, and it breaks up small airflow paths that contribute to the noise. It is cheap, it is easy, and it pairs well with everything else — a strip at each contact point where the rack meets the roof is a sensible finishing touch even after you have solved the main tone.
When the Fix Is Better Bars — and What Actually Makes a Bar Quiet
If you have worked through the free and cheap steps and a tone still survives at the speeds you actually drive, the problem is likely the bar profile itself, and the durable fix is to swap to aerodynamic crossbars. This is where the physics from earlier pays off. A square bar organizes its wake into a loud vortex street; a true aero bar has an elliptical, sharpened trailing edge that prevents the vortices from forming a clean tone in the first place. Rack Attack's 2026 guide notes that users describe bars like the Thule WingBar Evo and the Yakima JetStream as virtually silent at any legal speed, and they cut drag as well as noise.
Rack specialists are blunt about it: a wing-profile bar like the Thule WingBar Evo or Yakima JetStream is virtually silent at any legal speed — the shape, not the brand, is what buys the quiet.
If you are shopping, the spec that matters is the bar's cross-section shape, not the brand name on the box. Look for a wing or teardrop profile with a thin, tapered trailing edge rather than a square or fat round tube. Check that the new bars are rated for your vehicle's roof and that the feet match your factory mounting system, because an aero bar on the wrong feet will neither fit nor stay quiet. Aero bars cost more than the square bars many vehicles ship with, but if you run a rack year-round, the combination of a permanently quieter cabin and lower fuel use usually justifies it over time.
There is also a zero-cost option that beats every fix on this list for outright silence: take the bars off when you are not using them. Modern racks with quick-release feet pop off in a couple of minutes, and a roof with no bars makes no aero tone and carries no fuel penalty at all. If you only haul gear a handful of weekends a year, removing the rack between trips is often smarter than engineering it to be quiet.
A Cheapest-First Diagnosis Path You Can Run in an Afternoon
Here is a sequence that isolates your specific noise without guesswork, ordered so you spend the least money. The core trick is to change one variable at a time and re-drive the same stretch of road at the speed where the noise appears, so you always know which change did what.
- Step 1 — Name the noise. Pure steady whistle or howl points to an aero tone off the bars. A hum that rises and falls with road texture, not just speed, points to a loose mount or vibrating load. Isolating this first saves you from buying a fairing to fix a loose bolt.
- Step 2 — Remove the load and any unused accessories. If the noise stops, the accessory or its mount was the source; treat that piece, not the bars.
- Step 3 — Check channels, end caps, and hardware. Close any open T-slot channel with its filler strip, reseat end caps, and re-torque every tower and foot. These cost nothing and clear a large share of cases.
- Step 4 — Reposition the front bar. Slide it two or three centimeters and re-test; the resonance sweet spot may be all you needed.
- Step 5 — Wrap the front bar with cord. A few spaced coils break up the vortex shedding for the price of a length of paracord.
- Step 6 — Add a fairing (and weatherstrip). Best if you run square bars or carry accessories most of the time.
- Step 7 — Upgrade to aero bars, or remove the rack when idle. The durable fix if a tone survives everything above.
One more habit makes this whole sequence reliable: keep a phone note of what you changed and what the noise did at each step. It sounds fussy, but wind noise is maddening precisely because it comes and goes with speed, wind, and load, and it is easy to convince yourself a fix worked when really the wind just dropped. Testing on the same road, at the same speed, changing one thing at a time, is the difference between actually solving it and chasing your tail for a month.
Most people never reach step five. The free steps — naming the noise, closing channels, reseating caps, tightening hardware, and nudging the bar — solve the majority of whistles, which is exactly why it is worth running them in order before you open your wallet.
The Bottom Line
A whistling roof rack is not a defect and it is not something you simply have to live with. The noise is an Aeolian tone — wind shedding organized vortices off your crossbars at a steady frequency — and every effective fix either breaks up that shedding or reshapes the bar so the tone cannot form. That framing turns a maddening highway drone into a solvable problem with a clear order of attack.
Start free: name the noise, close any open channels, reseat the end caps, tighten every mount, and reposition the front bar. If a pure tone survives, wrap the front bar with cord, then step up to a fairing and weatherstripping, and only reach for aero bars — or pull the rack off between trips — if the tone genuinely refuses to quit. Worked in that sequence, most owners silence the whistle for the cost of a filler strip and ten minutes, and the ones who do spend money know exactly what they are buying and why.
It is also worth remembering that a quieter rack is usually a more efficient one. The same blunt shapes and open channels that generate a tone also generate drag, so the cord wrap, the fairing, and especially a switch to wing-profile bars tend to give you back a little fuel economy along with your peace and quiet. You are not just chasing silence; you are cleaning up the airflow over your roof. Solve the noise the smart way and the road ahead is both quieter and a touch cheaper to cover.