Installation and Security: Ensuring Your Roof Rack Stays Put
My first attempt at securing anything to my roof rack involved a $15 set of bungee cords from Pep Boys and what I thought was a genius idea to strap my tent to the roof of my old Honda CR-V before a weekend trip to Acadia National Park.
My first attempt at securing anything to my roof rack involved a $15 set of bungee cords from Pep Boys and what I thought was a genius idea to strap my tent to the roof of my old Honda CR-V before a weekend trip to Acadia National Park.
By the time I hit the highway, the tent was flapping like a wounded bird, and I spent the next hour terrified it was going to fly off and take out a Prius. The actual fix wasn't fancy, just a few solid ratchet straps and learning that bungees are for holding down picnic blankets, not vital gear.
This isn't rocket science, but it's also not "wing it" territory.
Get this wrong, and you're not just risking your gear, you're risking other people's cars and lives. The honest version: most of us overthink this, and what nobody tells beginners is that the right tool and a bit of common sense go a long way. Let's make sure your adventure doesn't start with a roadside cleanup.
cite: https://www.youtube.com/watch?v=msVtCOUbUi0, https://www.fbfs.com/learning-center/how-to-safely-load-your-roof-rack-5-tips-to-know

The Core Answer
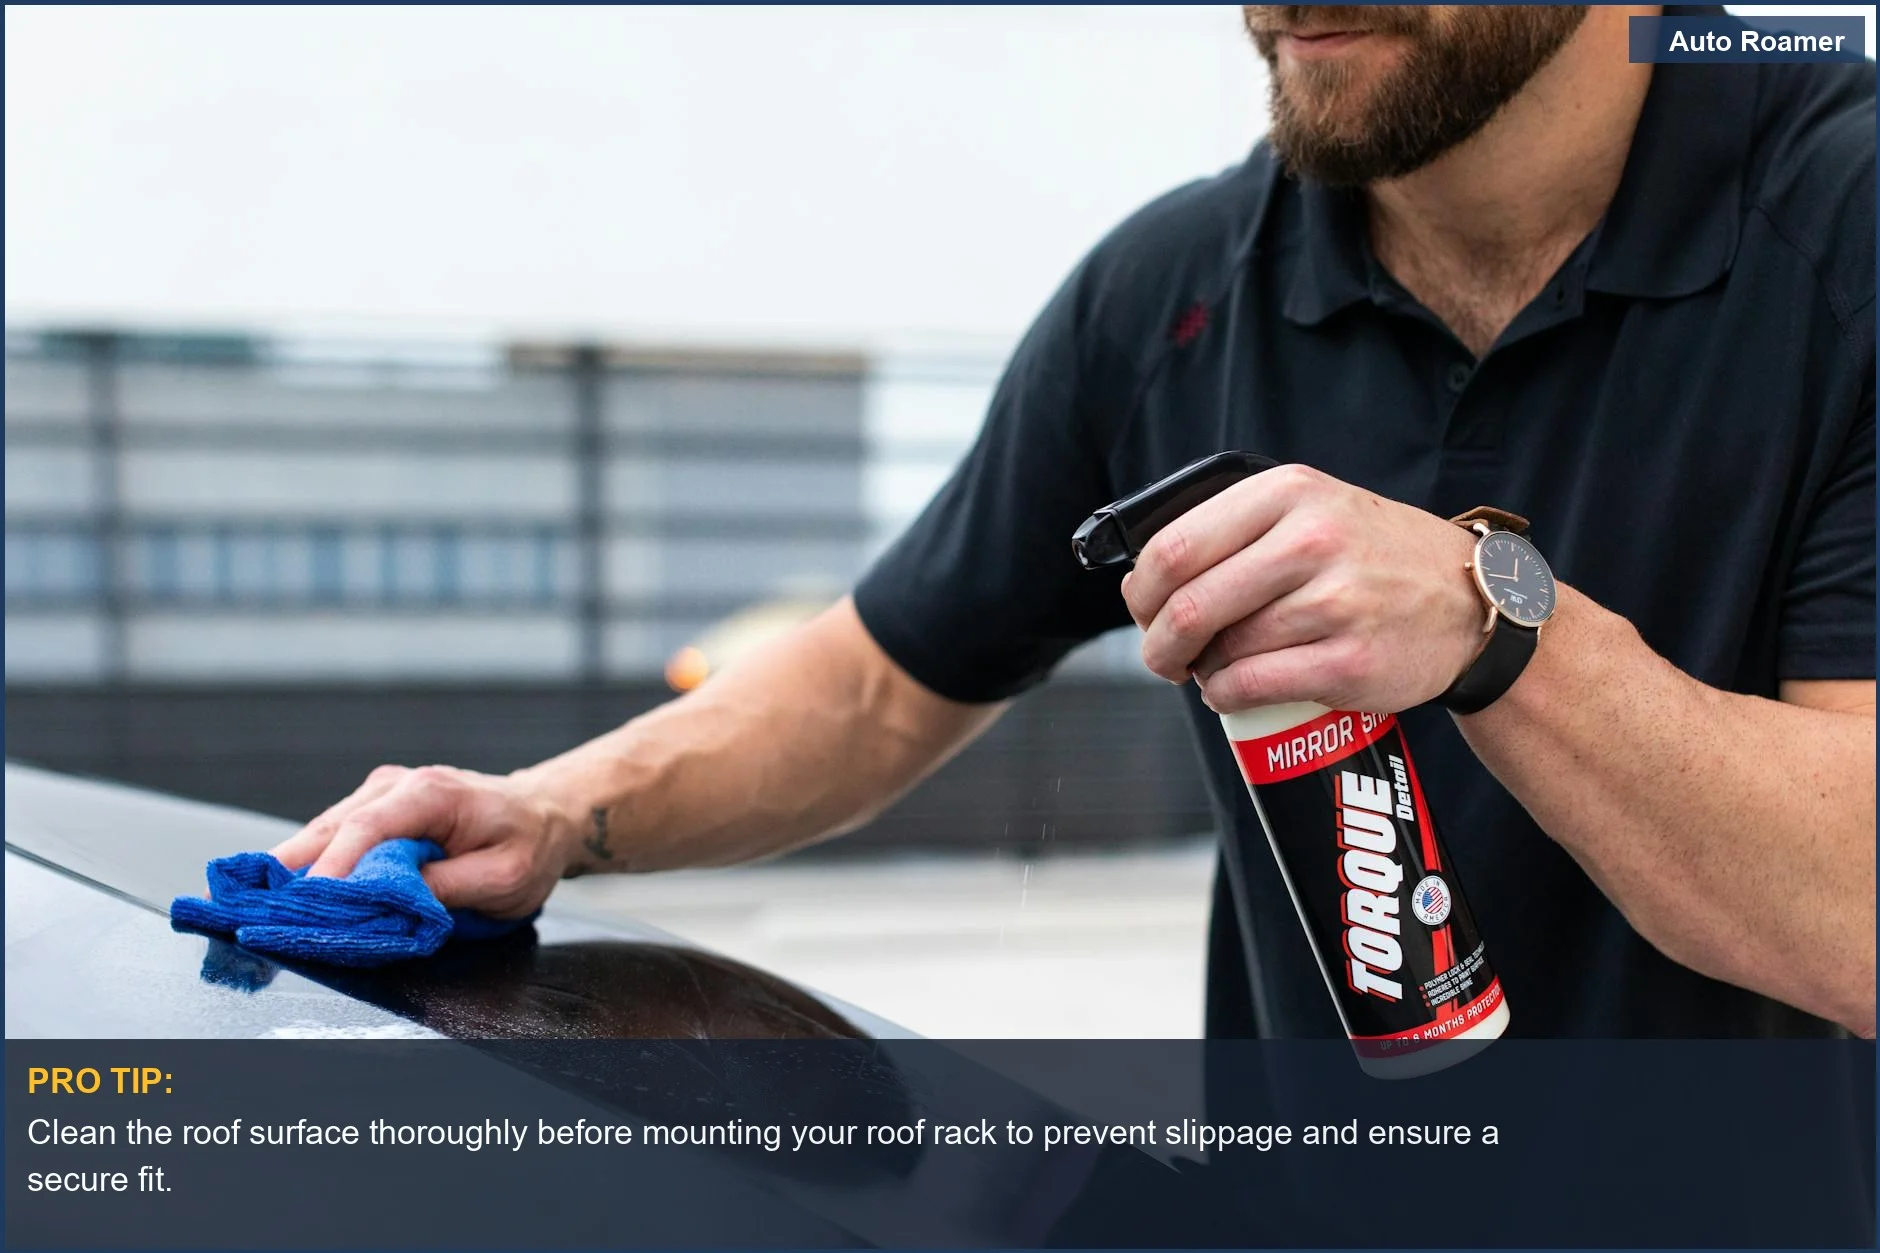
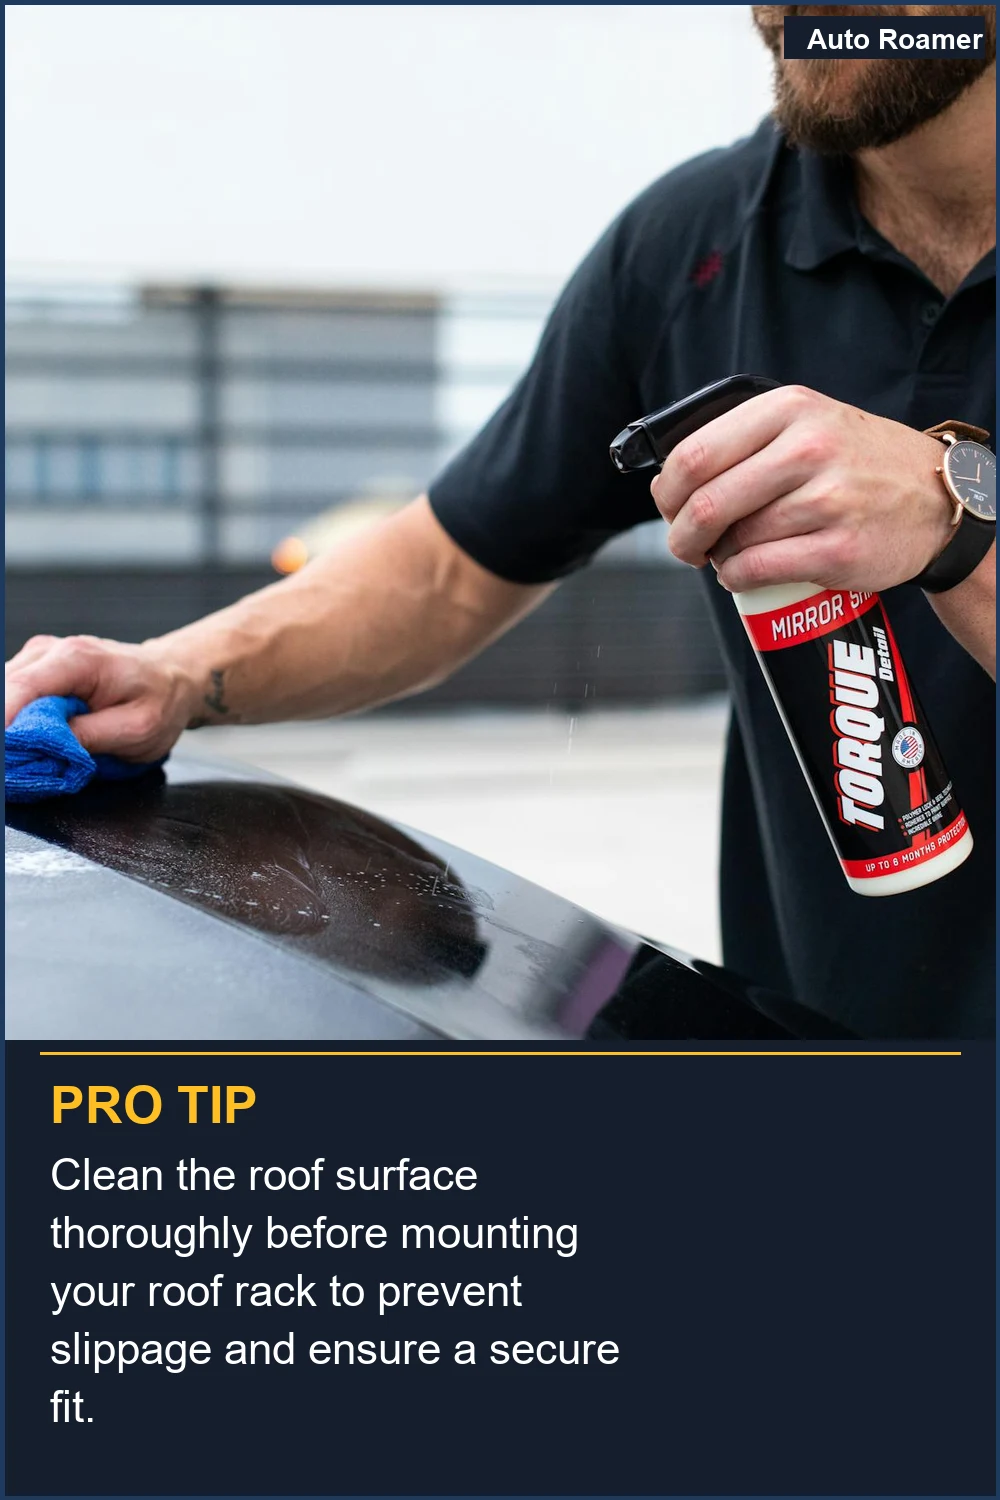
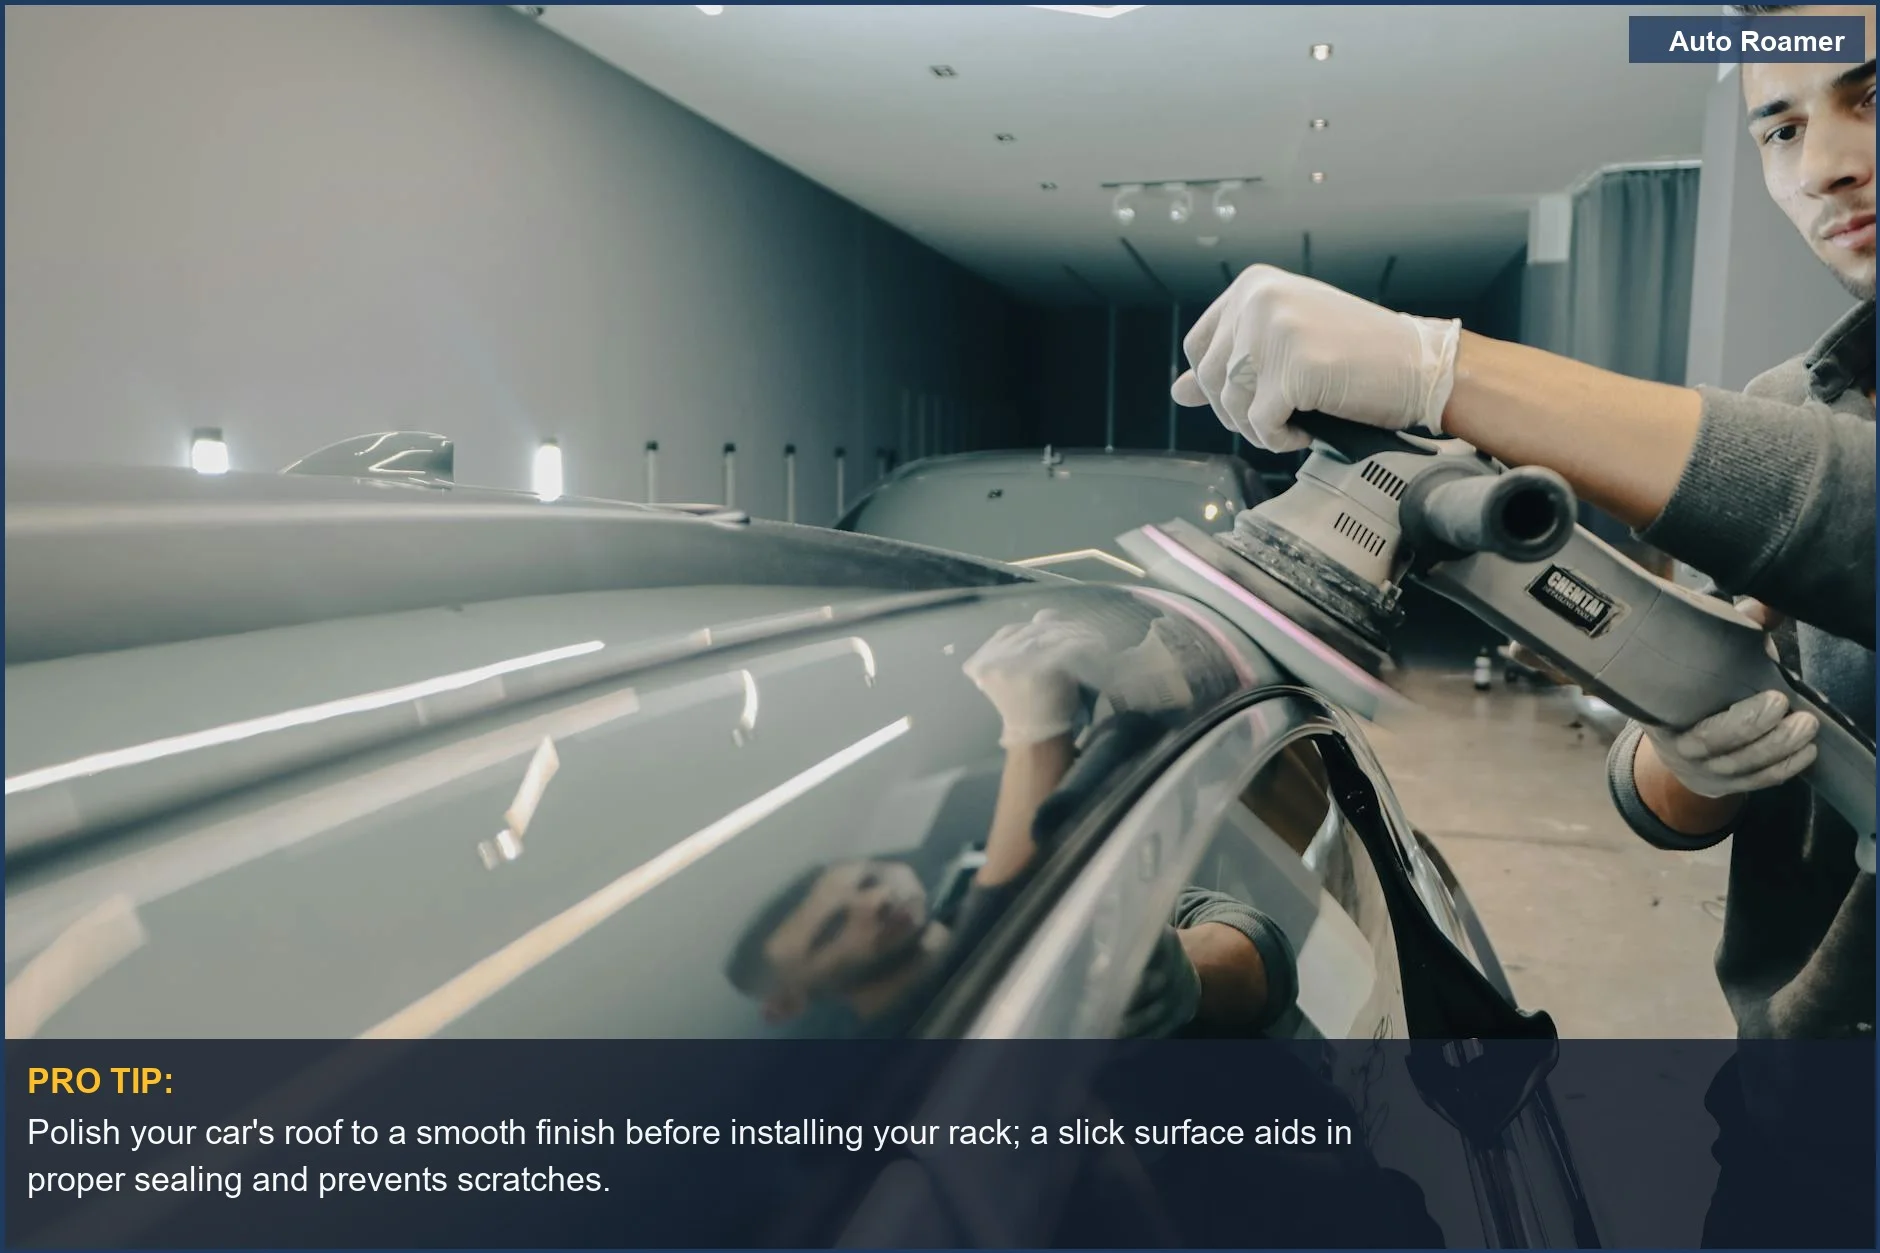
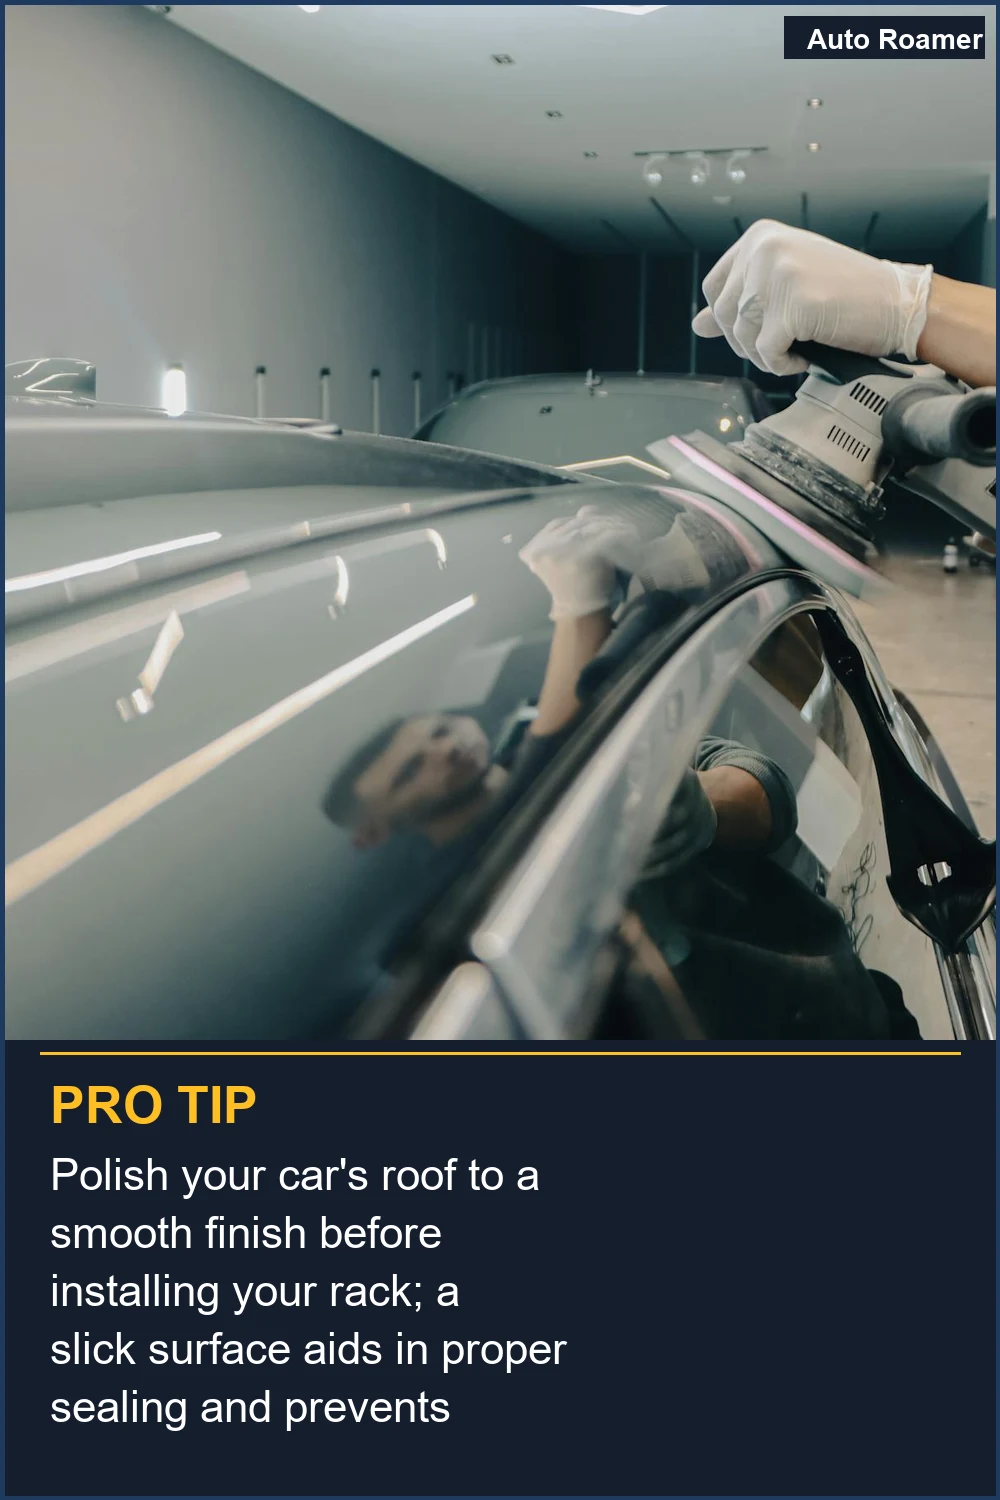
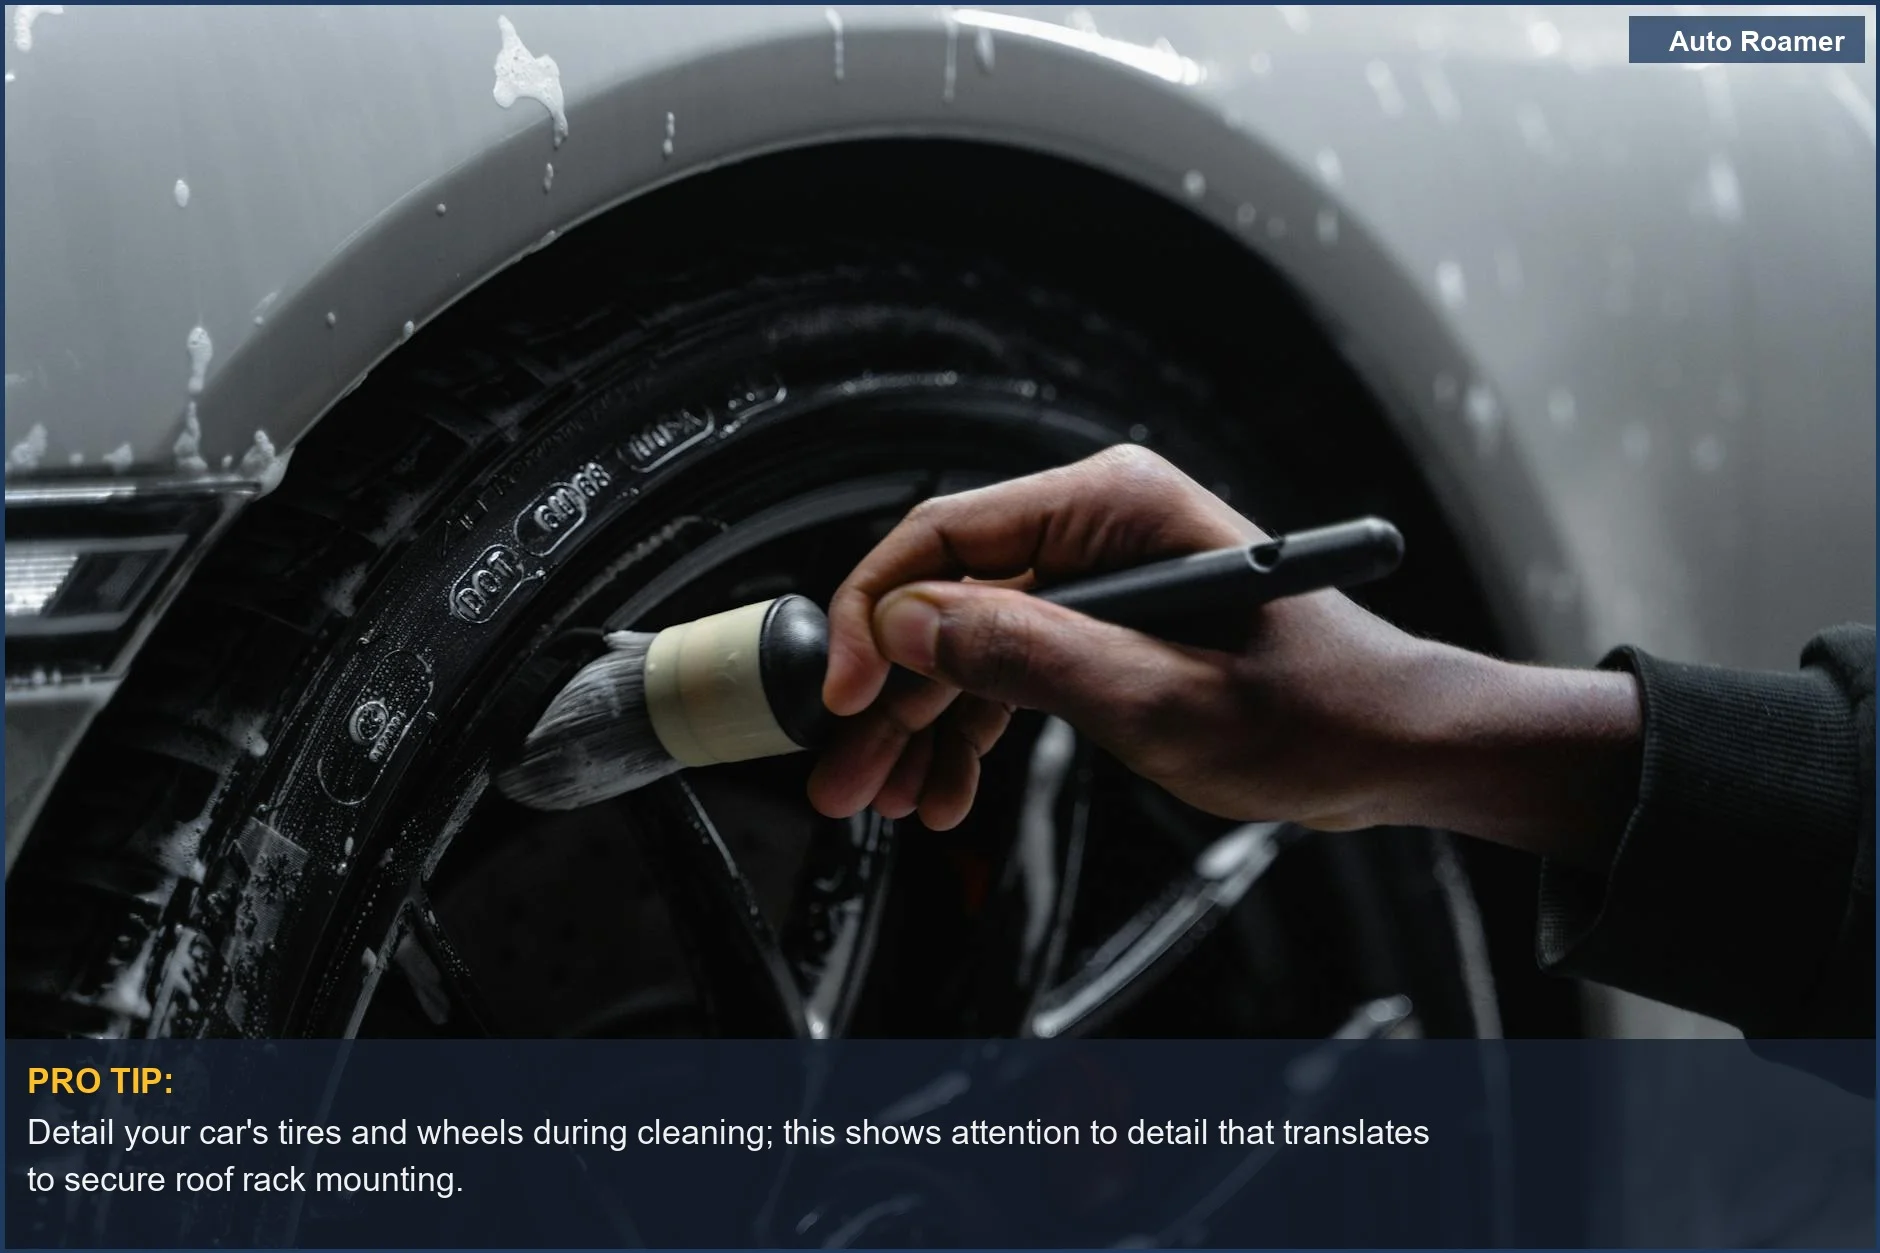
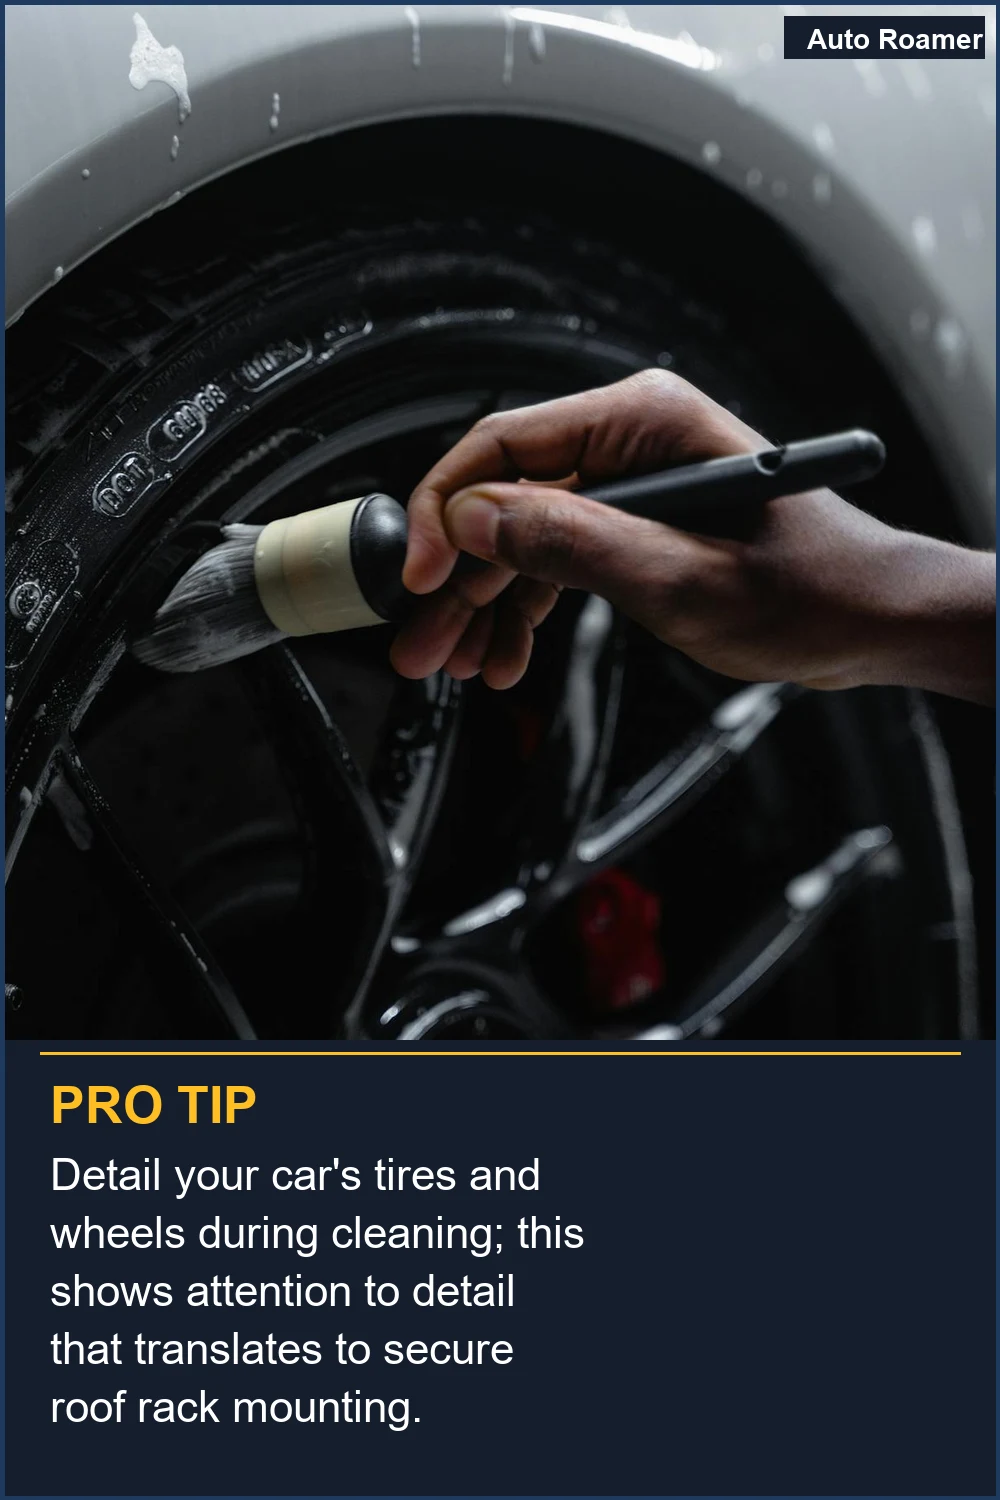
The real move for keeping your roof rack and its cargo from becoming a hazard is to treat it like you're packing for a mission, not just tossing stuff up there. First off, clean the roof surface where the rack mounts. I learned this the hard way at a dusty campsite in Utah; my brand-new roof rack kept slipping because I hadn't wiped off the grit. It made the whole thing feel loose, which is a terrifying sensation at 70 mph.Always use proper tie-down straps, not just any old rope or those stretchy bungees. I made the rookie mistake of using bungees for my first kayak trip, and let's just say the kayak spent more time wobbling than staying put. A solid set of ratchet straps, usually around $20-$30 for a pack of four, is your best friend. They cinch down tight and don't stretch out like a rubber band.
When you're actually strapping things down, the goal is to distribute the weight evenly across the rack. Think of it like building a sturdy bridge, not piling rocks on a single plank. If you have a big item, like a rooftop tent or a bunch of gear in a box, make sure it's centered. I saw a guy once with a kayak hanging halfway off his rack on I-80. Brilliant engineering.
Don't forget to secure the front of your load, too. Wind can get underneath things and lift them up, even if the back and sides are strapped down. Looping an extra strap over the front of your cargo and attaching it to the front of your rack can save you a lot of headaches. This is what nobody tells beginners about updrafts.
Periodically check your bolts and fasteners. Vibrations from the road are relentless. I make it a habit to give my rack a good shake and check the tightness of everything after the first 50 miles of any trip. It takes maybe 5 minutes, and it's better than finding out your gear decided to go on its own adventure.
Know your weight limits. Seriously. Your roof rack has a maximum load capacity, and your vehicle does too. Exceeding it isn't just about things falling off; it can mess with your car's handling and even damage the rack or your car's roof. My old Subaru Outback had a limit of about 165 pounds for the roof rack, which sounds like a lot until you realize a fully loaded rooftop tent can be 120 pounds alone.
cite: https://gobiracks.com/the-right-way-to-fit-roof-racks-for-maximum-stability-and-safety/?srsltid=AfmBOop5I0SkDEx0VyCY_mHb-Jqtymus1eiIM-h3qThxE-IkFkunttlx, https://rooftopoverland.com/blogs/news/5-essential-tips-for-your-universal-roof-rack?srsltid=AfmBOooezcC4O9yBiqrkgsiCMM1CvhhbdmE4yiCRxYoTNGPgg4V_ziY4
Why This Matters for Your Setup
* Gear Longevity: When you secure your roof rack properly, you're not just preventing it from falling off. You're also preventing your gear from getting thrashed by wind and vibration. I once had a cooler strapped down so poorly that the lid cracked clean off by the time I reached my destination. A secure load means your expensive gear lasts longer.
* Vehicle Health: A loose roof rack or overloaded cargo can actually damage your vehicle. The constant stress on the mounting points can warp metal or even crack the roof lining over time. It's like constantly pulling on a loose thread; eventually, something gives. Cleaning the roof before installation, as some sources suggest, is a simple step that prevents scratches and ensures a better grip.
* Peace of Mind: Honestly, the biggest benefit is just not worrying. When you know your roof rack is installed correctly and your cargo is secured with good straps, you can actually enjoy the drive. No more glancing in the rearview mirror every two minutes to see if your tent is still there. That's worth the $30 for a good set of straps alone.
cite: https://www.scoutfamilyequipment.com/blogs/news/roof-racking-101-how-to-secure-any-cargo-to-your-roof?srsltid=AfmBOope1ZAhxPmwCCIKAQn4T9oRFITgPg5npGsiZI9jKb0xort6ljv7, https://pawauto.com/blogs/roof-rack-rail/roof-rack-connectivity-and-safety-a-comprehensive-guide?srsltid=AfmBOop719IgRW4V6A0EoHo1EeeBjv6VtRQeT10Lm2o5gz0pJkD1qXtq
Making the Right Choice
* Cleanliness is Key: Before you mount anything, give your roof a good wipe down.
* Regular Check-ups: Make it a habit to check your rack bolts and straps every few trips, or after a particularly rough stretch of road. It takes less than 5 minutes. I found a loose bolt on my rack after a bumpy forest service road trip, and it made me realize how critical these checks are.
* Don't Overload: Always know the weight limits for both your rack and your vehicle. It's tempting to cram everything on, but that's how things go flying. My old rack had a limit of about 150 pounds, which sounds like a lot until you're trying to fit a heavy cooler, a tent, and firewood up there.
cite: https://trailgridpro.com/blogs/news/5-tips-for-properly-securing-items-on-roof-racks, https://www.bamboliltd.com/blogs/products/roof-rack-safety-tips-how-to-secure-your-cargo-with-confidence?srsltid=AfmBOor8dN63Oqg_t3qbfORnybPB6C_WvbyZ8NuaxbTKzsJvzgv0WWEM
Frequently Asked Questions
I saw a "universal" roof rack online for $50. Is that a good deal compared to the $300 ones, and will it stay on my car?
Do I really need a torque wrench to install my roof rack, or can I just tighten the bolts until they feel snug?
What if I secure my cargo perfectly, but the roof rack itself starts making weird noises while I'm driving?
Can leaving a roof rack on my car all the time damage the paint or the weather stripping?
I heard you're supposed to put heavier items on the bottom of a roof rack load. Is that true, or can I just stack everything however it fits?
🏅 Looking for Gear Recommendations?
Check out our tested gear guides for products that work with this setup: