Installation Tips for Dash Cams in Large RVs and Motorhomes
Installing a dash cam in a large RV or motorhome presents unique challenges compared to a standard car. The sheer size and often vertical windshields mean you can't just slap a suction cup mount on and call it a day.
Installing a dash cam in a large RV or motorhome presents unique challenges compared to a standard car. The sheer size and often vertical windshields mean you can't just slap a suction cup mount on and call it a day. Getting the placement right is crucial for capturing everything from road hazards to your own driving habits, and frankly, avoiding the frustration of a mount that vibrates loose after 10 miles.
It's about more than just having a recording; it's about having a useful, reliable recording.Mounting dash cams on RVs with vertical windshields was a common challenge. Many guides suggest a high, central position, but the reality in a Class A is often more complicated. You're dealing with more surface area and potentially different electrical systems than you're used to. This isn't rocket science, but it does require a little forethought to avoid common rookie mistakes.
I mounted mine to a stalk mounted to the dash. Sits about 5 inches above the dash and is almost directly in front of me when ...

The Core Answer
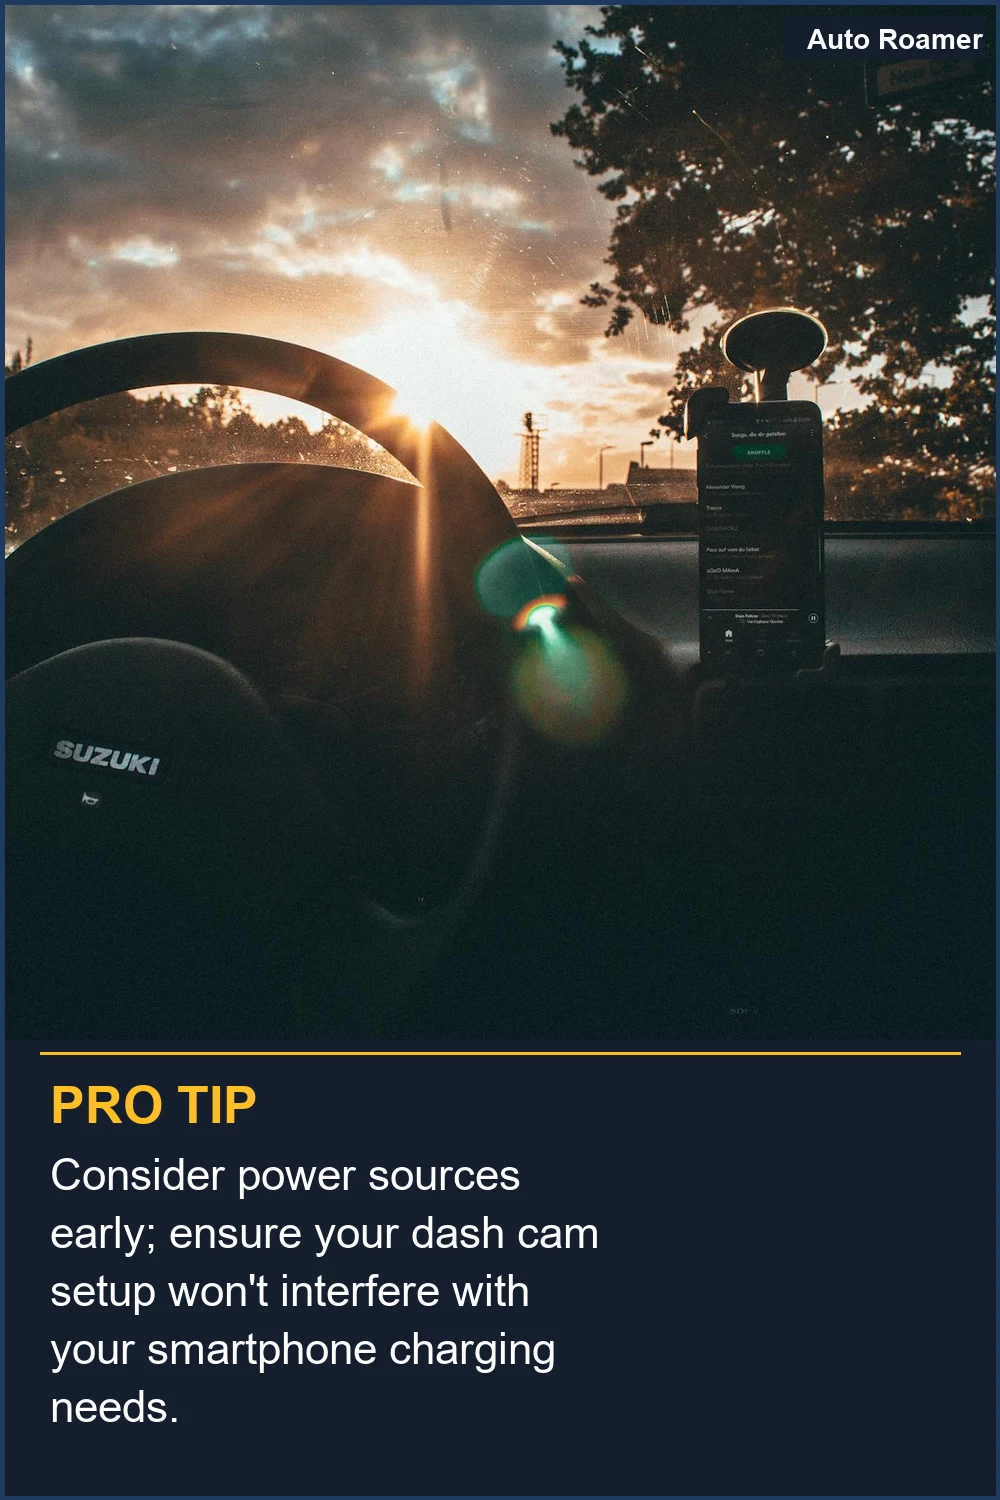
The core answer for RV dash cam installation is to prioritize a stable, unobstructed view of the road, and that often means ditching the standard suction cup. Think about how you'd mount a small mirror on your dashboard - something sturdy that won't wiggle itself into oblivion on the first bumpy stretch of highway. Many folks find success with adhesive mounts designed for more permanent fixtures, or even custom solutions that attach to existing dash components. Solutions included using suction cup mounts with a slight downward angle, but adhesives are often more reliable for the long haul. My first attempt involved a suction cup that lasted approximately 3 hours before deciding gravity was its true calling. That was on a trip to the Grand Canyon, and watching my camera bounce down the highway was... educational. The real move: find a solid surface. If your dash has a lot of texture or curves, you might need to get creative. Some people use a small, flat mounting plate that they adhere to the dash first, and then attach the camera mount to that. This is a bit more involved than just sticking it on, but it pays off in reliability. Consider the angle. You want it high enough to see over the hood and any dashboard clutter, but not so high that it just sees the sky. Orient the main camera in the central and high position to have a clear line of view of the road. Power is another consideration. While many RVs have plenty of 12V outlets, hardwiring can give you a cleaner install and ensure the camera only runs when the engine is on, saving battery. This usually involves tapping into a fuse box or an accessory wire. I learned this the hard way when my camera drained the house battery overnight because I forgot to unplug it. Don't be like me. Look for a fuse that only gets power when the ignition is on. That's the game-time move. I have hard wired both the coach and the Jeep. I tied into the existing 12 V power outlets. The Jeep has outlets that are full time and also triggered by the ignition. I used the ignition on in the Jeep but the full time in the coach (used to record our dogs actions when left alone when she was still a puppy).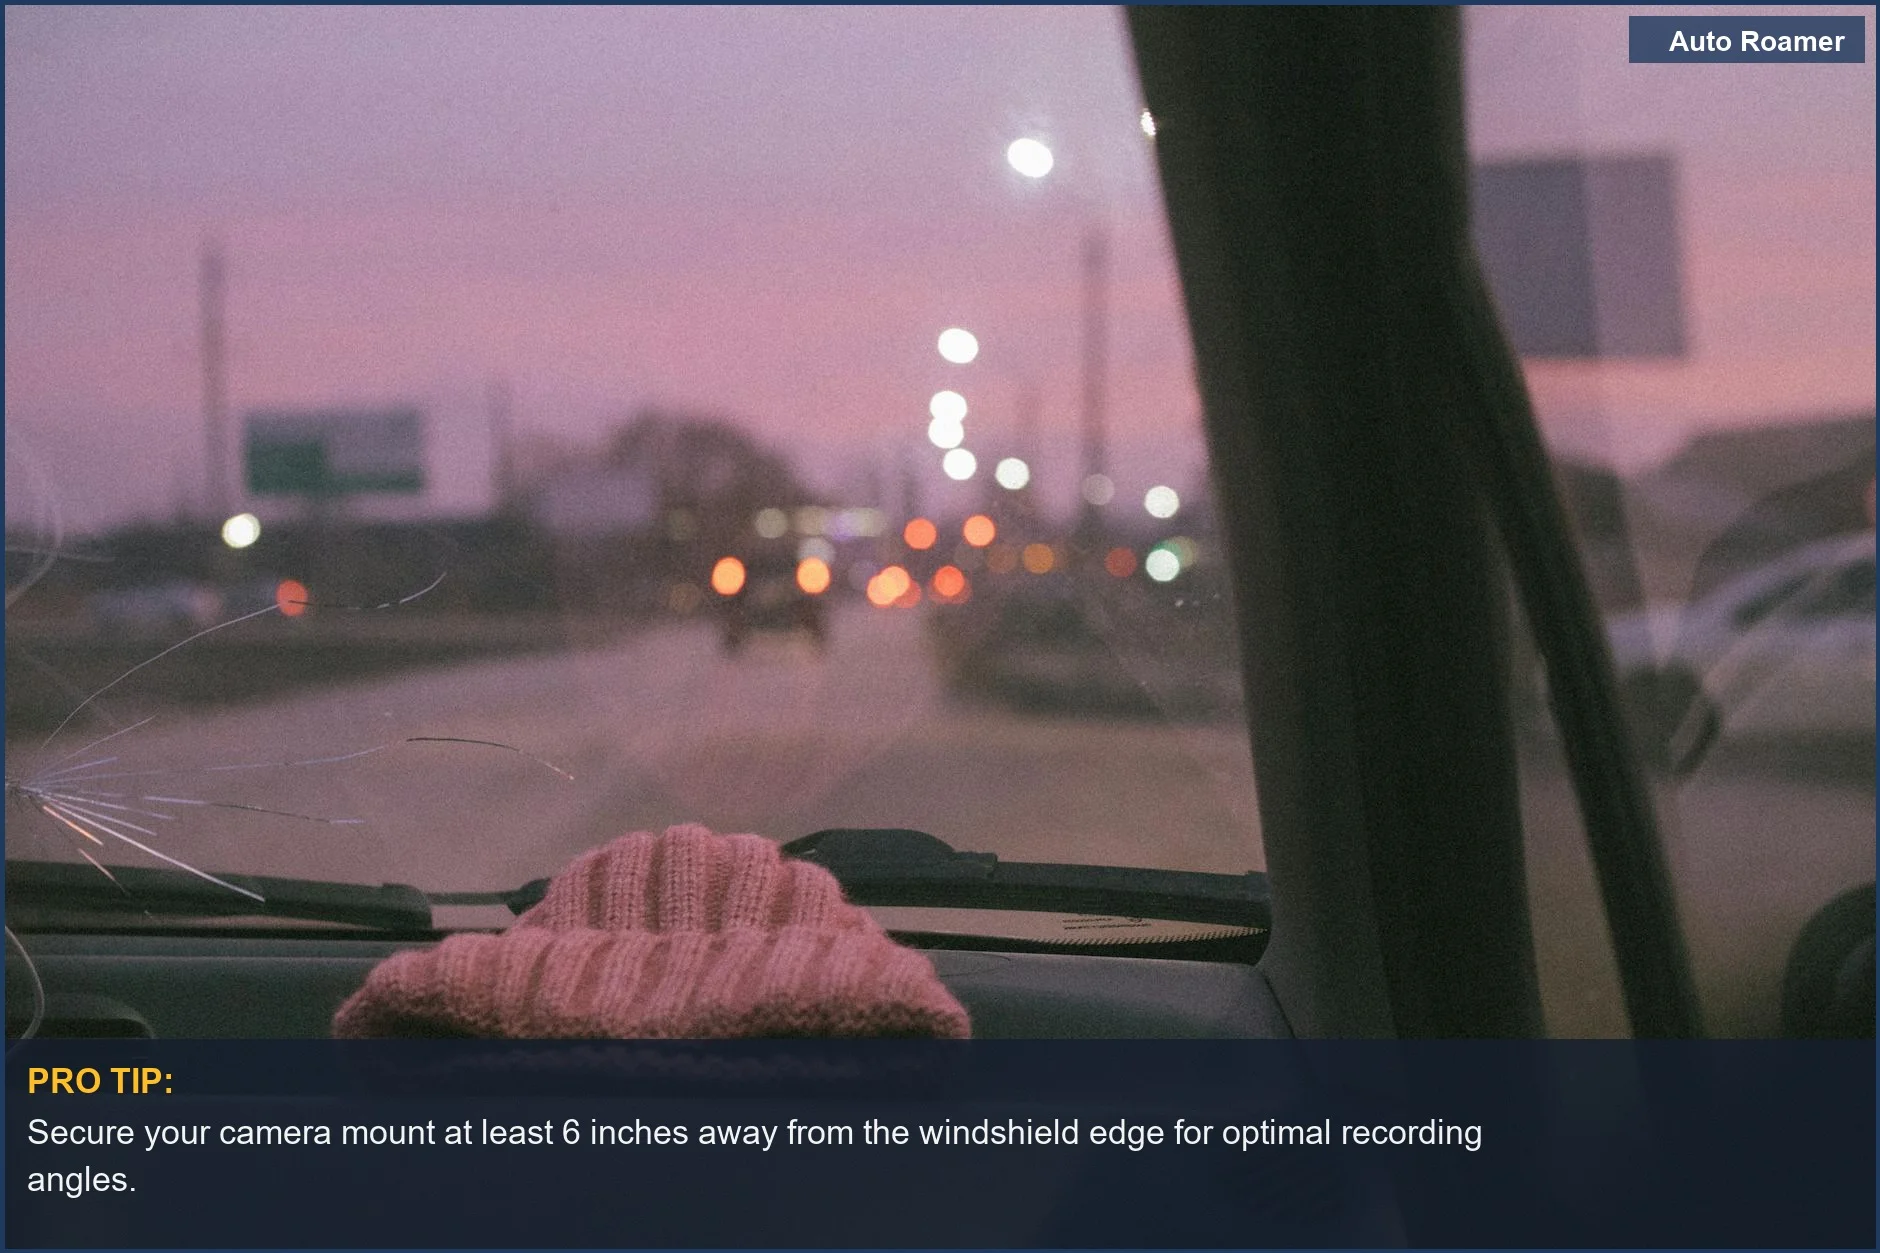

Why This Matters for Your Setup
Why does this matter? Because a poorly mounted camera is useless. Imagine you're in a fender-bender, and your camera is pointed at your ceiling tiles. Brilliant engineering. Or worse, it falls off mid-maneuver and you have no record of what happened. Id prefer to use my phone while mounted on the dash, rather than a dedicated... This is the kind of problem you avoid by taking a few extra minutes during installation.- Clear View: Ensure nothing blocks the lens. This includes your RV's sun visors, decorative trim, or even your own head if you're too close. I once had a camera so low it was mostly recording my dashboard. Rookie mistake. Our 170° wide-angle front camera ensures nothing escapes your sight.
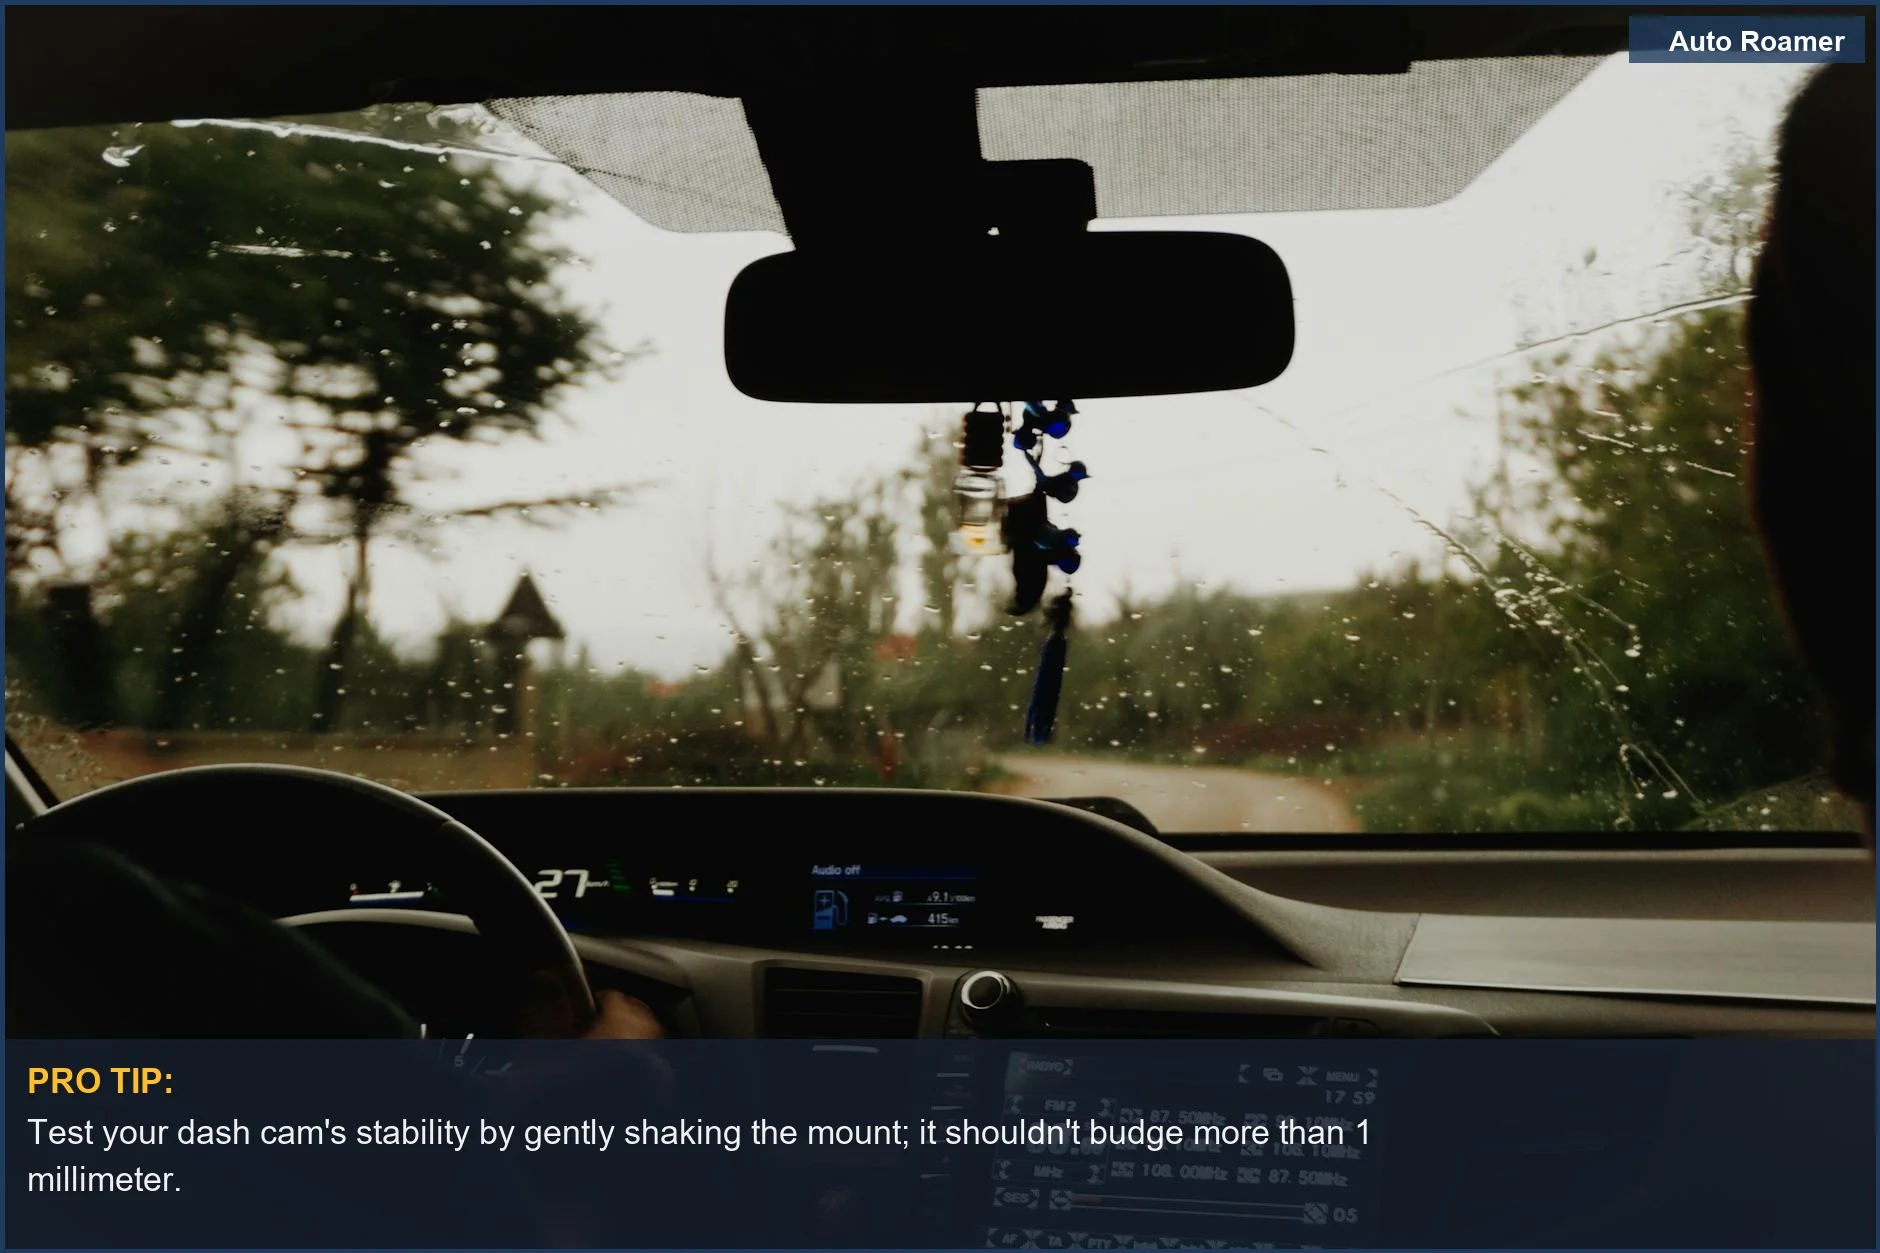
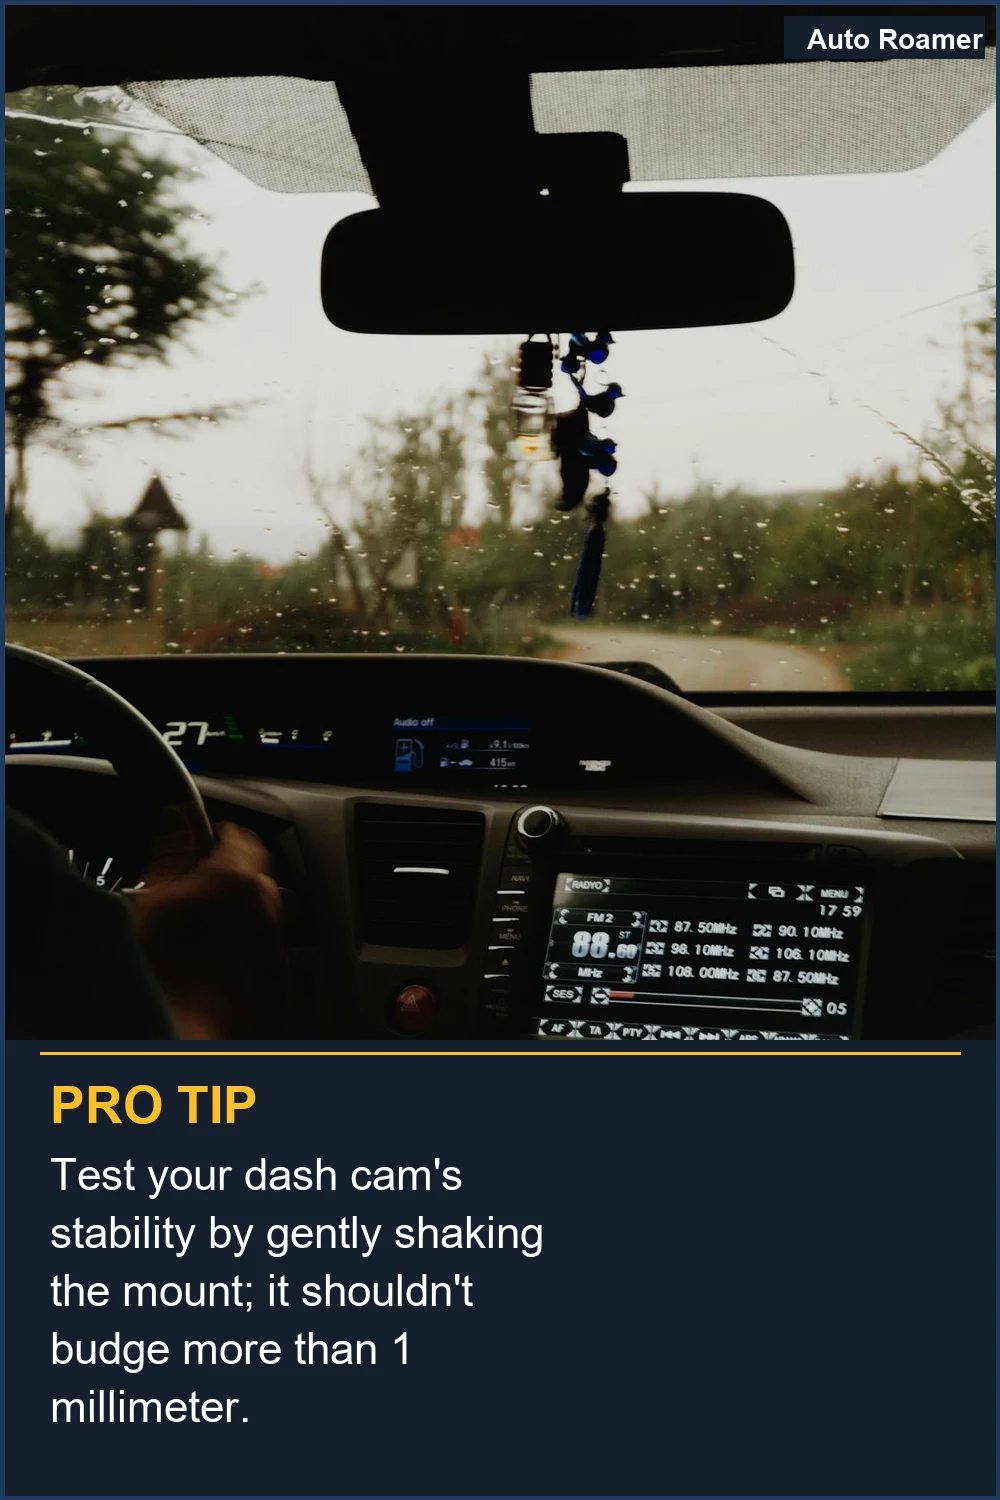
- Vibration Control: A shaky video is hard to decipher. If your camera rattles or bounces, it's not capturing useful detail. This is where those fancy adhesive mounts shine over cheap suction cups. Sits about 5 inches above the dash and is almost directly in front of me when ...
- Power Management: You don't want your camera to die mid-trip or drain your battery when parked. Hardwiring to an ignition-switched source is the most reliable method. I learned this when my camera kept recording and killed my batteries during a week-long dry camping trip. Adding 12V is easy as it's all over the place in these coaches.
Making the Right Choice
Making the right choice for your RV dash cam installation boils down to a few key things. Don't overthink it, but don't rush it either. A little planning goes a long way. See More, Control More. Think about how much time you actually spend looking at your dash. You want the camera to have a clear line of sight without getting in your way. My first RV had a massive dashboard, and I ended up mounting my camera on a small stalk that extended from the dash itself, giving it a much better vantage point. It cost me about $15 for the stalk mount and some strong double-sided tape. The honest version: get it mounted securely and in a place where it can actually see the road. That's it. You don't need a PhD in electrical engineering to get this done. Just a bit of common sense and a willingness to try something other than the standard car setup. The idea is to fish one end fold this tube out and then come out here and then the rear view camera should be right around here.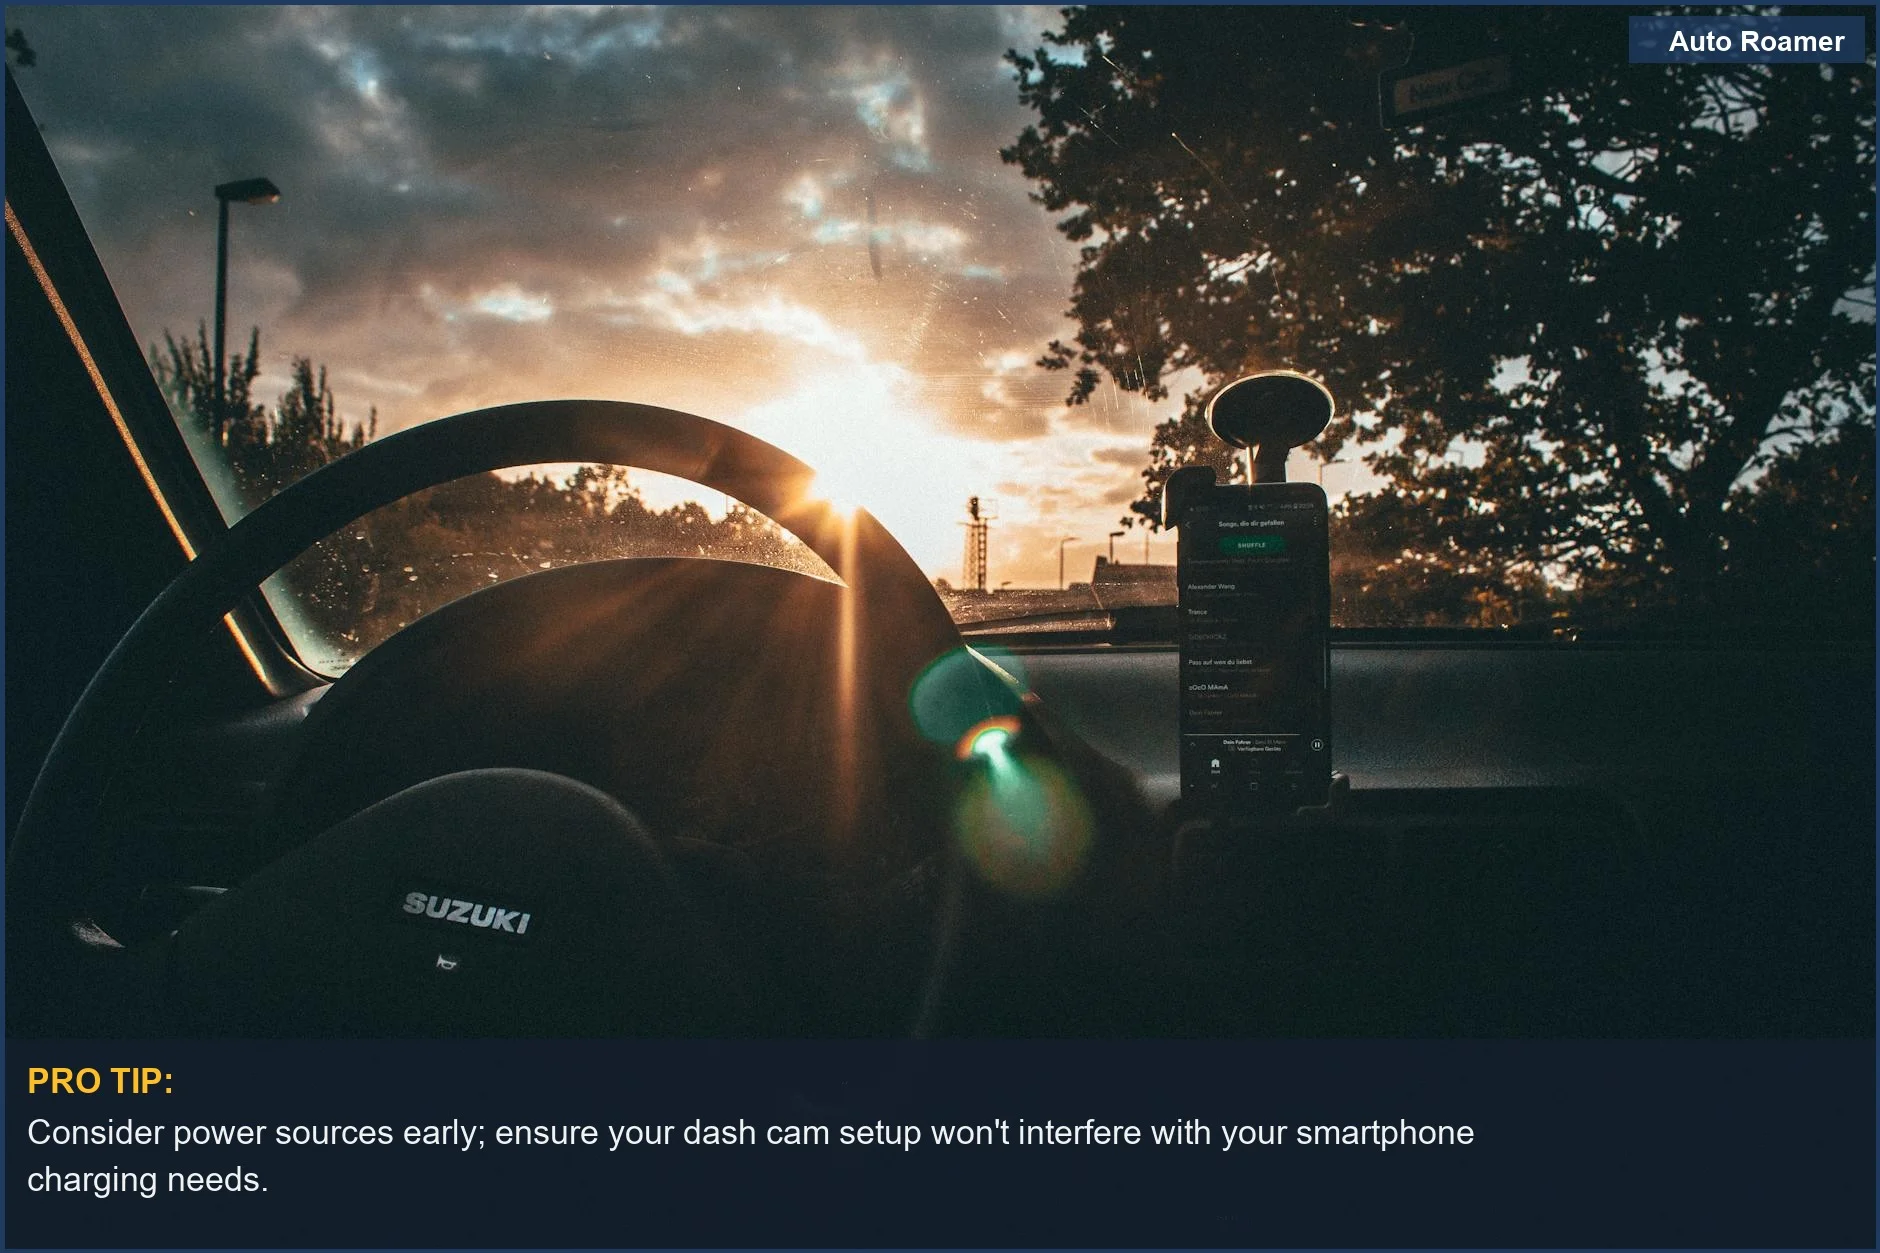
Frequently Asked Questions
How much does it cost to DIY install a dash cam versus paying a shop to do it in my motorhome?
Do I really need a multimeter to wire in a dash cam to my RV?
What if I mount my dash cam and the video is still shaky or obstructed?
Can hardwiring a dash cam permanently damage my RV's electrical system?
Is it true that some dash cams can record while the RV is parked and off?
🏅 Looking for Gear Recommendations?
Check out our tested gear guides for products that work with this setup: