Are Car Window Rain Guards Easy to Install?
Car window rain guards, sometimes called vent visors, are those little plastic strips that stick above your doors. They're supposed to let you crack your windows without getting soaked when it rains. I've seen them on everything from minivans to pickup trucks, and honestly, they look like they should be a pain to install.
Car window rain guards, sometimes called vent visors, are those little plastic strips that stick above your doors. They're supposed to let you crack your windows without getting soaked when it rains. I've seen them on everything from minivans to pickup trucks, and honestly, they look like they should be a pain to install. You'd think you'd need a degree in automotive engineering or at least a special toolkit.
But the truth is, most of them are designed to be a DIY job. These things are meant to be simple. They're not some complex engine component; they're basically fancy plastic trim. The real question is, can a regular person, someone who maybe once tried to fix a leaky faucet with duct tape, actually get these things on without screwing it up? I'm going to tell you what I learned from my own fumbles.

The Core Answer
The core answer is yes, most car window rain guards are surprisingly easy to install. I'm talking about the kind that stick on with adhesive tape. The in-channel kind, where they tuck into the window frame, are a bit trickier. I learned this the hard way trying to jam some into my old Honda Civic. I ended up with a tiny gap on one side. The real move for the stick-on ones is just cleaning the door frame really well. Seriously, that's half the battle. You get a little packet of alcohol wipes, and you gotta use them. I once skipped that step on a cold day in my driveway and the guard popped off a week later. Rookie mistake. The tape they use is usually pretty strong automotive-grade stuff, but it needs a clean surface to actually stick. You just peel off the backing and press it on. It's not rocket science, and you definitely don't need any fancy tools. I've seen videos of people doing it in like 5 minutes per side. The in-channel ones are a different story. They're supposed to just slide into the rubber channel where the window goes up and down. Sounds simple, right? But if the channel isn't perfectly clean or if you push too hard in the wrong spot, you can bend them or get them stuck crooked. My buddy tried to install some on his truck, and one side wouldn't let the window go all the way up. He ended up having to take them off and start over. That's the honest version: the tape-on ones are foolproof for beginners. The in-channel ones require a bit more patience and a steady hand. Don't rush it. If you feel like you're forcing it, stop and re-evaluate. It's usually a cleaning issue or you're trying to bend it too much. Most kits come with pretty clear instructions, but the biggest tip I can give you is to make sure the area is clean and dry, and then take your time pressing them on. That's the game-time move for a solid install.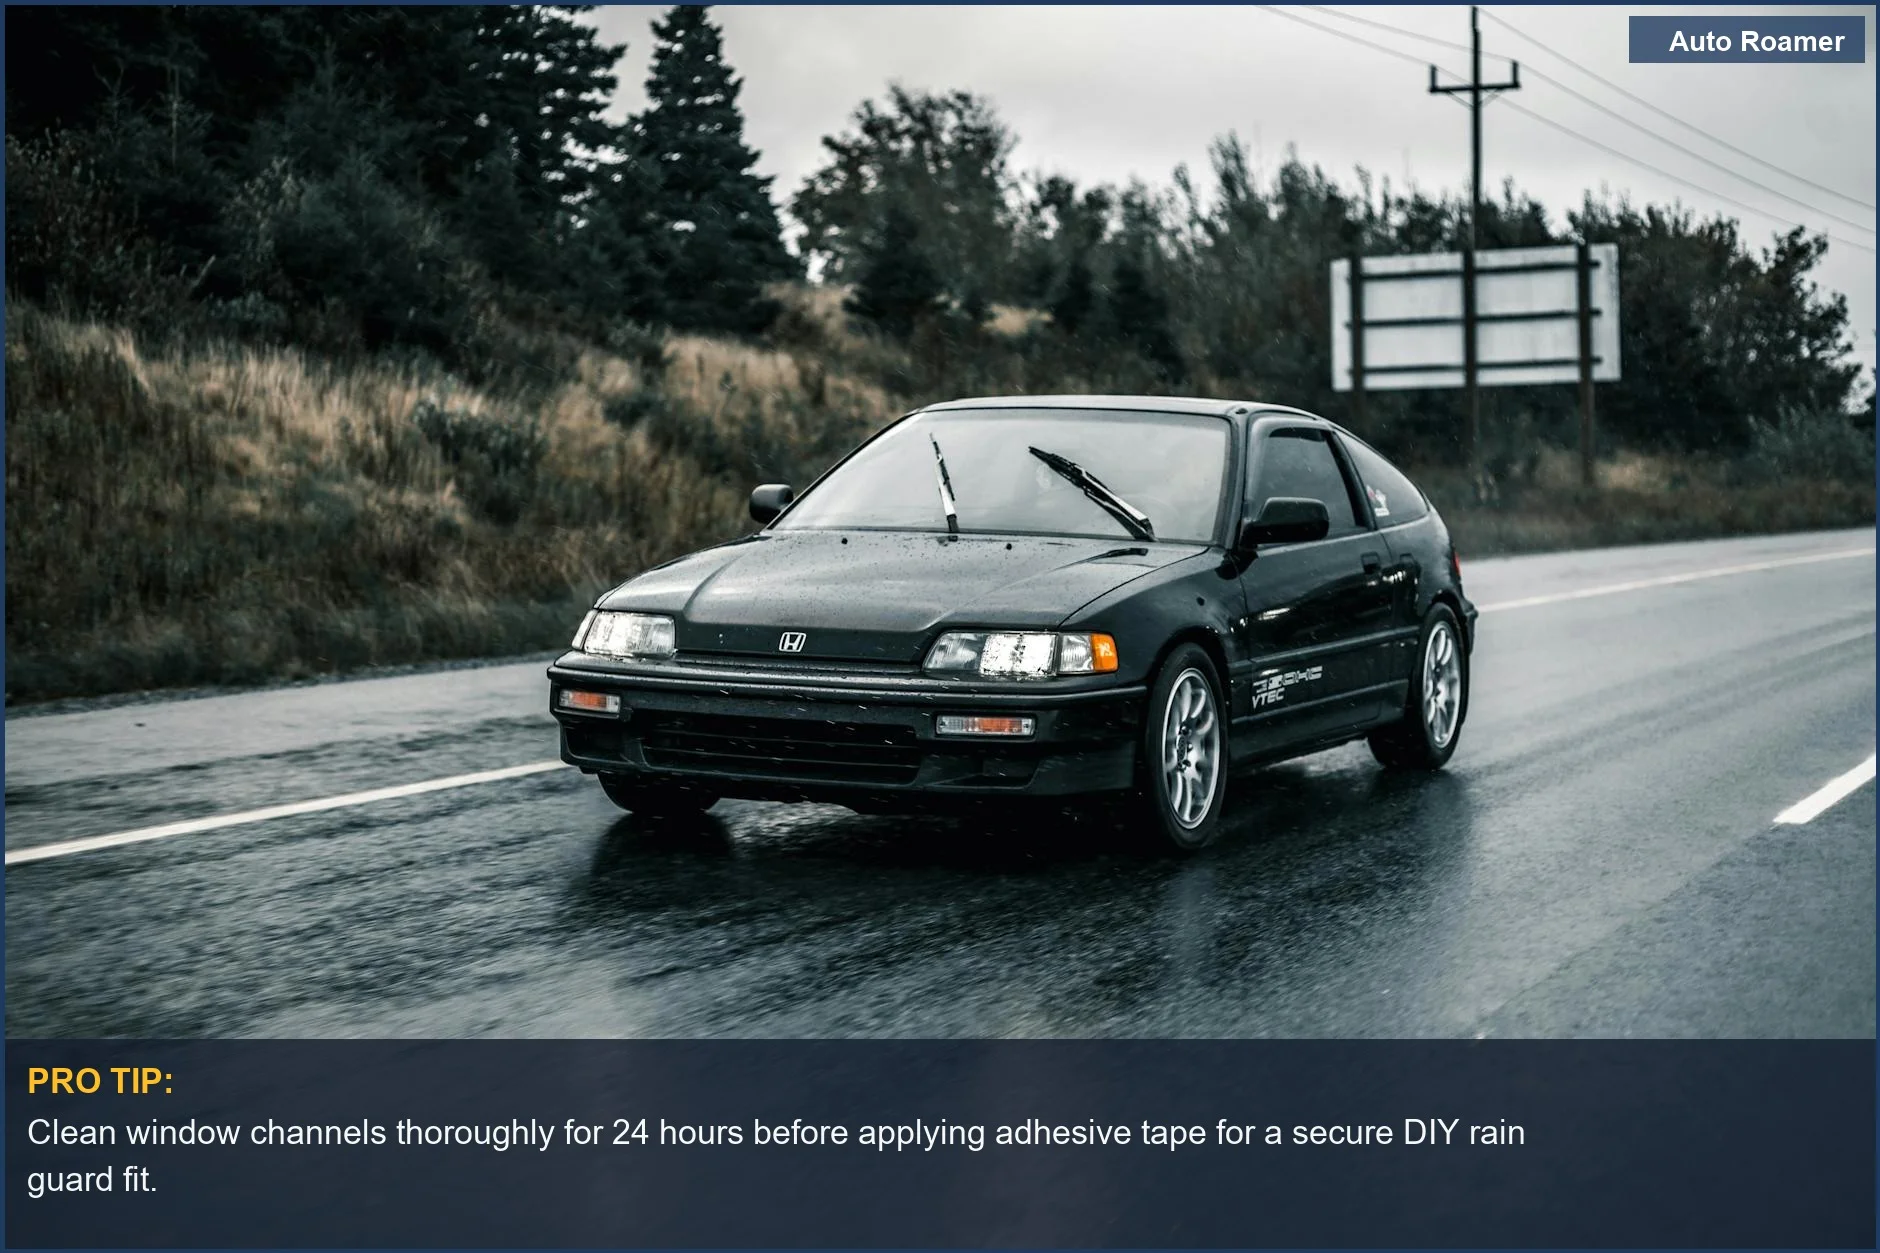
Why This Matters for Your Setup
Why does this even matter for your car setup? Well, being able to crack your windows a bit when it's raining is a game changer. I learned this during a surprise downpour on a camping trip in the Smokies. My windows were fogged up so bad I could barely see the road. These things would have let me keep the windows cracked just enough to prevent that. You can also leave them slightly open on a hot day to let some of that trapped heat escape before you even get in. It makes a surprising difference. Plus, they can help keep rain out of your car if you're loading or unloading in bad weather. Think about trying to wrangle gear from your trunk while it's pouring. Being able to have your window cracked a couple of inches means you're not getting drenched. It's the little things that make car camping more comfortable, and this is one of those little things for your daily driver that translates to comfort on the road.
Making the Right Choice
So, are rain guards easy to install? For the tape-on kind, absolutely. It's a simple process that most people can handle with basic care. The in-channel versions require a bit more finesse, but they're still manageable if you're patient. The biggest takeaway is preparation: clean surfaces are key. Don't skimp on the cleaning step. It's the difference between a guard that stays put for years and one that flies off on the highway. Think of it as a cheap upgrade that actually makes your car more practical. It's not about looking fancy; it's about function. And if you can do it yourself, you save money and gain a little bit of that DIY confidence. It's a win-win, really. Just remember to take your time and follow the instructions. You've got this.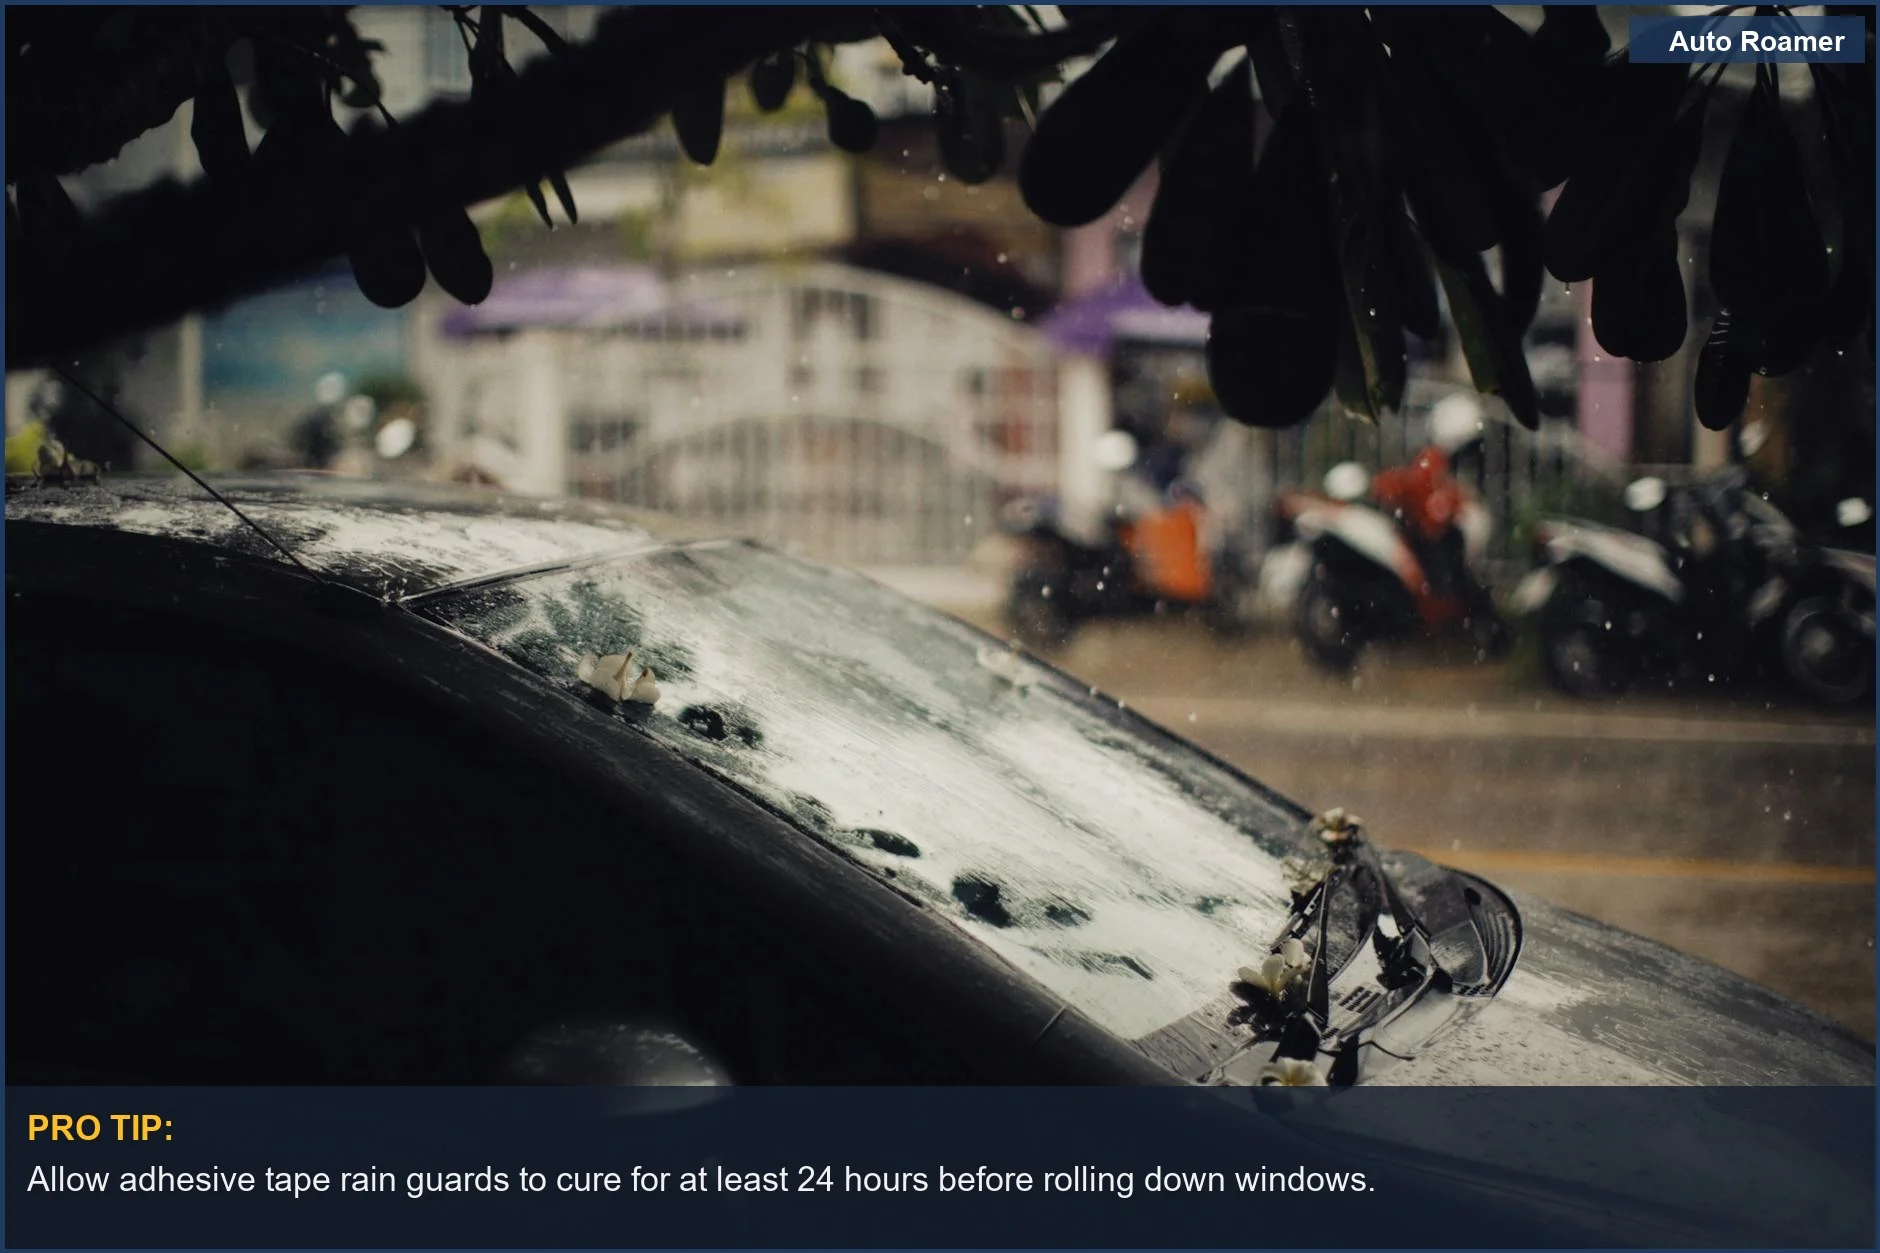
Frequently Asked Questions
How much money am I saving by installing these myself instead of having a shop do it?
Do I need a special tool to clean the window channel for the in-channel ones?
What if I install them and they still rattle or don't seal right?
Can installing these rain guards permanently damage my car's paint or window seals?
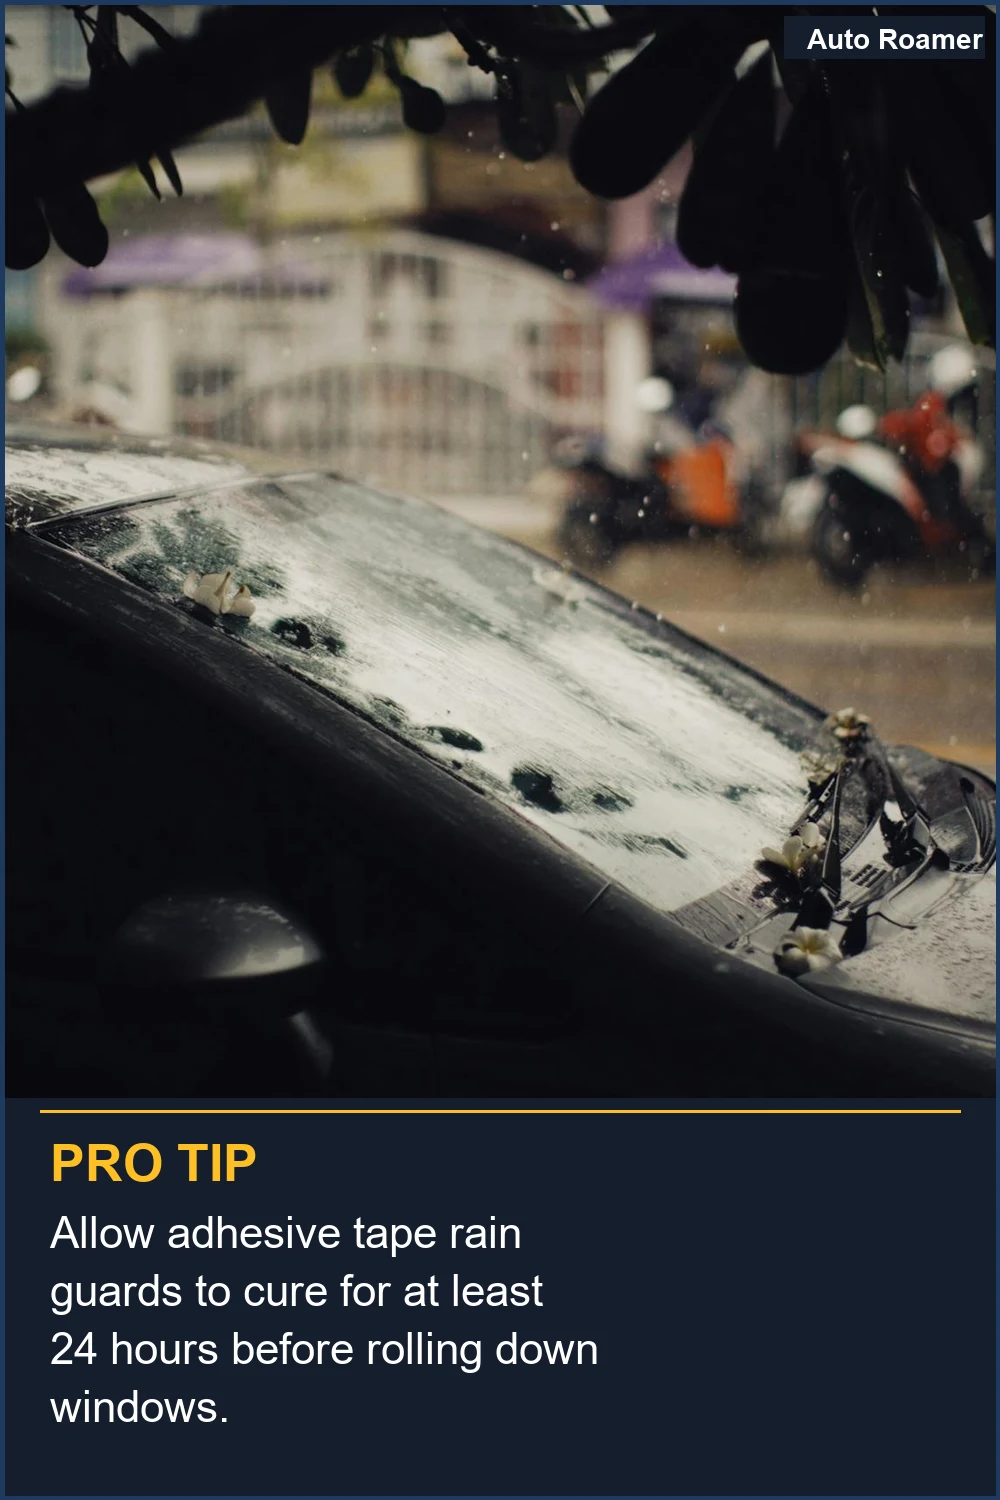
I heard you're supposed to let the tape 'cure' for 24 hours and not roll the windows down. Is that true?
🏅 Looking for Gear Recommendations?
Check out our tested gear guides for products that work with this setup: