How to Install and Maintain an Aftermarket TPMS System
Adding a Tire Pressure Monitoring System (TPMS) to your ride is one of those upgrades that sounds complicated, but is totally doable yourself. Think of it like adding a little guardian angel for each of your tires. These systems, often costing around $50 for a basic kit, constantly watch your tire pressure and yell at you through a display or your car's dashboard if things get dicey.
Adding a Tire Pressure Monitoring System (TPMS) to your ride is one of those upgrades that sounds complicated, but is totally doable yourself. Think of it like adding a little guardian angel for each of your tires. These systems, often costing around $50 for a basic kit, constantly watch your tire pressure and yell at you through a display or your car's dashboard if things get dicey.
It's not just about avoiding a flat; it's about better gas mileage and a smoother ride. Retrofit kits are available for older vehicles that didn't come with them from the factory, making this a real option for more people than you might think. Replacing sensors yourself can save you a bundle compared to a dealership service.

The Core Answer
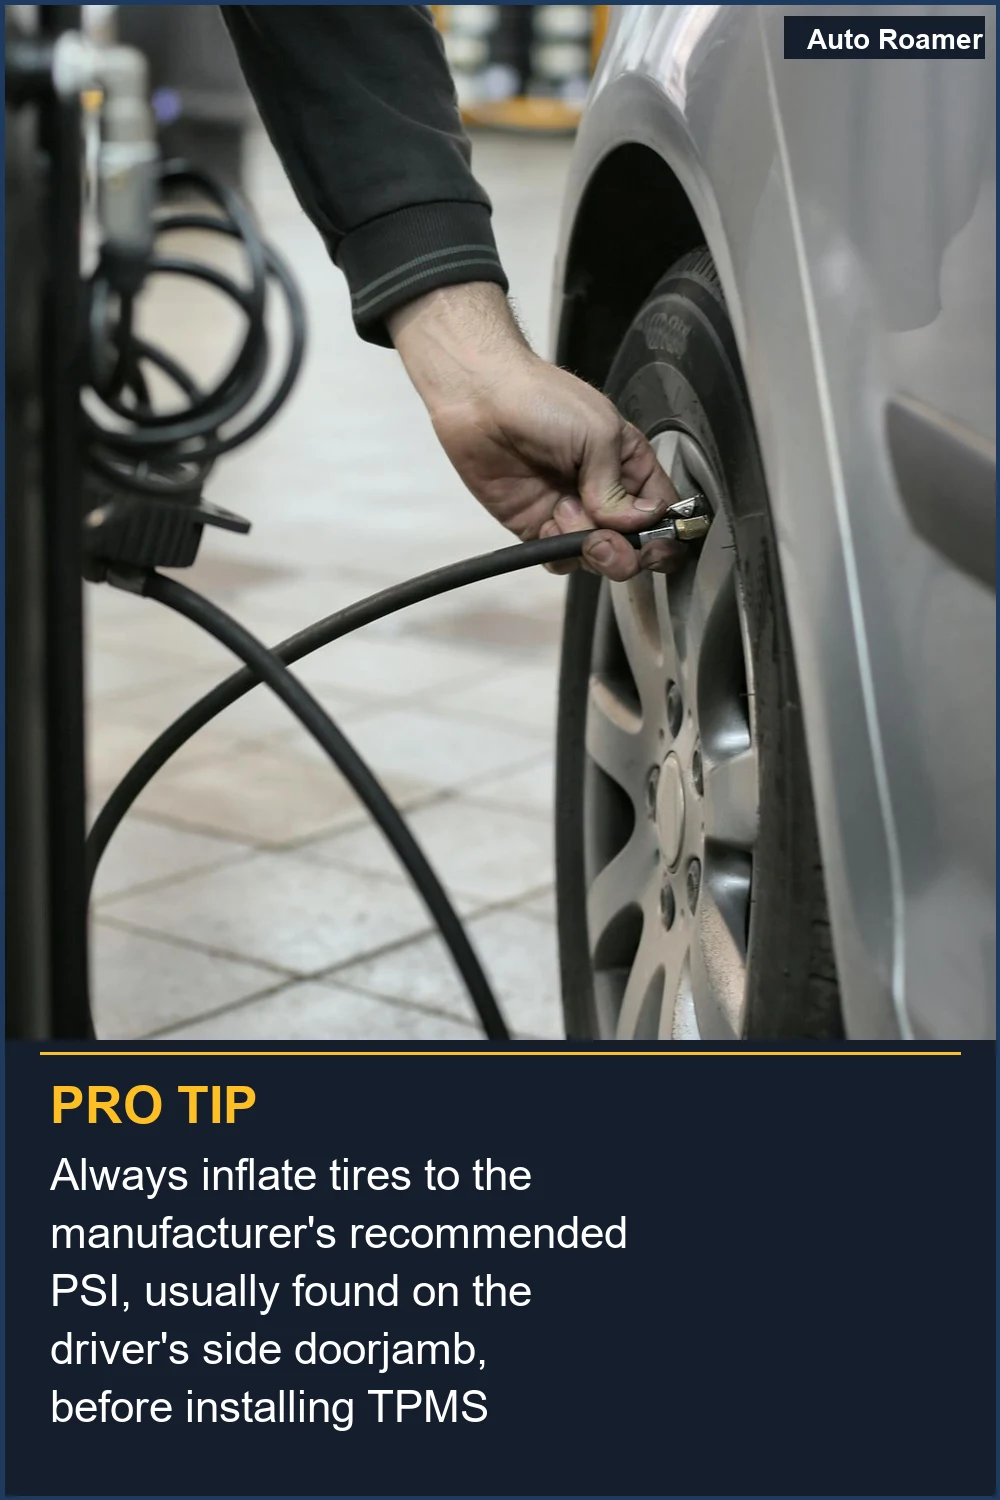
Alright, let's talk about getting these little tire guardians installed. The most common setup you'll find, and the one that makes the most sense for a DIYer, is a direct TPMS system where sensors screw directly onto your valve stems. The real move here is to get a kit that comes with everything you need, usually including the sensors themselves, a display unit, and sometimes even a programmer to sync them to your car. I've seen basic kits go for as little as $50 online, which is a steal compared to what a shop might charge. Installation involves removing your wheels, but honestly, you can often do it without taking the tire completely off the rim if you're careful. The trick is to remove the old valve stem (if you have one already) and then screw the new sensor on. Some kits use solar power for the display, which is pretty slick and means no extra wires to run. The biggest rookie mistake I've seen people make is not tightening the sensors enough, or overtightening them and stripping the threads. Always use the little locking nuts that come with the kit, and snug them up. You don't need to Hulk-smash them. After they're on, you'll usually need a special tool to 'wake up' each sensor so the car's computer (or the display unit) can see it. This activation tool is key, and it's usually included in better kits. I messed this up on my first attempt at a buddy's place in the Poconos; we had all the sensors on, but forgot to activate them. The dashboard just kept flashing that tire light like a disco ball of doom. It took another 20 minutes of fiddling with the tool to get them all recognized. The honest version: it's not rocket science, but take your time. For maintenance, it's mostly about keeping the sensors clean, especially if you drive in salty areas. Make sure the batteries in the sensors are good; they usually last 5-7 years. When it's time to replace them, you'll follow a similar process. Don't forget to check the pressure in your spare tire too, if it has a sensor. That's a game-time decision you don't want to get wrong.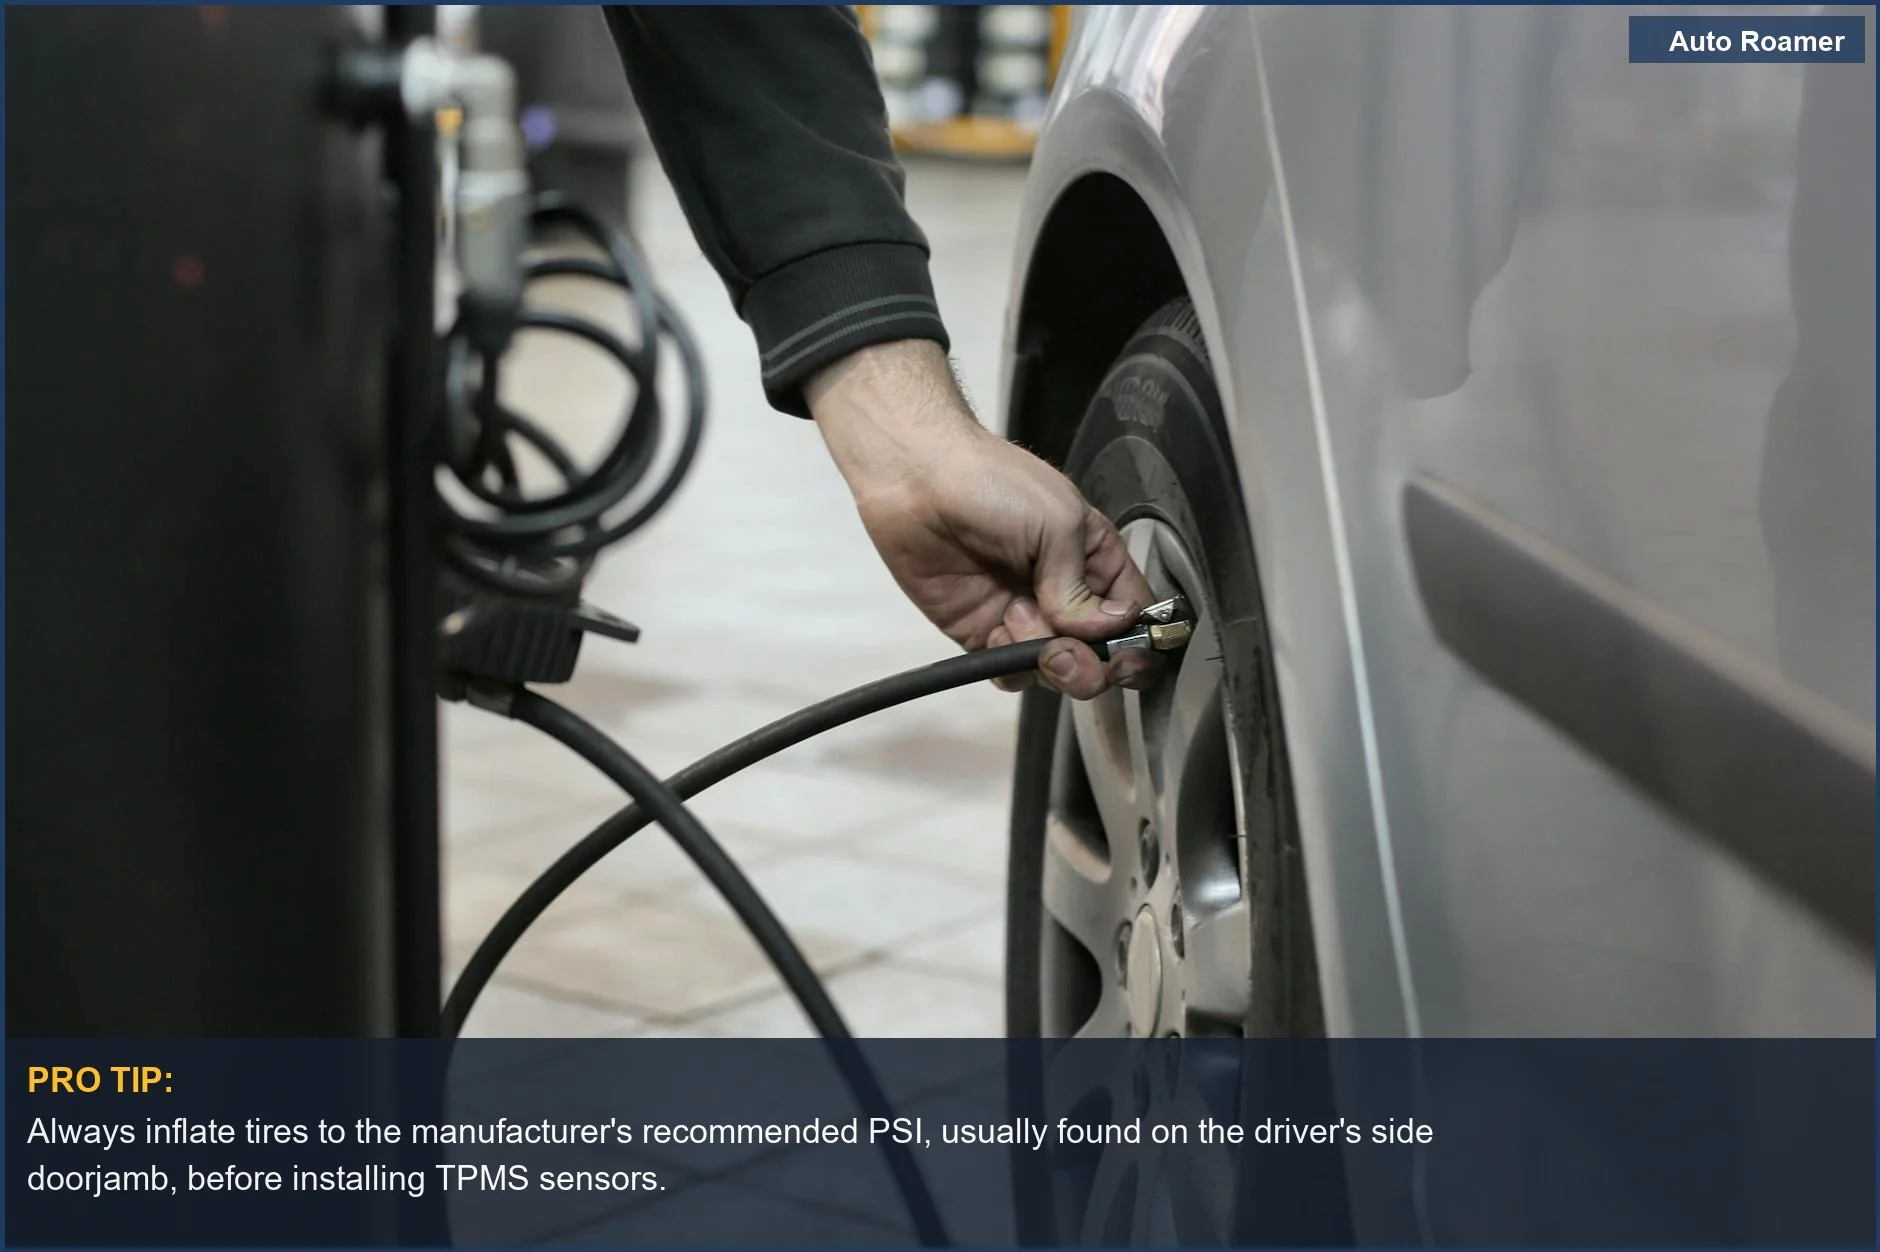
The Bottom Line
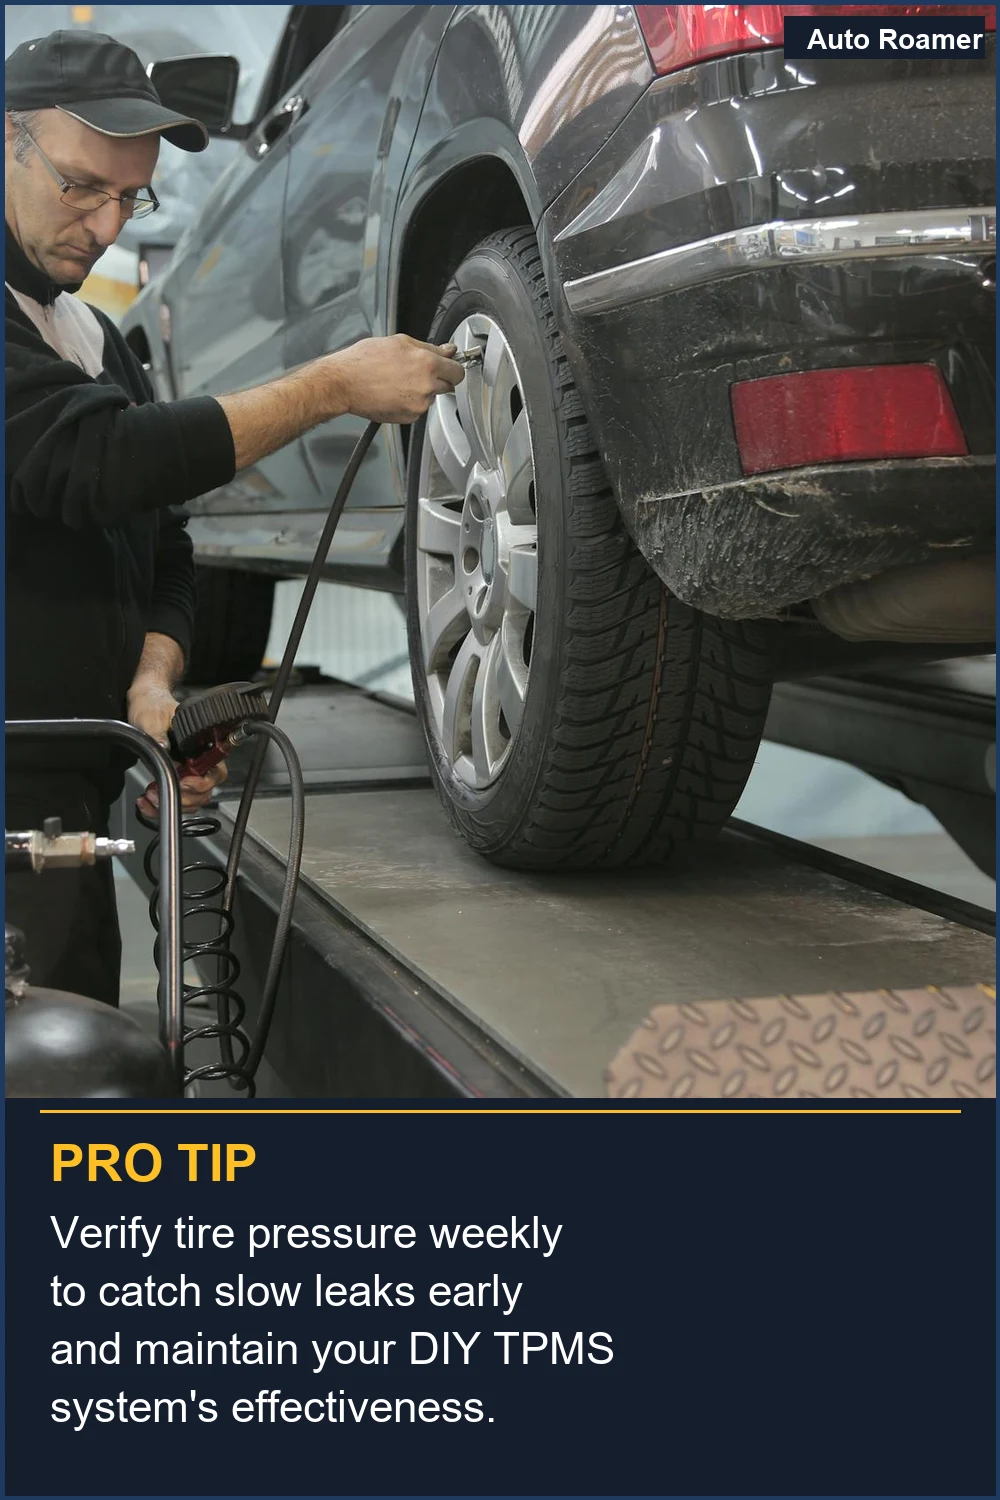
Look, nobody wants a flat tire ruining their weekend plans. Adding a TPMS is a solid defensive move for your vehicle. The upfront cost for a decent DIY kit is often less than $100, which is way cheaper than getting a tow or dealing with a blown tire on the side of the highway. Installing them yourself saves you labor costs, which can add up fast at a shop. For maintenance, it's mostly hands-off. Just keep an eye on the display and make sure your tires are properly inflated. Proper tire pressure is crucial for safety, fuel efficiency, and tire wear. It's a small investment for a lot of peace of mind. My second camping trip of the year last fall, I noticed one of my tires was down 5 PSI before I even left the campsite. Caught it early thanks to the TPMS. That saved me a potential headache miles down a gravel road.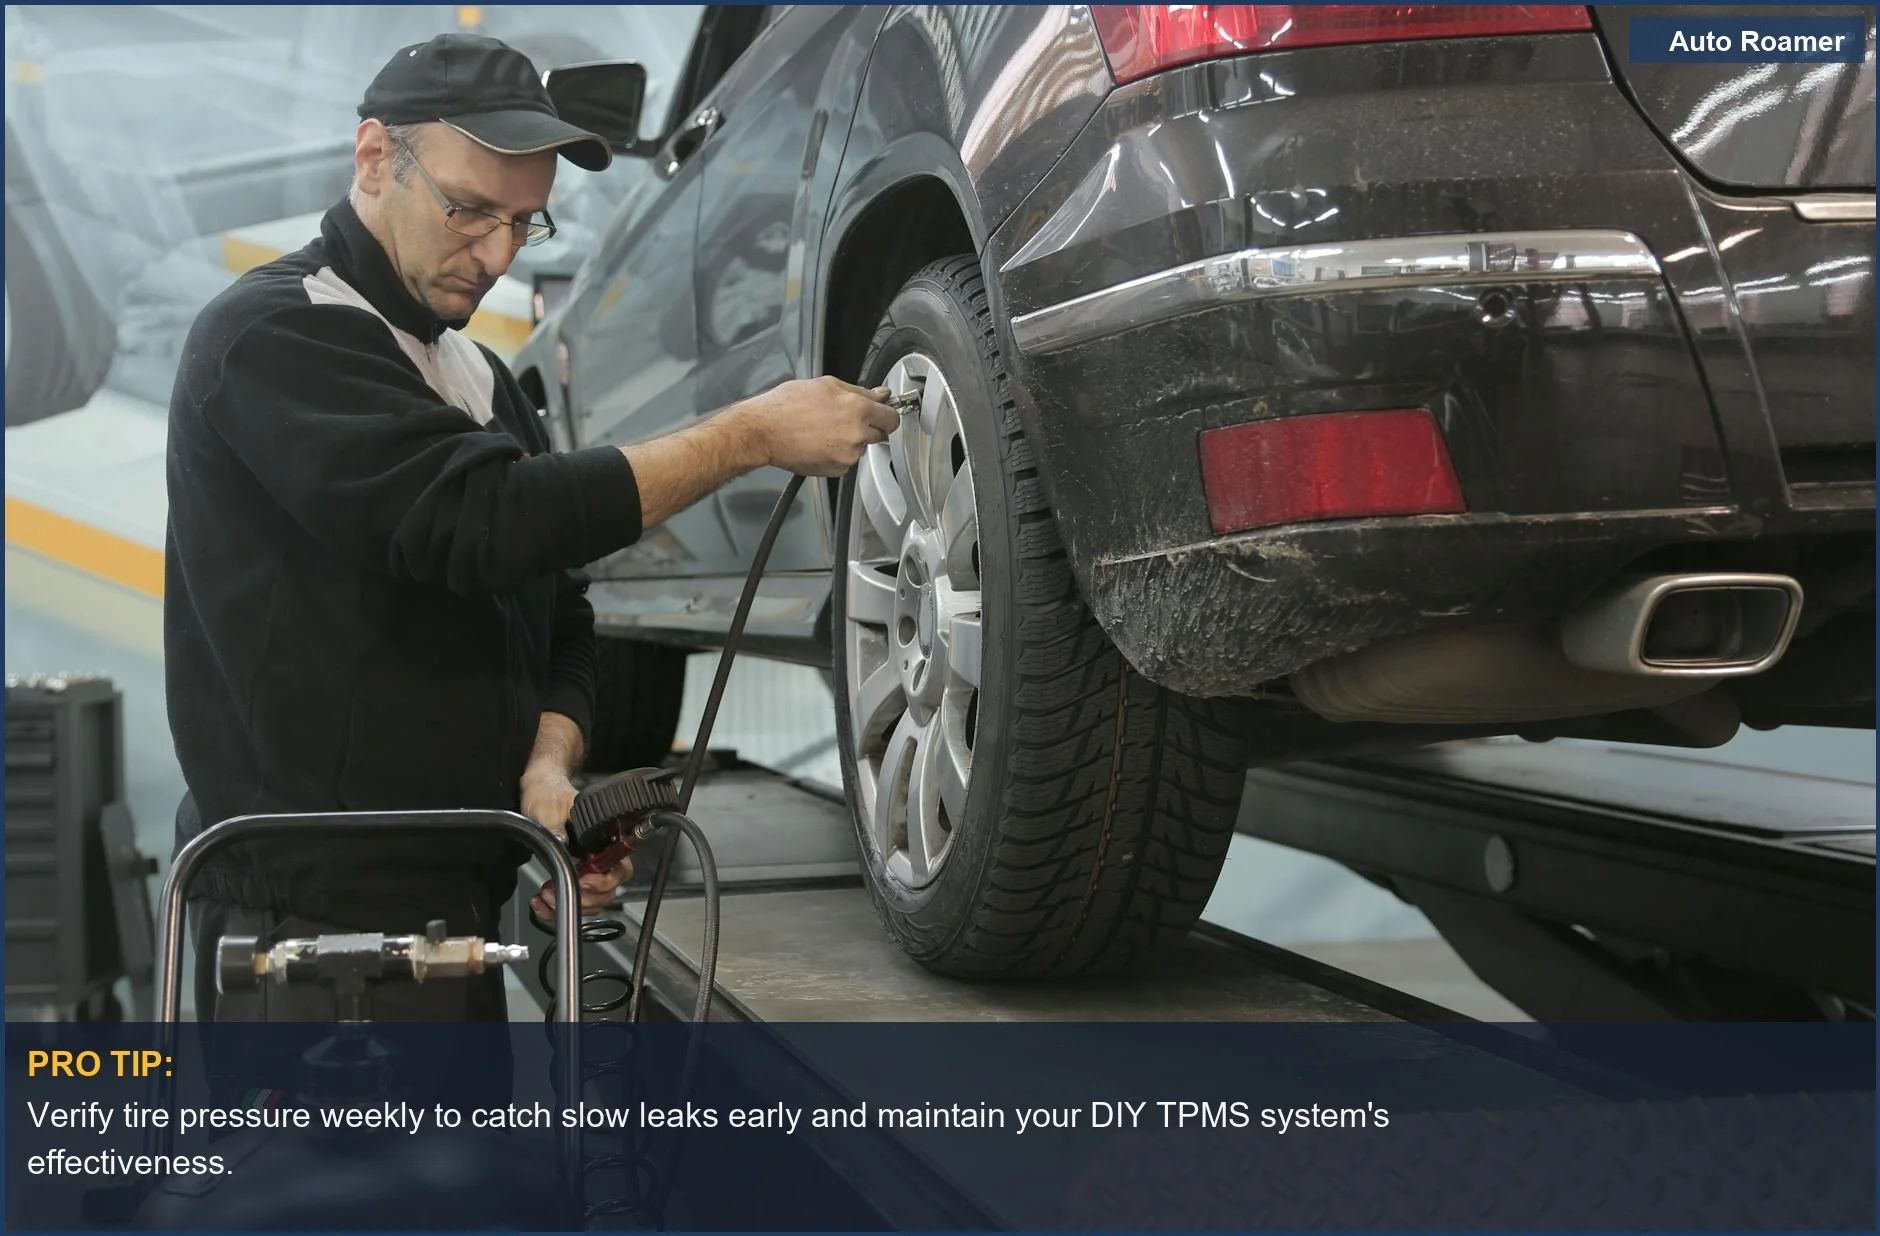
Frequently Asked Questions
How much money am I actually saving by doing this myself instead of going to a garage?
Do I need one of those fancy tire mounting machines to get these sensors on?
What happens if I accidentally cross-thread one of these tiny sensors when I'm screwing it on?
Can messing with TPMS sensors screw up my car's ABS or traction control?
I heard that some TPMS sensors are 'programmable' and others aren't. Is that just marketing hype?
🏅 Looking for Gear Recommendations?
Check out our tested gear guides for products that work with this setup: