How to Secure a Soft Roof Cargo Bag for Maximum Safety on Road Trips
My first attempt at securing a soft roof cargo bag involved a cheap $20 Amazon special and a prayer. I was heading to the Outer Banks for a week, and my Toyota RAV4's trunk was already packed tighter than a sardine can.
My first attempt at securing a soft roof cargo bag involved a cheap $20 Amazon special and a prayer. I was heading to the Outer Banks for a week, and my Toyota RAV4's trunk was already packed tighter than a sardine can. I figured, 'How hard can it be?' Turns out, pretty darn hard when a rogue gust of wind decides your luggage needs to explore the highway.
I learned the hard way that a flapping bag isn't just annoying, it's a safety hazard.
That trip cost me a near heart attack when I saw my bag shifting ominously in the rearview mirror. The fix wasn't some fancy roof rack system; it was about understanding how to use the straps I already had.
This is the real move: using the straps correctly to make sure your gear stays put, even when the wind tries to rip it off.
Forget those expensive, overly complicated systems you see online. The honest version is that a good quality soft bag and the right tie-down technique will get you 90% of the way there for about $80 total. What nobody tells beginners is that the straps are the most important part, not the bag itself.

The Core Answer
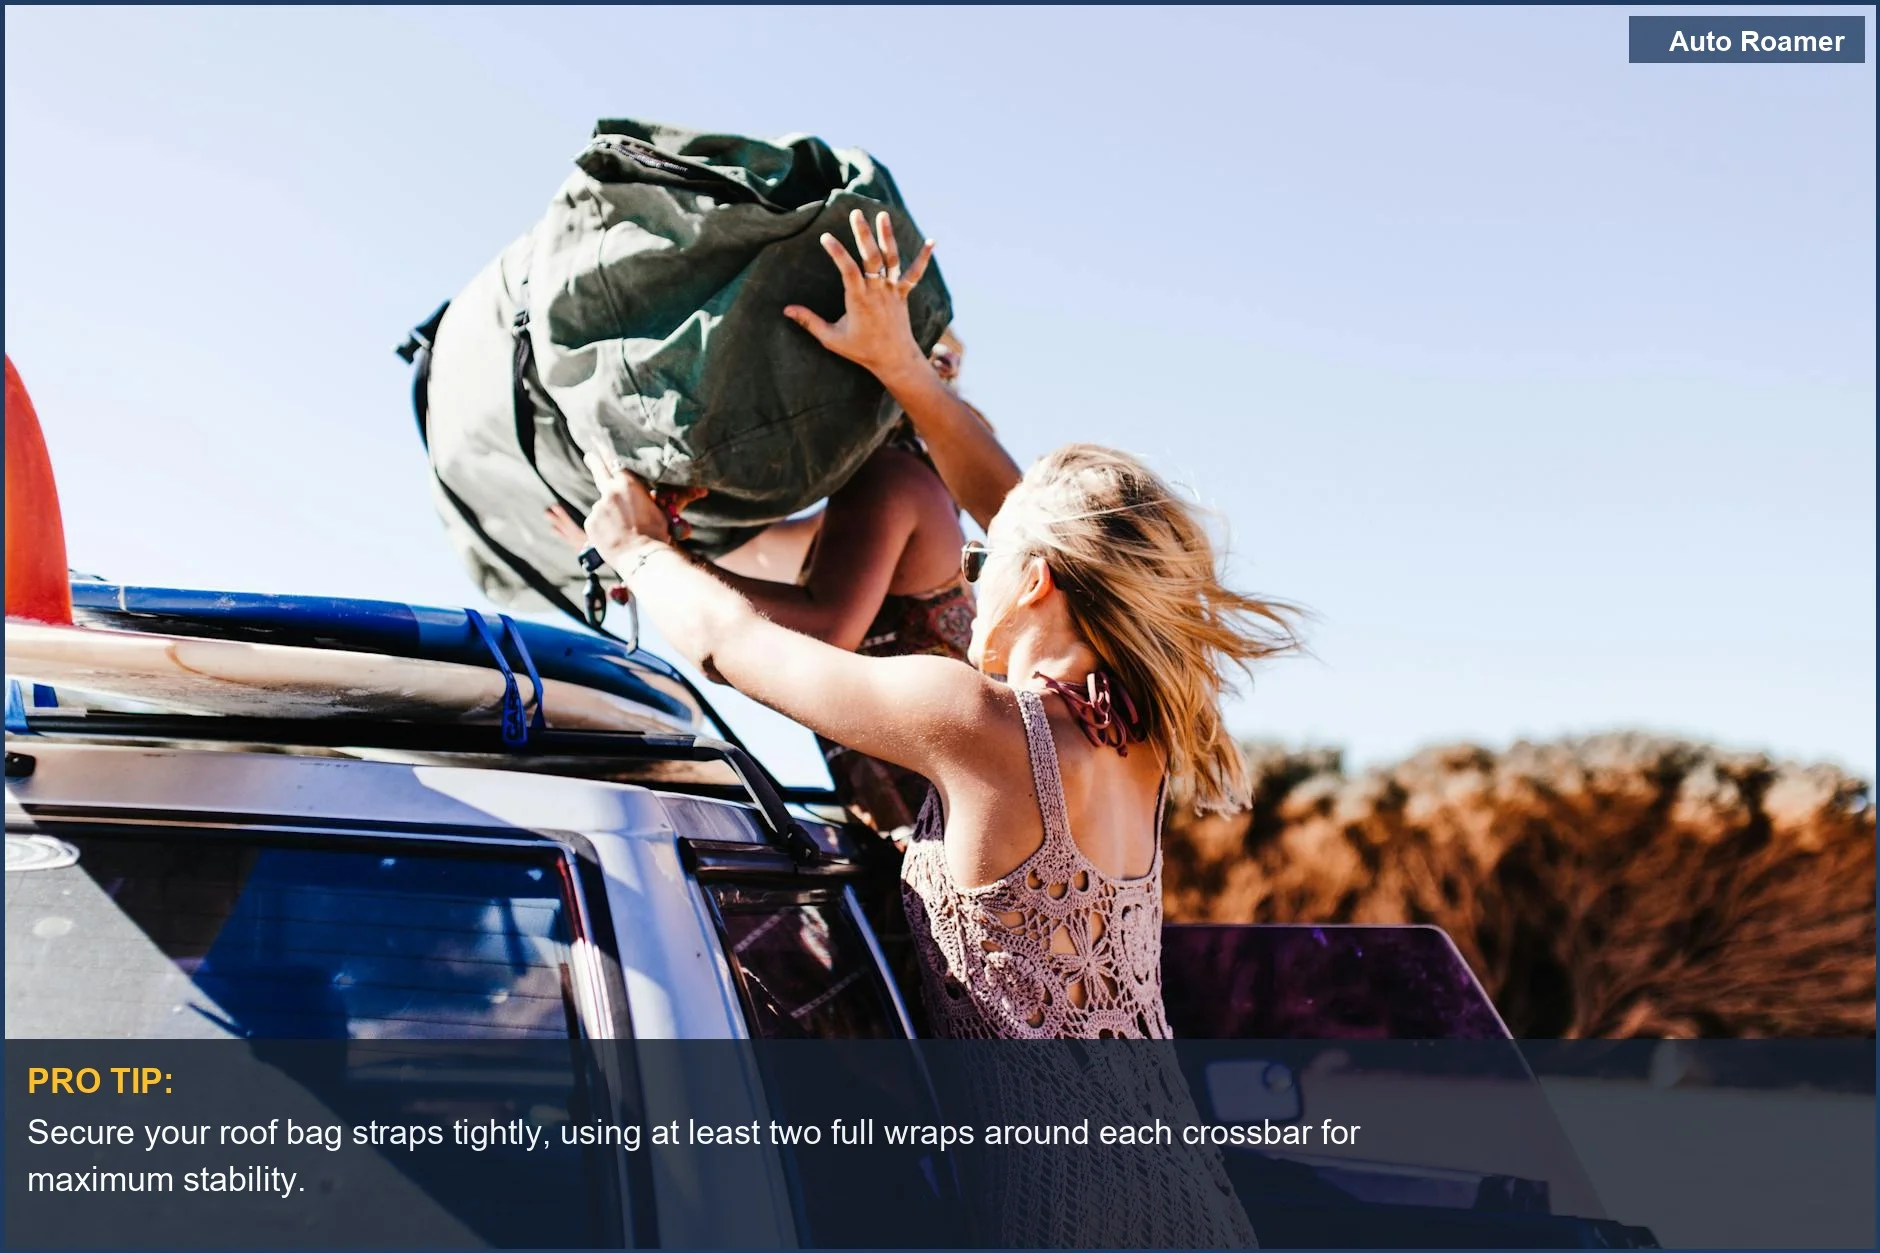
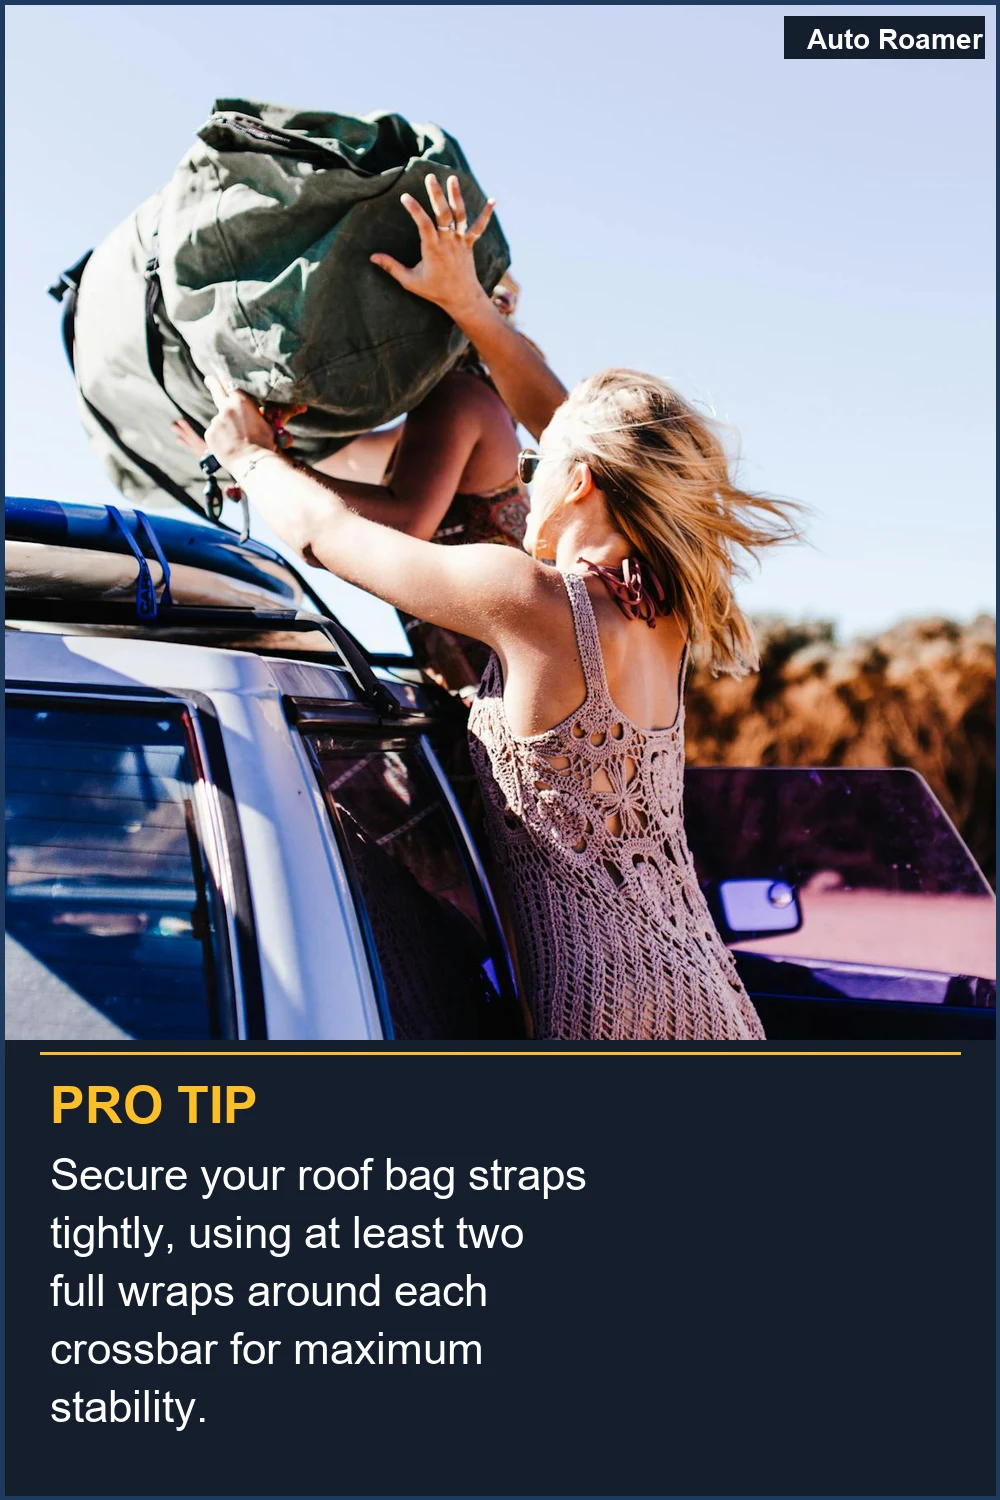
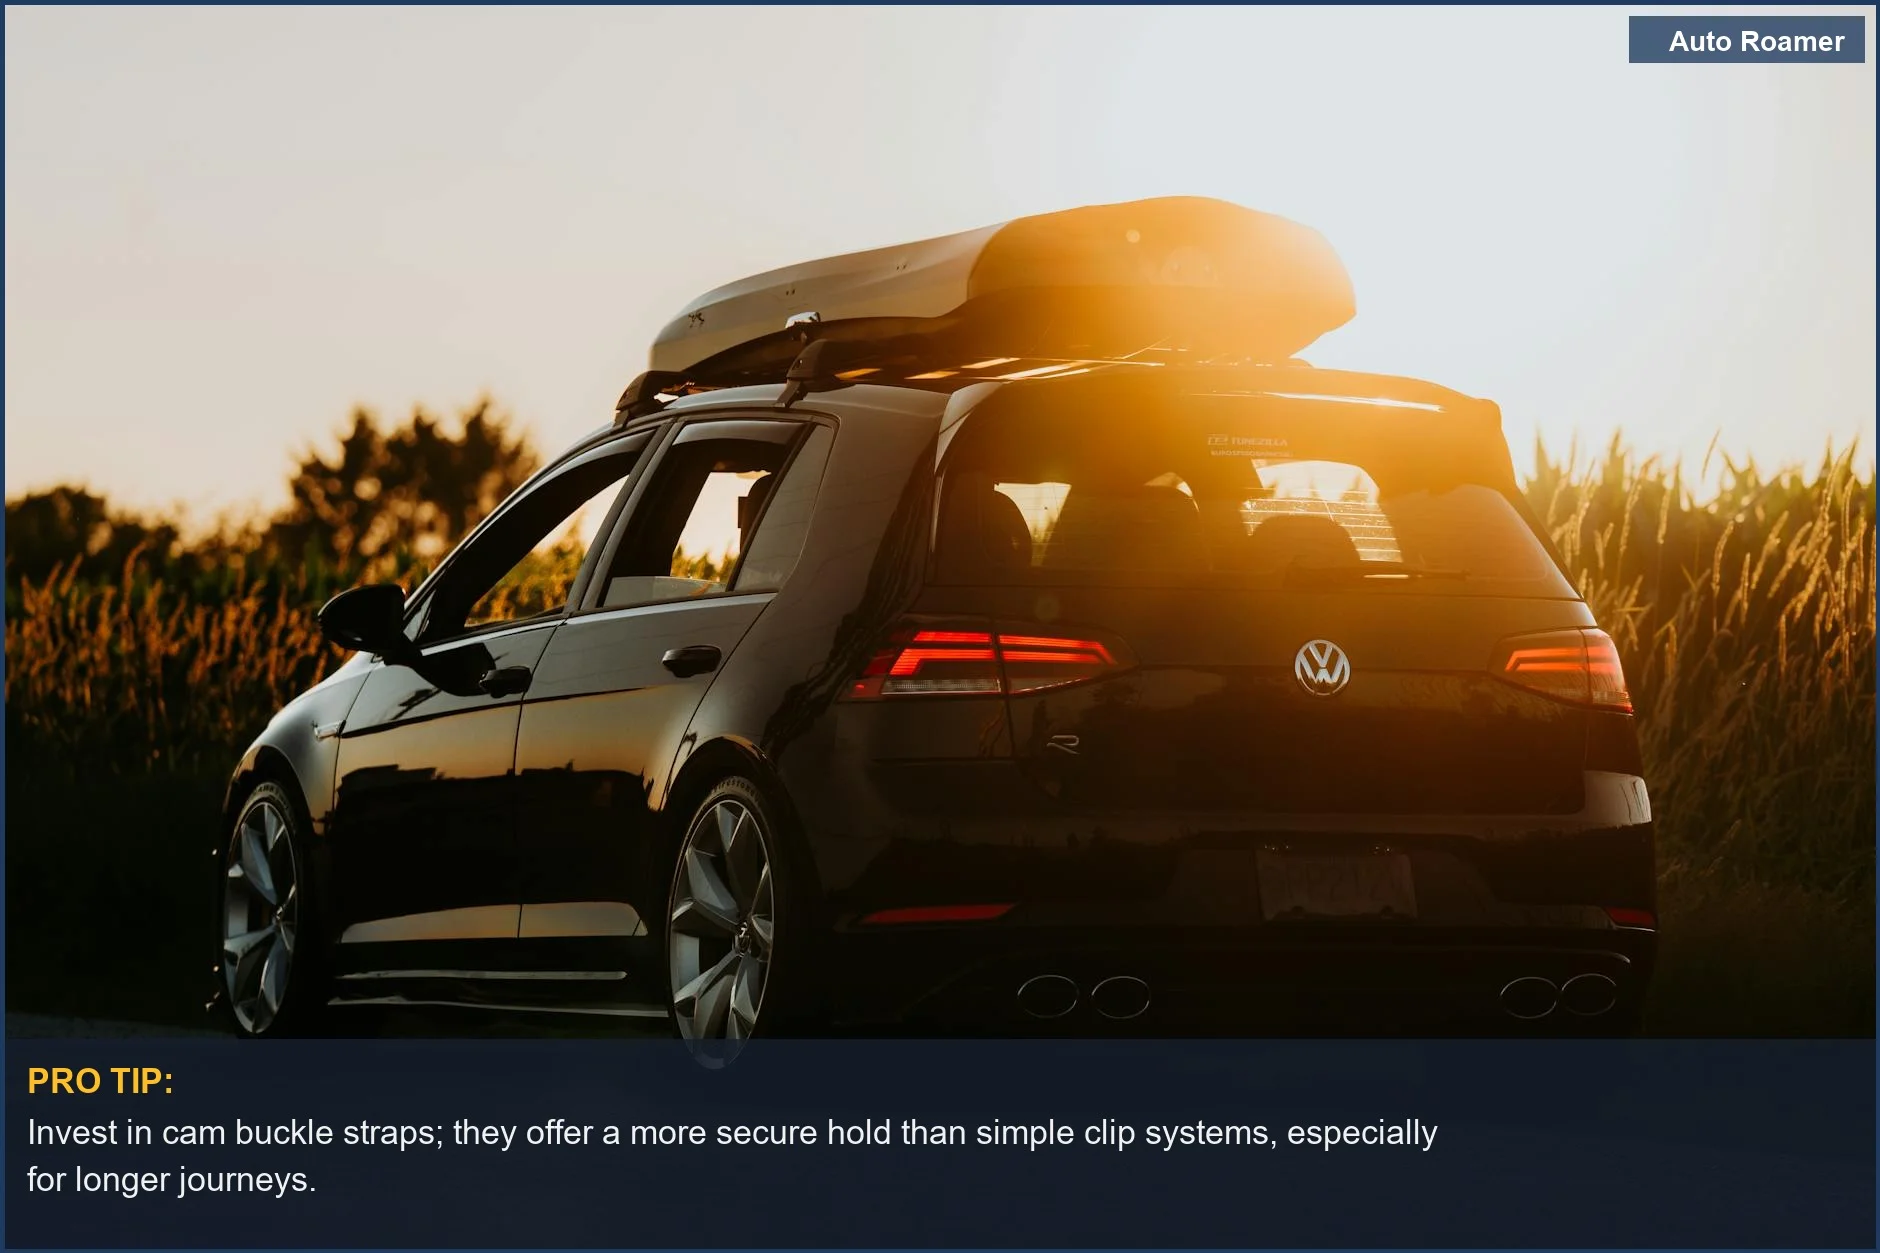
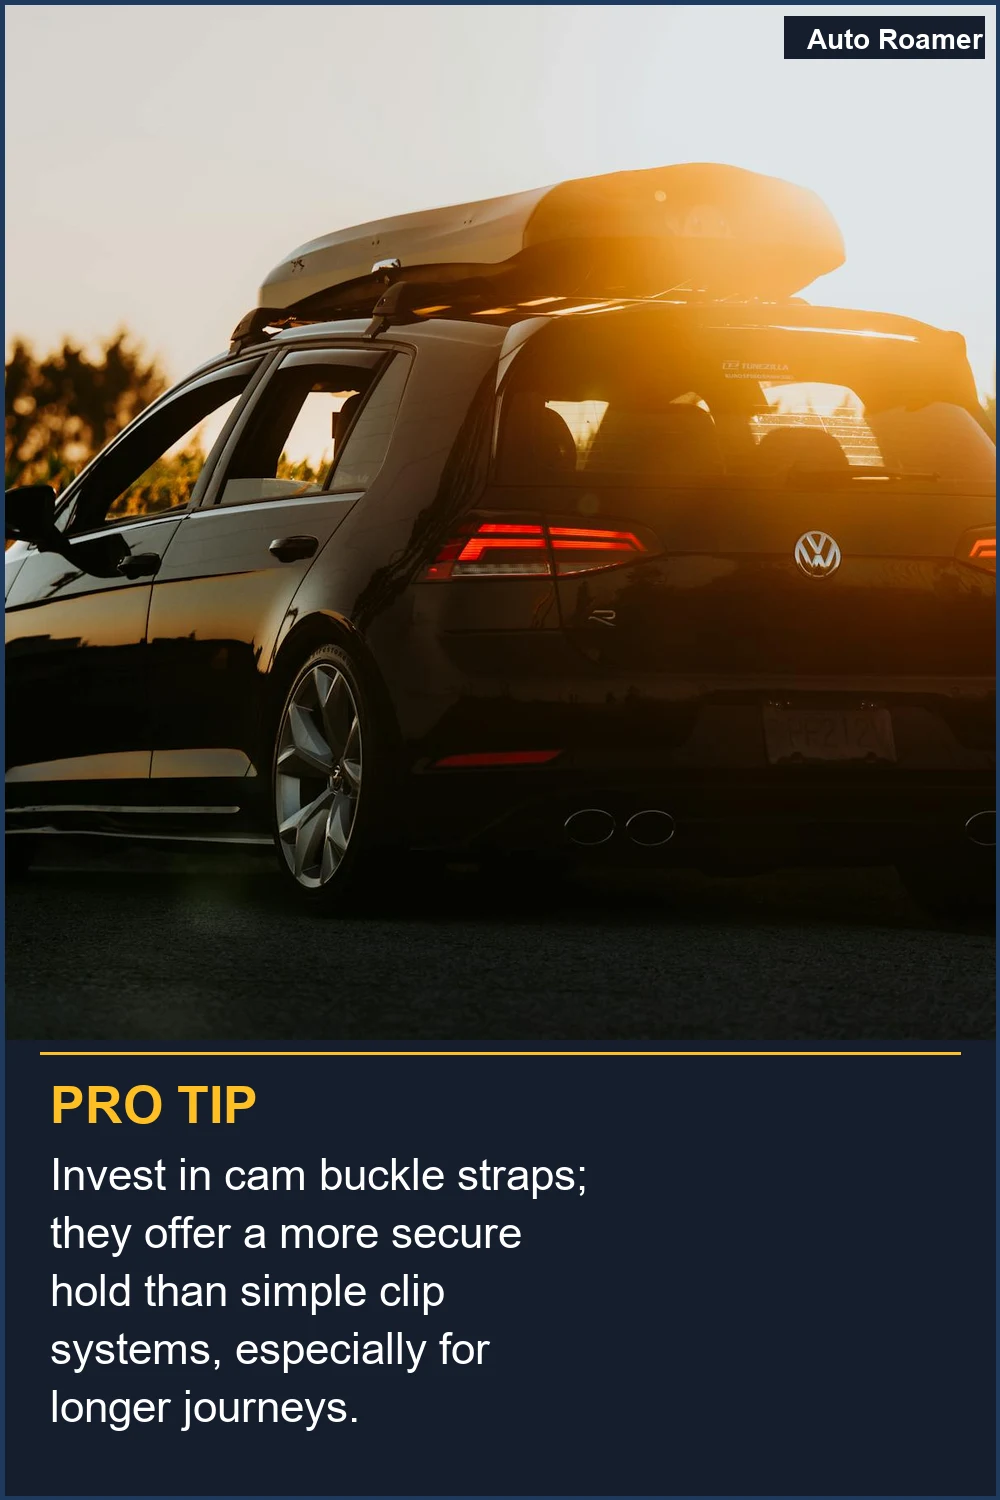
The biggest rookie mistake I made with soft roof bags was just looping the straps around the rack and calling it a day. That bag looked like it was about to take flight on I-95. The real move is to treat those straps like you're tying down a boat for a hurricane, not just securing a grocery bag.First, make sure you have straps that aren't total garbage. I'm talking about cam buckle straps, not those flimsy bungee cords. Bungees stretch, and when they stretch, your bag starts doing the cha-cha on your roof. Good cam buckle straps are usually around $20 for a pack of four.
The key is to cross your straps diagonally over the bag. Think 'X' marks the spot. This creates a much more stable anchor point than just going front-to-back or side-to-side. I learned this after my first bag started sliding sideways on a windy mountain pass.
When you tighten, get them snug. You want zero slack. I mean it, zero. On my second trip, I thought 'snug' was good enough. By mile 50, I was pulling over every 10 miles because the straps had loosened up. You need to feel like that bag is part of the car, not an optional accessory.
If your car has crossbars, loop the straps under and through them. If you don't have crossbars, you'll need to run the straps under the door jambs. This is where it gets a little sketchy, but it works. Just make sure the doors close firmly over the straps.
Some bags come with built-in straps that attach to door frames. Those are okay, but I still prefer running my own heavy-duty straps underneath. It feels more secure. My $50 bag with $20 straps is way better than a $200 bag with flimsy built-in ones.
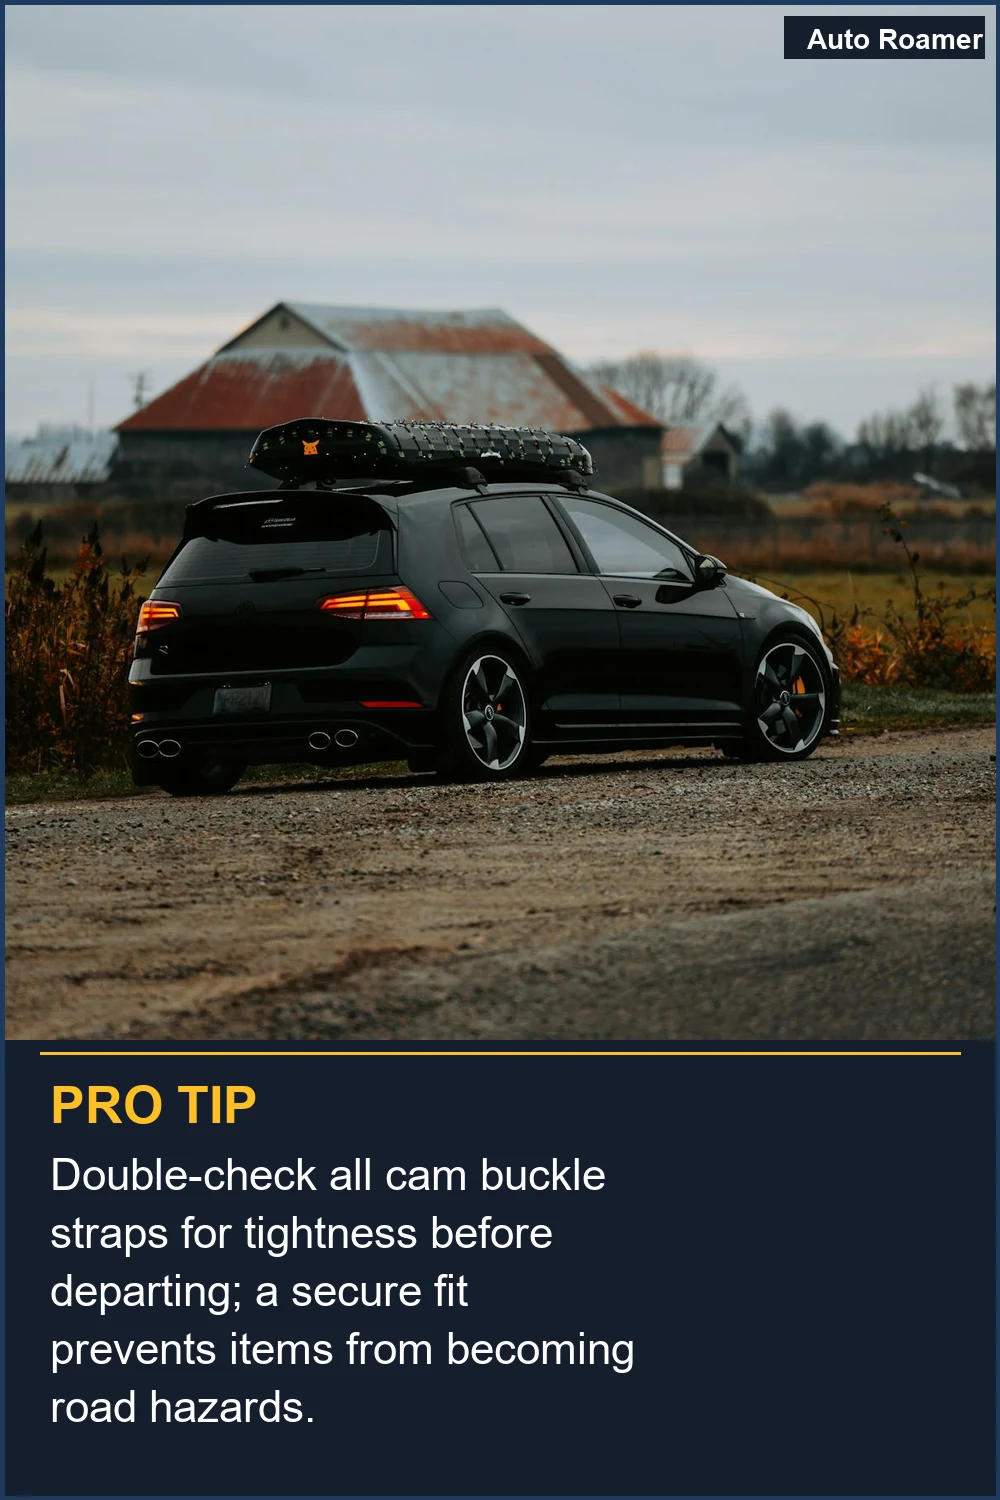
Always, always, always double-check your straps before you start driving and every time you stop for gas or a break. Tug on them. Give the bag a good shake. It sounds excessive, but trust me, you don't want your luggage becoming a projectile.
I've seen people use cargo nets over their bags too. That's like a good backup plan. It adds another layer of security in case a strap somehow fails. It's not the primary method, but it's a solid secondary safety measure. When securing bags, cross the straps diagonally across your cargo for added stability. Tighten them until there's no slack, but avoid over-tightening.
Why This Matters for Your Setup
Honestly, this isn't just about not losing your stuff. It's about not becoming 'that guy' on the highway. You know, the one whose entire camping wardrobe is blowing across three lanes of traffic.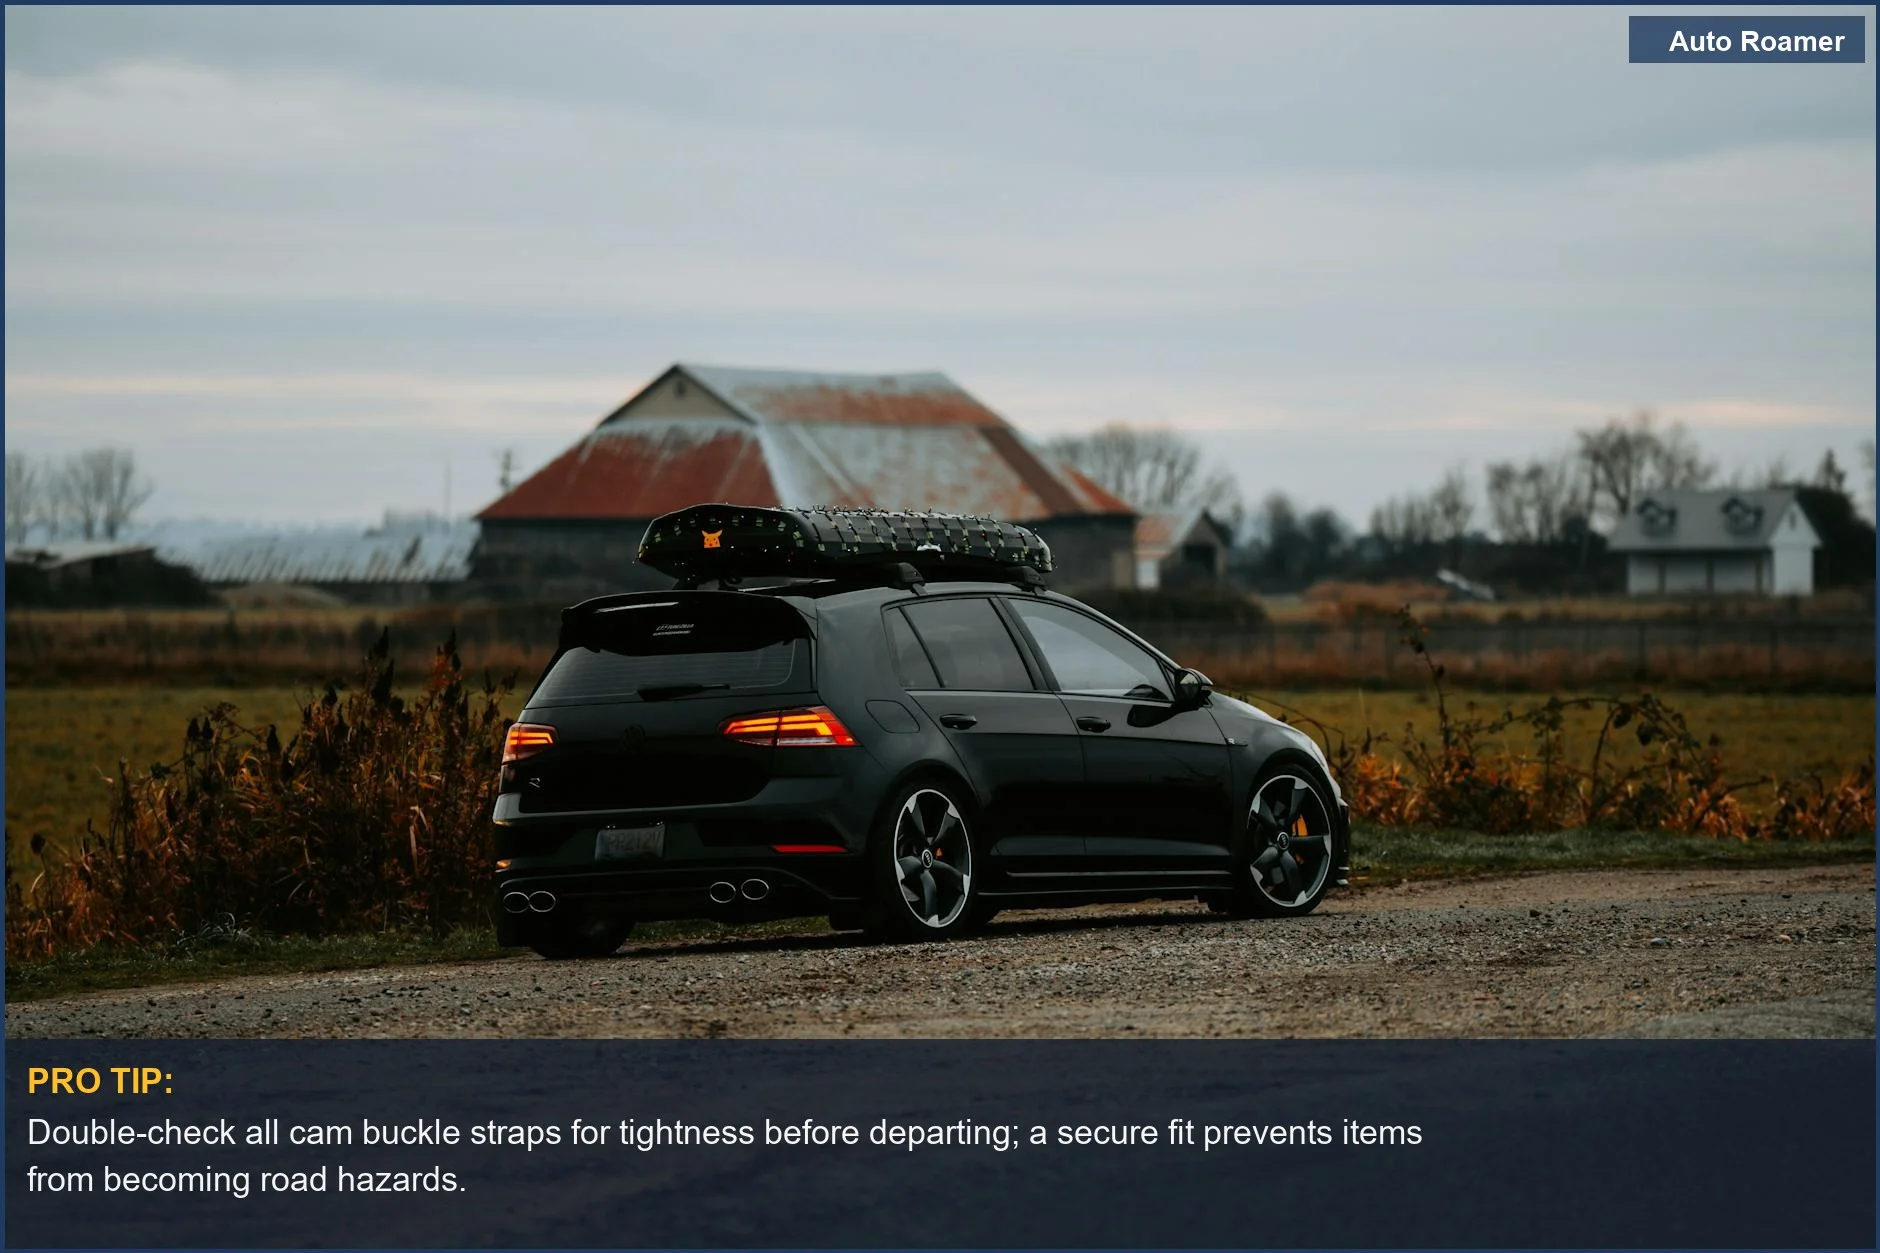
Making the Right Choice
So, the honest version is you don't need to spend a fortune to keep your gear safe on the roof. A solid soft bag, about $50-$80, and a good set of cam buckle straps, around $20, are your game-time essentials.What nobody tells beginners is that the technique is more important than the price tag. Learn how to cross those straps, get them tight, and then check them again. Seriously, check them again.
* Invest in Straps, Not Just Bags: Don't skimp on the tie-downs. Those $10 bungee cords are a one-way ticket to disaster. Good cam buckle straps are worth every penny.
Frequently Asked Questions
How much does it cost to have a shop professionally strap down my roof bag if I'm too nervous to do it myself?
Do I really need one of those anti-slip pads under my roof bag?
What if I strap it down super tight, but then I hear flapping noises on the highway? What do I do?
Can leaving a roof bag strapped to my car for a whole summer trip damage my paint or roof rack?
I heard you're supposed to tie roof bag straps *under* the car doors. Isn't that going to mess up the seals and let rain in?
🏅 Looking for Gear Recommendations?
Check out our tested gear guides for products that work with this setup: