
First, the Basics
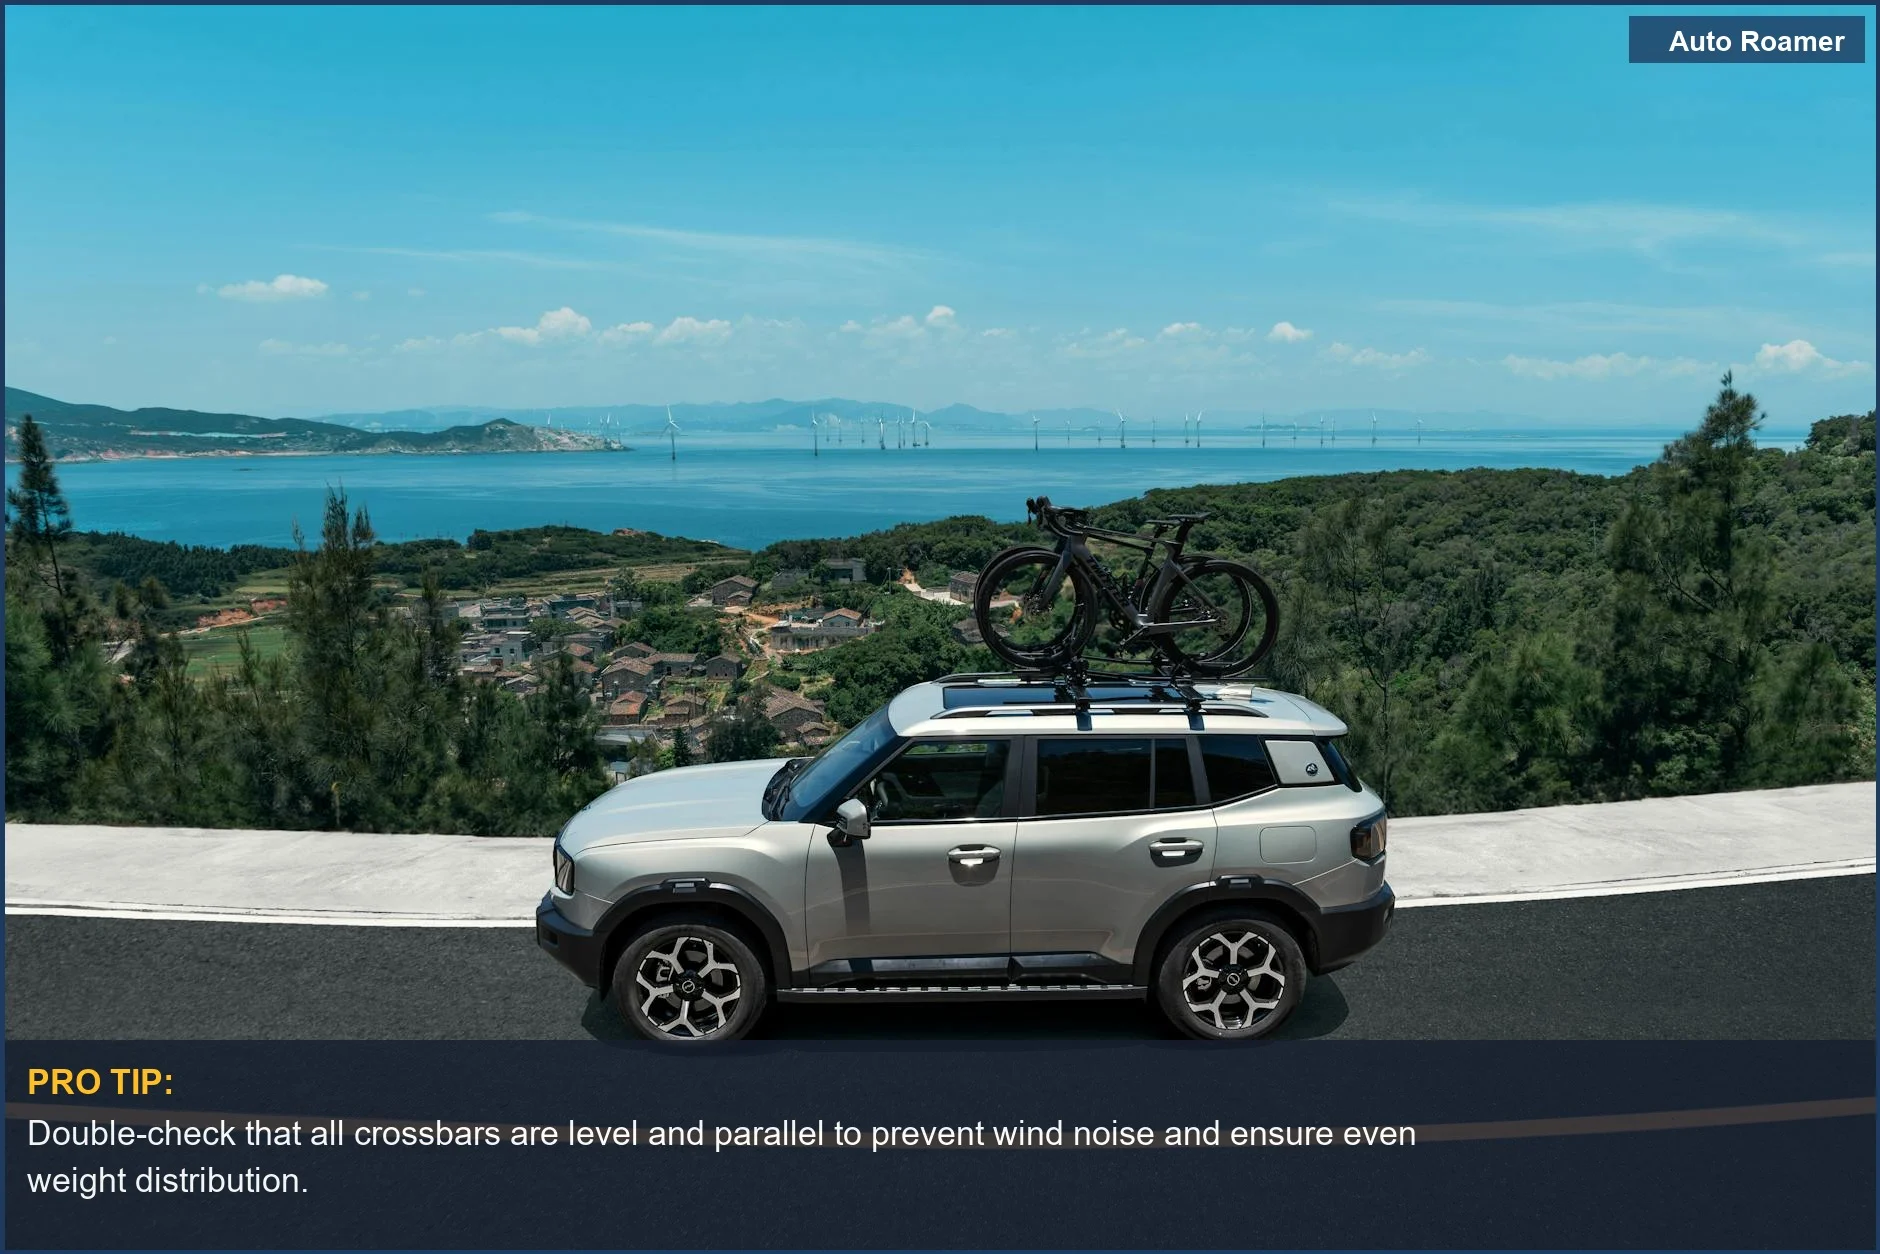
Installing a roof rack on your Hyundai Santa Cruz involves understanding how the factory rails or mounting points integrate with aftermarket or OEM crossbars. This isn't rocket science, but it does require a bit of careful attention to detail to avoid a wobbly rack that could cost you more than just your gear. A cheap set of universal bars can vibrate loose at highway speed — a real hazard.
Scary stuff. The key is matching the rack system to your specific vehicle's mounting hardware. For the Santa Cruz, you've usually got a few options depending on whether you have the factory side rails or are working with the bed's T-slot system. Let's break down what you need to know before you start turning wrenches. Hyundai Accessories has detailed instructions, and there are plenty of real-world accounts out there from folks who've tackled this themselves.
The Core Answer
Alright, let's get down to business with the Santa Cruz roof rack. The most common setup for this truck involves either using the factory-installed side rails or the T-slot system integrated into the bed rails. If you have the factory side rails, which often come with the 'activity package,' you're in luck. These rails have specific mounting points where crossbars can attach.
OEM Cross Bars Installed on forums often mention that the installation guide provided can sometimes be for a different model, like the Tucson, so paying close attention to your specific Santa Cruz diagrams is crucial. The real move here is to ensure you're using the correct hardware for those mounting points. Too loose and you've got a noisy, potentially dangerous situation. Too tight and you might strip something, which is never fun.
How to Install Hyundai OEM Cross Bars videos are your friend for visualizing the steps. If your Santa Cruz has the bed-mounted T-slots, this is a different beast entirely. You'll need crossbars specifically designed to clamp into these slots. Has anyone tried to put cross bars on top of their SC discussions show that people have successfully integrated racks using these T-slots, but it requires the right adapter kit.
Don't try to jury-rig something here; it's a rookie mistake that will come back to bite you. Torque specs are your friend. The installation instructions will usually give you a torque range, often around 10.60 lbs for certain fasteners. A common first attempt is to just crank the crossbars down until they feel tight. Big mistake. They can loosen up on the highway, forcing you to pull over and tighten them again in a downpour.
The honest version: read the manual, get a torque wrench, and don't guess. If you're unsure about the T-slot system, it might be worth paying a shop to install the initial mounting hardware, then you can swap out the bars yourself. For the side rails, it's generally a straightforward DIY job if you're patient. The weight of the rack itself is often around 4.80 lbs for OEM sets, which is manageable.
Just remember to double-check everything before you load up for your next adventure. That wobbly sound is your wallet crying.
Why This Matters for Your Setup
Why does all this matter for your weekend warrior setup? Because a poorly installed roof rack is more than just an eyesore; it's a safety hazard and a potential money pit.
- Secure Your Adventure Gear: Whether it's a kayak, a rooftop tent, or just a pile of camping gear, you need to trust that it's not going to fly off your truck on the interstate. A cooler can tumble off a poorly secured rack at highway speed. It isn't pretty.
- Avoid Unnecessary Noise and Drag: A wobbly rack can create a constant, annoying hum that makes your drive miserable. This also translates to worse fuel economy. A loose rack can sound like a dying banshee on the highway until everything is tightened down properly. The fix costs about $20 in a decent socket set.
- Protect Your Vehicle's Finish: Forcing parts or overtightening can scratch paint, dent metal, or even crack plastic trim. The Hyundai Kona installation guide, while for a different model, shows proper placement to avoid damaging the roof.
- Ensure Longevity of the Rack System: Following proper installation procedures means your rack will last longer and perform better. It's the difference between a rack that lasts one camping season and one that goes on countless adventures with you.
Making the Right Choice
Choosing and installing a roof rack on your Santa Cruz is totally doable for the average weekend warrior. The key is to be methodical and not cut corners.
- Know Your Mounting Points: Are you working with factory side rails or the bed T-slots? This dictates the type of rack you need. Don't buy universal bars and hope for the best; that's a recipe for disaster.
- Read the Instructions (Seriously): I know, I know. But the diagrams and torque specs are there for a reason. They're usually available online, like the official installation sheets.
- Invest in the Right Tools: A torque wrench isn't a luxury; it's a necessity for this job. You don't need a mechanic's full toolkit, but a decent socket set and a torque wrench will make the job much smoother and safer.
- When in Doubt, Ask or Pay: If you're really struggling or worried about damaging your truck, there's no shame in asking a buddy who's done it before or taking it to a professional installer. Better to pay a little upfront than to deal with a disaster later.

