
The Spare Is Under the Truck, and That Changes the Whole Job
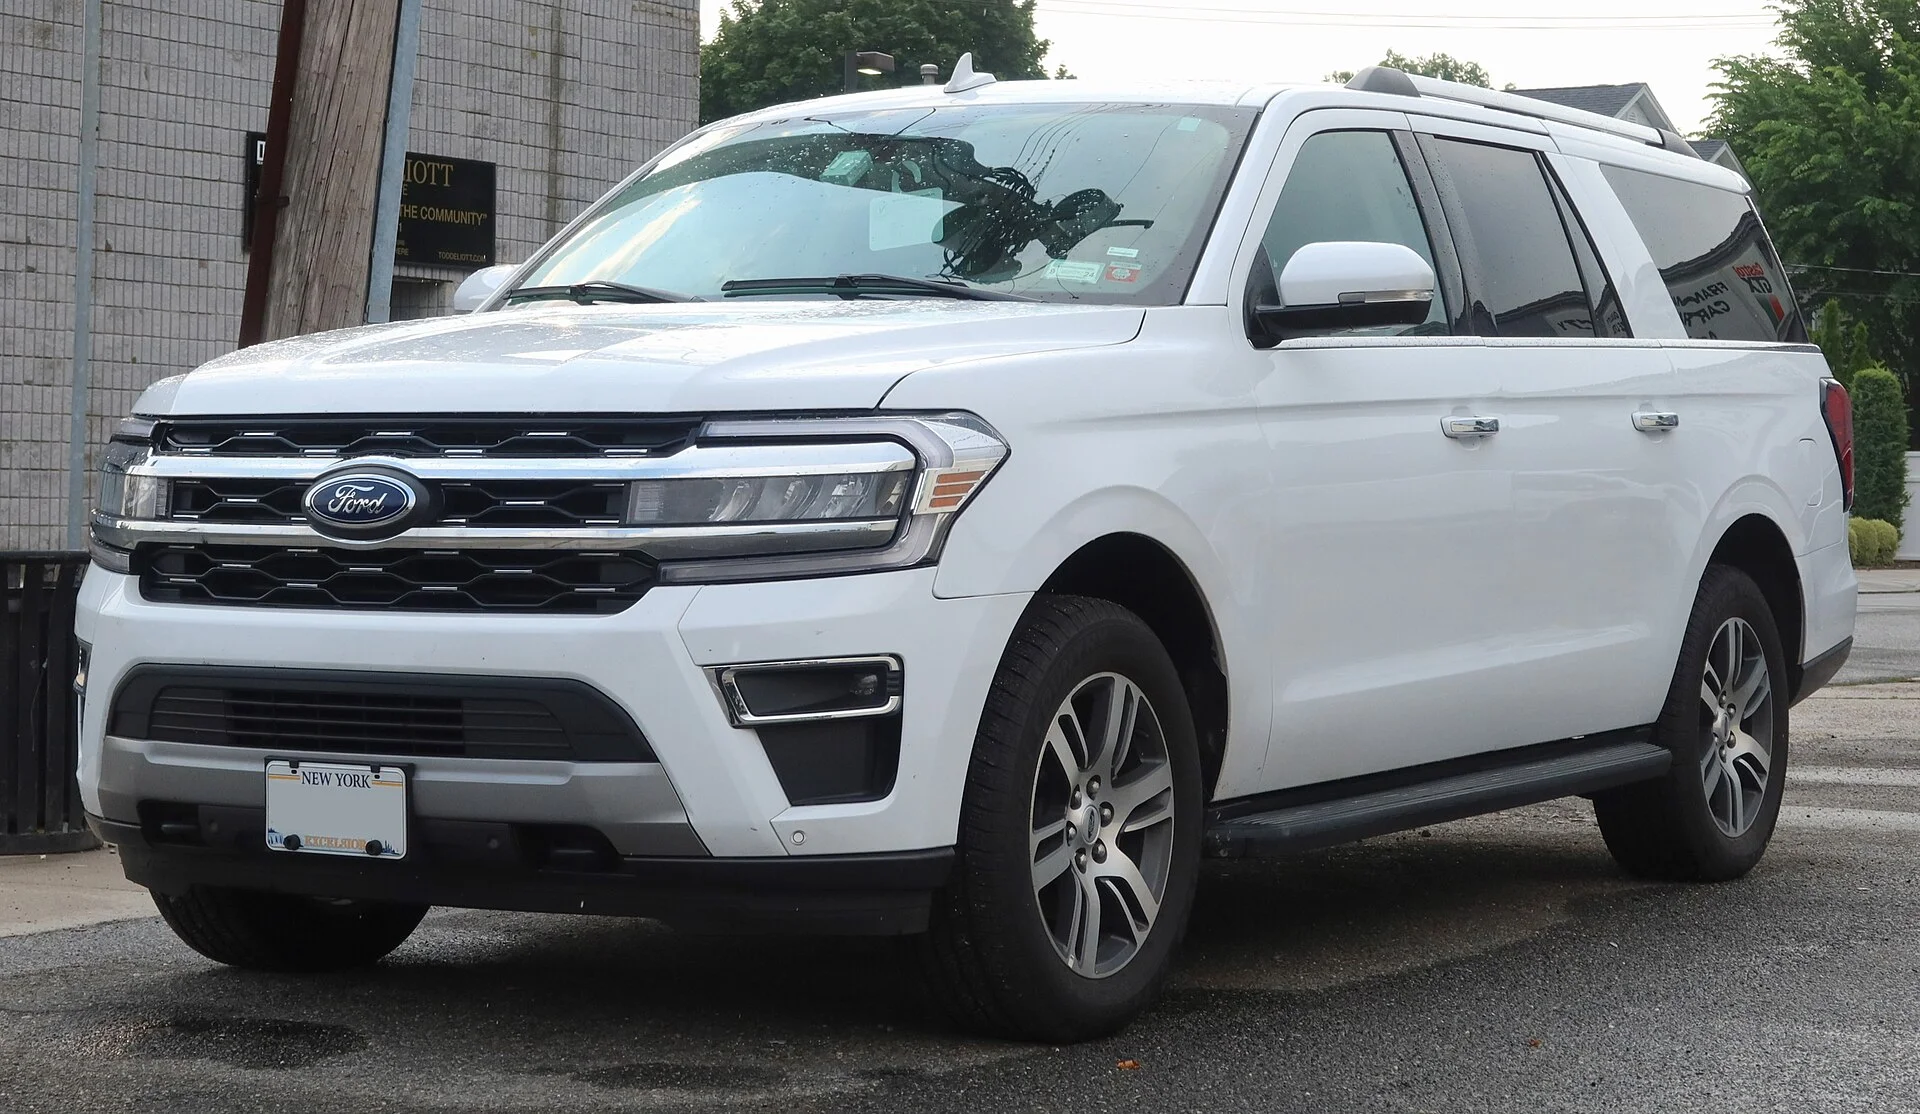
The Ford Expedition hides its spare where a loaded camping rig makes it hardest to reach: underbody, at the rear of the vehicle. The spare tire is stowed underbody at the rear and is lowered by turning the jack handle counterclockwise, then raised by turning it clockwise until fully stowed. That single design choice is why a flat on an Expedition is a different job than on a car with a trunk-well spare.
The reason it matters for camping is timing. When the cargo bay is packed or set up as a sleeping platform, the tools that reach the spare are buried, and the spare itself hangs under a truck that may be parked on soft ground. Knowing the retrieval sequence before a flat happens turns a roadside scramble into a ten-minute procedure.
The Expedition also carries a full-size spare, commonly sized P275/65R18 on recent model years, matching the road wheels. That is genuinely good news, a full-size match means no speed-restricted doughnut limp, but it also means the spare is heavy and awkward to handle as it comes down from the underbody hoist.
This guide walks the whole job in order: where the tools live, how the underbody winch lowers the tire, the torque spec that keeps the wheel on, the critical re-torque check most people skip, and the model-year differences that change the numbers. The goal is that the first time the spare comes down is not the first time you have thought about how.
Where the Tools Actually Live
Before the spare comes down, the tools have to come out, and on the Expedition they are not with the tire. The jack, jack handle, and winch extension tool kit are stored in a compartment under the rear cargo floor, separate from the underbody spare they operate. That separation is the first thing to internalize.
The practical consequence for a camper is direct: the cargo floor has to be clear to reach the kit. A packed cargo bay, a sleeping platform, or a full-height drawer system all sit on top of that compartment, so the tool kit is only accessible after the load is moved. Planning storage so the rear floor can be opened quickly is worth doing before a trip, not during a flat.
The kit itself is a system, not a single jack. The winch extension tool is the piece that couples to the hoist mechanism to lower the tire, and without it the underbody spare cannot be released. Confirming the full kit is present and complete is a pre-trip check, because a missing extension tool strands the spare under the truck exactly when it is needed.
Knowing the compartment location and its contents ahead of time is the difference between a calm retrieval and tearing apart a cargo setup on the shoulder. The tools under the cargo floor, the spare under the rear, the two work together but live apart, and the job starts by reuniting them.
Lowering the Spare: The Winch-Down Sequence
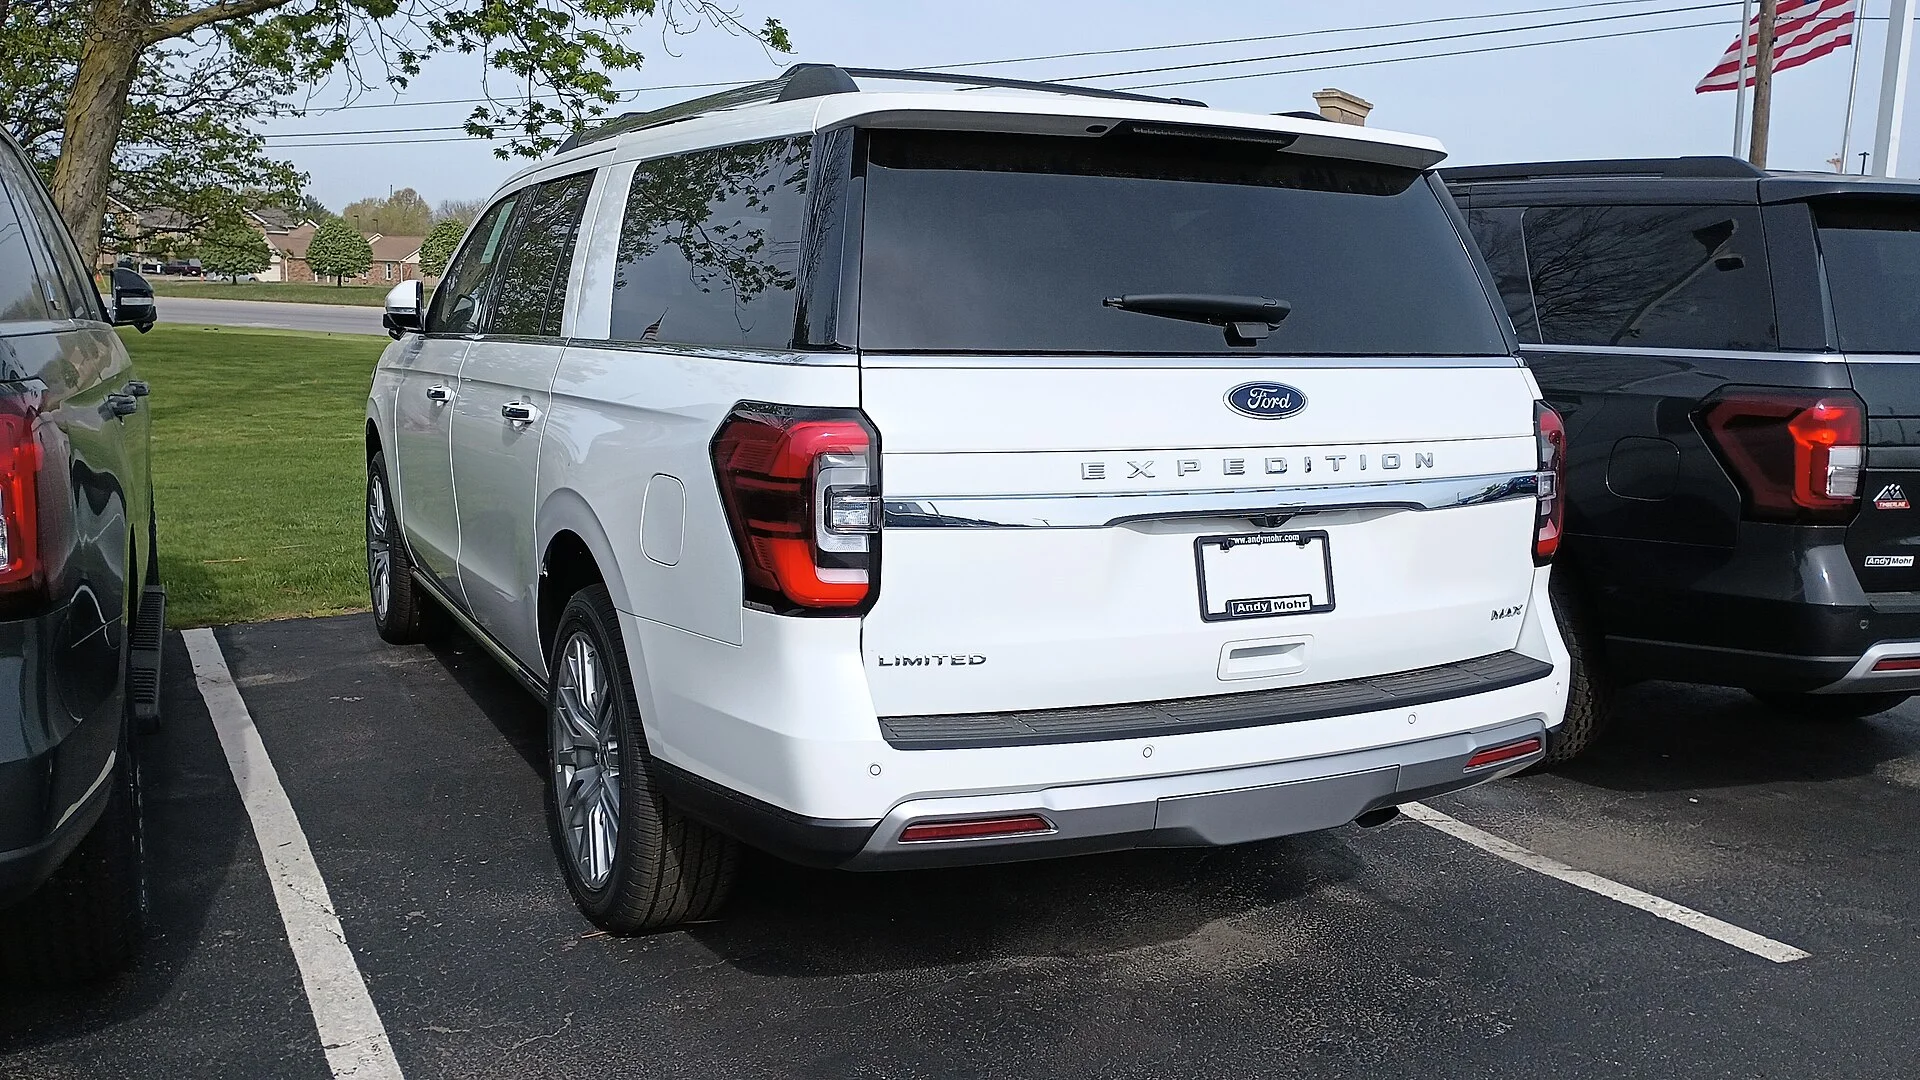
The Expedition uses an underbody winch to hold and lower the spare, and the mechanism is simple once the direction is clear. The tire is lowered by turning the jack handle counterclockwise and raised by turning it clockwise until fully stowed. The handle drives a cable hoist that pays the tire down onto the ground beneath the rear of the truck.
The access point for the hoist is typically reached through a small opening near the rear bumper or license plate area, where the winch extension tool couples to the drive. Turning counterclockwise slowly lets the tire descend under control rather than dropping; the goal is a smooth pay-out until the spare rests flat on the ground and the cable goes slack.
Lower the spare on firm, level ground when you can. The tire descends straight down from the rear, so soft dirt or a slope makes it harder to slide the heavy full-size wheel out from under the truck once it is down.
With the tire on the ground, it slides rearward out from under the vehicle, and the cable retainer is disconnected from the wheel. This is the point where the full-size spare's weight is felt, so keeping the work on level ground and clear of the exhaust makes handling the tire manageable. Reversing the process, clockwise until fully stowed, is how the flat tire goes back up into the same carrier for the drive to a shop.
The Full-Size Spare Is a Real Advantage
The payoff for the underbody complexity is a real spare. The Expedition carries a full-size spare tire commonly sized P275/65R18 on recent model years, matching the road wheels rather than a compact temporary. For a camper far from a tire shop, that distinction is significant.
A full-size match means no speed or distance restriction of the kind a compact doughnut imposes, no crawling limp to the next town at a posted spare-tire limit. The truck drives normally on the spare, which matters when the nearest replacement is a long haul away on interstate or dirt. It also means the spare shares tread pattern and diameter with the other three, avoiding the drivetrain strain a mismatched compact can cause on a four-wheel-drive vehicle.
The trade for that capability is weight and size. A P275/65R18 tire on a full-size wheel is heavy to handle as it comes off the underbody hoist and to lift back into place, which is why the winch-down mechanism exists in the first place. Handling it low and close to the body, rather than lifting it high, keeps the job within reason.
For overlanding and long road trips, the full-size spare is one of the Expedition's quietly valuable features. It converts a flat from a limp-to-the-next-town emergency into a normal wheel change that leaves the truck fully capable, provided the spare has been kept at proper pressure and the retrieval tools are aboard and complete.
The Torque Spec That Keeps the Wheel On
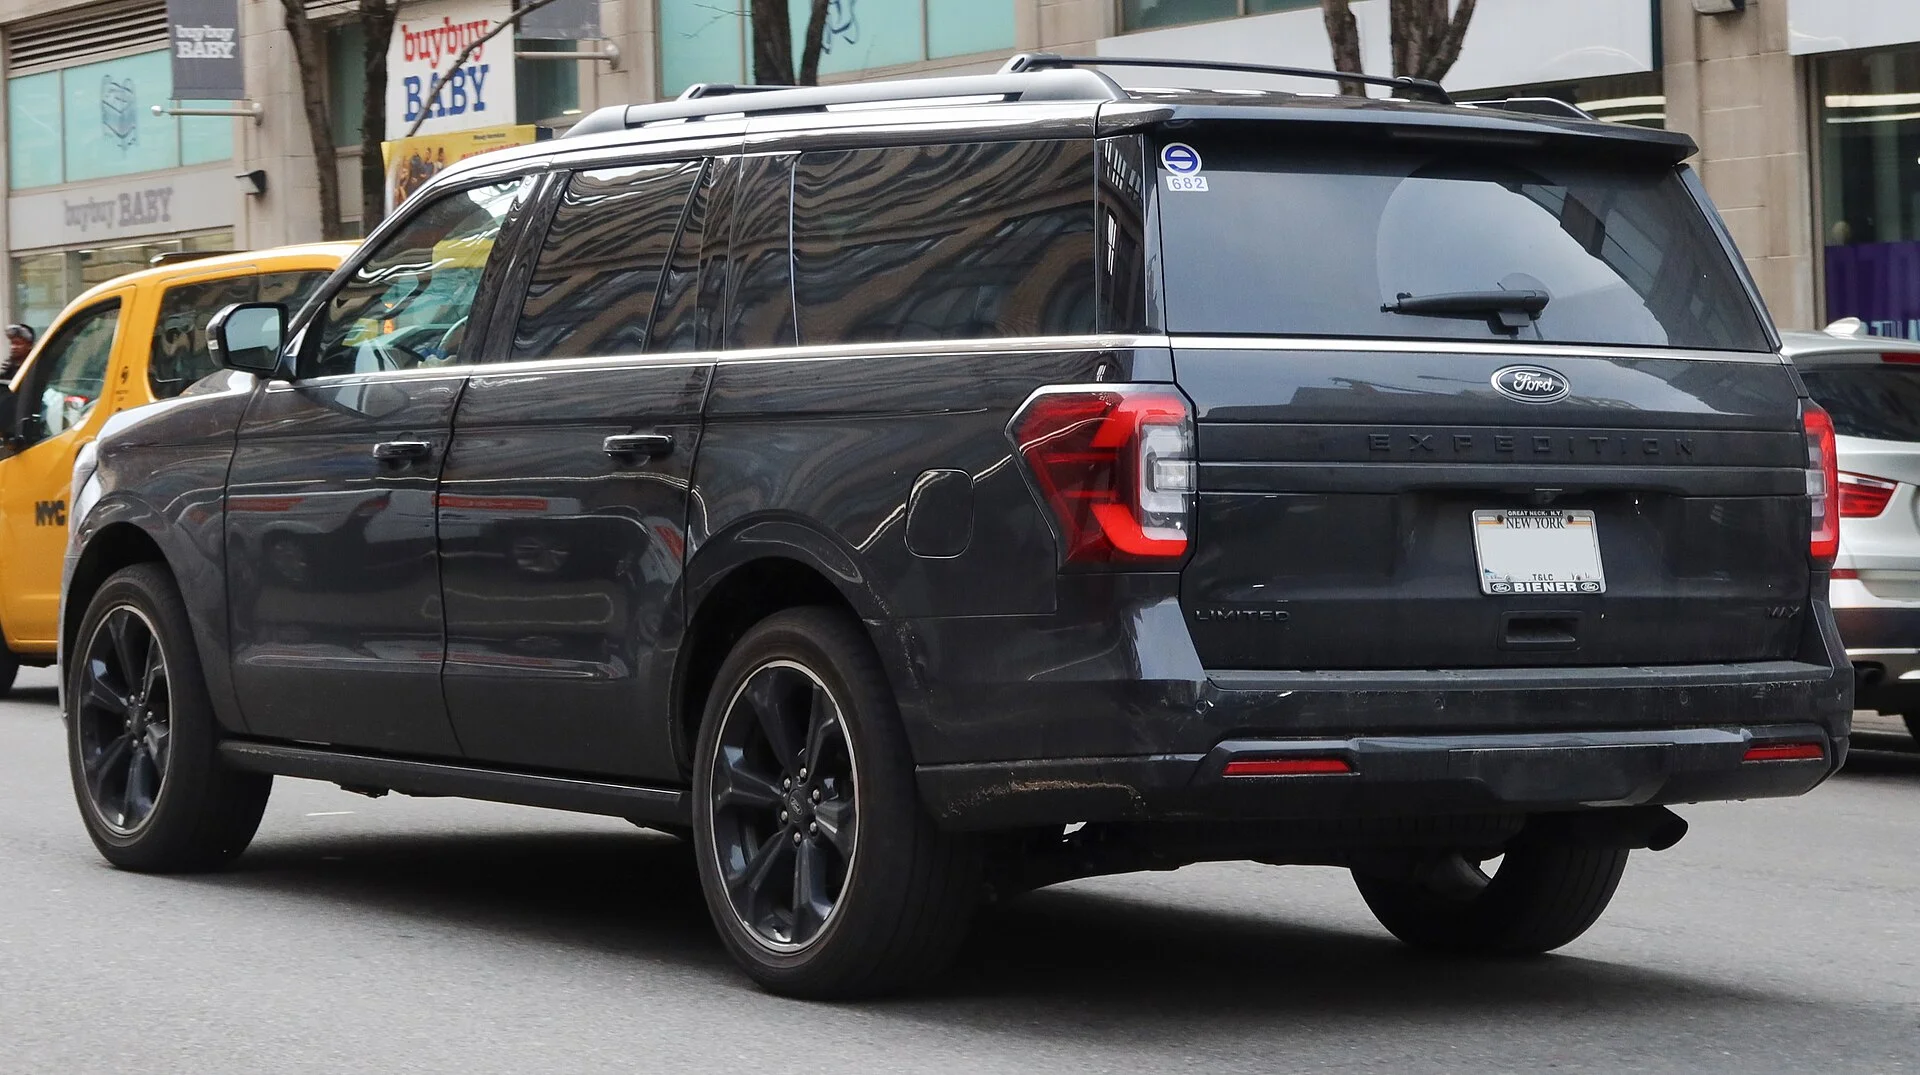
Getting the spare on is only half the job; getting it torqued right is the half that keeps it there. The Ford Expedition wheel lug nut torque specification is 150 ft-lb (200 N-m) per the owner's manual. That is the number the lug nuts must reach, and it is not a guess-by-feel figure on a vehicle this heavy.
The 150 ft-lb spec exists because under-torqued lugs let the wheel work loose and over-torqued lugs stretch the studs and warp the brake rotor. On a full-size SUV that carries camping loads, a wheel backing off at highway speed is a catastrophic failure, so hitting the spec with a torque wrench rather than a lug wrench and body weight is the correct method.
The lug hardware itself is worth knowing: the Expedition's wheel lug bolt size is M14 x 2.0, a large-diameter stud appropriate to the truck's weight. That larger stud is part of why the torque figure is as high as 150 ft-lb, and it is why a socket sized for a smaller vehicle will not fit.
The disciplined way to torque is in a star or crossing pattern, bringing each nut up gradually rather than fully tightening one at a time, so the wheel seats evenly against the hub. A torque wrench set to 150 ft-lb, worked in a cross pattern, is the roadside standard that a hand-tight lug wrench cannot reliably match. Carrying the right torque wrench is as important as carrying the spare.
The Re-Torque Check Almost Everyone Skips
The single most-skipped step in a wheel change is the one the manual is explicit about. Lug nuts must be retightened to the specified torque within 100 miles (160 km) after any wheel disturbance such as a flat tire or rotation. A freshly mounted wheel settles as it seats, and that settling loosens the lugs.
The mechanism is straightforward: the clamping surfaces bed in under the first miles of driving, and the initial torque relaxes slightly as they do. Re-torquing to 150 ft-lb within that first 100 miles restores the correct clamp load before the loosening can progress. Skipping it is how a wheel that felt tight at the roadside works loose a day later.
For a camper, the 100-mile window often falls in the middle of a drive, so the practical move is to carry the torque wrench in the cab, not buried in a cargo drawer, and stop to re-check within that distance. It takes two minutes and closes the most common failure path of a roadside wheel change.
This is the discipline that separates a wheel change that holds from one that quietly loosens. The spare goes on at 150 ft-lb, the re-torque within 100 miles confirms it stayed there, and only then is the job actually finished. Treating the re-torque as optional is the mistake the manual writes the warning to prevent.
Model-Year Differences in the Numbers
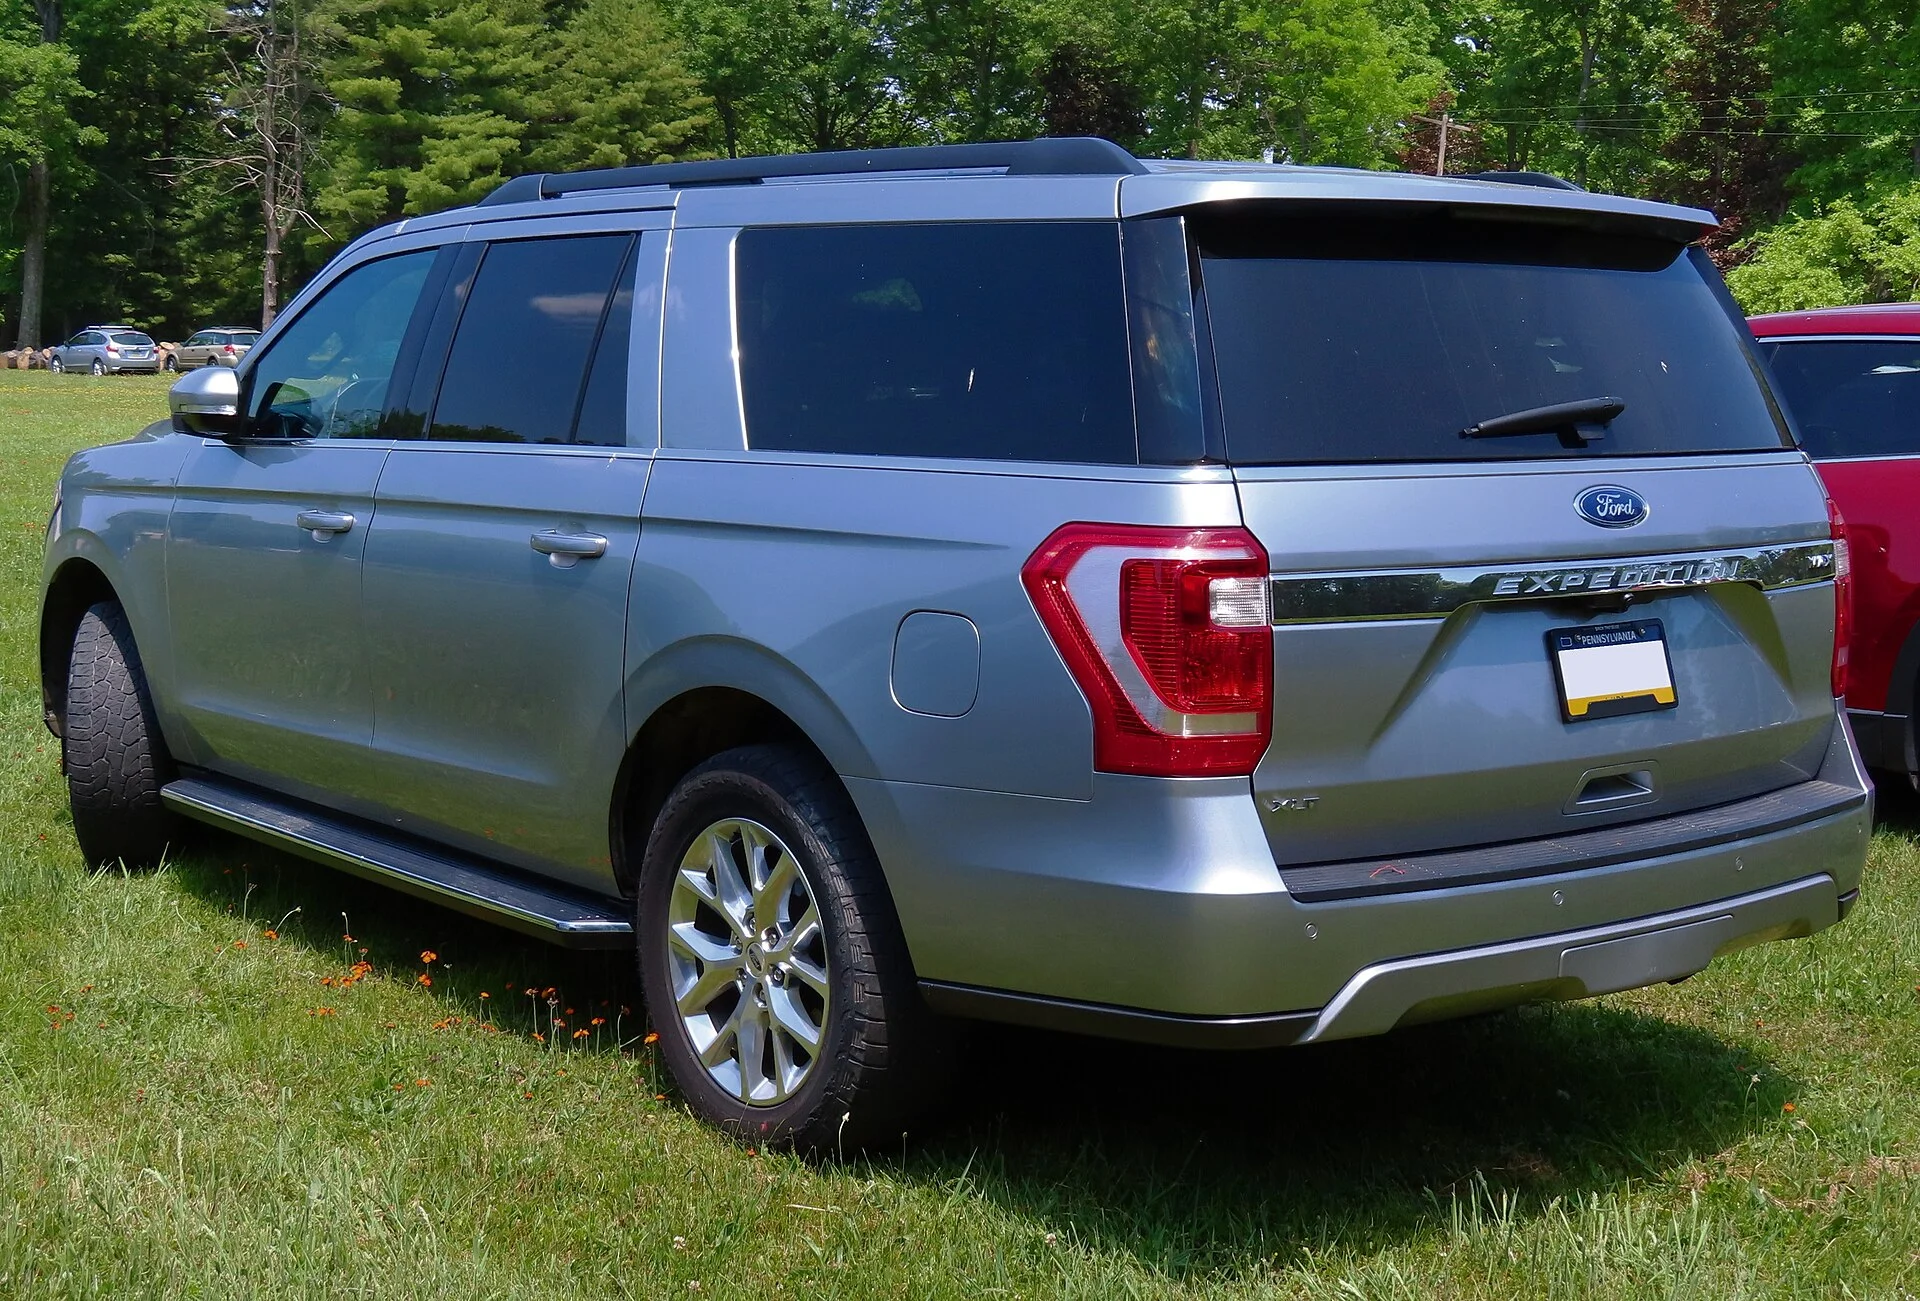
The torque figure is not identical across every Expedition ever built, and a camper working on an older truck should know the split. 1997-2000 4WD Expeditions with 12mm studs used a lower lug torque spec of 100 ft-lb, versus 150 ft-lb on 2000-2018 models with 14mm studs. The stud size changed, and the torque changed with it.
The reason is mechanical. A 12mm stud is thinner and reaches its correct clamp load at a lower torque than the later 14mm stud, so applying the newer 150 ft-lb figure to an early truck's 12mm studs risks over-torquing and stud damage. The torque spec follows the hardware, not the badge on the tailgate.
This is why reading the specific truck's own manual matters rather than assuming one number covers all years. An owner of a late-1990s 4WD Expedition should torque to 100 ft-lb; an owner of a 2000-or-later truck with 14mm studs uses 150 ft-lb. The wheel lug bolt size, M14 x 2.0 on the modern trucks, is the tell for which spec applies.
For most Expeditions on the road today, 150 ft-lb is the operative figure, but the older-truck exception is exactly the kind of detail that matters when a flat happens far from help. Confirming the stud size and the matching torque for the specific model year, before a trip, removes the guesswork from a roadside repair.
Reaching the Spare When the Cargo Bay Is Your Bed
The camping-specific problem the Expedition's layout creates is access. The tools live under the rear cargo floor, and that floor is exactly where a sleeping platform, a drawer system, or a packed load sits. A flat at a dispersed campsite means the sleeping setup has to come apart to reach the jack and winch extension tool.
The way to defuse that is storage planning. Building or loading the cargo area so the rear floor panel can be lifted without a full teardown keeps the tool compartment reachable. Some owners relocate the essential tools, the jack handle and winch extension, to a more accessible spot so the underbody spare can be released without disturbing the whole camp setup.
The spare's underbody location is actually the friendlier half of this equation, since it comes down from beneath the truck without touching the cargo bay at all. It is the tools under the floor, not the tire under the truck, that conflict with a sleeping platform, so the planning effort belongs there.
For anyone building an Expedition into a camping rig, the honest design rule is to keep the rear-floor tool compartment accessible. A platform that has to be dismantled to reach the jack is a platform that turns a flat into an ordeal. Solving that at build time, not on the shoulder, is the difference the layout demands.
The Pre-Trip Checklist That Prevents the Ordeal
Almost every hard version of this job traces to something that could have been checked at home. The spare's pressure is the first: an underbody spare is easy to ignore for years, and a flat spare is no spare at all. Checking and setting it before a long trip is the highest-value two minutes in the whole procedure.
The tool kit is the second check. Confirming the jack, jack handle, and winch extension tool kit are present and complete under the rear cargo floor ensures the hoist can actually be operated. A missing winch extension tool is the classic way an owner discovers, at the worst moment, that the spare cannot be lowered at all.
The third is the torque wrench. The wheel goes on at 150 ft-lb and gets re-checked within 100 miles, and neither number can be hit reliably without a torque wrench rated to reach 150 ft-lb. Carrying it in the cab, not buried in cargo, makes both the initial torque and the re-torque practical on the road.
Run those three checks, spare pressure, complete tool kit, and an accessible torque wrench, and the Expedition's underbody spare system goes from intimidating to routine. A quality torque wrench in the cab covers both the mount and the mandatory re-torque, and a spare kept at pressure means the full-size tire is ready when the road finally finds a nail.
The Underbody Spare's One Long-Term Enemy: Corrosion
An underbody spare carries a hidden maintenance burden that a trunk-well spare never faces: it lives exposed to the road. Hung beneath the rear of the truck, the winch mechanism, cable, and the spare's mounting hardware sit in the path of road spray, salt, mud, and grit for the vehicle's whole life, and that exposure is the underbody carrier's chief long-term weakness.
The failure mode is a seized hoist. Years of corrosion can freeze the cable and the winch drive so that turning the jack handle counterclockwise no longer lowers the tire, which is discovered, predictably, at the worst possible moment. A carrier that has never been cycled can rust solid while the spare itself, a full-size P275/65R18, stays perfectly serviceable but unreachable.
The prevention is simple and cheap: cycle the mechanism periodically. Lowering and raising the spare once or twice a year keeps the cable and drive moving, spreads any lubrication, and confirms the whole system still works before a flat proves it does not. It also creates a natural checkpoint to inspect the spare's pressure and condition.
For a camper who takes the truck onto salted winter roads or muddy trails, this matters more, not less, because those are exactly the conditions that accelerate underbody corrosion. Treating the spare carrier as a maintenance item rather than a fixture, cycling it, inspecting the cable, keeping the tire at pressure, is how the underbody design's one real weakness is kept from becoming a roadside failure. The mechanism only helps if it still turns.
The Verdict: Rehearse It Before You Need It
The Expedition's spare-tire system rewards preparation and punishes improvisation. The tire hangs underbody at the rear and comes down on a winch turned counterclockwise; the tools live under the rear cargo floor; and the wheel goes back on at 150 ft-lb (200 N-m) with a mandatory re-torque within 100 miles (160 km). None of that is hard, but all of it is easier known in advance.
The full-size spare, commonly P275/65R18 to match the road wheels, is the payoff, a real tire that keeps the truck fully capable rather than a limp-home doughnut. That capability is only useful if the spare is kept at pressure and the winch extension tool is aboard to lower it, which makes the pre-trip check the linchpin of the whole system.
The details that trip people up are the ones worth pinning down for the specific truck: the 150 ft-lb torque on modern 14mm studs versus 100 ft-lb on the older 12mm ones, and the cargo-floor tool access that conflicts with a sleeping platform. Both are solvable at home, and neither should be discovered on a dark shoulder.
Rehearse the retrieval once in the driveway, confirm the kit and the spare's pressure, and keep a torque wrench in the cab, and a flat on the Expedition becomes a ten-minute wheel change rather than a trip-ending ordeal. The truck gives you a genuinely good spare; the job is making sure you can reach it and torque it right when the moment comes.