Setting the Scene
The Kia PV5 Camper is rolling off the line, and everyone wants a dash cam. Good idea. The thing is, running power cleanly without slicing into the factory harness for a 280mA draw at 5V is where most people get tripped up. Don't be that guy with wires dangling everywhere.
I've seen forum posts asking about tow bar installs for these, which tells me the factory wiring is already a mystery to some folks.
Your typical dash cam needs 5V DC, usually around 1.5A to 2.5A. That's a low-power draw, but if it's always on for parking mode, that 1.5A adds up. A parasitic draw of 1.5A on a 60Ah battery will kill it in about 40 hours.
Not ideal for a camper that might sit for a few days.
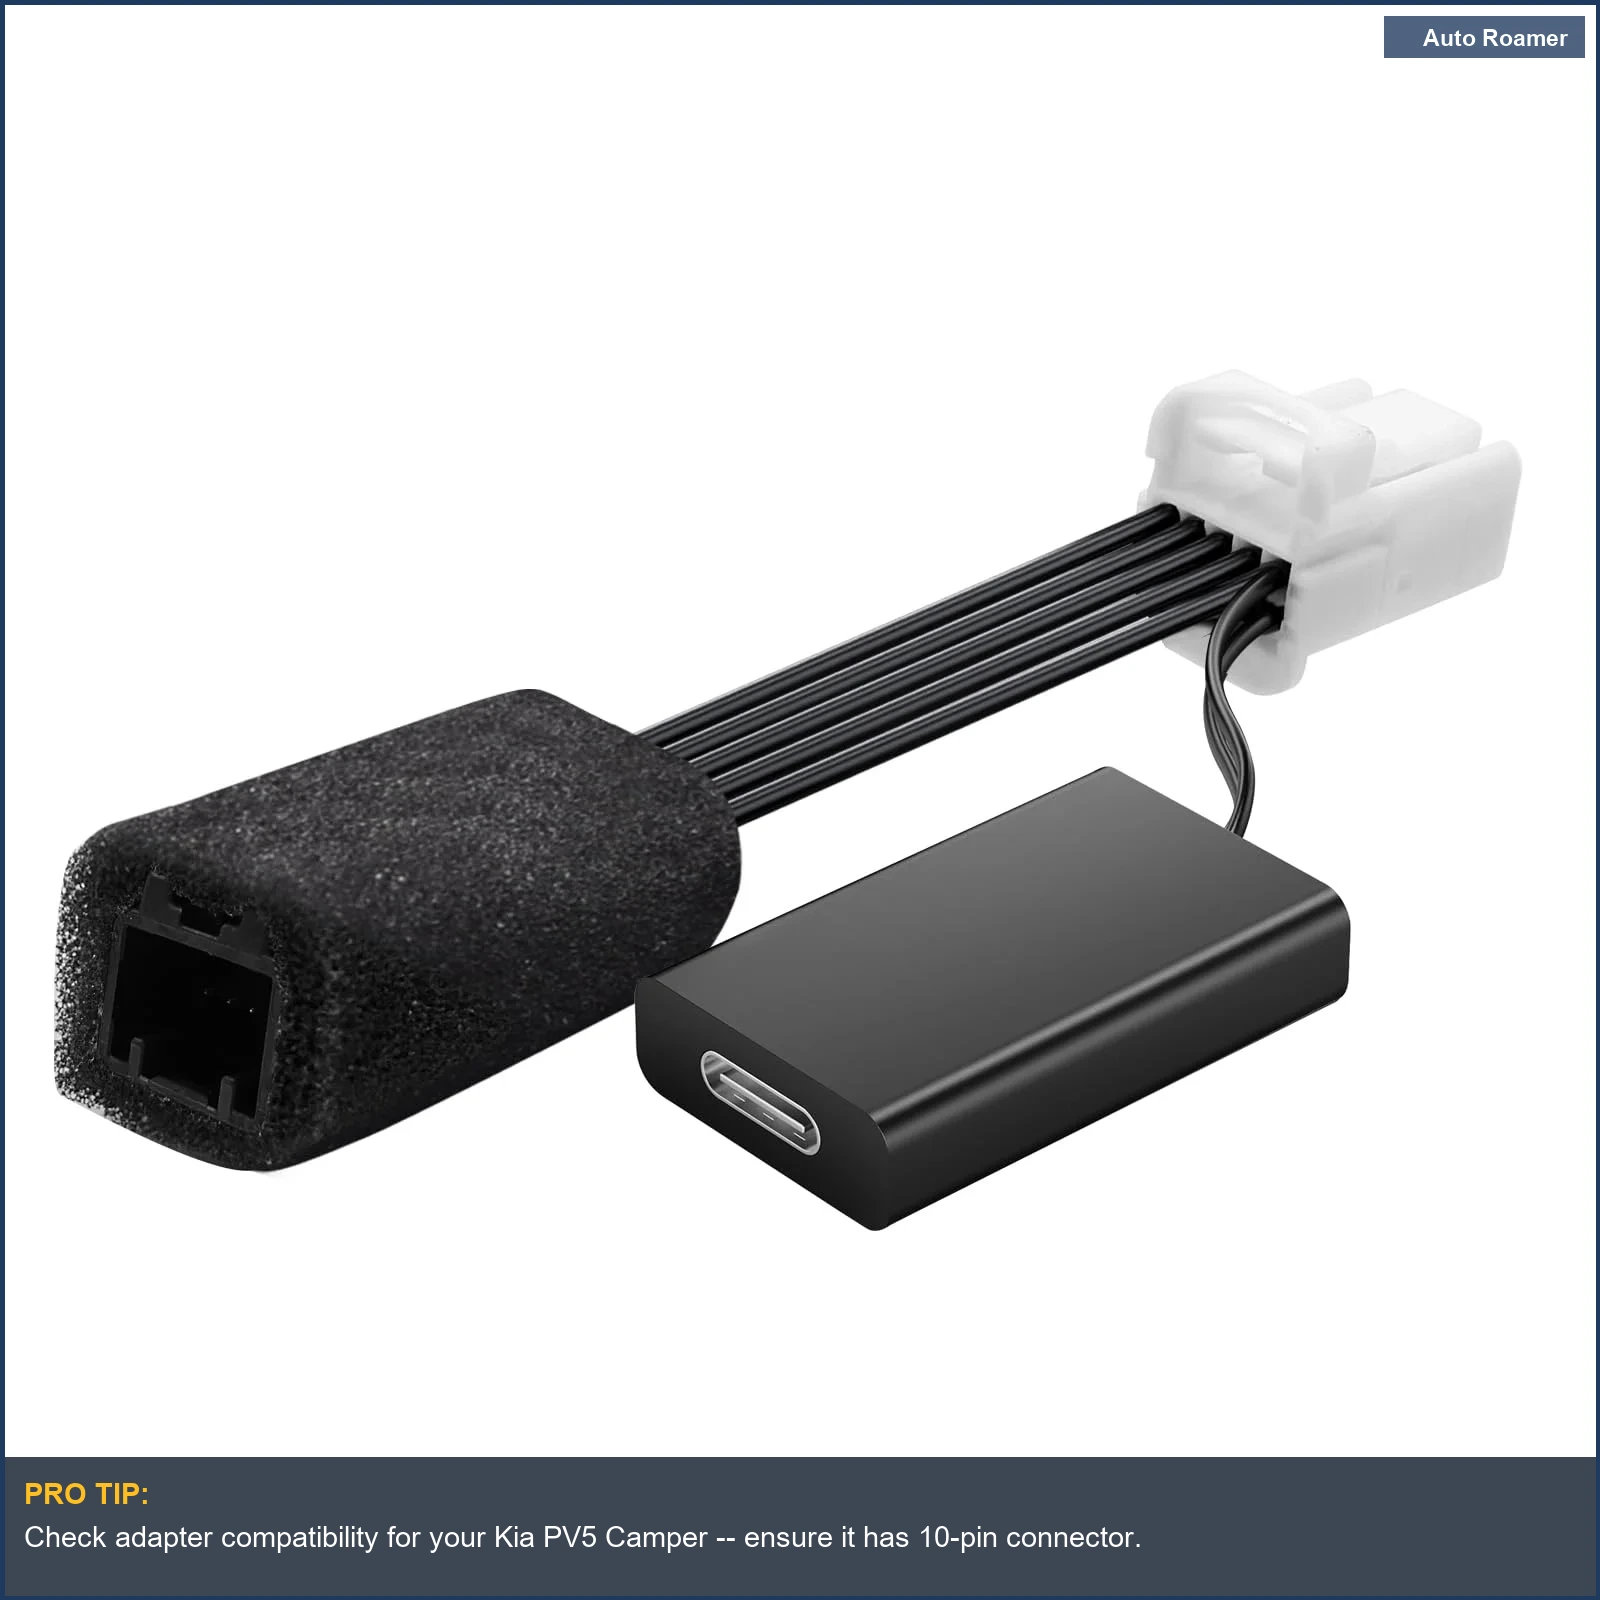
The cleanest power source is often right behind your rearview mirror. Many Kia and Hyundai models share a 10-pin connector up there, feeding the auto-dimming mirror or other accessories. This is usually switched power, meaning it turns off with the ignition, but some adapters can tap constant power for parking mode.
Splicing into a factory harness is a bad idea.
You compromise the insulation, introduce potential points of failure, and good luck with warranty claims. Better to find a plug-and-play solution that uses the existing connectors. Mangoal and Dongar make kits for this. The dealer will charge you $150 minimum to hardwire, probably more for a camper variant. Do it yourself in 20 minutes for $30.
Top Picks
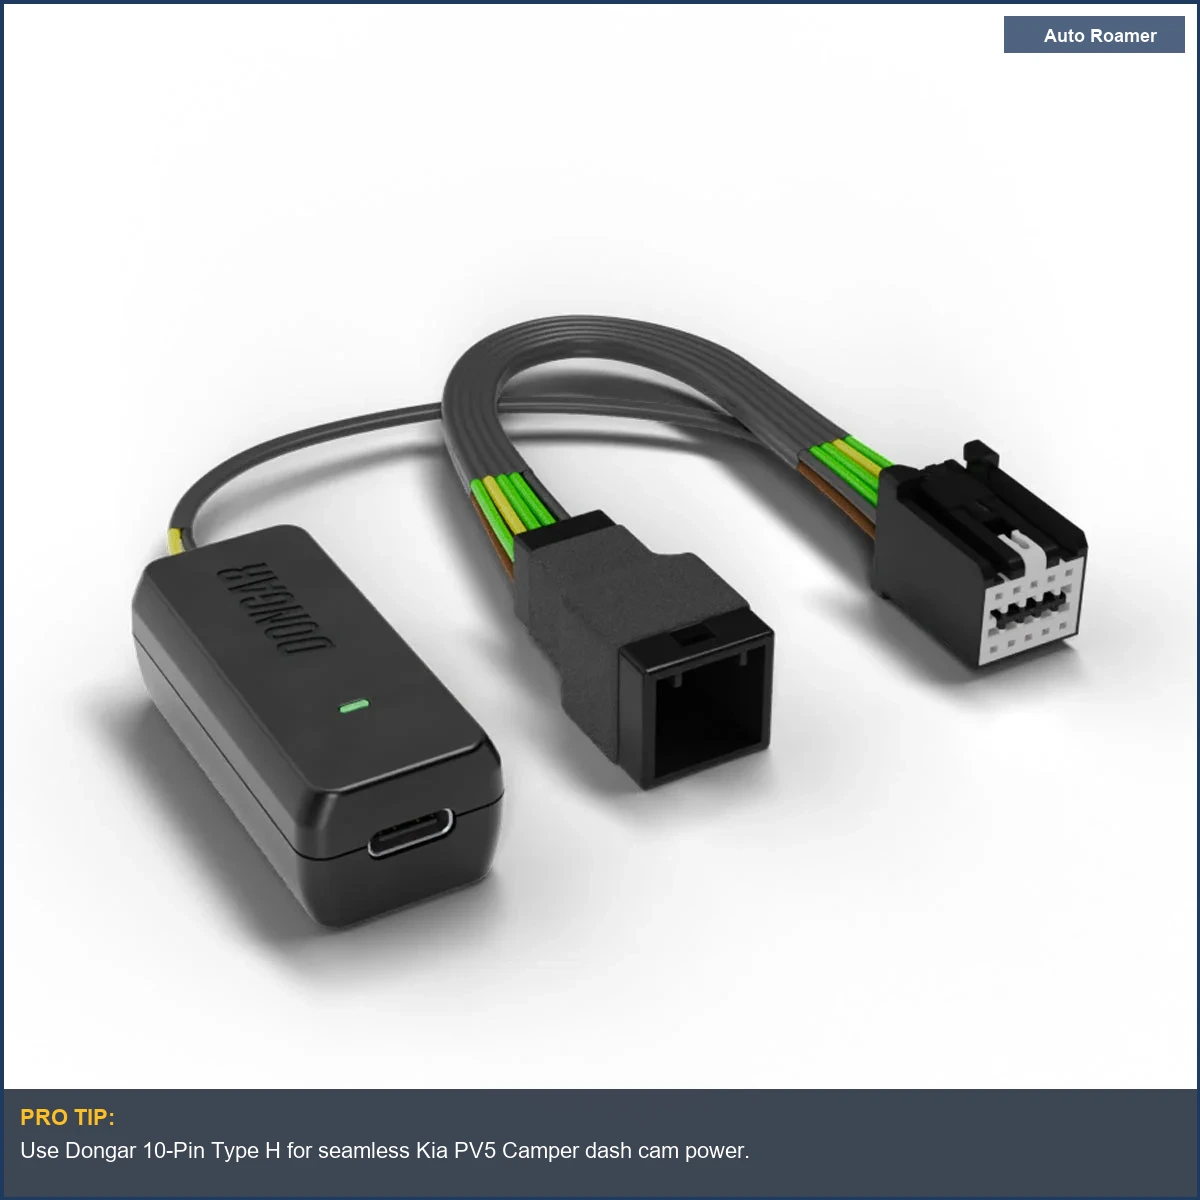
Dongar Classic (10-Pin Type H) (~$33)
Specs: Ignition-on USB-A, Input 10-30V, Output 4.75-5.25V @ 2.4A. Dongar's original is a solid, no-frills option.
Pros: Truly plug-and-play into the rearview mirror harness. No wire cutting. Clean install. Keeps the windshield clear. The output is stable and within spec for most dash cams.
Cons: Ignition-on power only - no parking mode without additional hardware. Limited to USB-A, so if your camera needs USB-C, you'll need another adapter. The plastic pry tool they include is sometimes flimsy.
Best for: Simple, clean installs where parking mode isn't a priority or is handled by the dash cam's internal battery.
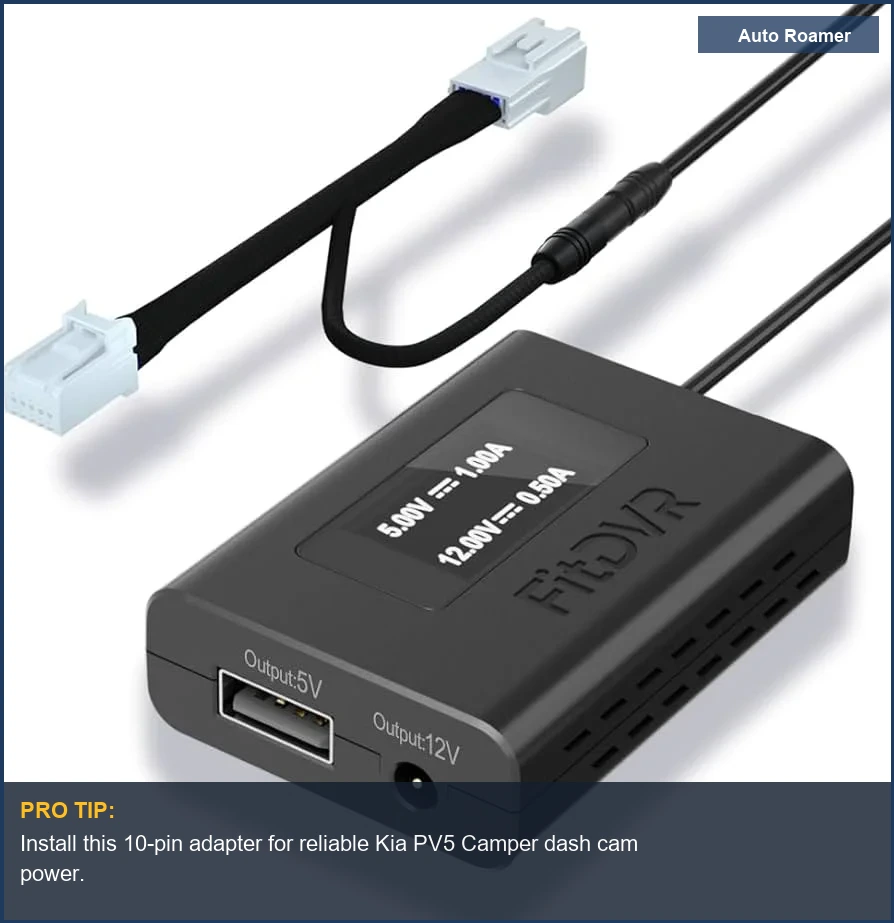
FitDVR Dash Cam Power Adapter (10-Pin) (~$28)
Specs: 10-Pin connector, 5V/12V output. This unit claims 5V and 12V output. Usually, this means 5V for USB and a pass-through 12V line, but verify.
Pros: Designed specifically for Kia/Hyundai 10-pin. Fuse protection built-in, which is critical for circuit integrity. Simple installation. Competitive pricing.
Cons: Output voltage isn't clearly specified beyond 5V/12V, so confirm it matches your camera's exact requirements. Some rearview mirror harnesses might not provide constant 12V for parking mode, depending on the specific PV5 trim. The Amazon product page talks about protection plans, which usually means the product itself isn't over-engineered.
Best for: Users needing a budget-friendly option with basic fuse protection, assuming the output matches their camera's needs.
Mangoal Dash Cam Power Adapter for KIA & Hyundai (~$35)
Specs: Hidden fuse box cable kit, parking mode support. Mangoal offers a more complete hardwire solution.
Pros: Designed for clean, OEM-style installation. Supports parking mode by tapping into both constant and accessory power lines. Comes with fuse taps, which are better than cutting wires. Offers lifetime support, apparently.
Cons: Requires routing wires to the fuse box, which adds complexity and installation time compared to mirror taps. You're still messing with the fuse box, even if it's a 'kit'. Verify the fuse tap type matches the PV5's fuses (mini, micro2, etc.).
Best for: Those who want full parking mode functionality and are comfortable with a slightly more involved fuse box installation.
Thinkware U3000 Pro with OBDII Adapter (~$400 for cam, adapter included)
Specs: Dash cam with included OBDII power adapter. Many modern dash cams, like Thinkware, offer OBDII power options.
Pros: Super easy plug-and-play installation into the OBDII port. Provides both switched and constant power for parking mode. Built-in voltage monitoring to prevent battery drain below a set threshold.
Cons: The OBDII port is usually on the driver's side, meaning a longer cable run and potentially visible wires. It also occupies your OBDII port, which might be an issue if you need it for diagnostics or other accessories. Some OBDII power adapters can introduce minor CAN bus interference, though rare.
Best for: Users prioritizing extreme ease of installation and comprehensive parking mode, willing to sacrifice the OBDII port and potentially have a slightly less 'hidden' cable.
Generic 12V to USB Converter + Add-a-Fuse Kit (~$15)
Specs: Standard 12V car charger adapter or buck converter, mini/micro2 add-a-fuse kit. This is the classic DIY approach.
Pros: Cheapest option by far. Allows complete control over which fuse you tap for switched or constant power. Widely available components. You can choose a fuse that's already low-draw, like the radio or accessory circuit.
Cons: Requires basic electrical knowledge for proper installation. If you don't crimp connections securely, you'll get intermittent power loss due to vibration-induced mechanical fatigue. Poor crimps lead to high resistance, heat, and eventual failure. Requires routing wires to the fuse box and hiding them.
Best for: The absolute dirtbag engineer who wants maximum control, minimum cost, and isn't afraid to get their hands dirty with a multimeter and wire strippers.
Quick Verdict
- Easiest Install, Ignition-On Only: The Dongar Classic (10-Pin Type H) (~$33) is hard to beat for simplicity. It's a 5-minute job. No tools required beyond a trim panel pry tool.
- Best for Parking Mode, Clean Fuse Box: The Mangoal Dash Cam Power Adapter (~$35) or a generic add-a-fuse kit with a good buck converter offers full parking mode. Just ensure your fuse taps match the Kia's fuse type. Reddit users often recommend Dongar, but Mangoal gets the job done for parking mode.
- All-in-One Parking Mode, OBDII Convenience: A dash cam like the Thinkware U3000 Pro with OBDII Adapter (~$400) bundles everything. It's more expensive, but the integrated voltage protection is a bonus for preventing parasitic draw from killing your battery. Just be aware of the OBDII port occupation.
- Cheapest but Requires Skill: A generic 12V to USB converter with an add-a-fuse kit (~$15) will work if you know what you're doing. Improperly tapped fuses or loose connections will lead to voltage spikes, brownouts, and eventual circuit failure. Don't cheap out on the fuse taps themselves.
Whatever you pick, avoid cutting factory wires. The electrical resistance introduced by a poorly spliced wire can cause localized heating and voltage drops, making your dash cam unreliable or, worse, damaging vehicle components down the line. Stick to plug-and-play or proper fuse taps.