Installation Guide: Mounting a Fridge Slide in Your SUV
My first fridge slide install was a $150 gamble in my aging Toyota RAV4. I'd just bought my first real camping fridge, a 45-liter beast, and the idea of not having to dig it out from under a pile of sleeping bags seemed like pure genius.
My first fridge slide install was a $150 gamble in my aging Toyota RAV4. I'd just bought my first real camping fridge, a 45-liter beast, and the idea of not having to dig it out from under a pile of sleeping bags seemed like pure genius. The YouTube videos made it look simple, just bolt it down. What nobody tells beginners is that your SUV's cargo area is rarely perfectly flat, and that matters.
I ended up with a slide that angled slightly downhill, which meant my fridge wanted to creep open every time I braked.
That's a rookie mistake I won't make again. The fix involved shims and a lot of colorful language. This isn't about having the fanciest gear; it's about figuring out what actually works in the real world, with your actual car, and your actual budget.
This guide breaks down how to get a fridge slide mounted so your cold drinks are actually accessible, not a hazard. OCAM 4X4 Tilting Fridge Slide showed me there are different types, and Camp Fridge Slide Install made me realize I could probably do it myself.
Let's get your fridge sliding properly.

The Core Answer
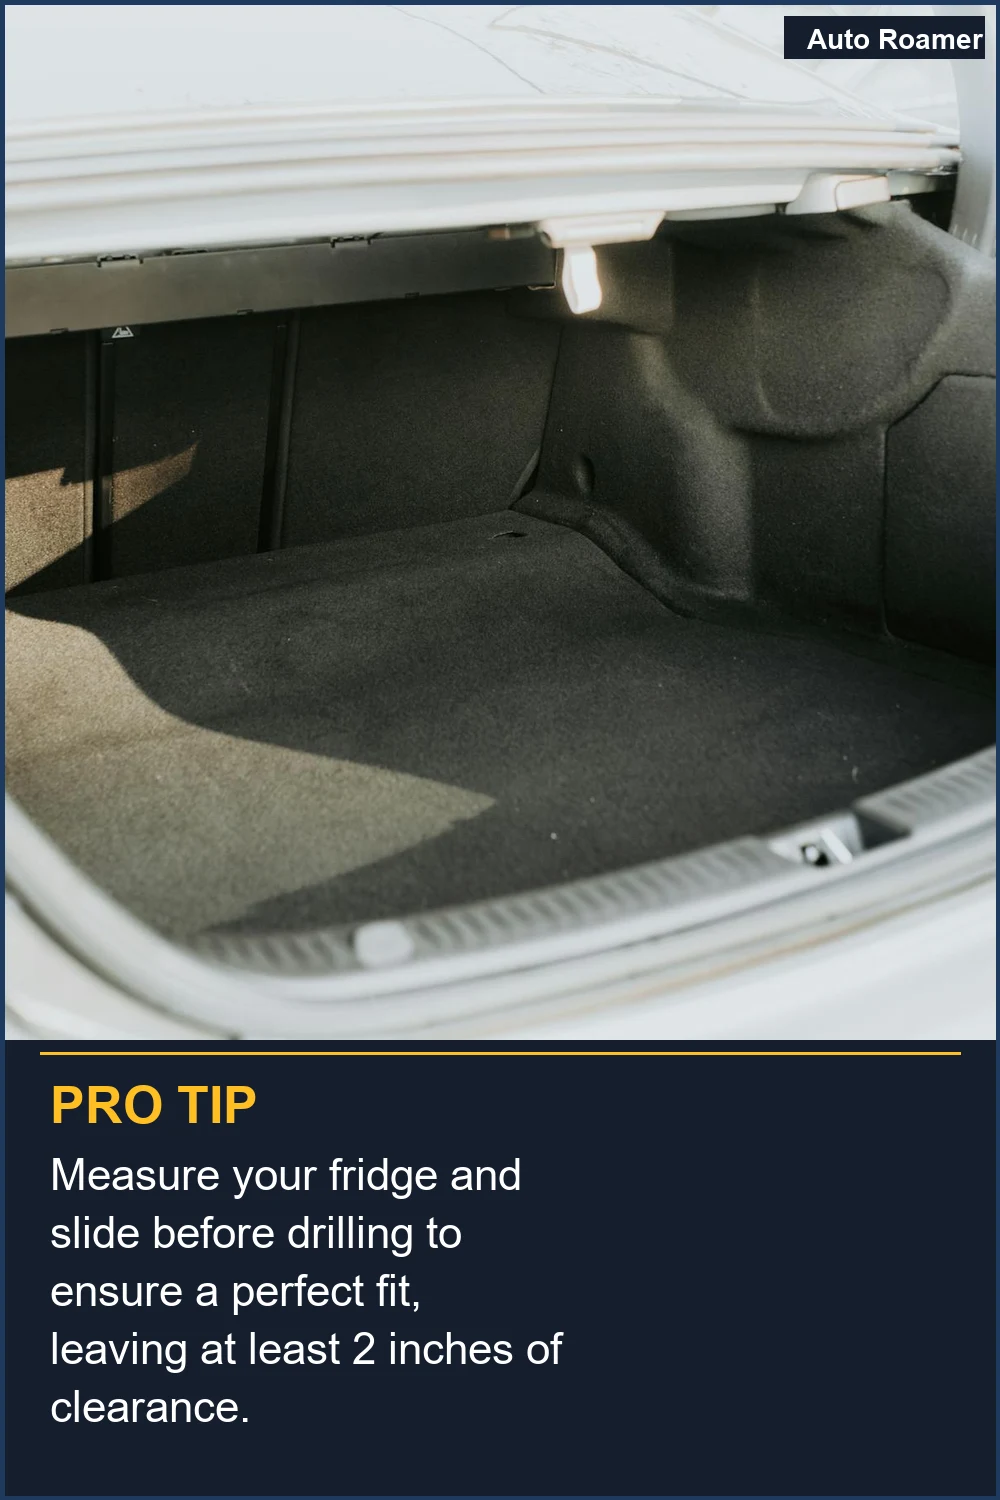
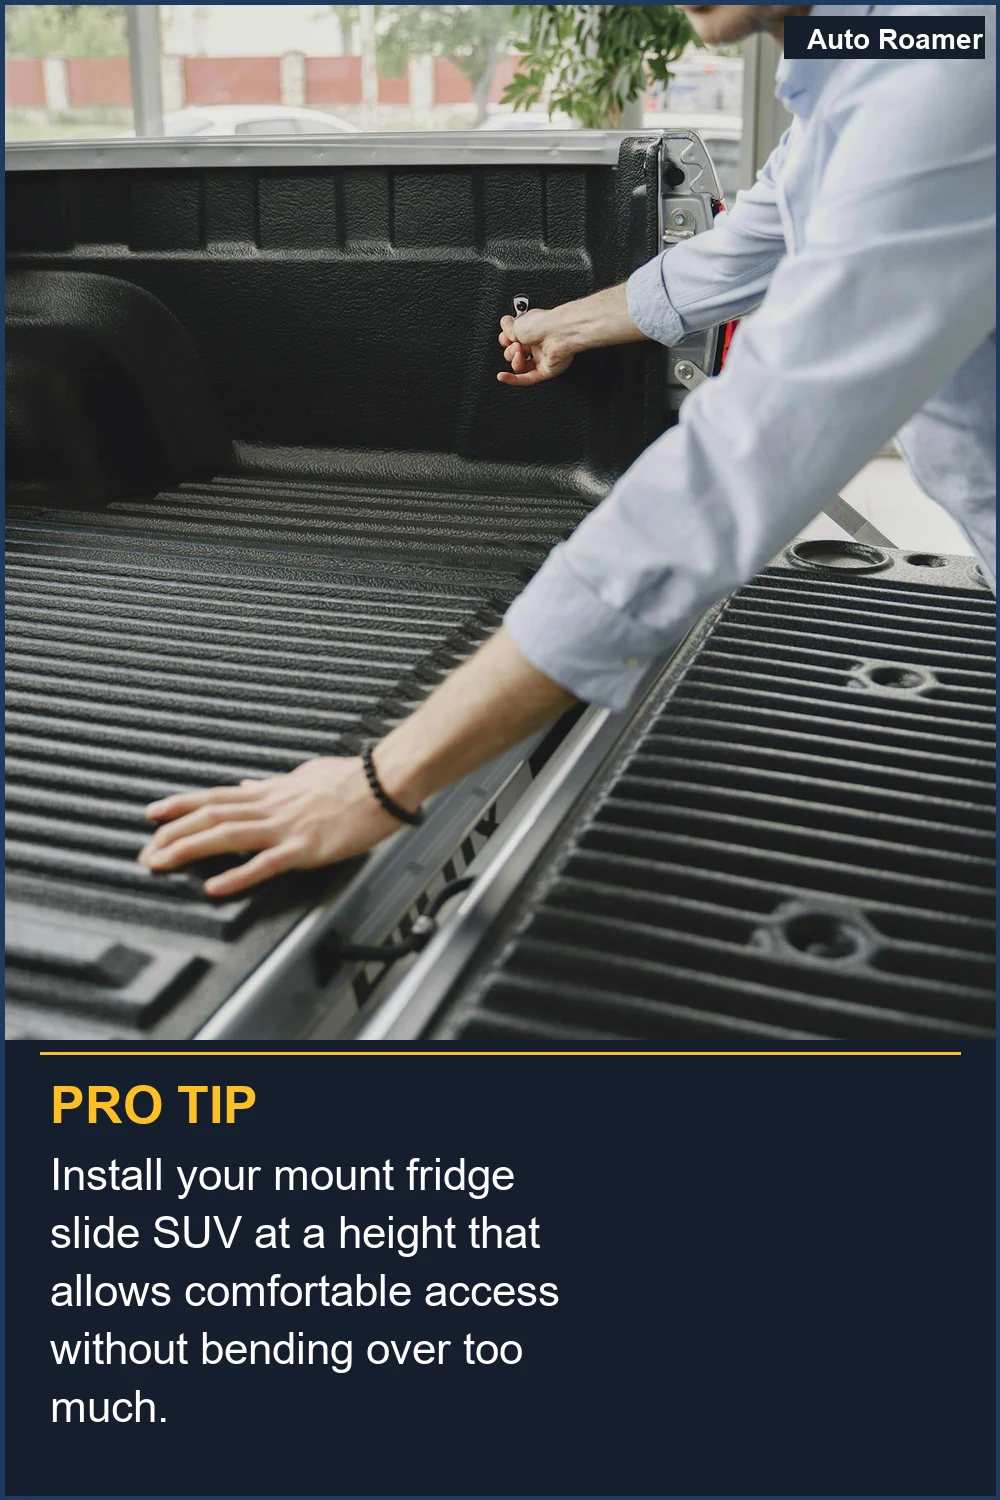
The real move for mounting a fridge slide in your SUV is to treat it like building a sturdy shelf, but one that moves. Most slides come with a base plate and a sliding mechanism. You're essentially bolting that base plate to your vehicle's cargo floor. First, take your fridge and the slide out of the box. Extend the slide fully to see how much space it needs. Seriously, measure this. I once tried to install a slide that needed 30 inches of extension space in a cargo area that only had 28 inches. Brilliant engineering. Measure Twice, Cut Once is the motto here. Next, figure out where it's going to live. Most people put it towards the back, so you can access it with the tailgate open. If you have a drawer system, you'll mount it on top of that. If it's just carpeted floor, you need to find solid points. Look for existing bolt holes in the floor pan of your SUV, sometimes under the carpet. These are your best friends. Rivnuts are also a great option if you don't have factory holes. They create a threaded anchor point in sheet metal. I learned this the hard way in my old Jeep Cherokee. I tried to bolt directly into the thin metal floor. Every bump made the whole thing creak like a haunted house. The fix was installing rivnuts, which cost about $20 for a basic set. Secure the Slide is key, and rivnuts make it secure. Once you've identified your mounting points, hold the slide base plate in place. Mark your holes. Drill them out. Use good quality hardware - stainless steel bolts are best. Washers are your friend; they spread the load. Don't just jam a bolt in there. Bolt each one to the insides if you're using floor mounts. The biggest rookie mistake I see is not leveling the slide. If it's not level, the fridge can bind up, or worse, slide open on its own. Use a small San Hima Heavy Duty Fridge Slide for our 4x4 Ford Ranger Build came with some slight tilt, and I had to shim it. A bubble level is overkill; just eyeball it or use a straight edge and your fridge. Level the Slide is not just advice, it's a requirement. Finally, slide the fridge onto the mounted slide and secure it with the provided straps or tie-downs. Double-check everything is tight. Go for a short drive on some bumpy roads and listen for rattles. If you hear any, tighten it up.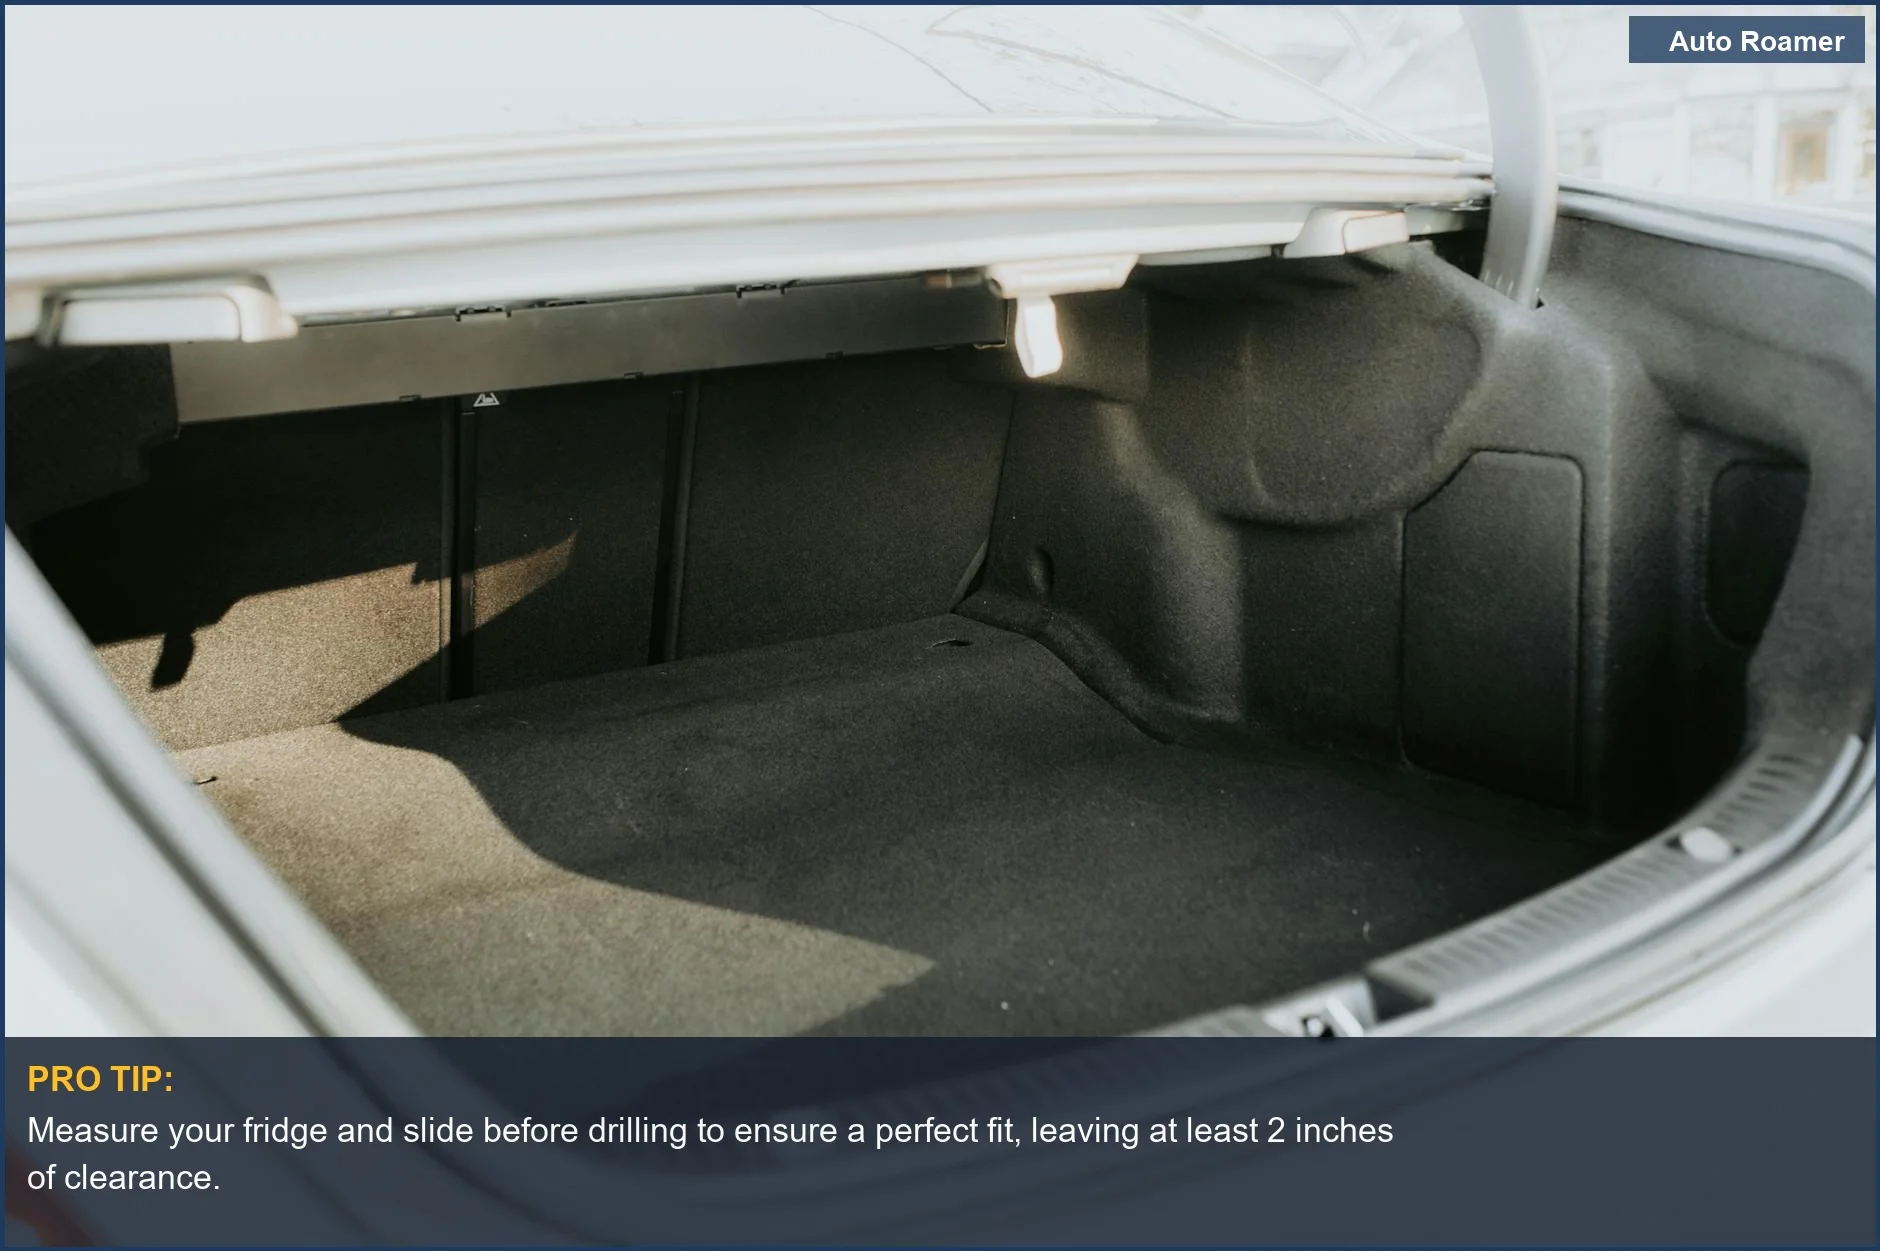
Why This Matters for Your Setup
Look, nobody wants to wrestle a 50-pound cooler out from under a mountain of camping gear every time they need a soda. A fridge slide changes that game.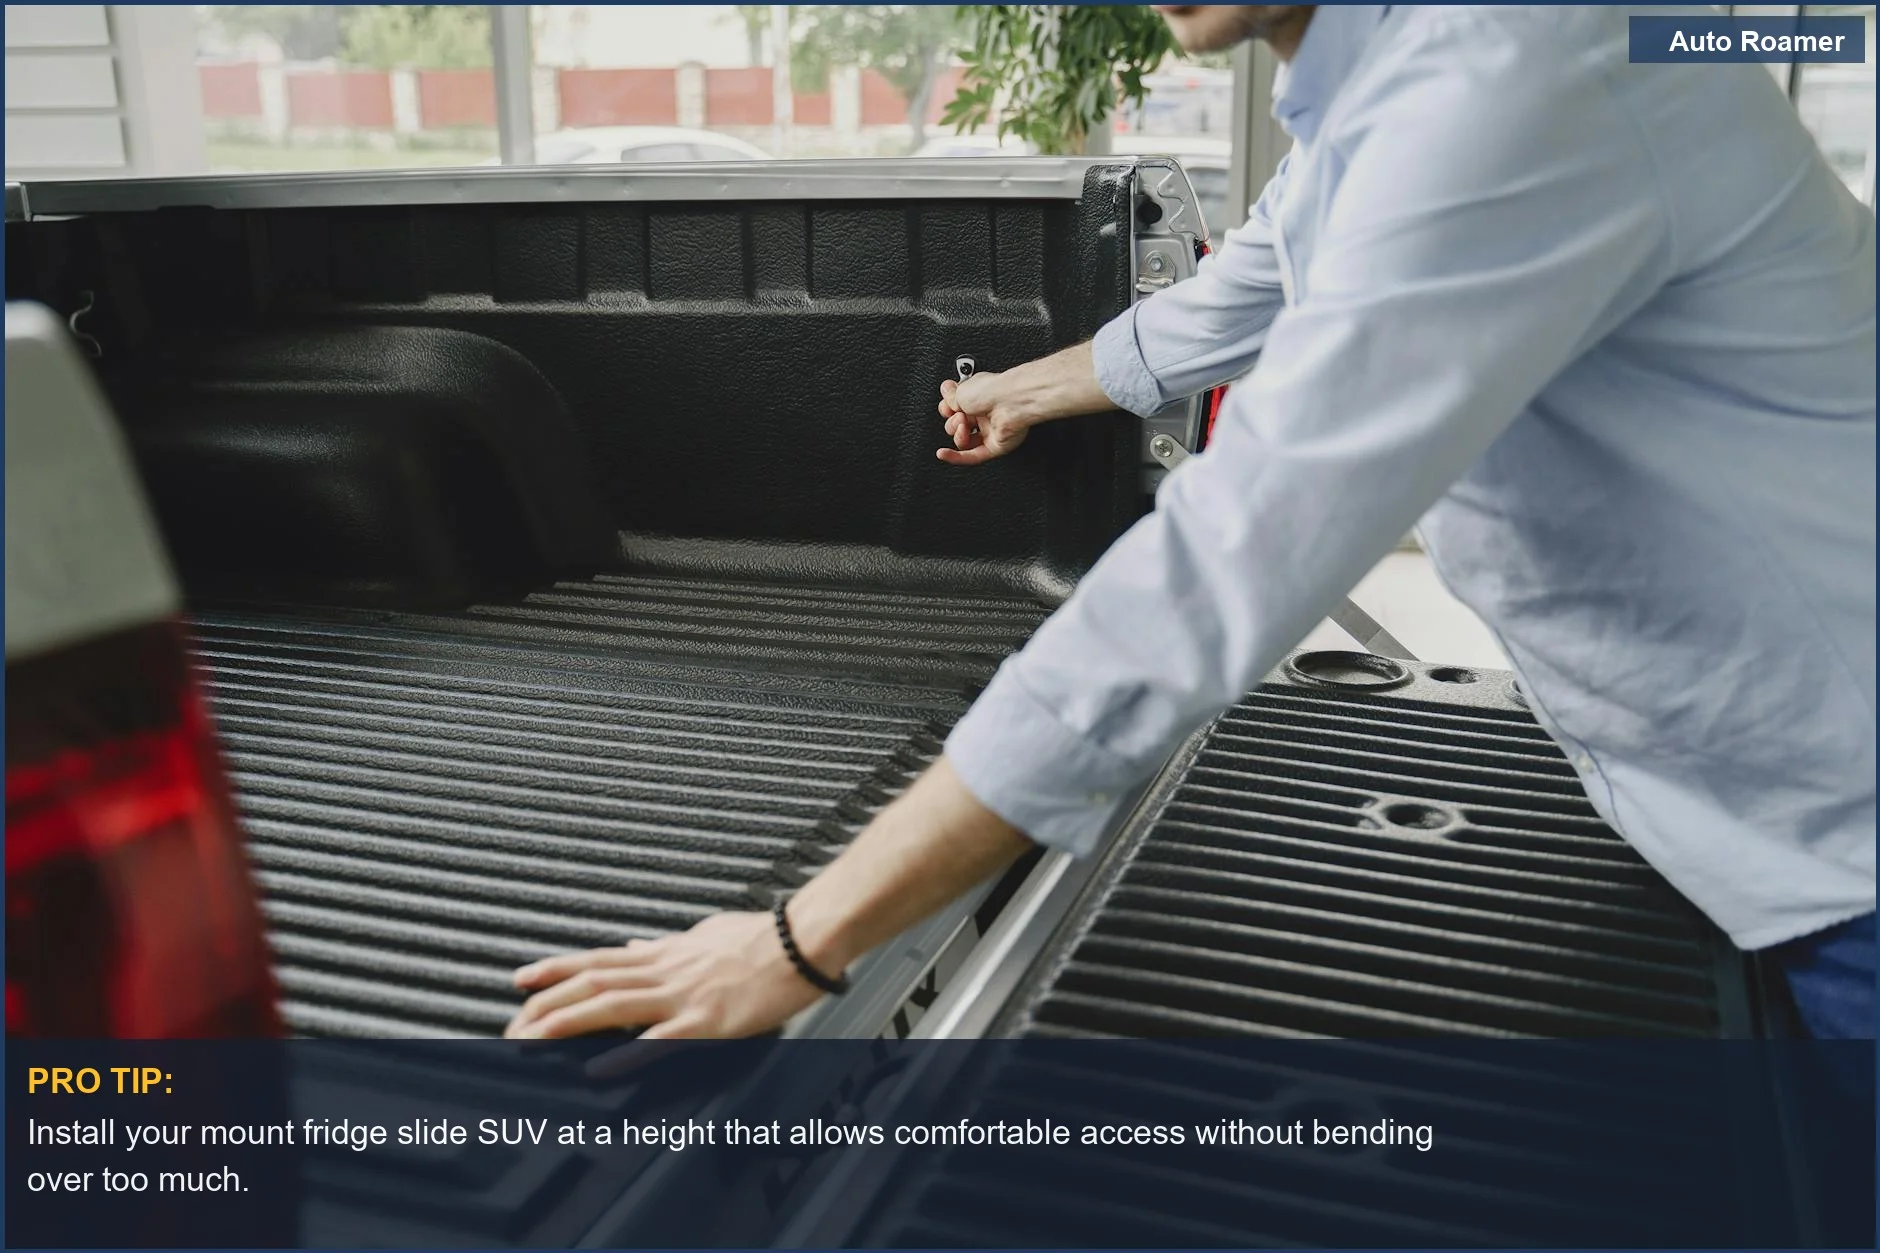
Making the Right Choice
Installing a fridge slide is a weekend project that pays dividends on every single trip. Don't overthink it. The goal is to get your fridge out of the way and easily accessible.

Frequently Asked Questions
How much does it cost to have a shop install a fridge slide versus doing it myself?
Do I really need a special drill bit for installing rivnuts?
What if my fridge slide still rattles after I've tightened everything?
Can mounting the fridge slide incorrectly permanently damage my SUV's cargo floor?
I heard you need a special anti-rattle device for fridge slides. Is that true?
🏅 Looking for Gear Recommendations?
Check out our tested gear guides for products that work with this setup:
Sources
- EASY! Camp Fridge Slide Install | DIY | Overlander Build - YouTube
- How to install a kings large fridge slide on a vehicle? - Facebook
- DIY Guide – Installing a Fridge in Your 4x4 - Elevate Automotive
- OCAM 4X4 Tilting Fridge Slide | Install & first thoughts ... - YouTube
- [PDF] OFF-GRID FRIDGE SLIDE - Victory 4x4
- SIMPLE HEAVY DUTY FRIDGE SLIDE install for OFFROAD 4x4 ...
- The Ultimate Guide to Fridge Slides for Portable Fridges - DFG Offroad
- 5 Mistakes Everyone Makes Installing Their First Fridge Slide