Setting the Scene
My first time trying to rig a tarp for rain protection was at Dolly Sods Wilderness in West Virginia. It was a surprise 3-day downpour in August, and my cheap $20 tarp from Amazon looked like a sad, sagging kite. Water collected in giant puddles, dripping right onto my sleeping bag. I learned the hard way that a tarp isn't just a sheet of plastic; it's an engineering challenge, albeit one you can solve without an engineering degree.
The real move is to pitch it like a tent, not a kite. REI has some good ideas, but they don't always tell you the visceral feeling of getting soaked because your lines were too loose. This video shows some slick setups, but sometimes you just need the basics.
The Core Answer
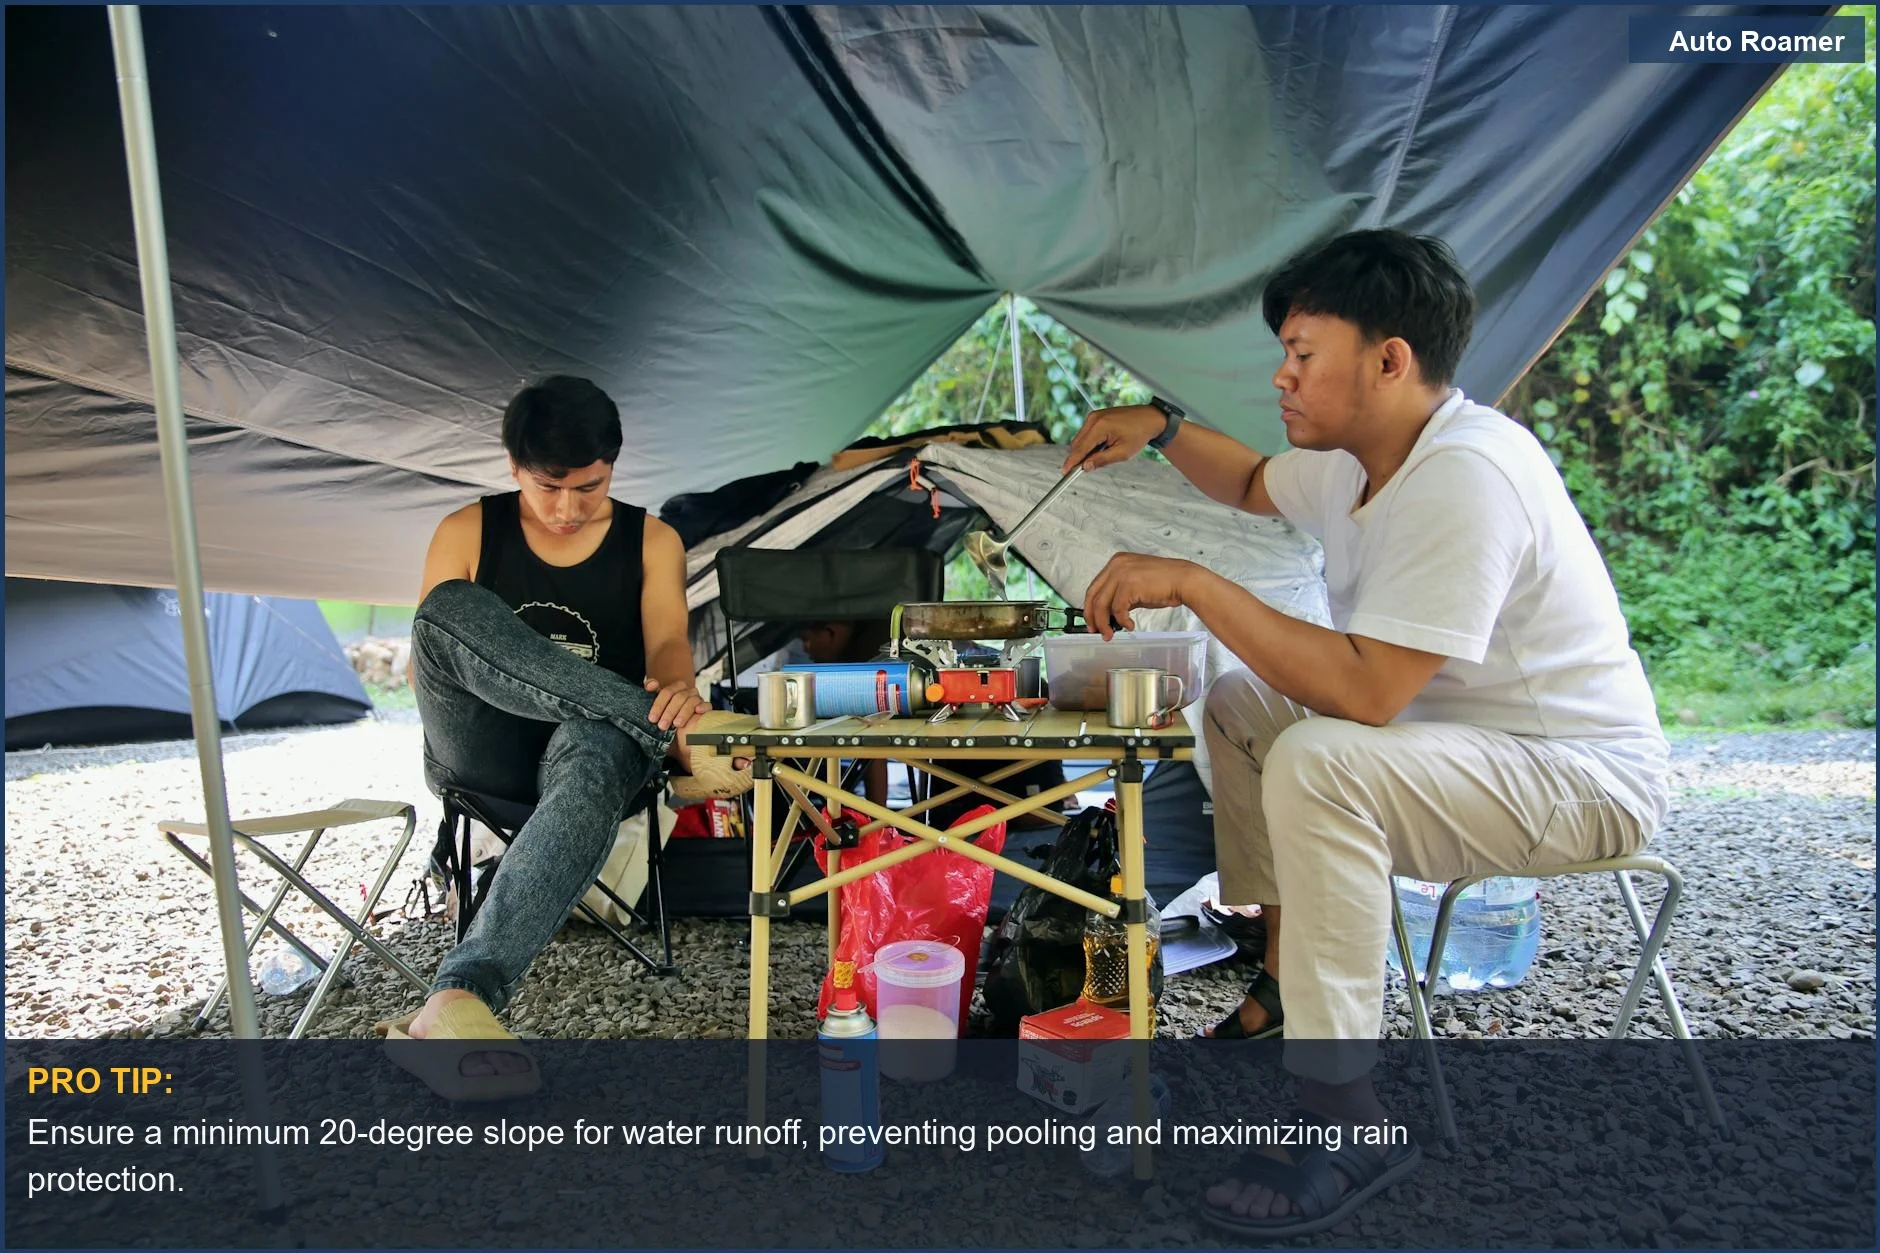
The core answer to keeping dry is tension and slope. You need to pitch your tarp with a good angle so water runs off, not collects. Think of it like a roof on your house - it's got to be angled. The folks at Tarp Supply say a minimum 30-degree angle is key for rain protection. That means getting your ridgeline high and your corners staked out low and tight.
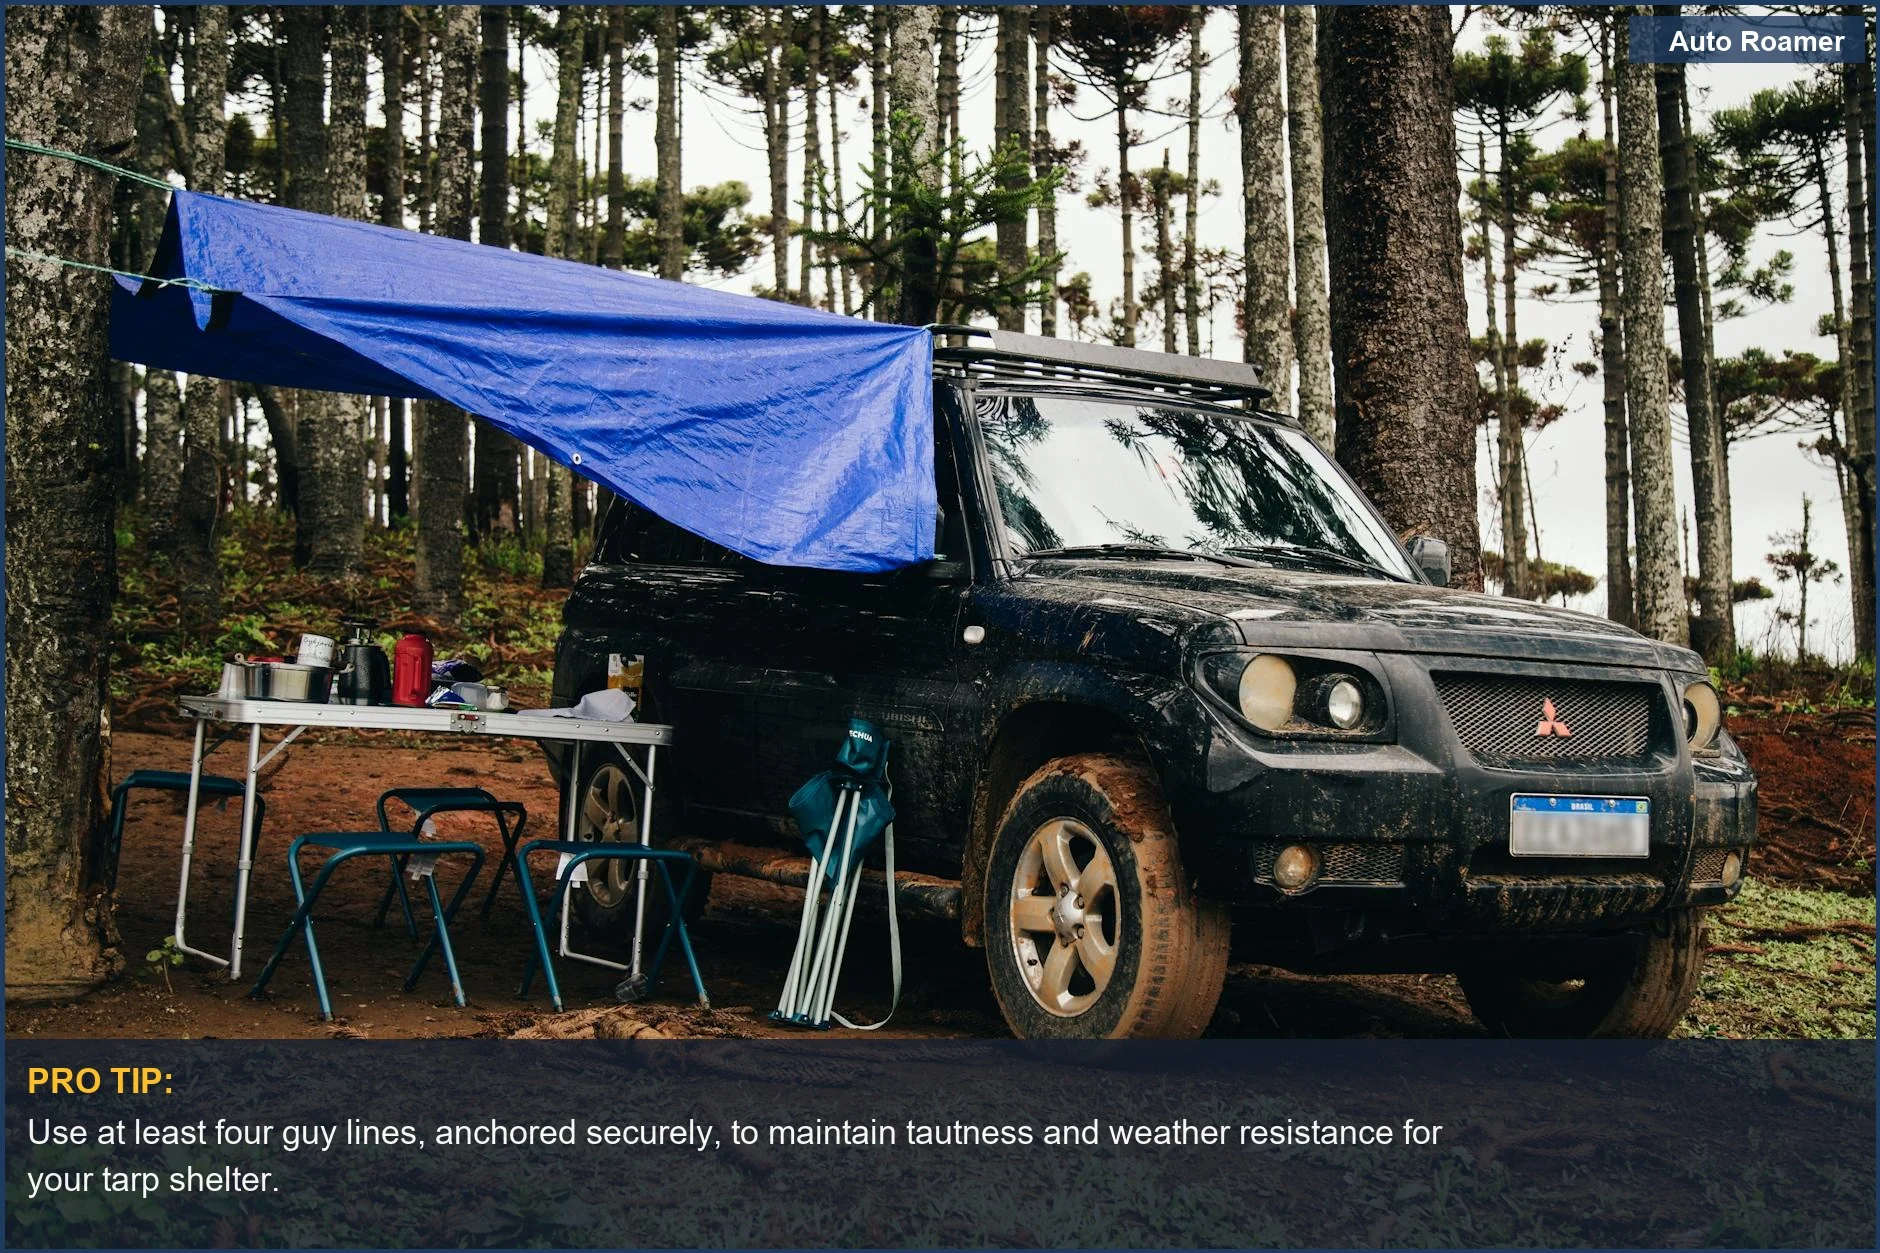
Most people, including me on my first try, just tie the corners to trees and call it a day. Rookie mistake. You need to use your guy lines. These are the extra ropes you attach to the grommets on the sides of the tarp. Pull them out away from the tarp and stake them firmly into the ground. This creates the tension needed to keep the tarp taut and sheds water effectively.
I Heart Pacific Northwest has a good breakdown of different setups and how to use those guylines. I learned this after my first trip where the tarp sagged like a hammock in a storm.
If you don't have trees, you can use trekking poles or even your car to create anchor points. For a car camping setup, I often use my car doors or a sturdy roof rack to get my ridgeline high. Then I stake out the corners and sides away from the vehicle. This creates a massive covered area. Camping-Tips.com talks about getting your rope high enough, and that's the real trick. If it sags, you're going to have puddles.
For bad weather, especially wind, a lower profile is better. You can even peg one end of the tarp directly to the ground to block wind from one direction. Reddit's r/Ultralight community often discusses this, and while they're often talking about ultralight backpacking, the principles of wind management apply to car camping too. You want to present less surface area to the wind. My first windy night under a tarp felt like I was in a sail.
Why This Matters for Your Setup
This isn't just about not getting wet; it's about actually enjoying your trip. Imagine trying to cook dinner when it's pouring. Without a proper tarp setup, your camp kitchen becomes a soggy mess, and your food might end up tasting like dirt. Camping-Tips.com mentions how important a tarp is for a camp kitchen, and they're absolutely right. I've had meals ruined because I didn't take the time to pitch my tarp correctly.
Here's why this matters for your setup:
- Dry Gear: The most obvious benefit. Keeping your sleeping bag and clothes dry is non-negotiable. My first trip, my sleeping bag got damp, and it was a miserable night. I Heart Pacific Northwest emphasizes keeping moisture out, and they aren't kidding.
- Usable Living Space: A well-pitched tarp creates a sheltered area to hang out, play cards, or just escape the rain without being confined to your tent.
Backpacking Light has discussions on using tarps to extend living space, and it's a game-changer for longer trips.
- Wind Protection: A properly tensioned tarp, especially one pitched low, can act as a decent windbreak. This makes your campsite much more comfortable when the wind picks up.
Tarp Supply points out how important secure anchoring is for wind.
- Extended Season Camping: Being able to stay dry and reasonably comfortable in less-than-ideal weather means you can camp more often, even in spring or fall. My $12 fleece liner, mentioned before, combined with a good tarp setup, lets me camp comfortably into late October. REI highlights how tarps offer quick shelter.
Making the Right Choice
The honest version: you don't need a fancy tent to stay dry. A decent tarp and some practice rigging it will do the job. My first tarp was a $20 gamble, but even a slightly better $50 tarp from a sporting goods store, pitched correctly, will outperform a poorly set up expensive tent. This YouTube tutorial shows a watertight setup without trees, which is super useful.
Here's the breakdown:
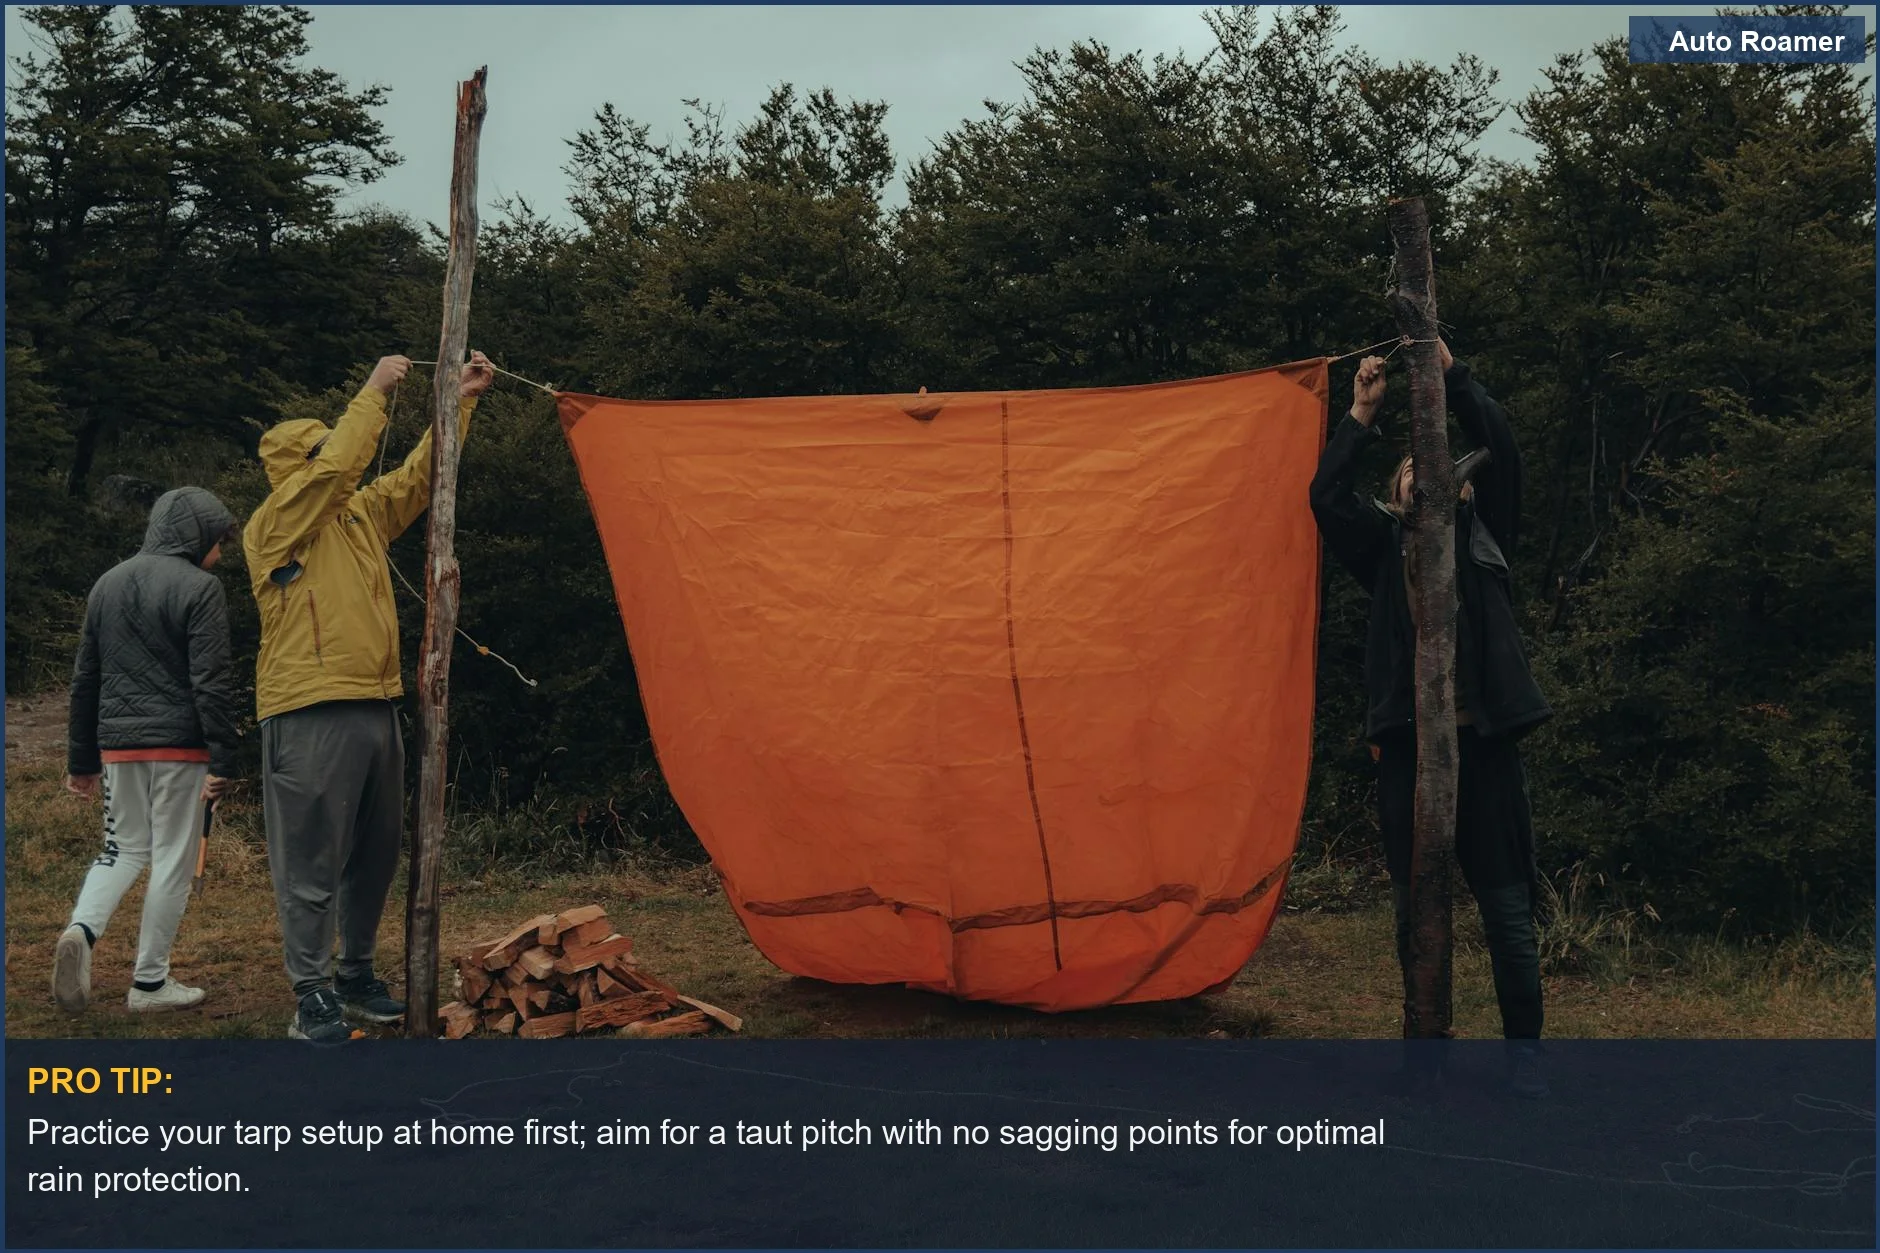
- Tension is King: Always pull your tarp tight. Loose lines equal puddles. It's that simple. I learned this the hard way at Lake George, NY, during a flash flood.
- Slope Matters: Angle your tarp so water runs off. A minimum 30-degree slope is a good rule of thumb for rain. Tarp Supply agrees.
- Anchor Points: Use trees, trekking poles, your car, or sturdy stakes. Don't just tie to a twig.
Camping-Tips.com has good advice on securing lines.
- Practice: Set it up in your backyard before you go. It's much easier to troubleshoot when you're not getting rained on. I Heart Pacific Northwest suggests practicing different configurations.

