Why a 2-degree slope ruins the night nobody warns you about
You can have the plushest pad, blackout shades, and a fridge full of cold drinks, and still wake up at 3 a.m. crumpled against the door — because the spot you parked on tilts two degrees you never noticed in the dark. A slope you can barely feel standing up becomes a slow-motion landslide once you're horizontal: your body slides downhill all night, your pad bunches, and the blood pools in your head or your feet depending on which way the car points. Of all the things that wreck a night sleeping in a vehicle, an unlevel parking spot is the most common and the most fixable, and almost nobody plans for it.
The frustrating part is that cars are not RVs. An RV camper drops a set of leveling blocks under the tires and cranks the jacks; you have a 4,000-pound vehicle on a flat lot and no jacks. So leveling a car for sleeping is really two jobs: pick the most level spot you can find, then close the last little gap with what you can fit in the back. This guide covers both — how to read the tilt before you commit, the order to attack a slope in, and the three pieces of gear that actually flatten a car bed. Get it right and the difference is night-and-day; you'll sleep through instead of waking up wedged in the footwell. It pairs with the rest of the car-camping sleep system — the pad, the shades, the airflow — but level comes first, because no pad fixes gravity.
Find level first: how to read a parking spot before you commit
The cheapest leveling tool is the one you already do before you fix anything: park somewhere that's already flat. Five minutes of looking saves an hour of fussing, and on a genuinely level pad you may need no gear at all. Here's the routine I run every time I roll into a spot after dark:
- Use your phone as a level. Every modern phone has a bubble level — on an iPhone it's inside the Measure app; on Android it's a free app or built into Google's tools. Set the phone flat on the dashboard or the cargo floor and read the degrees. Under 1 degree in both directions and you're golden; 1 to 2 degrees you'll want a fix; over 3 degrees, move the car.
- Check BOTH axes. Front-to-back tilt (nose up or down) and side-to-side tilt (the roll toward one door) are different problems with different fixes. A spot can be dead flat one way and bad the other. Read both before you decide.
- Walk the spot, don't trust your eyes. Pavement and packed dirt fool you in low light. Roll the car forward a few feet, re-read the level, and you'll often find a flatter patch within the same pullout. Established campsites and trailhead lots usually have one graded flat area — aim for it.
- Mind the crown and the drainage. Roads and lots are built to shed water, so they slope away from the center. The flattest line is often along the centerline of a pullout, not at its edge where it dips for runoff.
If you can get under a degree by just choosing your spot, stop here — you've leveled the car for free. The gear below is for the nights when the only spot available has a stubborn tilt you can't park out of.
Which way to point: head uphill beats head downhill, every time
When a spot has a front-to-back slope you can't eliminate, how you ORIENT the car matters as much as how you pad it. The rule, learned the hard way by everyone who's slept on a grade: sleep with your head on the high end. Point the car so your head is uphill, never downhill.
The reason is plumbing. Sleep head-downhill and blood and fluid pool toward your head all night — you wake up with a pounding, stuffy, swollen-faced headache that feels like a hangover you didn't earn. Sleep with a slight head-up tilt and your body handles it fine; we're built to lie flatter-headed-up far better than the reverse, which is why hospital beds tilt the head up, never down. A gentle head-up incline can even ease acid reflux and snoring. So when you're parked on a hill and choosing which way to lie, the high end wins.
Side-to-side roll is the one to eliminate, not manage. A front-to-back head-up tilt is survivable and even comfortable; a side tilt just rolls you into the door or your partner all night with nothing to brace against. So the priority order when you're stuck on a slope is: kill the side-to-side roll first (with blocks under the downhill tires), then point your head uphill on whatever front-to-back grade is left, then pad out the rest. Decide the orientation before you build the bed, because re-pointing a car at midnight in a tight pullout is its own misery.
Fix #1: a thick pad that swallows minor slope and every bump
For the small stuff — a degree or two of tilt, the ridge where the seats fold, the gap between a folded seatback and the cargo floor — the simplest fix is a thick enough sleeping surface that the unevenness disappears under you. A 1.5-inch closed-cell pad telegraphs every contour of the floor; a 3-to-4-inch self-inflating mat floats you above it. Thickness is what buys forgiveness, and it's why serious car campers run far plusher pads than backpackers do — weight doesn't matter when the car carries it.
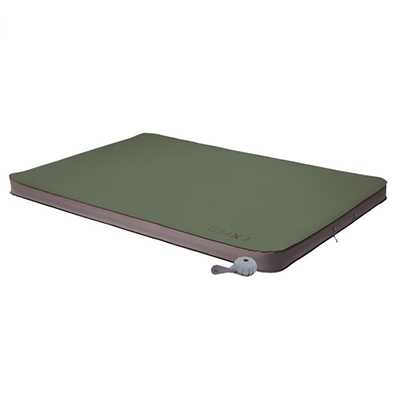
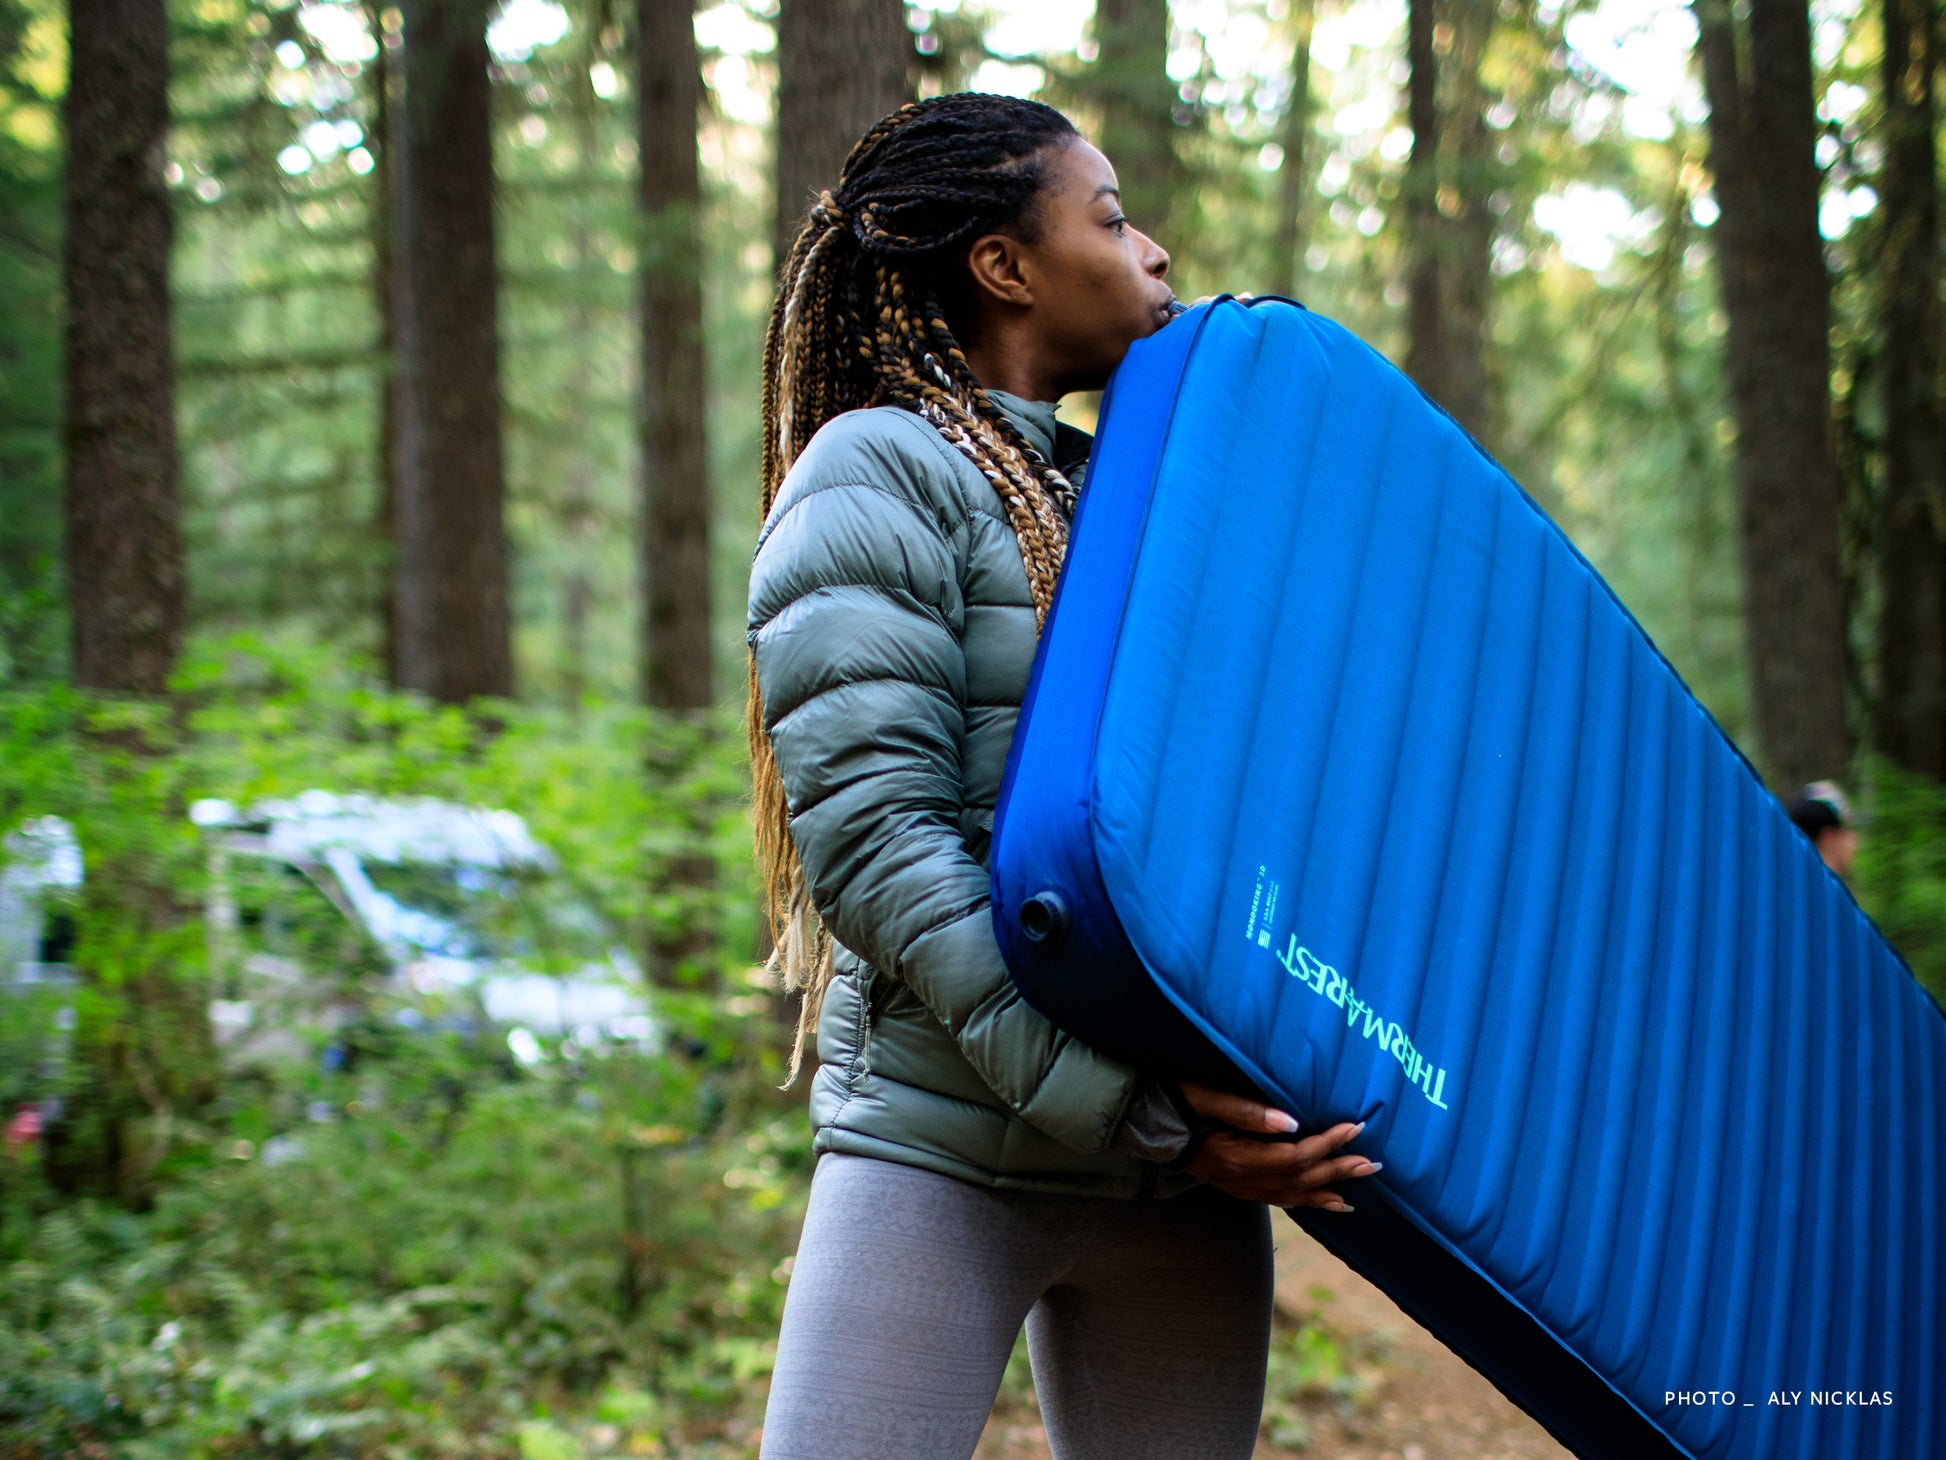
The thickest option is a self-inflating mat in the 4-inch class. The Exped MegaMat Duo 10 is a two-person, 3.9-inch-thick mat that absorbs a surprising amount of floor irregularity and minor slope — on a gentle grade you barely feel it. A single-sleeper alternative with the same swallow-the-bumps thickness is the Therm-a-Rest MondoKing 3D, a 4-inch self-inflating pad that's about as close to a real mattress as a roll-up gets. Either one turns a slightly uneven, slightly stepped cargo floor into a flat bed, which is most of the leveling problem on most nights. For how the thickness and size shake out against your specific vehicle, see our full sleeping-pad breakdown.
What a thick pad does NOT fix is a real grade — a 3-or-more-degree slope where gravity wins no matter how plush the surface. For that you need to physically change the angle of the bed or the car, which is the next two fixes. But for the everyday "this spot's close, not perfect" night, a thick mat is the whole answer, and it's the one piece of gear that earns its space in the back regardless.
Fix #2: a foam wedge to take out the head-to-foot tilt
When the front-to-back slope is more than a thick pad can hide, the move is to build the LOW end up so the sleeping surface comes back to flat. You're not leveling the car — you're leveling the bed inside it. This is the trick RV-less car campers lean on most, because it works on any vehicle and stores small.
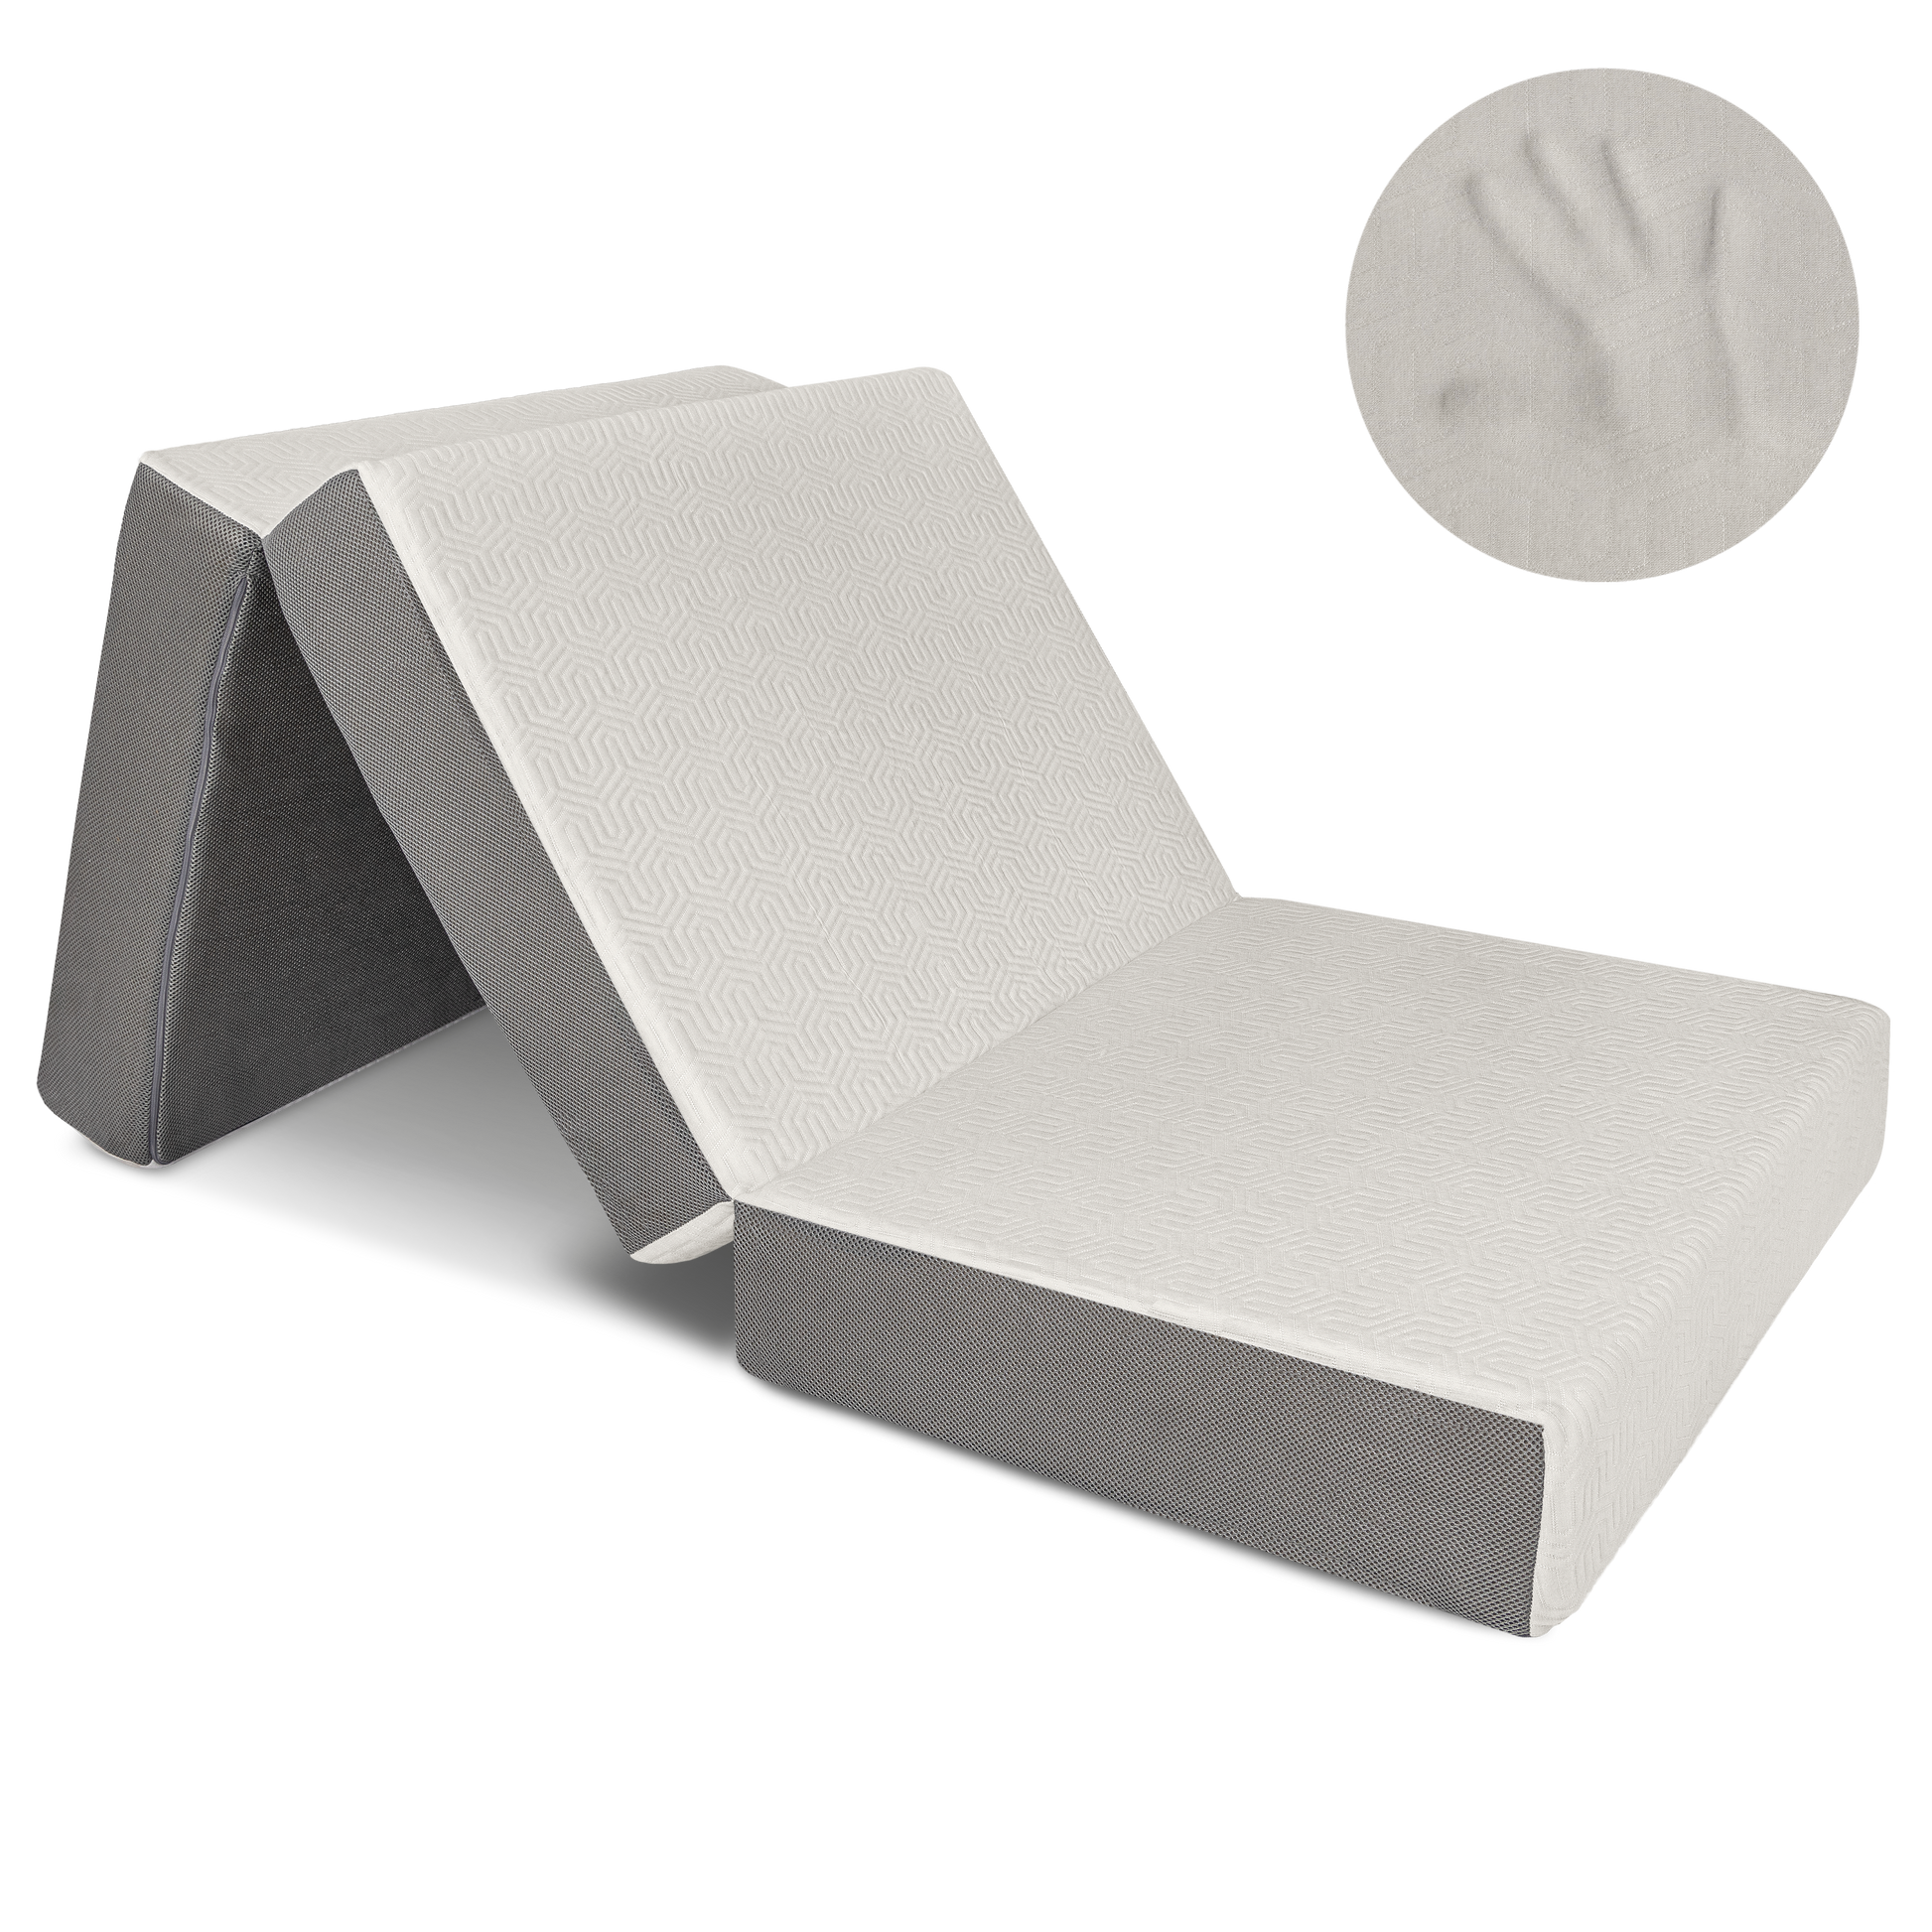
The honest budget version is a rigid foam layer. A 6-inch tri-fold foam mattress folds into thirds, so on a nose-down slope you can leave one fold doubled under the low end to lift it — a poor-man's wedge that also doubles as your whole mattress. Slide a rolled towel, a stuff sack of clothes, or a closed-cell pad folded a couple of times under the downhill end and you've raised the low side an inch or two, which is enough to flatten a 2-to-3-degree grade. Build the wedge UNDER your pad, not on top, so you're not sleeping on a lump — the goal is a flat surface, just propped level.
A few field notes that save a frustrating night. Build the wedge wide, not narrow — a single rolled towel under your hips leaves your shoulders and feet still tilted; you want the lift to span the whole low end so the bed tilts as one plane. Test it before you settle in: lie down, feel for the slide, and add or pull a layer until you stop drifting. And remember the head-uphill rule from before — if you're going to leave any tilt, leave a slight head-up one and wedge out the rest. If you find yourself doing this every trip, that's the signal to build a proper DIY sleeping platform with adjustable legs, which lets you dial the level mechanically instead of stacking towels.
Fix #3: tire leveling blocks for the side-to-side roll
The one tilt you should never just pad around is side-to-side roll, because there's nothing to brace against — you slide into the door all night. When a spot leaves one side of the car lower than the other, the cleanest fix is to raise the low side by driving its tires up onto leveling blocks, the same trick RVers use, scaled down to a car.
Plastic interlocking leveling blocks (the Lego-style stacks sold for travel trailers) work fine under a car tire: stack two or three, drive the downhill-side wheels up onto them, set the parking brake firmly, and chock the tires. A single layer lifts a tire roughly an inch, which on a typical car track is enough to take out a degree or two of side roll. A curved "drive-on" leveler does the same job with less fiddling — you roll up until level and chock it. Either lives in the trunk and weighs almost nothing.
Two safety rules are non-negotiable here. Always set the parking brake and chock the wheels before you trust a car perched on blocks — a vehicle that rolls off a block while you sleep is a real hazard, not a hypothetical one. And keep the lift modest: stacking blocks tall enough to level a steep slope puts the car at an angle where it can shift, so if a spot needs more than two or three inches of lift, find a flatter spot instead. Blocks are for shaving off the last degree of roll on a near-level pad, not for taming a hillside. Used that way — low lift, brake set, wheels chocked — they're the difference between rolling into the door and lying flat.
The order to attack a slope, start to finish
Put the three fixes together and leveling a car for sleep becomes a quick, repeatable routine instead of a midnight guessing game. Run it in this order every time and you'll dial in a flat bed in under ten minutes:
- 1. Choose the flattest spot you can. Phone level on the floor, read both axes, roll forward a few feet to find the graded patch. Under a degree both ways? You're done — skip to making the bed.
- 2. Kill the side-to-side roll. If one side is low, drive the downhill tires up onto leveling blocks, set the parking brake, and chock the wheels. Re-check the level. Side roll is the tilt you eliminate, not manage.
- 3. Point your head uphill. On whatever front-to-back grade is left, orient the car so you sleep head-high, never head-low. Decide this before you build the bed.
- 4. Wedge out the remaining front-to-back tilt. Build up the low end UNDER your pad — a folded foam layer, a rolled towel, a stuff sack — spanning the whole low side so the bed tilts as one flat plane.
- 5. Float on a thick pad. A 3-to-4-inch self-inflating mat erases the seat-fold ridges and the last bit of unevenness. Lie down and feel for any slide; adjust the wedge until you stop drifting.
- 6. Then build the rest of the camp. Shades up, windows cracked for airflow so the glass doesn't fog, gear stowed. Level first, comfort second — in that order.
The whole point is that you don't need every fix every night. Most spots need one or two steps; a bad spot needs all of them; a great spot needs none. Knowing the order means you never waste effort on a tilt that the next step would have solved anyway.
The leveling mistakes that cost people a night's sleep
Almost every miserable night on a slope traces back to one of a handful of avoidable mistakes. I've made all of them; here's how to skip the lesson:
- Trusting your eyes instead of a level. A 2-degree slope looks dead flat in the dark and feels flat standing up — then ruins your sleep. Thirty seconds with the phone level on the floor catches it before you're horizontal.
- Sleeping head-downhill to keep the view out the back. Pointing the tailgate at the sunset feels nice until you wake up with a pounding head from blood pooling. Comfort beats the view — head goes uphill.
- Padding around a side-to-side roll. No amount of foam stops you sliding into the door on a side tilt. You have to physically raise the low side (blocks) or move the car; a thicker pad just makes the slide softer.
- Building a narrow wedge. One rolled towel under your hips leaves your shoulders and feet tilted and creates a lump. The wedge has to span the whole low end so the bed lifts as one flat plane.
- Stacking blocks too high. Trying to level a real hillside on a tall stack of blocks puts the car at a precarious angle. Keep the lift to two or three inches, always set the brake and chock the wheels, and if it needs more, find a flatter spot.
- Leaving level for last. People make the bed, set up the shades, then notice the tilt — and have to tear it all down. Level the car FIRST, then build everything on top of a known-flat surface.
None of these cost a dollar to avoid. They cost a phone check and a decision made in the driveway instead of at 3 a.m.
The verdict: park smart, then close the gap
Leveling a car for sleeping isn't one big purchase — it's a habit plus a little gear. Park on the flattest spot you can find using your phone as a level, eliminate any side-to-side roll, point your head uphill on whatever front-to-back grade is left, and close the last gap with a thick pad and a foam wedge. Do that and the slope that would've ruined the night simply disappears.
If you only carry one thing for this, make it a genuinely thick self-inflating pad — a MegaMat-class 4-inch mat swallows minor slope, seat-fold ridges, and floor bumps in a single move, and it's the piece that earns its space in the back every single trip. Add a fold-flat foam layer that can double as a wedge for the nights a spot has a real grade, and toss a small set of leveling blocks in the trunk for the side-roll spots. None of it is expensive, and together it's the cheapest upgrade to car-camping comfort there is. For the rest of the sleep setup that goes on top of your now-level bed — pad sizing for your vehicle, condensation control, and storage — start with what mattress size actually fits your SUV and build out from there.