Why your windows are the coldest thing in the car
Open up how a car loses heat overnight and the answer is right there in the glass. Every window in your vehicle is a single pane, and single-pane glass performs at roughly R-1 - the worst-insulating surface in the whole car by a wide margin. The metal body has some structure and dead air behind the trim; the glass is a bare sheet a few millimeters thick. On a cold night with no sun, warm cabin air touches that cold glass and dumps heat continuously, by conduction and convection, until you're the same temperature as outside. Add up every pane and you're looking at several square feet of bare, uninsulated surface working against you all night long.
So the single highest-leverage warmth move in a car isn't a better sleeping bag - it's covering the glass. This guide is the maker's version: the physics in plain terms, how to build friction-fit Reflectix covers step by step, what R-value you actually get versus the number on the package (they are not the same), how the windshield differs, and the one thing most window-cover guides leave out entirely - that covering your glass makes condensation worse unless you also ventilate. I'd rather tell you that up front than have you wake up in a wet car blaming the method.
The physics: single-pane glass is barely R-1
Here's the number that justifies the whole project. Automotive glass sits around R-1, and the glass itself contributes almost none of a window's thermal resistance - most of the heat moves at the glass surface by conduction and convection. That's exactly why two cheap tricks help so much: a radiant barrier to bounce heat back, and a trapped layer of still air to slow the convection.
The glass is the leak. Covering a bare R-1 window with even a modest insulating panel is a bigger jump, proportionally, than almost anything else you can do to a cold car - because you're improving the worst surface, not the best one.
Two things follow from the physics, and they shape every choice below. First, a reflective surface only reflects heat when it faces an air gap - press foil flat against glass and it stops reflecting and starts conducting straight through. Second, because the mechanism is surface heat transfer, you want the whole window opening covered, edge to edge; a gap around the panel is a little chimney that undoes a lot of the benefit. Build for full coverage plus an air gap, and the cheap materials punch above their rating. There's a limit worth knowing, though: past roughly an inch, a still-air gap starts convecting inside itself, so a modest gap does most of the work and thicker isn't automatically better.
How Reflectix works, and why the air gap matters
Reflectix is the default DIY material for a reason: it's two layers of 96%-reflective aluminized film bonded around polyethylene bubble wrap, about 5/16 of an inch thick, and it rolls up to nothing. It works as a radiant barrier - the foil face reflects your body and cabin heat back inside - plus a thin trapped-air layer in the bubbles.
The catch that decides whether it actually works:
- It needs an air gap to reflect. The radiant benefit comes from the shiny surface facing an air space; DIY sources cite roughly a 3/4-inch minimum. If the panel sags flat against the glass, you lose most of the effect.
- Friction-fit into the window well naturally leaves a small gap between the foil and the glass - that's a feature, not sloppy fitment.
- Thicker (double) Reflectix grips the frame and holds its shape better than the thin stuff, which tends to sag.
The maker's takeaway: don't glue Reflectix to the glass thinking tighter is warmer. A panel that presses into the frame and holds a little air behind it beats one laminated flat every time. The bubble layer earns its keep here in two ways: it holds the two foil faces apart so each one keeps reflecting, and the trapped pockets of air slow conduction through the panel itself.

Make a side-window cover: template, trace, cut, fit
This is the core build, and it's genuinely a one-evening job with a marker and a pair of scissors. Do it in order.
- Template the window. Tape newspaper or kraft paper over the inside of the window and trace the inside of the frame with a marker. Piece sheets together so you exceed the opening.
- Cut the template slightly oversized and test-fit inside the frame - you shouldn't see glass around the edges. Trim down gradually; it's easier to cut away than to add back.
- Trace onto the Reflectix with the roll weighted flat, then cut just outside the line so the panel is a touch larger than the opening.
- Press it into the frame. That slight oversize is what lets it friction-fit into the window rubber and door seal with no adhesive at all.
- Darken one side with black fabric glued on - for privacy and daytime solar warmth. Skip spray paint (it flakes off the foil and litters the car) and skip duct-tape edging (the adhesive fails in a hot car).
The result is a set of panels that pop in at bedtime, pop out in the morning, and store flat behind a seat. That's the design win: removable, repairable, and nothing permanent done to the car. If a panel ends up a little loose after trimming, a folded strip of adhesive weatherstrip foam along one edge takes up the slack and firms the friction fit back up without any glue on the glass.

Do one side, then flip the pattern for the other
A small maker's shortcut saves you half the templating. Left and right side windows are usually mirror images, so you only need to template one side - cut that pattern, then flip it over to trace the matching window on the opposite side. Same shape, mirrored.
A few fitment notes from doing this more than once:
- Label each panel (front-left, rear-right) on the dark side with a marker - at midnight in the cold you don't want to be puzzling out which curve goes where.
- The rear side windows are often a different, smaller shape than the fronts, so template those separately rather than assuming they match.
- Round the corners slightly so the panel tucks into the frame instead of catching - sharp corners are what pop a friction-fit cover loose.
Work methodically and a full set of side covers for a typical car is a couple of hours and one roll of material. The flip trick is the difference between templating four windows and templating two. Cut the mirrored panel foil-face-up as well, so both covers end up with their reflective side pointing into the cabin once they're seated in the frame.
The windshield: buy the sunshade, don't cut Reflectix
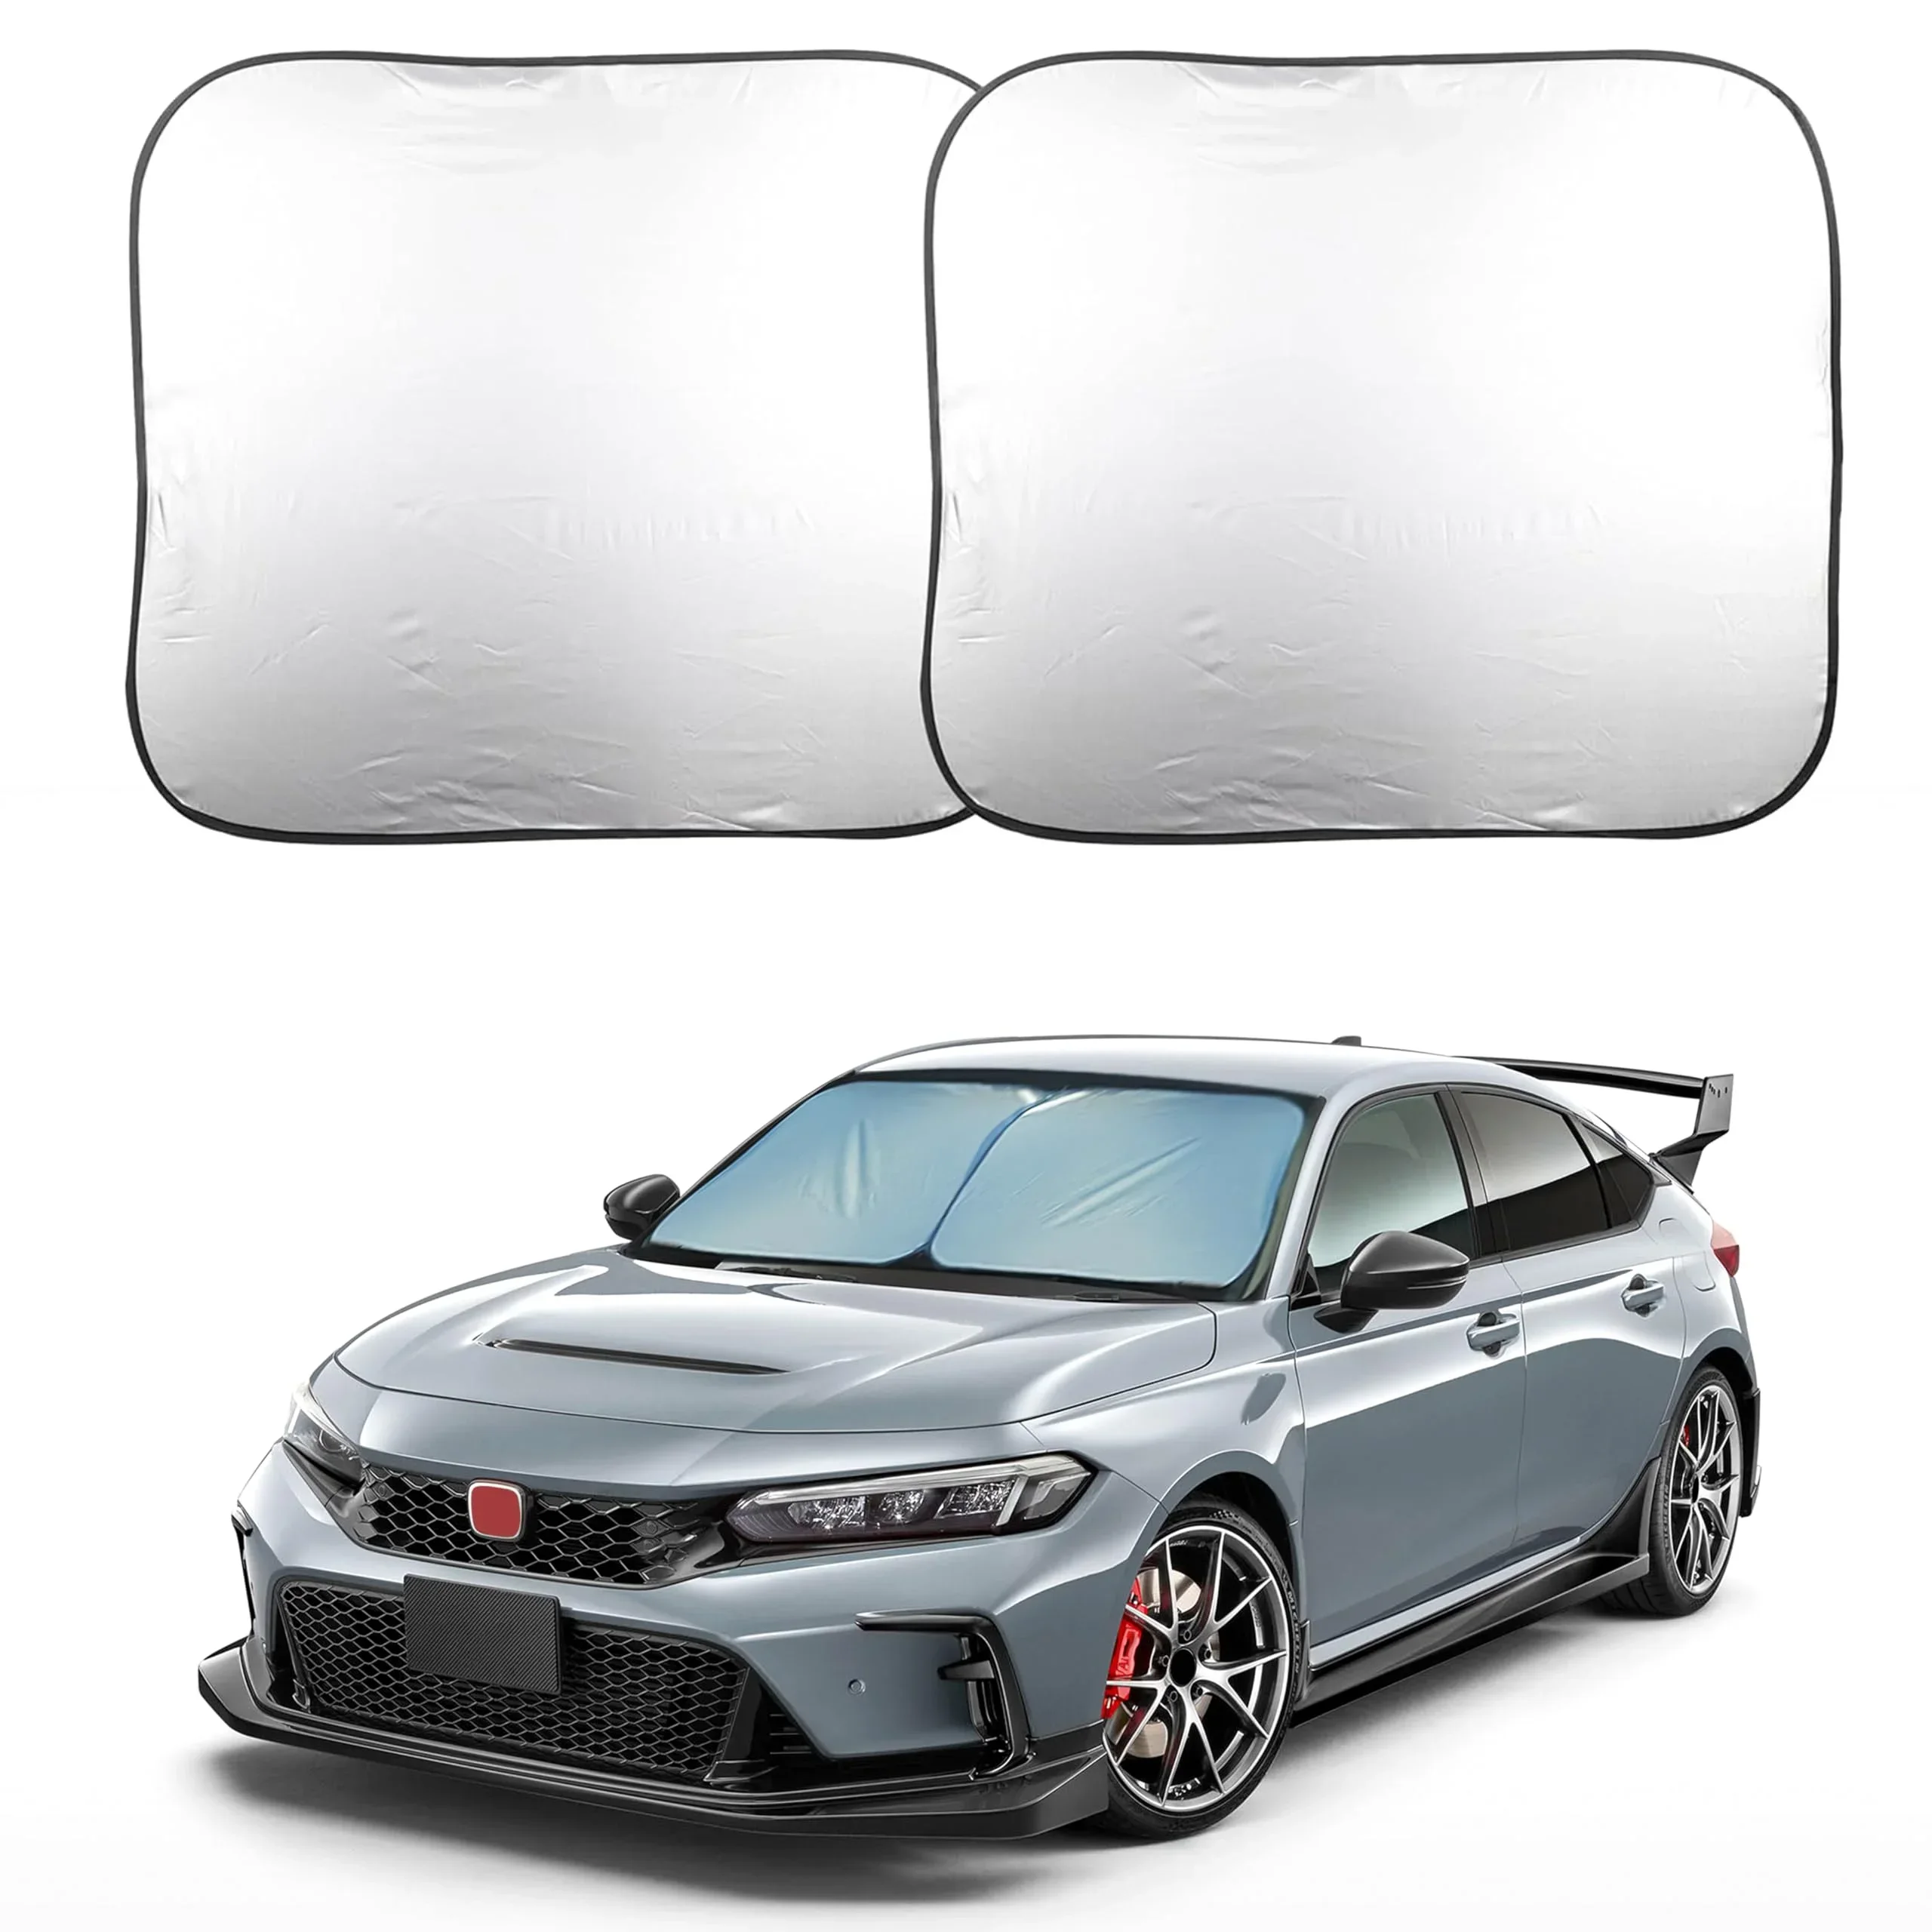
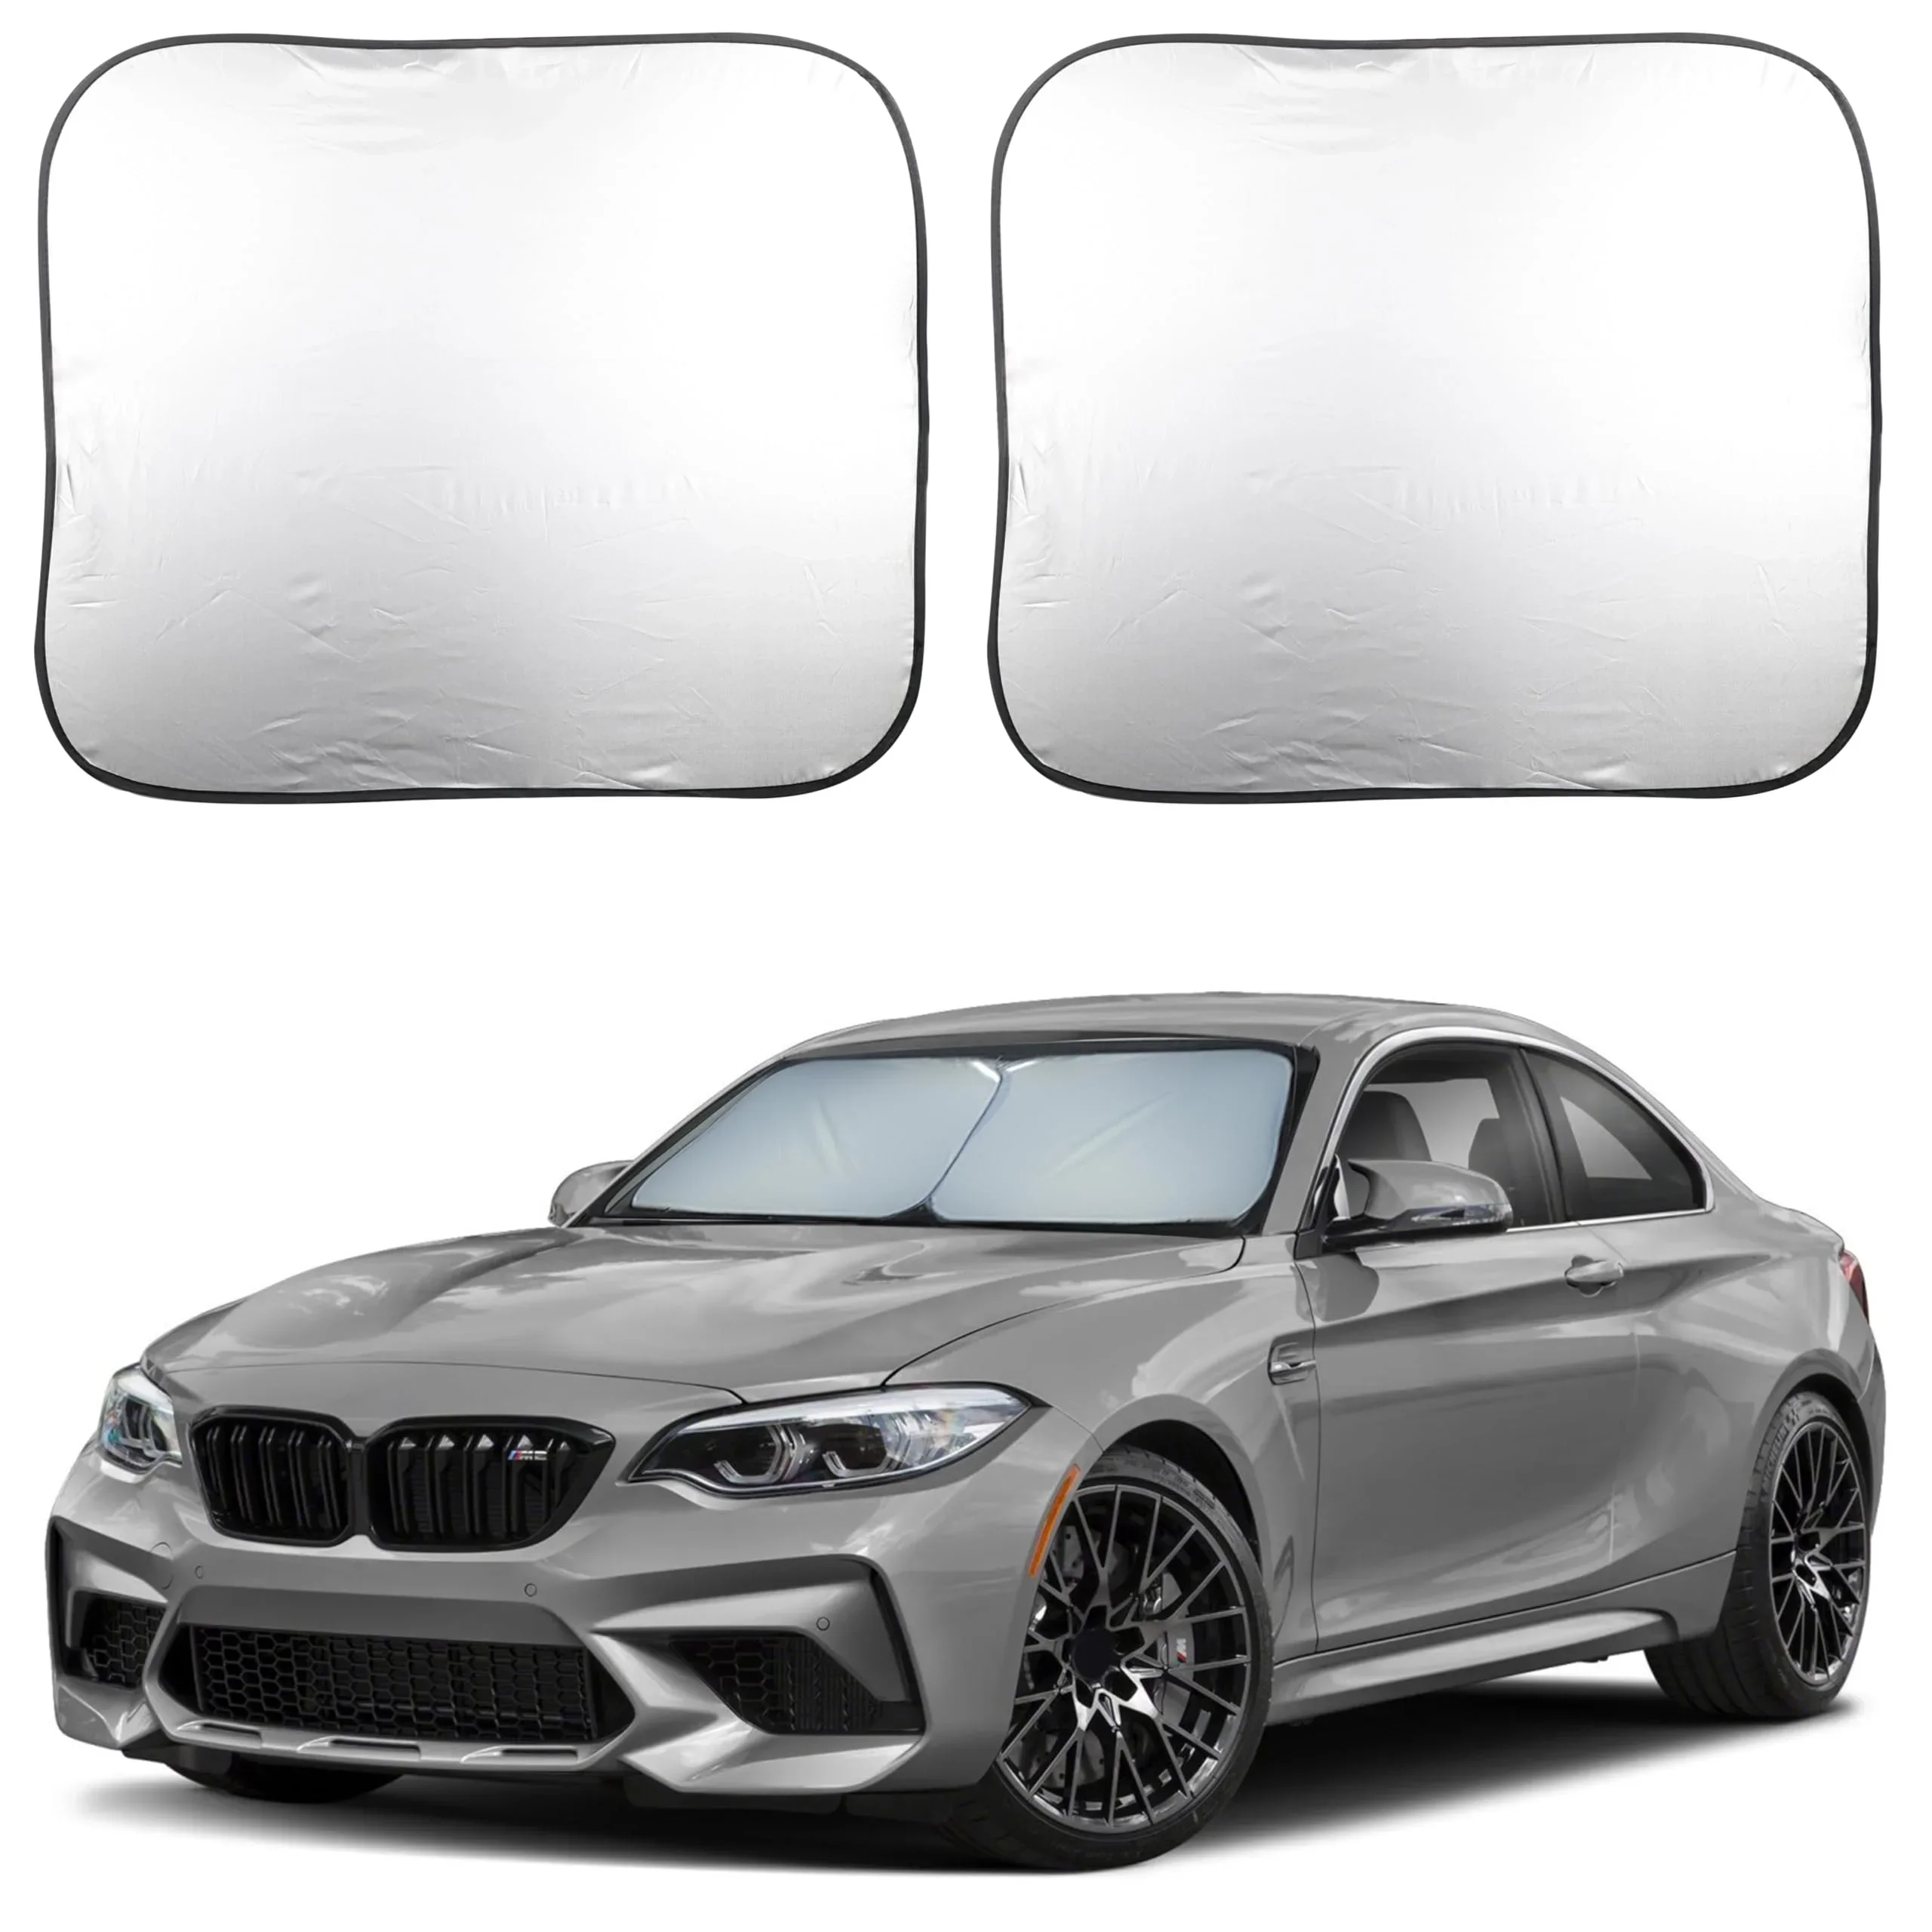
The windshield is the biggest single sheet of glass in the car, so it's the biggest single heat leak - but it's the one window where I don't recommend the DIY panel. A windshield-sized piece of Reflectix is awkward to cut, doesn't fold well, and won't store neatly. The consensus move, and the one I use, is a folding accordion reflective sunshade - the same product that blocks summer sun.
Orientation matters: silver-side-in during winter to bounce cabin heat back inside, silver-side-out in summer to reflect the sun away. One accessory, two opposite jobs, decided by which way you face it.
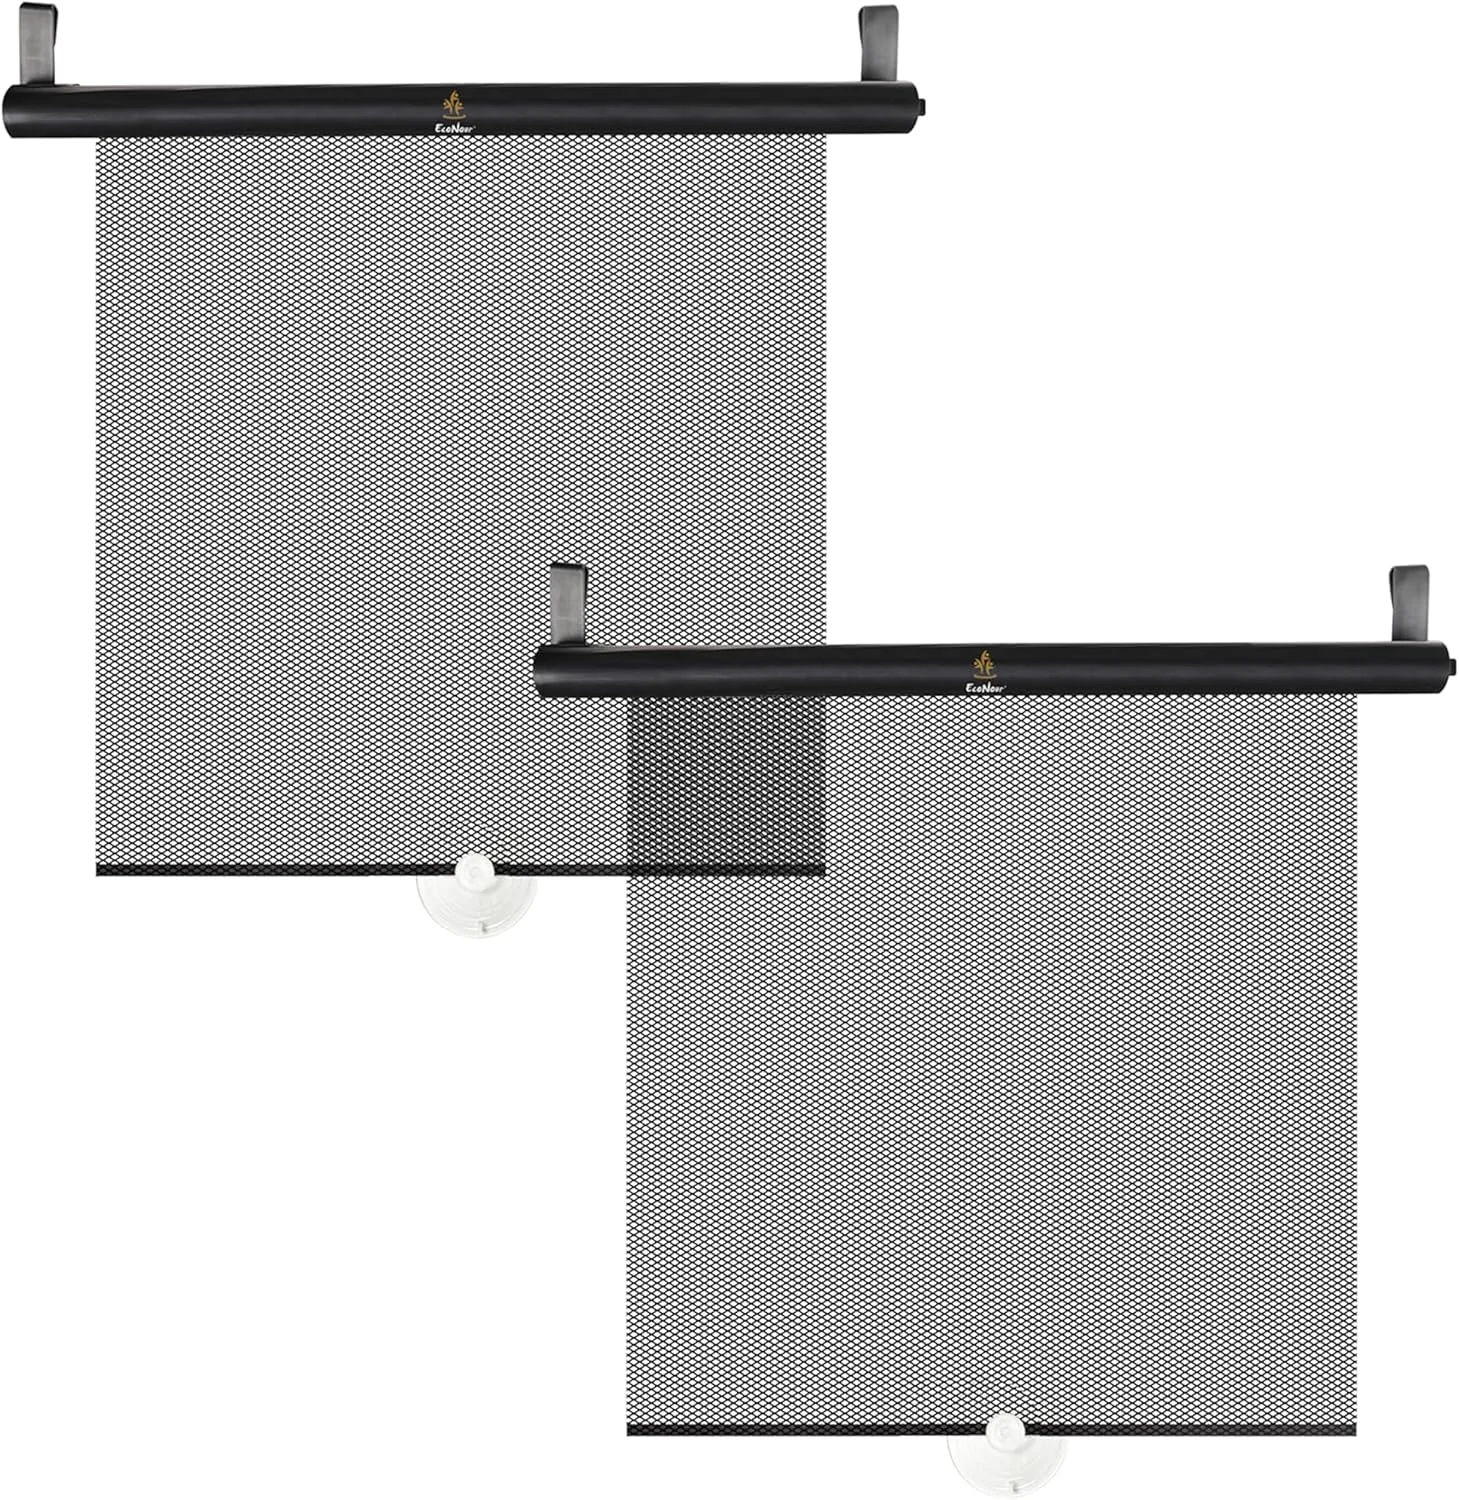
A folding EcoNour Foldable Windshield Sun Shade covers the windshield's big glass area, folds flat to store, and doubles as your summer sun protection - which is why it's the one window where buying beats building. Pair it with your friction-fit side panels and you've covered every piece of glass in the car with about an hour of work and one off-the-shelf part. Tuck the shade's edges up behind the sun visors and down against the dash to close the gaps where warm cabin air would otherwise sneak past the foil and reach the cold glass.
Reflectix vs foam vs blankets: what each gives you
Reflectix is the popular pick, but it isn't the warmest material - it's the most packable one. If you know the trade-offs you can choose on purpose instead of by default.
- Reflectix: thin, rolls up, friction-fits curved windows, closed-cell so it won't soak up water. Modest true R-value. Best all-rounder for removable covers.
- XPS rigid foam: about R-5 per inch, the R-value winner, and moisture-resistant - but stiff panels are bulky and awkward in curved glass. Great for a fixed sleeping platform or floor, less so for a side window you pop in nightly.
- Polyiso foam: high R at room temperature but it derates badly in the cold - down toward R-3 to R-4 per inch near 0F, exactly when you need it. A documented weakness for winter.
- Moving blankets or wool: cheap, quiet, and dark, but they absorb moisture, stay wet for days, and feed mold - the worst choice against cold glass.
The maker's combo a lot of people land on: Reflectix for the removable side covers, XPS for a fixed floor or platform. Put the closed-cell materials against the glass and keep anything absorbent away from it. One more trade-off worth naming: rigid foam holds its own shape and seals the frame edges cleanly, while a floppy blanket needs clips or tension to stay pressed against curved glass at all.
The R-values, honestly labeled (and the ones to ignore)
Here's where marketing muddies the water, so let me label the numbers the way an honest teardown would. Reflectix's material R-value, tested alone by the ASTM C518 method, is about R-1.04. The R-3.7 you'll see on the retail label is an assembly value that requires a specific enclosed air space you will almost never get pressed into a car window well. And the R-3.0-to-R-21 range in the marketing is building-assembly figures for walls and ceilings - it has nothing to do with a window cover.
For a friction-fit car-window cover, plan on roughly R-1 to R-1.5 of real material value, not the R-3.7 on the box and definitely not R-21. Reflectix itself states the R-value depends on the enclosed air space and heat-flow direction.
Why insist on the honest number? Because it sets expectations correctly. About R-1.5 over a bare R-1 window is still a big proportional improvement on the coldest surface in the car, and it's genuinely worth doing. But if you go in expecting the R-3.7 on the label, you'll be disappointed and blame the method instead of the marketing. Cover the glass for the real gain, not the printed one. It helps to remember the label figure assumes heat flowing downward through a sealed cavity, a lab condition your vertical, gappy window cover never reproduces on the road.
The catch nobody warns you about with covered windows
This is the honest part most window-cover guides skip, and it's the one that matters most: covering your windows makes condensation worse, not better, if you seal yourself in. A sleeping person breathes out roughly half a liter of water vapor over an eight-hour night, plus more off your skin, all of it dumped into a tiny cabin. Interior humidity climbs past 90%, and a blanket or foil panel over the glass just traps that warm, humid air against the cold surface, where it condenses faster.
What actually happens if you insulate without ventilating:
- Insulation can't manage moisture - only ventilation can. Even a fully covered car spikes to high humidity overnight.
- Absorbent covers make it worse: blankets that soak up the condensation stay wet for days and grow mold.
- You wake up to drips off the panels and the glass edges, and everything soft in the car is damp.
The point isn't to skip the covers - it's to pair them with airflow. Insulation keeps you warm; ventilation keeps you dry; they are not either/or, and the next section is how to get both. Warm air also holds more moisture than cold air does, so that humid cabin air keeps giving up its water the instant it reaches the chilled glass sitting right behind your panel.
Ventilate anyway, or you wake up wet
Warm and dry is the goal, and it takes both moves together. Once your glass is covered, deliberately break the seal for airflow:
- Crack two windows at opposite ends by at least 15 millimeters for cross-flow - this is the single biggest condensation fix, and it costs you almost no warmth.
- Run a small USB fan aimed to move air across the cold surfaces; it breaks up the still, moist layer where water condenses.
- Keep wet gear out of the sleeping space - boots and a damp jacket off-gas moisture all night; stow them in a footwell or a bag.
- Use closed-cell materials (Reflectix, XPS) that don't absorb the moisture, and stay off the propane heater indoors - combustion adds water and carbon monoxide.
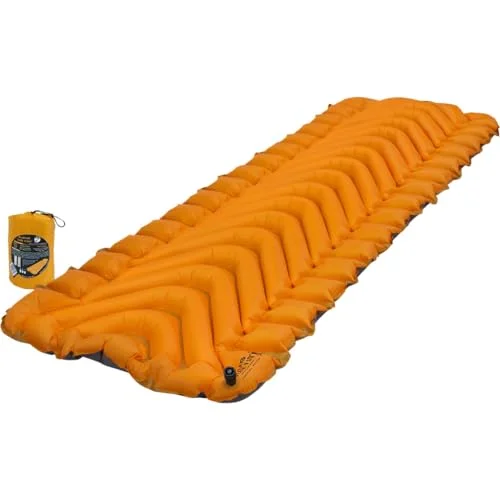
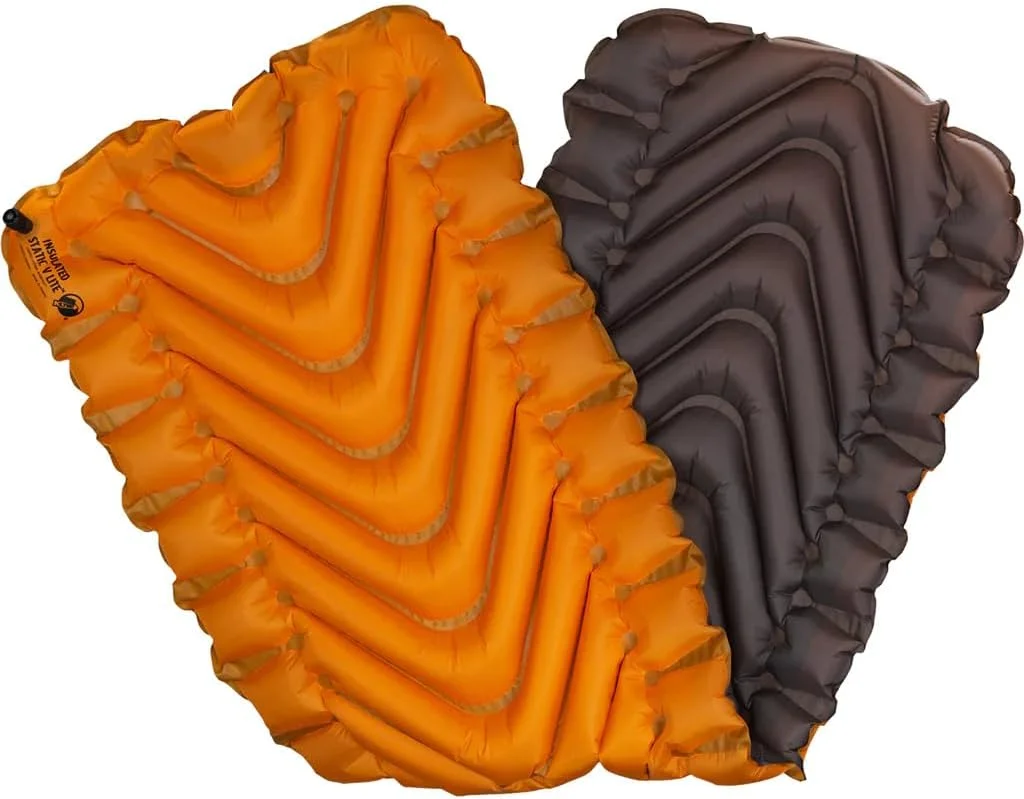
The insulation you added lets you crack those windows without getting cold, which is the whole trick: covered glass holds your heat, the gap lets the moisture out, and a warm insulated pad like the Klymit Insulated Static V Lite pad stops the other big cold leak - the floor - so you're not fighting the ground and the glass at once. Our guide to reducing condensation when sleeping in a car goes deeper on the moisture math. Even a couple of centimeters open at each end is enough to let the damp air drift out and draw drier air in, and once you're bagged up you rarely feel the draft at all.
The honest verdict on insulating car windows
Covering your car's glass is the best cold-weather upgrade you can make, because you're fixing the worst surface in the vehicle - a bare, R-1 single pane. Friction-fit Reflectix panels for the side windows, a folding reflective sunshade silver-side-in for the windshield, and you've sealed the biggest heat leaks for about an hour of work and one off-the-shelf part. One camper writing for Adventure Journal described their covered car feeling maybe 10 to 15 degrees warmer, though that's a single anecdote to take with a grain of salt, not a measured or typical result you should count on.
Cover the glass to keep your heat in, but crack two windows to let your breath out. Insulation without ventilation is a warmer, wetter car - and the wet is what ruins the night.
Set your expectations at the real R-1-ish value, not the R-3.7 on the label, and the covers deliver exactly what physics promises: a meaningful warmth gain on the coldest surface, with the moisture managed by airflow instead of trapped by foil. For the rest of the cold-night system, our guide to staying warm sleeping in a car in winter covers the bag, the pad, and the heat plan that pair with your new window covers.
Related on Auto Roamer: keeping water from freezing in winter; winter driving emergency kit.