Adjusting your backup camera's guide lines: what's actually possible
If the colored lines on your backup camera no longer match where your car actually goes — the red band swallowing a curb you're still a foot from, or the lines drifting off-center after an install — you're asking the right question. The frustrating answer is that whether you can fix it, and how, depends almost entirely on what kind of guide lines you have. There is no universal 'calibrate' button.
The short version: factory guide lines are usually fixed in geometry and the menu only turns them on or off; aftermarket cameras let you drag or nudge the grid through an on-screen menu; and the curving, steering-linked lines depend on a sensor that only a scan tool can re-zero. Most 'miscalibrated' lines on a DIY install are really a crooked camera, not bad software.
That sounds like bad news, but it's actually the map you need. Once you know which of three buckets your system falls into — a fixed factory overlay, an adjustable aftermarket grid, or a dynamic steering-linked path — you know exactly where to spend your time and where you'd be wasting it. Chasing a software menu that doesn't exist on your car is the number-one way people lose an afternoon to this.
This guide walks the whole problem in order: what the colored lines mean and why they're an overlay rather than something the camera sees, how to tell whether yours are even adjustable, the exact menu paths on factory and aftermarket systems, the physical camera re-aim that fixes most cases, the special rules for dynamic lines, and a simple tape-measure test to prove your lines are honest before you trust them in a tight spot. Every figure here is drawn from owner's-manual procedures, the menu structure manufacturers ship, and the consensus of owners and installers — not from any single car we claim to have tested.
What the colored guide lines actually mean
Before you adjust anything, it helps to understand that the guide lines are a drawing.
The camera captures live video; the head unit or the camera's own chip paints the colored grid on top of that video. The lines are a calculated prediction of distance and width based on where the camera is mounted and how it's aimed — they are not edges the lens is detecting. That's why a perfectly clear picture can still have lines that lie to you: the image and the overlay are two separate layers.
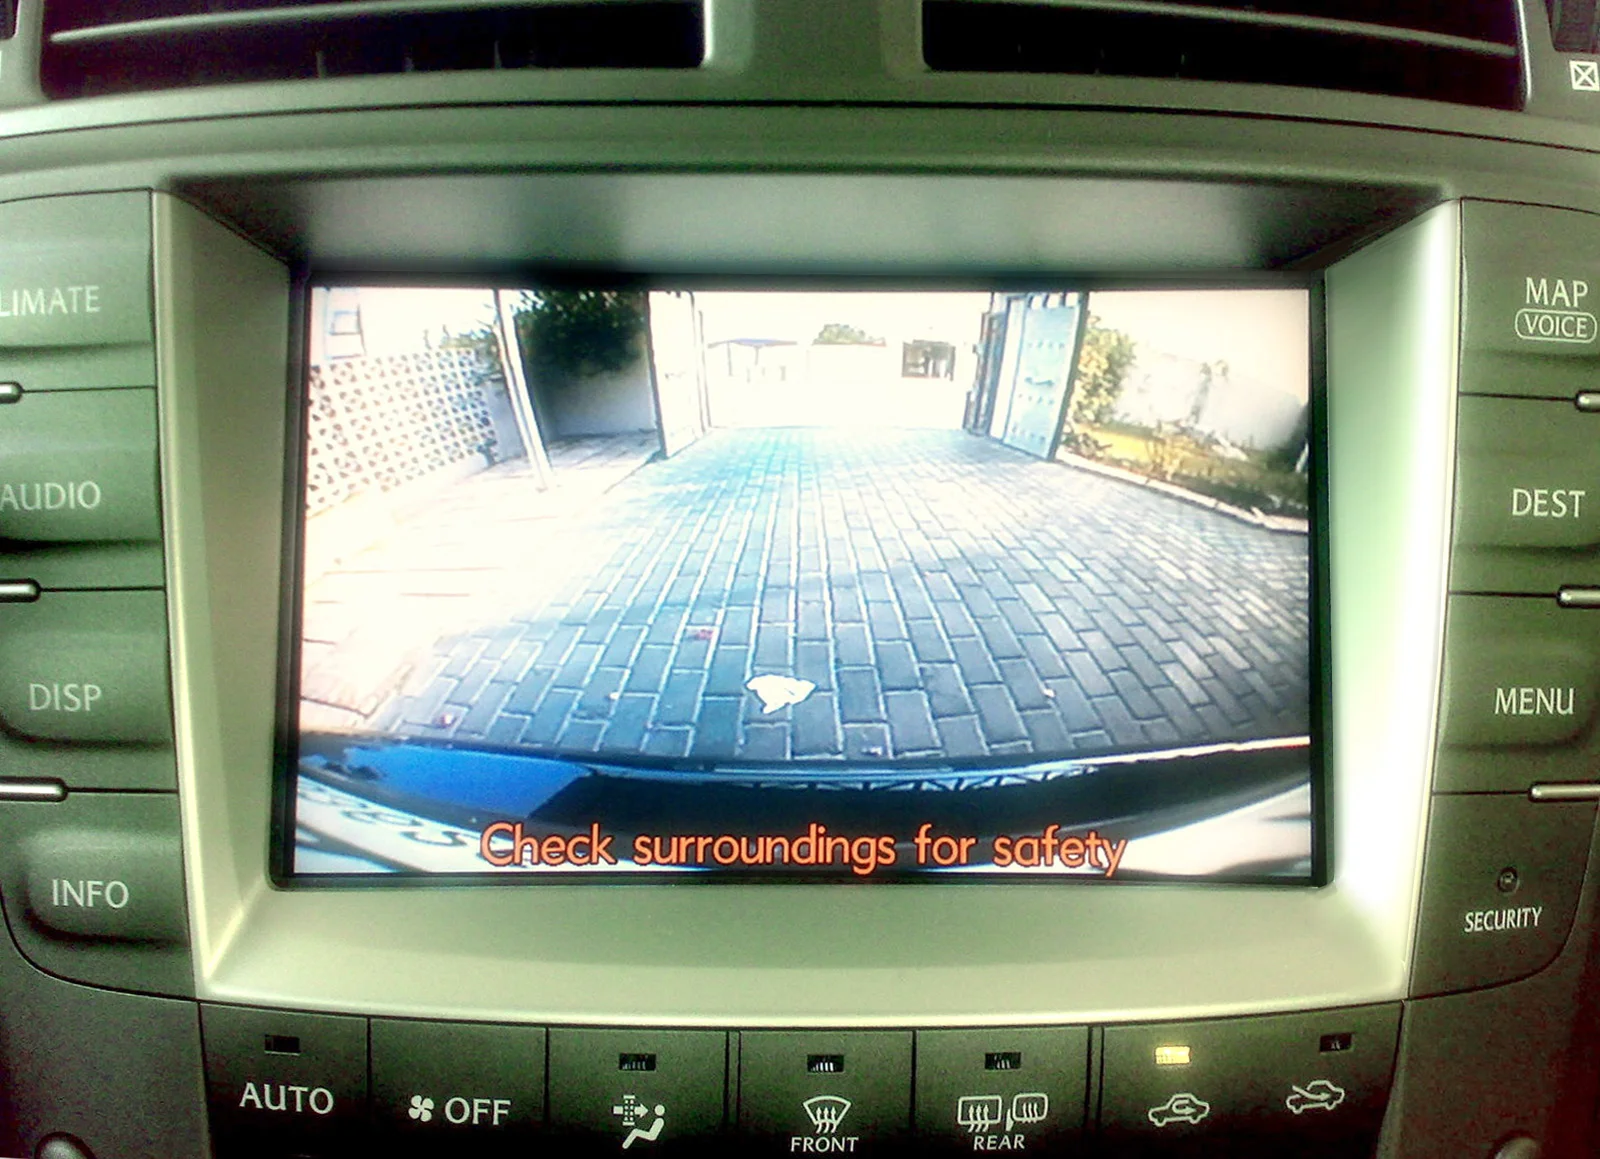
The colors are a distance code, and it's consistent across most vehicles. Red marks the closest zone, roughly a foot off the bumper — the 'stop now' band. Yellow is the middle ground, about three feet back. Green is the farthest, around six feet. Manufacturer support pages, including Toyota's, describe these colored lines as distance references behind the vehicle, and the side lines show your car's approximate width so you can judge whether you'll clear a post or a neighboring bumper.
There's one more split that changes everything about calibration: static versus dynamic lines. Static guide lines are painted in a fixed position and never move, no matter how you turn the wheel — they show where the car would go if you reversed dead straight. Dynamic guide lines, sometimes called moving or active guide lines, curve and swing as you turn the steering wheel to predict your actual arc into a space. Static lines are a simple geometry problem; dynamic lines depend on a live steering-angle signal, and that distinction decides which fix applies to you.
First question: are your guide lines even adjustable?
This is the step that saves the most wasted effort, so be honest about it before you dig into menus. Guide lines fall into three buckets, and only two of them are something you can change at home.
- Factory (OEM) fixed lines. On a huge share of modern cars, the rear-camera position and lens angle are set at the factory and the geometry of the lines is locked to them. The infotainment menu typically lets you turn the lines on or off and switch between fixed and dynamic, but it gives you no way to drag a line to a new spot. If that's your car, the lines are 'calibrated' by design and the only legitimate adjustment is the on/off toggle — trying to reposition them is chasing a setting that isn't there.
- Aftermarket cameras and head units. If you or a shop added the camera, you almost certainly have real control. Most aftermarket cameras and screens expose an on-screen display where you can shift the grid, resize it, or switch it off entirely. This is the bucket where 'adjust the guide lines' means what you'd hope it means.
- Dynamic steering-linked lines. These can be correct in shape but wrong in their zero point — bending left when you turn right, or curving when the wheel is straight. That's not a drag-the-line fix; it's a steering-angle-sensor calibration, often a scan-tool job. Sorting your system into the right bucket now means the next three sections either apply to you or don't, and you can skip straight to yours.
OEM systems: where the setting lives (and its honest limits)
On a factory system, the guide-line controls live in the infotainment menu, not behind the dash. The path varies by brand but follows a pattern. On Toyota and Lexus, the route is generally Setup (the gear or menu button) into Vehicle Settings, then a Camera or Rear Camera submenu, where you'll find options to enable the fixed guide lines and, on many models, the dynamic ones. Honda and Acura put it under Settings, then Vehicle, then a Rear Camera or Multi-View Camera entry. General Motors, Ford, and others use a similar Settings > Vehicle/Camera nesting. If you can't find it, the owner's manual index entry for 'rear camera' or 'guide lines' points straight to the exact screen for your model year.
Here's the part owners often discover the hard way: on most factory systems that menu only toggles the lines. You can turn the static lines on or off, you can usually enable or disable the steering-linked dynamic lines, and that's the extent of it. There is no slider to move the red band closer or to recenter a line, because the factory fixed the camera and computed the geometry once. Owner-forum threads on exactly this question repeatedly land on the same conclusion — the reposition control simply isn't exposed.
If your factory lines genuinely look wrong — consistently off to one side, or meeting the ground at the wrong distance — that points away from a software setting and toward a physical or sensor cause: a camera knocked out of alignment, a changed ride height, or a dynamic system that lost its zero point. Those are the next sections. The takeaway for the OEM menu itself is simple: use it to confirm the lines are on and set to the mode you want, then stop looking for a position adjustment that your car was never built to offer.
Aftermarket cameras: how to actually move the grid
This is where 'adjust the guide lines' becomes a real, do-it-yourself task. Aftermarket cameras and monitors are built to fit thousands of vehicles, so they ship with adjustable overlays. The control usually hides in one of two places: a small set of buttons on the camera's wiring harness (often a little inline pod with up/down/left/right and a menu key), or an on-screen display you call up from the monitor itself. Pressing the menu button brings up the grid in an editable state.
The mechanics differ by brand but rhyme. On Garmin's BC 35 wireless camera, you align the lines by dragging the circles on the corners of the guidance lines until they sit directly on top of a real-world reference — a curb, the edge of your driveway, or a painted parking-stall line. Phone-app cameras such as Nonda work the same way: park in a normal space, open the backup-camera settings, and drag the line endpoints until they trace the stall. Button-based OSD systems let you nudge the whole grid up, down, left, or right and sometimes resize it. The principle is identical across all of them: give the system a true reference on the ground and move the overlay onto it.
The reliable way to do this well is to set up your own reference first. Park on flat ground against a straight line you trust — a curb, a chalk line, or tape — with the car square to it, then enter the adjustment menu and walk the grid onto that line so the side lines frame your true width and the colored bands land at sensible distances. If you're doing this as part of a fresh build, our walkthrough on installing an aftermarket backup camera covers the mounting and wiring that feed this step, and a clean install makes the line adjustment far easier because the camera starts out square.
The fix most people actually need: re-aim the camera
Here's the truth that short-circuits a lot of menu hunting. When guide lines look badly off on an aftermarket setup — tilted, skewed, pointing into the bumper, or biased to one side — the lines are usually innocent. The camera is mounted at the wrong angle or off-center, and no software adjustment can square an overlay to a crooked picture. The grid is drawn relative to the frame; if the frame itself is tilted, the grid tilts with it.
The reference framing to aim for is well established among installers: a correctly pointed rear camera puts roughly the top third of the screen as sky or distant horizon and the bottom two-thirds as the ground immediately behind you, with the top edge of your bumper just visible at the very bottom of the frame. That bumper sliver is your anchor — it tells you the camera is looking down at the ground at the right pitch, which is exactly what makes the distance bands map believably to real distances.
To re-aim, loosen the camera bracket or housing (most have a small set screw or an adjustable hinge), have a helper watch the screen, and tilt and rotate the lens until the view is level and centered and the bumper edge sits at the bottom. Stepping behind the car to eyeball that the lens points straight back and isn't cocked to one side takes thirty seconds and resolves most complaints. Only after the picture itself is square and centered does it make sense to fine-tune the overlay in the menu. Do it in the other order and you'll fight the software forever. If your underlying picture is also dim, fuzzy, or noisy, that's a separate issue — a blurry or grainy backup camera has its own causes worth ruling out before you blame the lines.
Dynamic (steering-linked) guide lines: a different animal
Dynamic guide lines — the ones that curve as you steer — add a moving part: the steering-angle sensor.
The system reads how far the wheel is turned and bends the predicted path to match. When that signal is healthy, the lines arc beautifully into a space. When its zero point drifts, the lines misbehave in tell-tale ways: they curve while the wheel is dead straight, bend the opposite direction from your turn, or show a constant lean to one side.
That zero point can shift after a few specific events — a wheel alignment, a steering-rack or sensor replacement, sometimes a battery disconnect or a hard impact. The fix is not to drag a line; it's to recalibrate the steering-angle sensor so 'straight' reads as zero again. Some Toyota models expose a self-calibration for this right in the camera menu: with the wheels pointed straight you set the center point, then turn the wheel fully left and fully right to register the maximum angles, teaching the system its full range. Where that menu exists, it's a genuine at-home fix.
On many vehicles, though, steering-angle and surround-view calibration is a scan-tool procedure, and some setups require target mats laid out at measured points around the car so the system can re-reference itself. That's firmly dealer or specialist territory, and it overlaps with the broader world of ADAS calibration that modern driver-assist features depend on. The honest call: if your dynamic lines bend wrong and your menu has no steering-calibration entry, don't force it — that's a job for a scan tool, not a setting you're missing.
Verify it yourself: the tape-measure accuracy test
Whatever system you have, you should prove the lines are honest rather than assume it — a guide line you trust in a tight garage needs to be right, not roughly right. The test is simple and needs only a tape measure and something to mark the ground: chalk, tape, a couple of small cones, or even shoes.
Park on genuinely level ground, because a slope throws the whole test off. Measure straight back from the rear bumper and mark the ground at about one foot, three feet, and six feet — the nominal centers of the red, yellow, and green zones. Then sit in the driver's seat, put it in reverse, and look at where each colored band falls relative to your marks. On an accurate system the red band sits at your one-foot mark, yellow near three feet, and green out around six. Check the side lines too: have a helper stand at the corners of your car's real width and confirm the side guide lines frame them.
If the marks and the bands disagree, the size of the gap tells you what to do. A small, even offset on an adjustable aftermarket system is a quick menu nudge. A large or lopsided error points back to camera aim or mounting. And remember that the test is only valid for the car as it sits — bigger tires, a suspension lift or sag, or a trunk loaded with gear all change the camera's height and angle and shift where the fixed lines appear to meet the ground, so it's worth re-running this check after any of those changes. Five minutes with a tape measure turns 'I think the lines are close' into knowing.
Common mistakes and when to stop and see a pro
A handful of avoidable errors send people in circles on this, so rule them out before you escalate. One: hunting for a reposition menu on a factory car that doesn't have one. If your OEM system only offers on/off, the position is fixed by design — accept it and look at physical causes instead. Two: adjusting the overlay before squaring the camera. On an aftermarket install, aim the lens and confirm the bumper sliver at the bottom of the frame first; the software step only works on a square picture.
Three: testing on a slope. Even a gentle grade makes accurate lines look wrong and wrong lines look accurate — always verify on level ground. Four: ignoring a ride-height change. New tires, a lift, or a heavy load move the camera, so re-verify afterward. Five: confusing a guide-line problem with a picture problem. If the image is mirrored, flipped, or missing entirely, the lines aren't your issue — a backup camera image that's upside down or mirrored and a backup camera that's not working at all are separate faults with their own fixes, as is a wireless backup camera's signal problems if the feed stutters or drops.
Know when to hand it off. Dynamic lines that bend wrong with no steering-calibration menu, surround-view systems, and anything that throws an error or won't hold a setting are scan-tool work — a dealer or an ADAS-capable shop can re-zero the steering-angle sensor and run the target-based calibration that home tools can't. There's no shame in it; some of these procedures are designed to require equipment. If you've squared the camera, used whatever menu your system offers, and the lines still lie, that's your signal that the rest belongs to a professional rather than another evening of menu diving.
The bottom line: match the fix to your system
Calibrating or adjusting backup-camera guide lines isn't one task — it's three, and the whole job is figuring out which one you actually have. If your lines are factory static lines, the menu turns them on and off and the geometry is fixed; a real misalignment there means the camera or ride height moved, not a setting you overlooked. If they're aftermarket, you have genuine control through the camera's on-screen menu or harness buttons — set up a true ground reference and walk the grid onto it. And if they're dynamic steering-linked lines that bend wrong, that's a steering-angle-sensor calibration, doable in the menu on a few models and a scan-tool job on the rest.
The through-line for every system is the same: square the camera first, give yourself a measured real-world reference, and verify the result with a tape measure on level ground instead of trusting your eye. Do that, and the colored bands stop being decoration and go back to doing their one job — telling you the truth about how much room is left behind you. Spend your effort where your system can actually be adjusted, and you'll fix it in an afternoon instead of chasing a button that was never there.