Smart Car Tech

Fhd 1080P Dash Cam Instructions

Auto Roamer
10 min read
Includes Video

You're on a long stretch of highway, the sun is beating down, and suddenly, a near miss. Another car swerves unexpectedly, cutting you off. Your heart pounds, but you know you've got it covered. You've got your fhd 1080p dash cam recording every second, a silent witness to the chaos.

You're on a long stretch of highway, the sun is beating down, and suddenly, a near miss. Another car swerves unexpectedly, cutting you off. Your heart pounds, but you know you've got it covered. You've got your fhd 1080p dash cam recording every second, a silent witness to the chaos. But now, you need to access that footage, maybe to show the police or just for your own peace of mind, and you're staring at a device you barely understand. We've all been there, fumbling with buttons and menus when the pressure is on. This guide cuts through the confusion, getting you to the crucial recordings you need, fast. We'll cover everything from initial setup to finding specific events, ensuring your dash cam works for you when it matters most. For many of these cameras, the core functions are similar, and understanding the basic button layout is key, like the Power, OK, and Lock buttons found on many Full HD 1080P WIFI Car DVR Dash Cams Scribd. Getting the mounting right is also critical from the start, as detailed in guides for Full HD Dual Camera Dash Cams PDF.

FHD 1080p dash cam specs comparison infographic.
Key specifications for fhd 1080p dash cam instructions

The Short Answer

Getting your FHD 1080P dash cam operational boils down to understanding its core functions and then accessing the right documentation. Think of it like this: the dash cam is a tool, and the manual is your map.

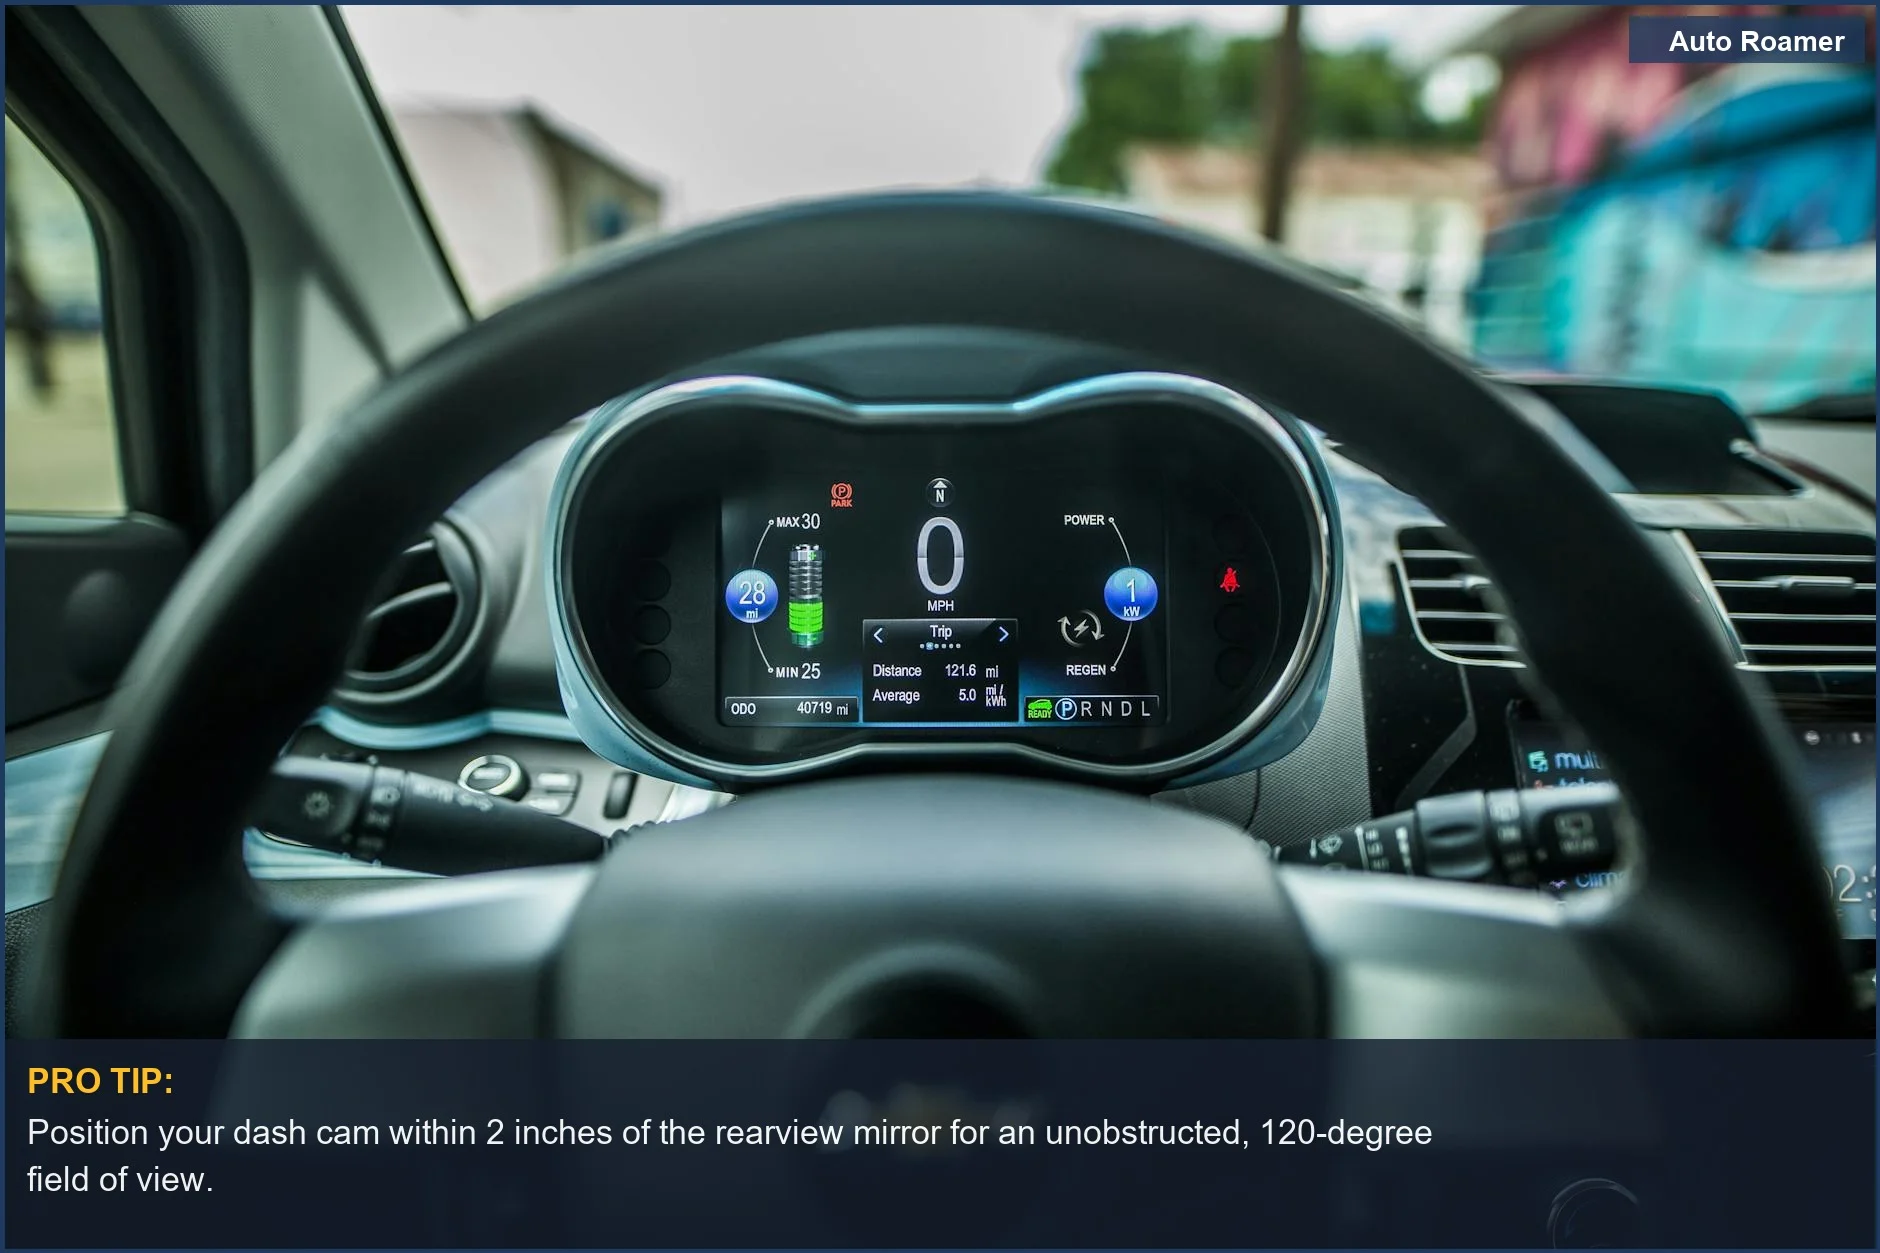
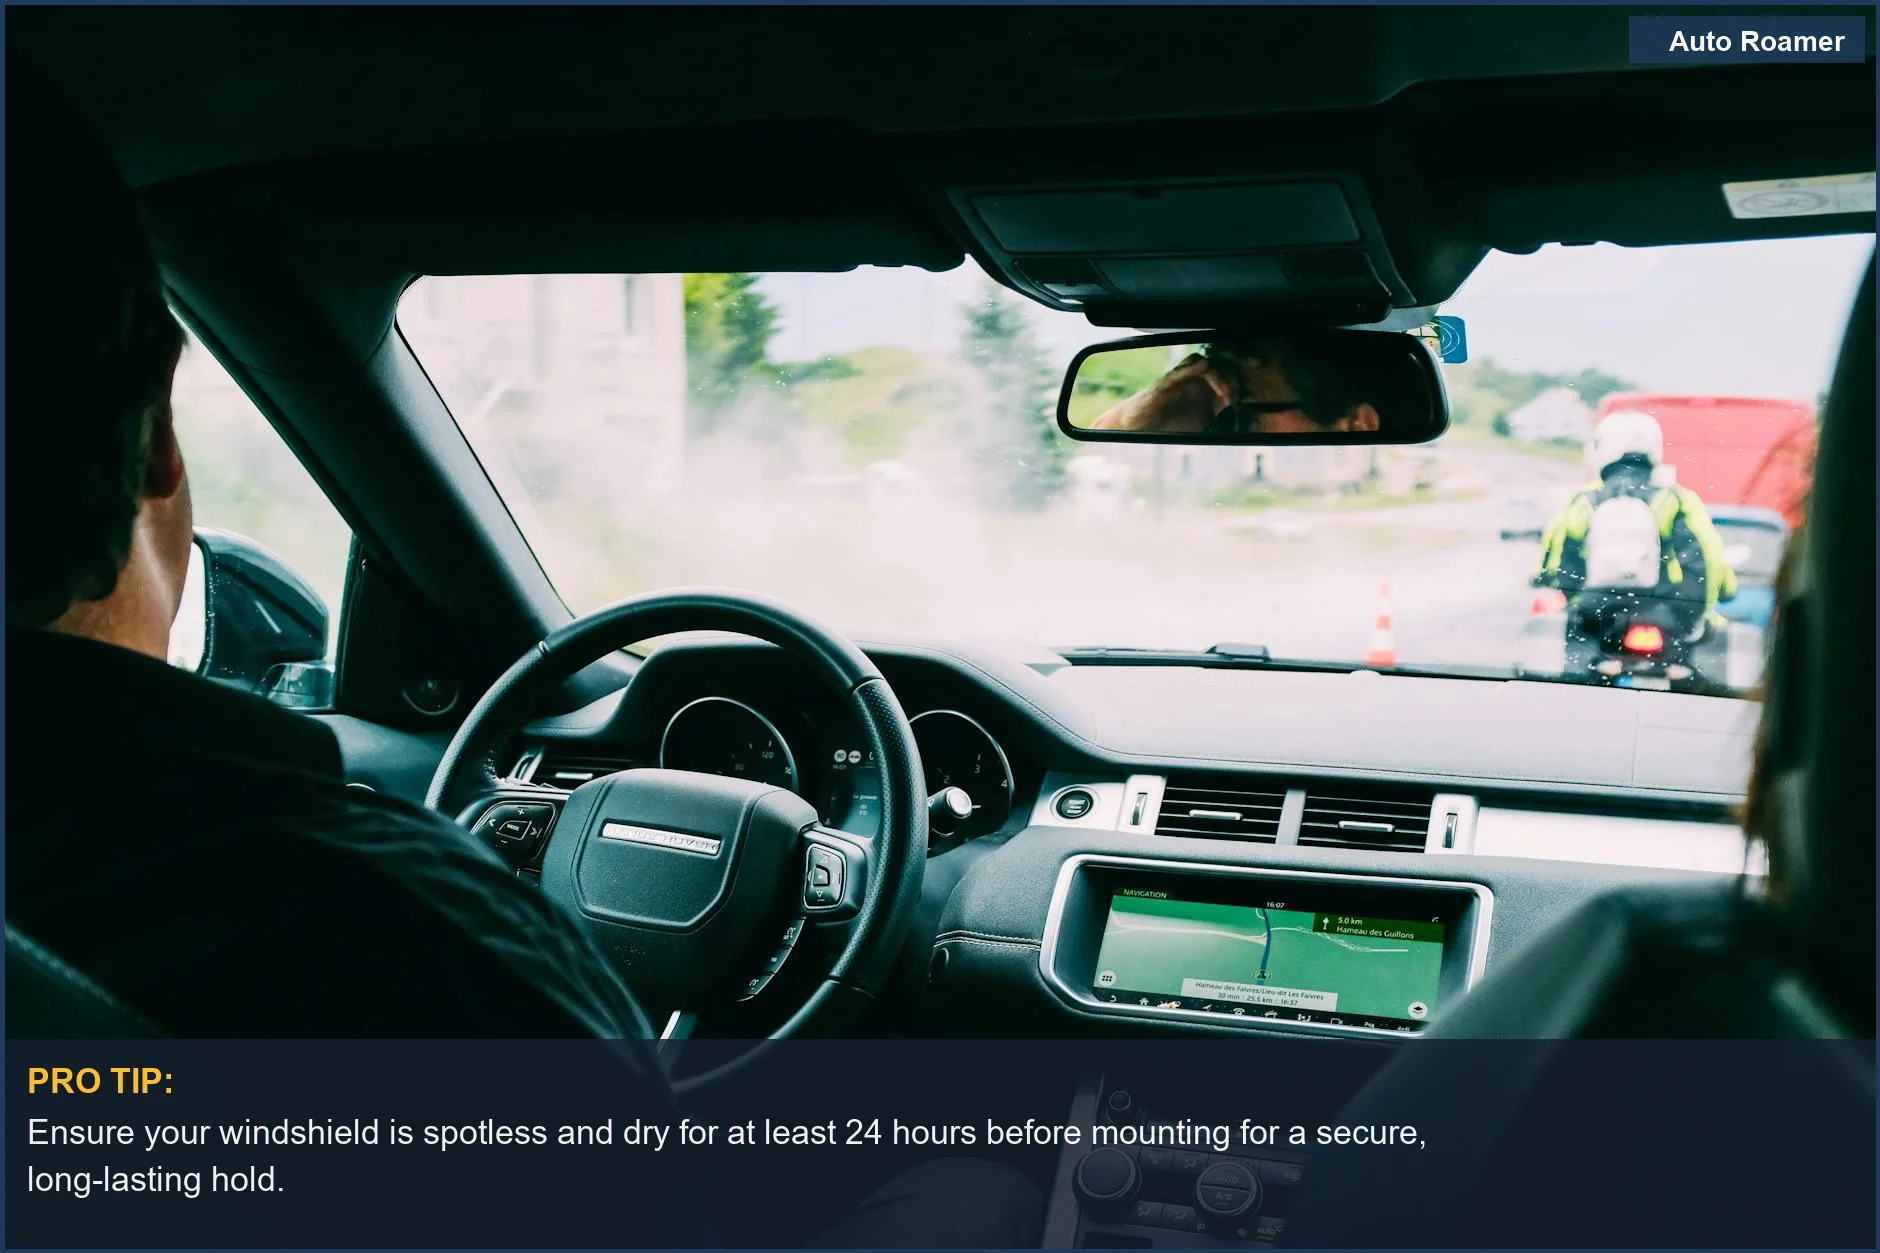
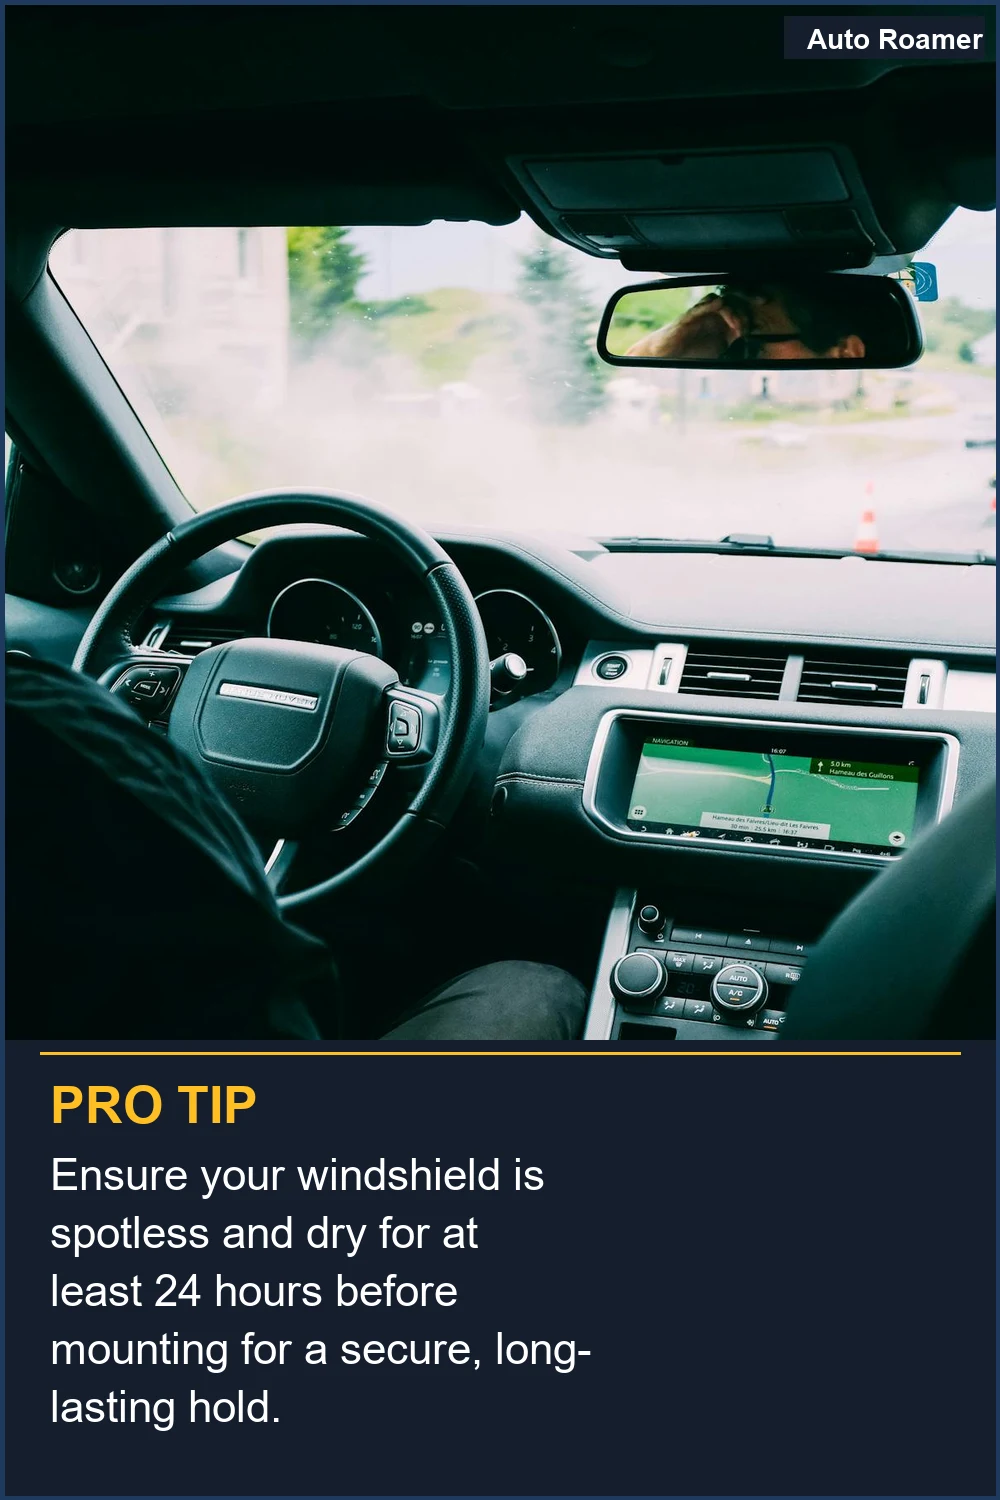
The first step is always physical installation. This typically involves cleaning your windshield thoroughly to ensure a secure mount, often using a suction cup bracket Full HD Dual Camera Dash Cam. Power is usually supplied via the car's cigarette lighter or a dedicated hardwiring kit.

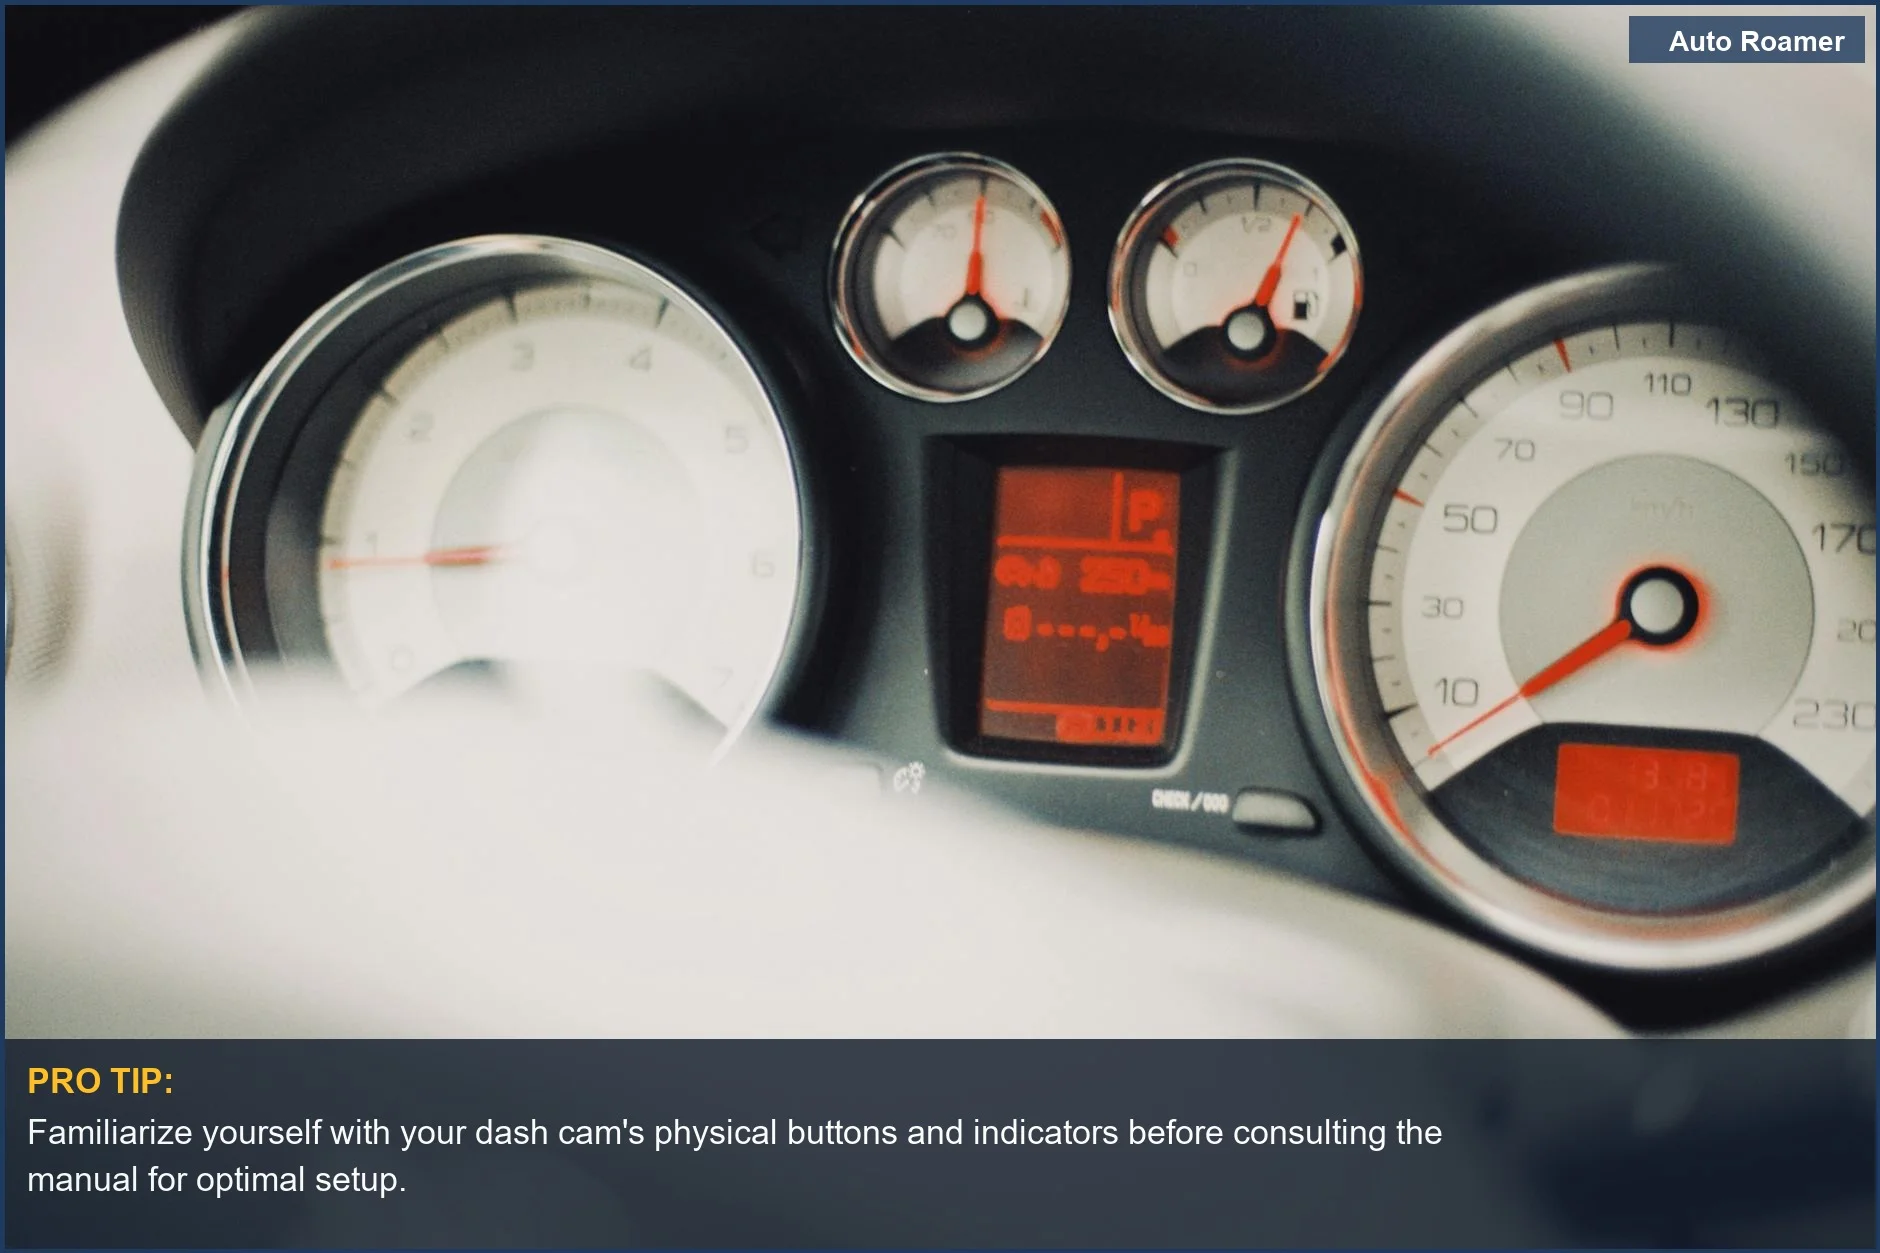
Once powered, you'll interact with the dash cam using its buttons. Common ones include Power, OK, and Menu User Manual: Full HD 1080P WIFI Car DVR Dash Cam | PDF - Scribd. The 'Menu' button is your gateway to settings like resolution (ensuring it's set to 1080p), loop recording, and date/time stamps 1080p Dash Camera - Sprout Accessories Online. Don't overlook setting the correct time and date; it's crucial for accurate incident logging.

For more complex features or troubleshooting, finding the specific user manual for your model is paramount. Manufacturers like BlackVue and Thinkware offer extensive documentation online Dashcam User Manuals & Documentation. These guides cover everything from initial setup to advanced configurations like parking mode or Wi-Fi connectivity.

If you've lost your manual or can't find it, websites like EzDashcam provide a repository of manuals for various brands and models Dash Cam User Manuals | EzDashcam. YouTube tutorials are also invaluable for visual learners, offering step-by-step walkthroughs for setup and settings FHD1080p Chinese Dashcam English Instructions and ... - YouTube.

To ensure optimal performance, you'll want to choose the right FHD 1080P dash cam SD card.
Familiarize yourself with your dash cam's physical buttons and indicators before consulting the manual for optimal setup.
The intricate details of a car's dashboard, including the speedometer and gauges, highlight the importance of understanding your device's interface. Follow these FHD 1080p dash cam instructions for a smooth installation. | Photo by Alexey Demidov

What You Need to Know

1
Mounting Location: Choose a spot on your windshield that offers a clear, unobstructed view of the road. For most sedans and SUVs, the area near the rearview mirror is ideal. Ensure it's away from the defroster lines and doesn't impede your view of traffic signals. For trucks and vans with larger windshields, you might have more flexibility, but still prioritize a central, high position. Full HD Dual Camera Dash Cam
2
Power Connection: Most fhd 1080p dash cams connect to your vehicle's 12V power outlet (cigarette lighter socket). Some vehicles may have multiple outlets, so choose one that's convenient and doesn't interfere with other devices. Ensure the cable is routed neatly along the A-pillar or headliner to avoid dangling wires that could be distracting. FHD1080p Chinese Dashcam English Instructions and ... - YouTube
3
SD Card Preparation: Before initial use, it's crucial to format the SD card. Most dash cams have an option within their menu system to perform this. Refer to your specific dash cam's manual for the exact steps, as this ensures optimal performance and prevents potential recording errors. How to SETUP & Use DASH CAM - Dual Camera Car ... - YouTube
4
Initial Setup and Configuration: Once powered on and the SD card is formatted, you'll need to set the time and date. This is essential for accurate event logging. Navigate through the dash cam's menu, typically using buttons on the device itself, to find the date/time settings. 1080p Dash Camera - Sprout Accessories Online
5
Understanding Key Functions: Familiarize yourself with the dash cam's primary buttons, which often include Power, Record, Menu, and Lock. The "Lock" function is particularly useful for saving critical footage immediately after an incident. Many models also feature Wi-Fi connectivity for easy access to recorded files via a smartphone app. User Manual: Full HD 1080P WIFI Car DVR Dash Cam | PDF - Scribd
6
Vehicle-Specific Considerations: While the core functionality of an fhd 1080p dash cam is consistent, installation nuances can arise. For instance, in larger vehicles like trucks or vans, you might need a longer power cable or a different mounting bracket to ensure secure placement. Always consult your vehicle's manual for any specific guidelines regarding dashboard or windshield modifications. Dashcam User Manuals & Documentation
For tips on using different models, explore our instructions for Chinese dash cams.
Position your dash cam within 2 inches of the rearview mirror for an unobstructed, 120-degree field of view.
A close-up view of a car's dashboard, emphasizing the digital display and steering wheel, is crucial for finding the perfect spot for your dash cam. Proper mounting is the first step in these FHD 1080p dash cam instructions. | Photo by Caleb Oquendo

How to Handle This

1
Mount the dash cam - Clean and thoroughly dry the windshield area first, as dust or moisture will prevent a secure mount. This is crucial because a loose camera means shaky footage, rendering it useless for evidence in an accident. If it falls off mid-drive, especially at night or in bad weather, you lose critical recording time. Aim for a spot behind the rearview mirror to keep it out of your direct line of sight and away from the edges of the windshield where the defroster lines can obscure the view.
2
Set the time and date accurately - This might seem trivial, but it's vital for chronological record-keeping. If you're involved in an incident, having the correct timestamp on your FHD 1080p dash cam footage is essential for legal purposes. Skipping this means your evidence could be immediately questioned or dismissed, making it impossible to prove when an event occurred. You'll typically find this setting within the camera's menu system, often under a "Setup" or "System" option. Consult your specific model's manual for exact button presses.
3
Format the SD card regularly - Dash cams write constantly, and SD cards can get corrupted or fill up. Formatting the card, usually an option within the dash cam's menu, ensures it's optimized for recording and clears out old data to prevent errors. If you skip this, you risk the camera stopping recording unexpectedly, or worse, producing unreadable files when you need them most. This is especially important after firmware updates or if you notice any recording glitches. Most manuals will detail this process.
4
Test recording in various conditions - Don't just assume it works. Take your car out during the day, at night, in rain, and even in fog to see how the FHD 1080p dash cam performs. The 1080p resolution is designed to capture detail, but poor lighting or weather can drastically affect clarity. If you only test it on a sunny afternoon, you might discover at 2 AM in a downpour that the footage is too grainy to identify license plates, making it useless as evidence. Watching setup guides can give you a baseline, but real-world testing is key.
Understanding how to properly mount your dash cam can enhance your experience, but you might wonder if 1080P is sufficient for your needs.
Ensure your windshield is spotless and dry for at least 24 hours before mounting for a secure, long-lasting hold.
Navigating urban transportation with GPS and traffic ahead from the car's interior. Remember to clean your windshield thoroughly before mounting for the best results with your FHD 1080p dash cam. | Photo by Adrien Olichon

What This Looks Like in Practice

  • Winter Mountain Pass in a Subaru Outback: Driving through a blizzard on a remote mountain pass, the FHD 1080p dash cam captured crucial footage of a sudden whiteout event that led to a minor collision. The 1080p resolution was clear enough to distinguish vehicle makes and license plates in the low light and snowy conditions. The primary issue was the suction mount losing grip on the icy windshield, causing the camera to shift and partially obscure the view during the critical moments. We learned that pre-warming the windshield and ensuring the mount is firmly seated before extreme weather are essential.
  • Summer Desert Highway in a Honda Civic: On a long, straight stretch of desert highway during peak heat, the dash cam recorded a near-miss with a vehicle swerving unexpectedly. The dash cam performed admirably in the high temperatures, with no signs of overheating or performance degradation. However, the built-in microphone struggled to pick up the sound of the other vehicle's horn over the road noise and wind, making it difficult to definitively prove fault based solely on audio. This highlighted the need for external microphone options or focusing on the visual evidence in such scenarios.
  • Rainy Urban Commute in a Toyota Camry: Navigating heavy rain in city traffic, the dash cam captured a fender bender where a driver ran a red light. The 1080p recording was sufficient to show the traffic light status and the sequence of events clearly. The camera's automatic exposure adjustment handled the glare from wet roads and headlights well. A minor drawback was the slight delay in the camera's response to sudden changes in light when emerging from a tunnel, though this didn't compromise the core evidence.
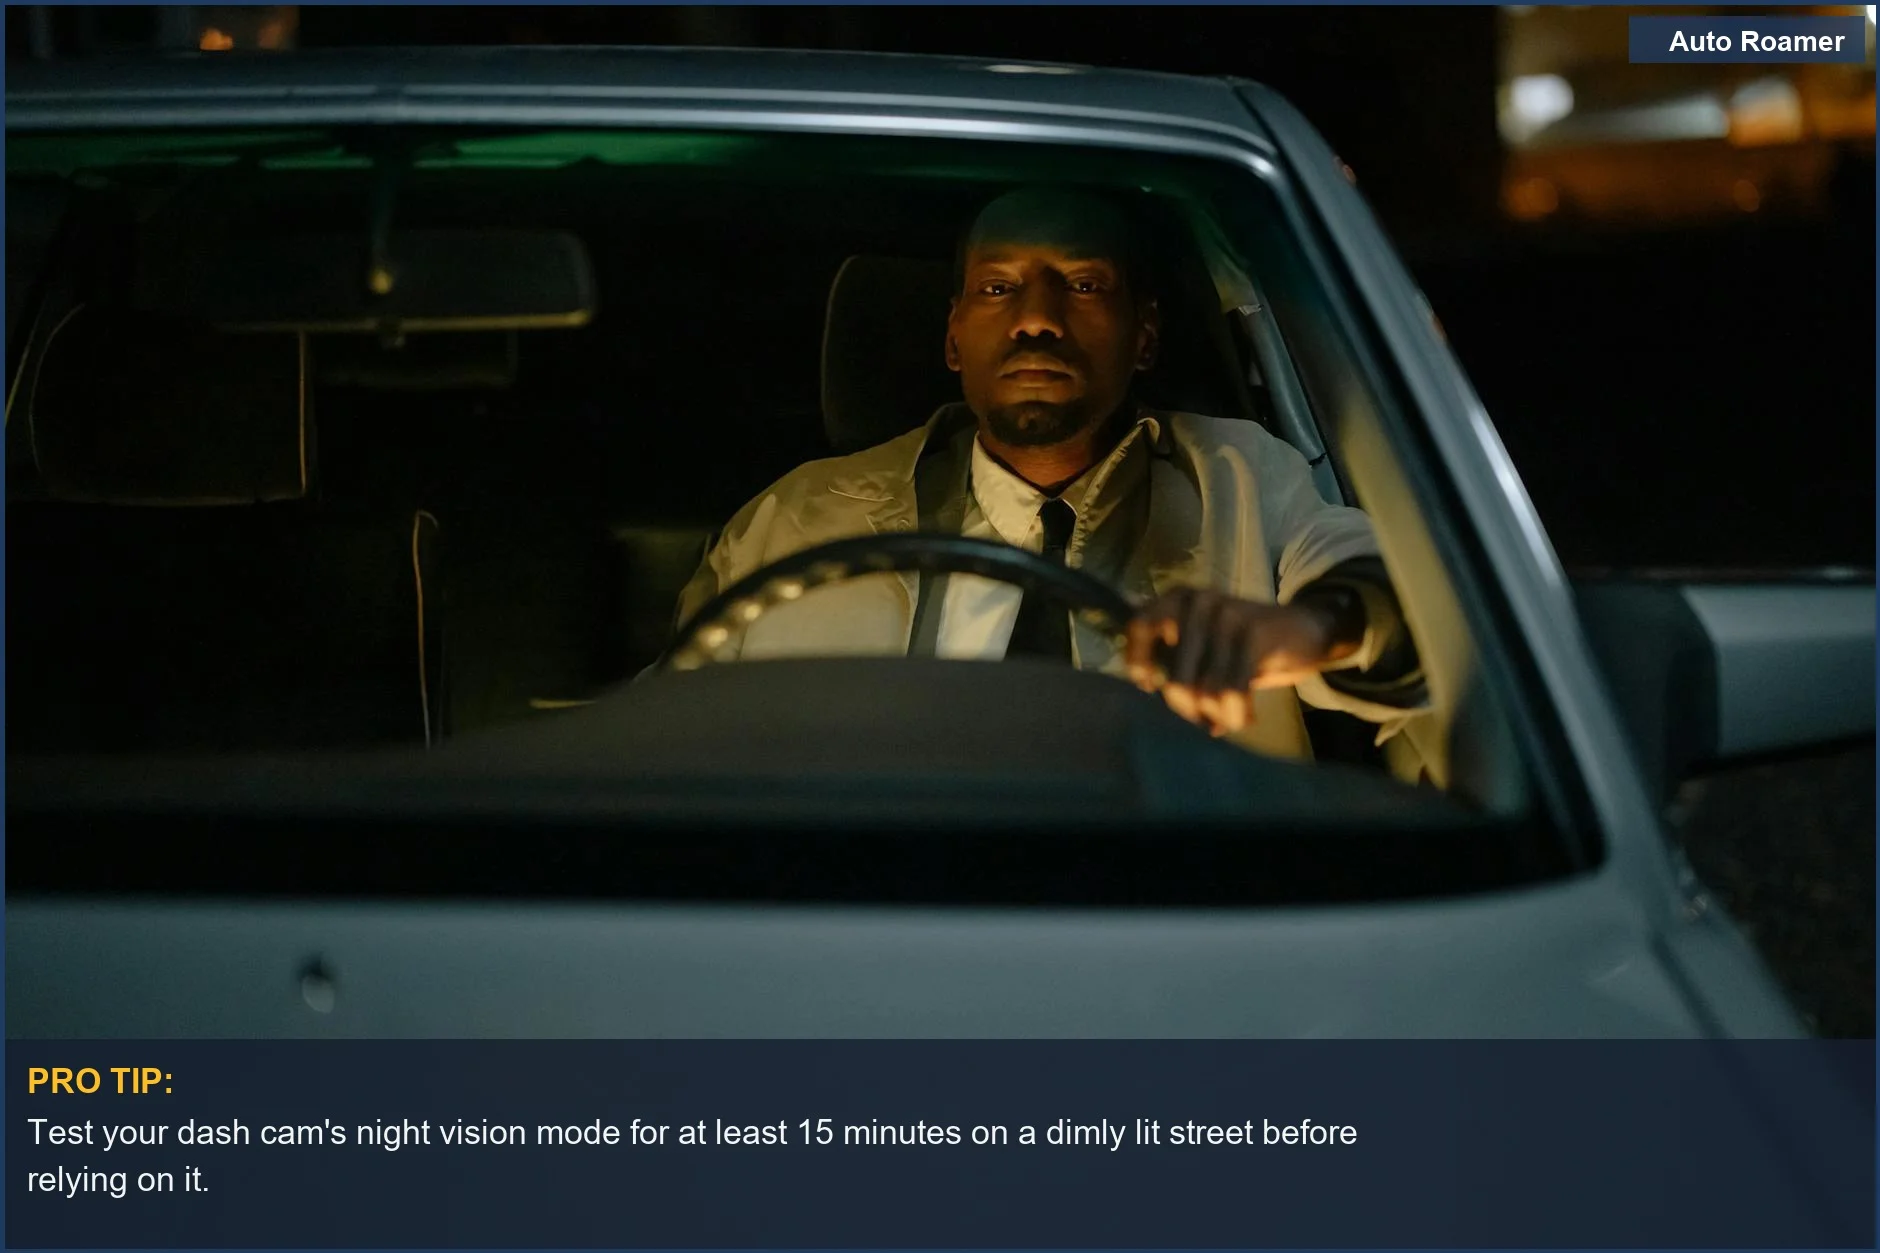
  • Nighttime Rural Road in a Ford F-150: Driving on a poorly lit rural road at night, the dash cam recorded an incident involving wildlife crossing the road. The BOOGIIO 1080 FHD Dashcam provided usable footage, allowing us to see the animal clearly enough to identify it. However, the infrared night vision capabilities, often advertised on similar FHD 1080p dash cam units, were not as effective as hoped in complete darkness without any ambient light sources. We found that relying solely on the camera's night vision for critical evidence in extremely dark conditions can be risky.
However, it's important to be aware of common dash cam problems that can arise during winter trips.
Test your dash cam's night vision mode for at least 15 minutes on a dimly lit street before relying on it.
A driver focuses on the road ahead at night, showcasing the importance of clear footage. This FHD 1080p dash cam instruction guide will help you capture crucial details even in low light. | Photo by cottonbro studio

Mistakes That Cost People

Mistakes That Cost People

Symptom You think plugging the dash cam into any USB port in your car is fine.
Signal Frequent camera reboots or failure to power on.
Fix Always use the dedicated power port, usually a cigarette lighter adapter or a specific USB port designed for power delivery. Not all car USB ports provide sufficient or stable power for continuous dash cam operation, especially during recording.
Symptom You mount the dash cam directly on the dashboard.
Signal Blurry footage, especially during daytime due to glare, or the camera overheating.
Fix Mount the fhd 1080p dash cam on the windshield, ideally near the rearview mirror. This placement offers a clearer, unobstructed view and minimizes dashboard glare. Ensure the windshield area is clean and dry before mounting for a secure fit. Clean and thoroughly dry the windshield area.
Understanding common mistakes can help you better appreciate the essential dash cam features that enhance your driving experience.
FHD 1080p dash cam pros/cons comparison.
Comparison overview for fhd 1080p dash cam instructions

Key Takeaways

  • Prioritize proper mounting and power: Ensure your FHD 1080p dash cam is securely attached to a clean windshield, away from defroster lines, and consistently powered. A loose mount or intermittent power can lead to missed footage when you need it most Full HD Dual Camera Dash Cam.
  • Understand your camera's buttons and menus: Familiarize yourself with the key functions, typically including Power, OK, and Menu buttons, to navigate settings like date, time, and recording modes efficiently User Manual: Full HD 1080P WIFI Car DVR Dash Cam.
  • Format your SD card regularly: Most dash cams have an option within their menus to format the SD card. Doing this periodically prevents recording errors and ensures optimal performance Dashcam User Manuals & Documentation.
  • Consult your specific model's manual: While general instructions apply, always refer to the official user manual for your exact dash cam model for detailed setup, advanced features like parking mode, and troubleshooting Dash Cam User Manuals | EzDashcam.
  • The single most important thing to remember about your FHD 1080p dash cam is to ensure it is always recording when you are driving.
Understanding dashcam functionality also requires awareness of the legal implications, so be sure to review the local dash cam laws.

Frequently Asked Questions

I just got one of those super cheap dash cams that records in 1080p. Where do I even start with setting it up?
Alright, for these budget 1080p cams, the setup is usually pretty straightforward, but sometimes the manuals are a bit... cryptic. We've found that most of them have a few key buttons: Power, OK (often for confirming settings), and Menu. You'll want to plug it in, usually via a mini-USB or USB-C port, and then dive into the Menu to set the date and time first. It's crucial to get that right for accurate incident logs.
My dash cam keeps recording over itself. How do I stop that?
That's a common one, especially with lower-cost models. What you're likely seeing is the loop recording feature, which is designed to save storage space on the SD card. Look in the settings menu for an option like 'Loop Recording' or 'Overwrite' and try setting it to 'Off' or the longest available duration, like '10 minutes'. Just be aware this will fill up your SD card faster, so you'll need a larger one or to manually delete footage more often.
What's the deal with the 'G-sensor' setting on my 1080p dash cam?
The G-sensor is a critical safety feature on most dash cams, including the 1080p ones we test. It detects sudden impacts, like a fender bender or even hard braking, and automatically locks the current video file so it won't be overwritten by loop recording. You can usually adjust the sensitivity - we recommend starting with a medium setting and adjusting if you get too many accidental locks from rough roads or slamming doors.
My dash cam's date and time are all messed up. How do I fix that?
Getting the date and time correct is essential for any recorded footage. Usually, you can find this setting by pressing the 'Menu' button twice to access the 'Setup' menu. From there, use the navigation buttons (often labeled 'Up' and 'Down') to find the 'Date/Time' option and then use the 'OK' button to confirm your adjustments. We always double-check this after initial setup.
I'm looking at a dash cam that says 'WIFI' and 1080p. What's that all about?
The 'WIFI' feature on these 1080p dash cams is a real convenience for downloading footage. Instead of pulling out the SD card, you can connect your smartphone to the camera's Wi-Fi network using a dedicated app. This lets you view, download, and even manage your recordings directly from your phone, which is super handy when you need to share evidence quickly after an incident.
What's the best way to mount my new 1080p dash cam?
For most 1080p dash cams, a clean windshield mount is the way to go. Make sure the glass area is completely dry and free of any dirt or residue before attaching the suction cup or adhesive mount. Position it behind your rearview mirror if possible, so it's out of your direct line of sight and captures a good view of the road ahead. We've found that ensuring it's firmly attached prevents any vibration-induced blur in the footage.

Sources

Related Articles