The Short Version
A first rainy car-camping trip is often a disaster at a state park. The forecast said 'scattered showers,' which apparently meant 14 straight hours of downpour. A cheap Amazon tarp can sag under 5 gallons of water, threatening to collapse overhead. Nobody tells you how fast your 'waterproof' gear fails when it's actually tested. Public Lands talks about packing rain gear, but not the messy reality.
The lesson that weekend: staying dry isn't about one piece of gear; it's about a whole system. That kind of trip teaches more than any online guide ever could. A nearby tent-camper, meanwhile, was bailing out his tent every 30 minutes. Congratulations.
The Short Answer
Rain finds every weakness. It's not just falling from the sky; it's wicking up from the ground, blowing in sideways, and condensing inside your vehicle. On a first rainy night in Shenandoah National Park, sealed windows seem like enough. Rookie mistake. The air inside got so humid, everything felt damp by morning. Reddit threads often mention tarps, which is a start, but it's more nuanced.
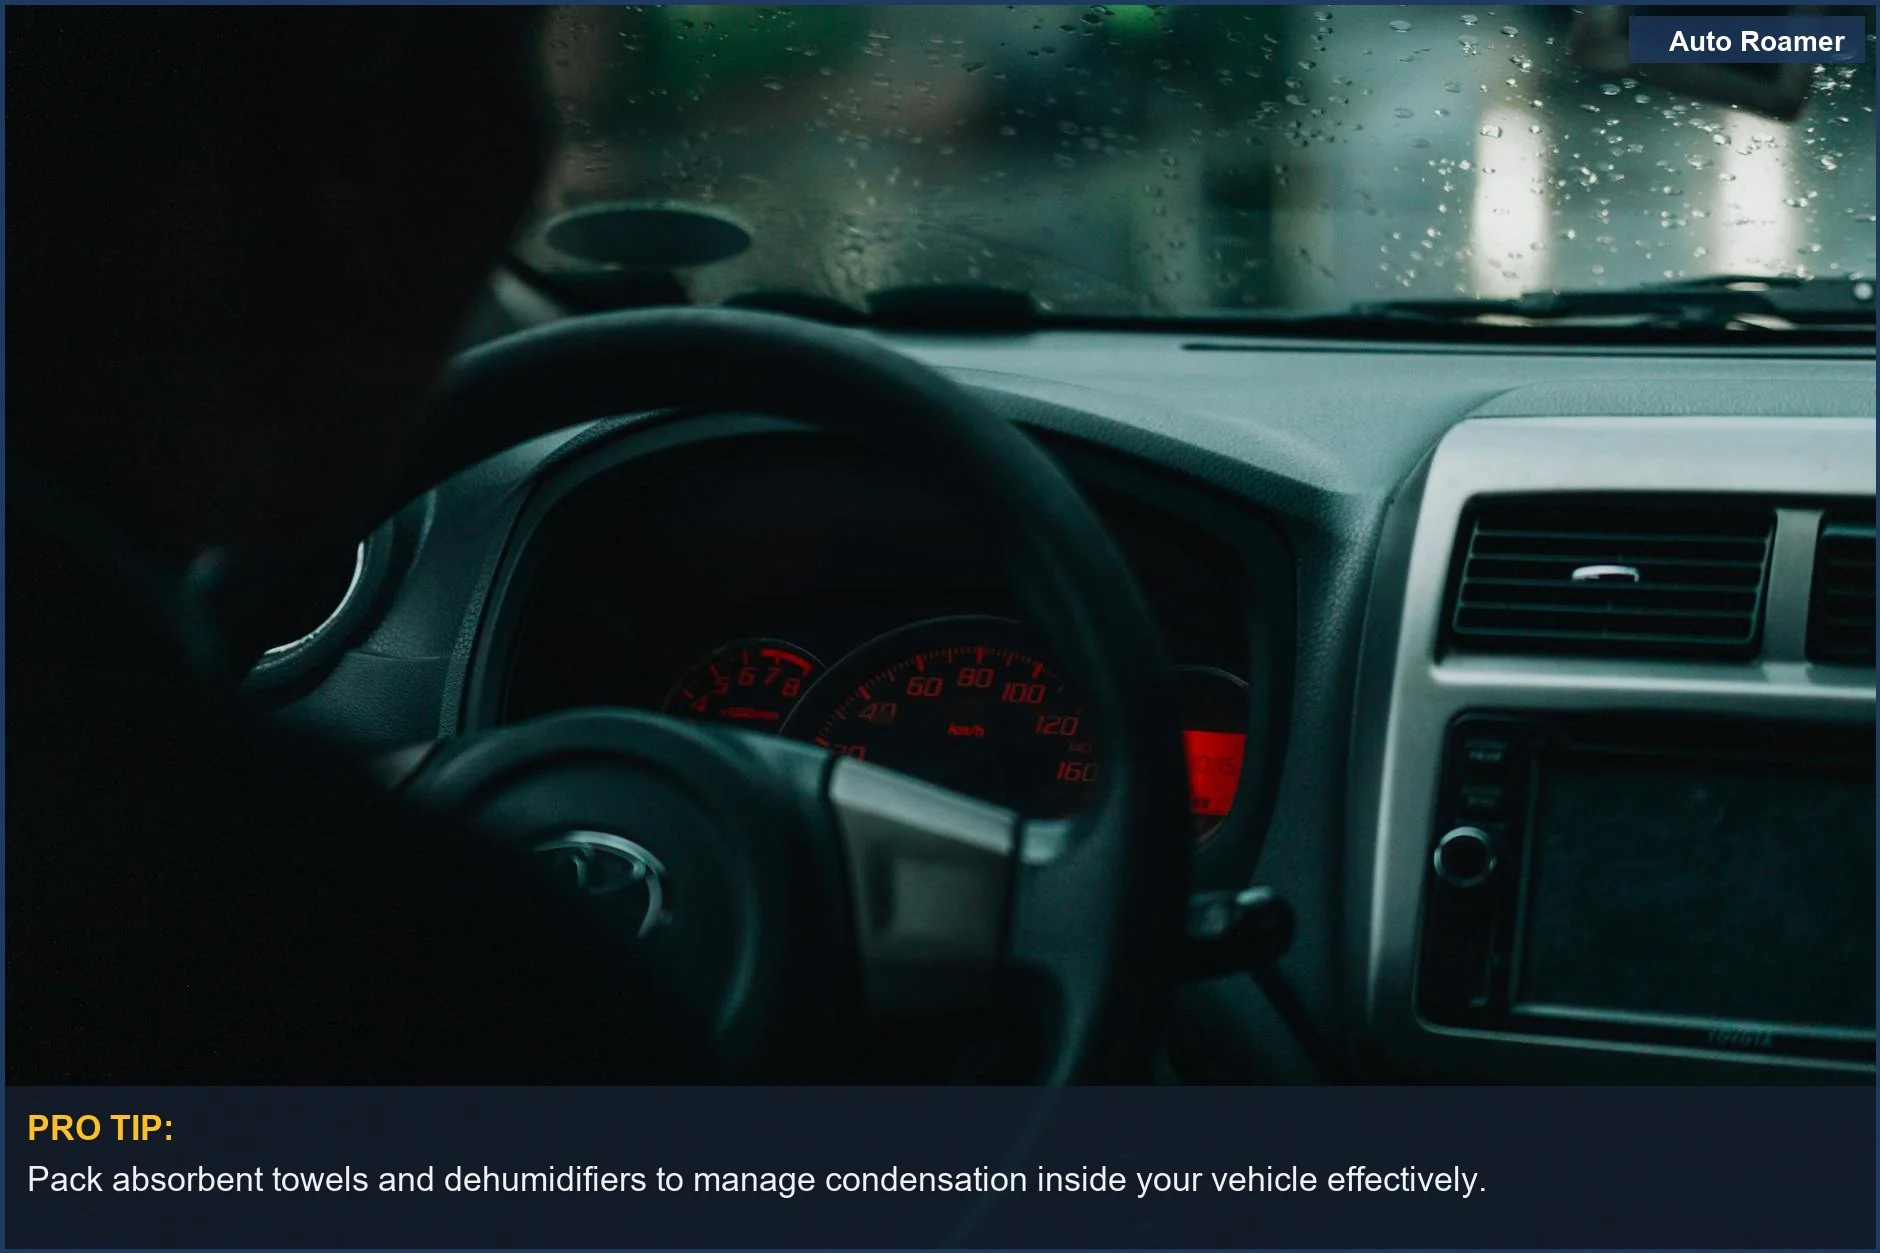
Your vehicle, while a shelter, also traps moisture. Think of it like a giant metal box that sweats. You need to manage that internal condensation as much as the external downpour. This means airflow, even if it's raining.
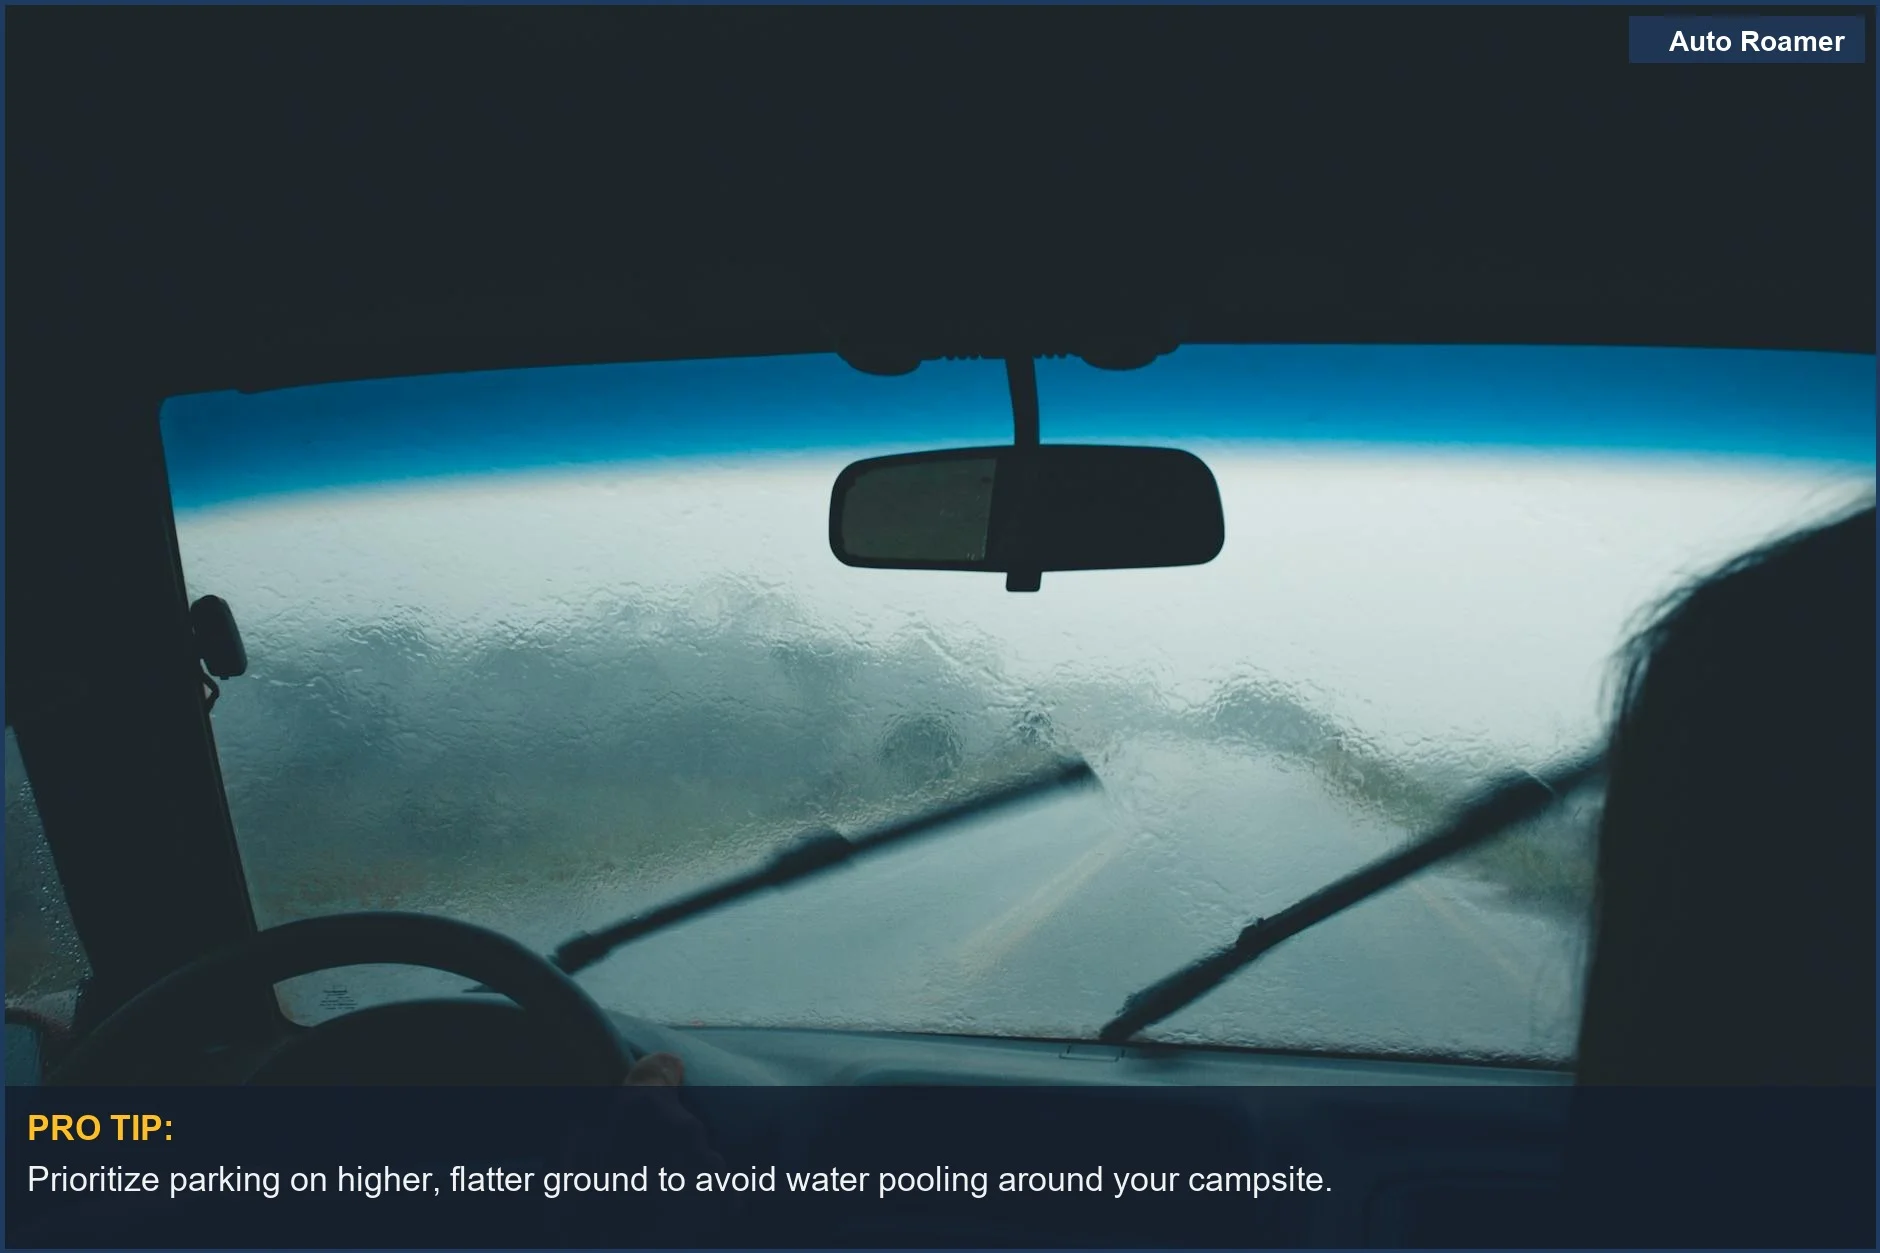
The ground is your enemy. Water pools, it runs, it splashes. Parking smart is half the battle. Park in a slight depression at a campsite near Asheville, and you can wake up with tires sitting in 3 inches of standing water. The ground acts like a giant sponge, trying to pull moisture into your car.
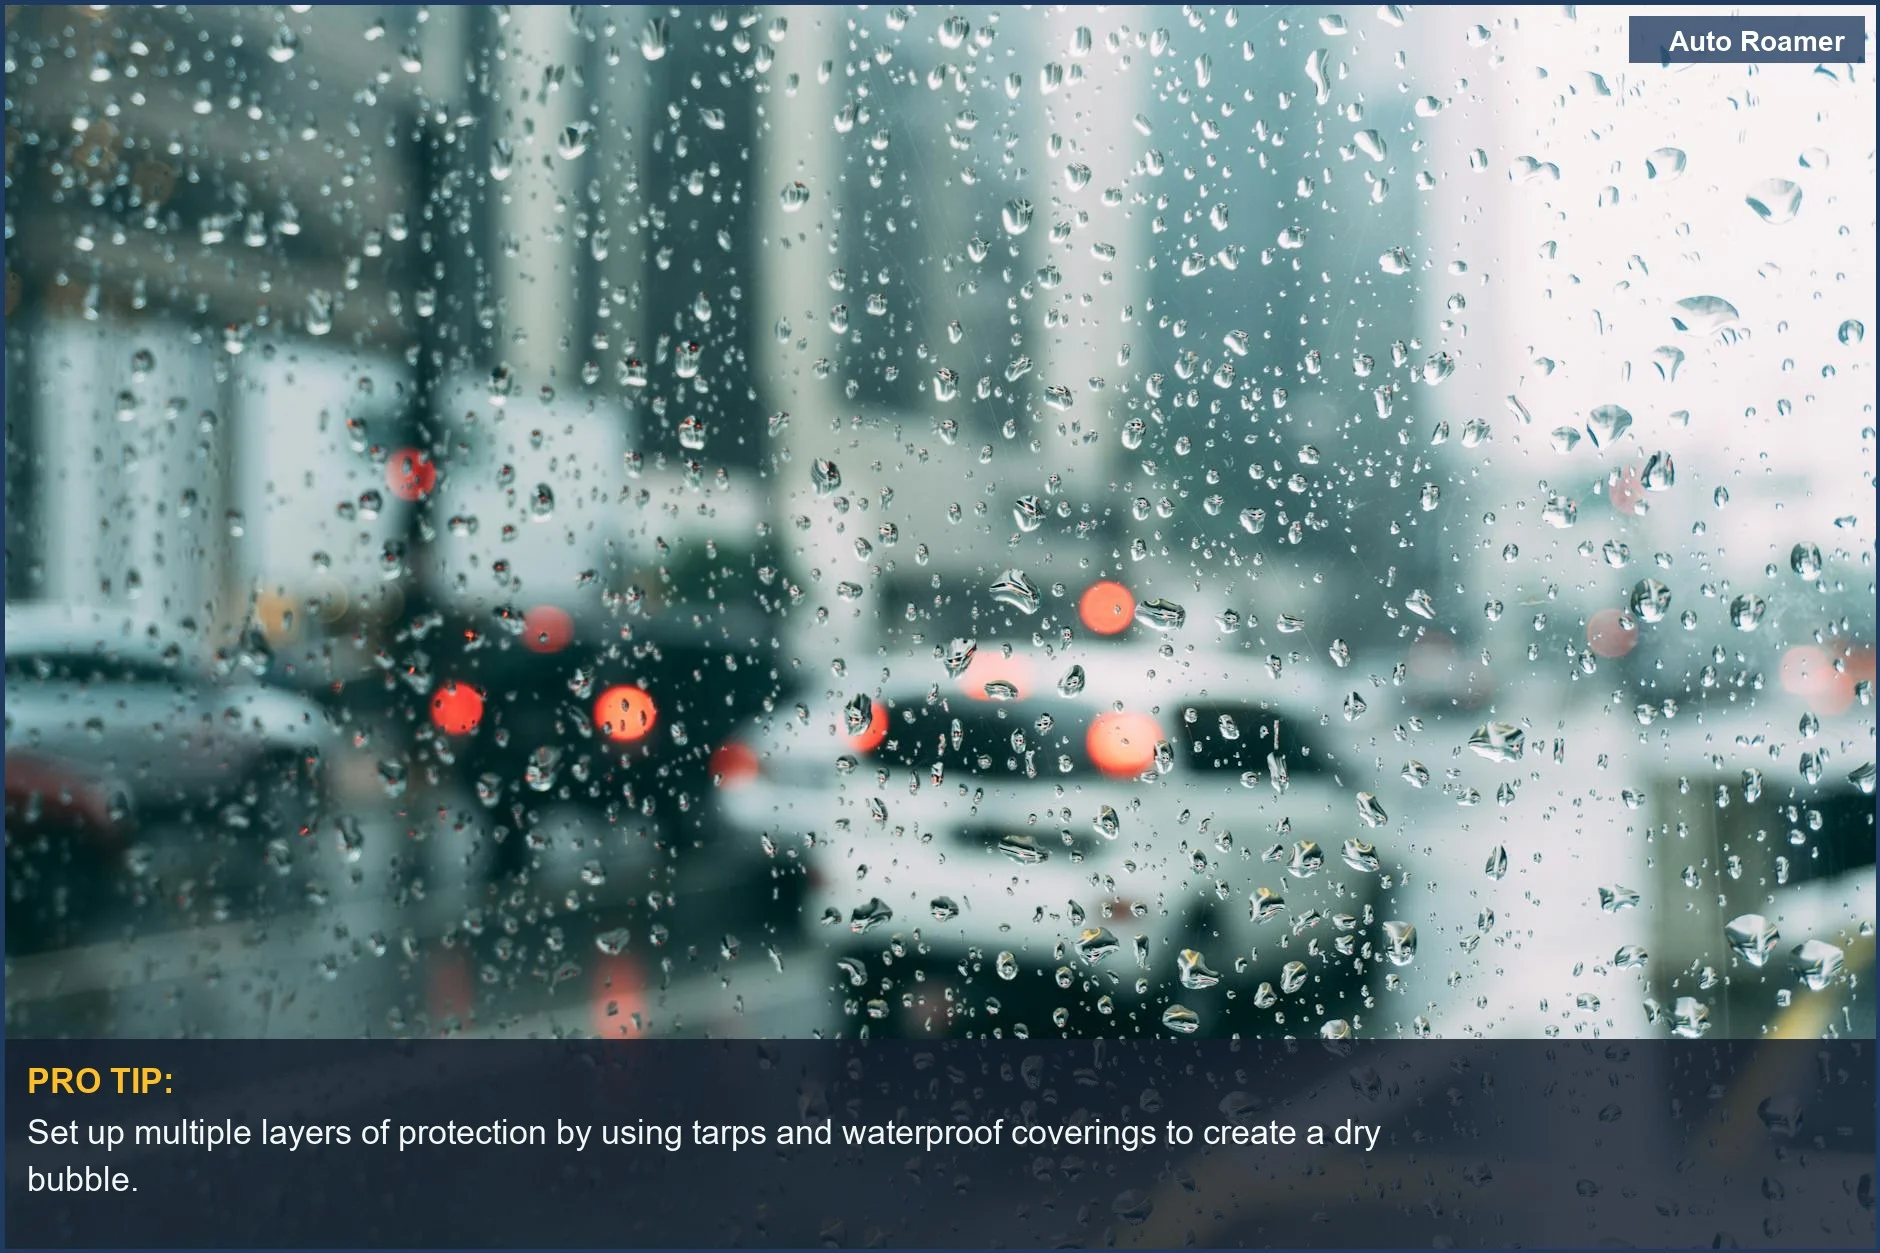
Preparation is about redundancy. One tarp isn't enough. One set of dry clothes isn't enough. You need layers of protection, both for yourself and your gear. The $50 version of rain camping is about smart planning, not just throwing money at the problem.
What nobody tells beginners is that the mental game is huge. Being cold and wet sucks. Having a plan for staying dry, even if it's just a designated 'wet zone' in your car, makes a massive difference in morale. Snohomish County mentions tarps for campfires, which is great, but don't forget yourself. You are the most important piece of gear.
The Reality Check
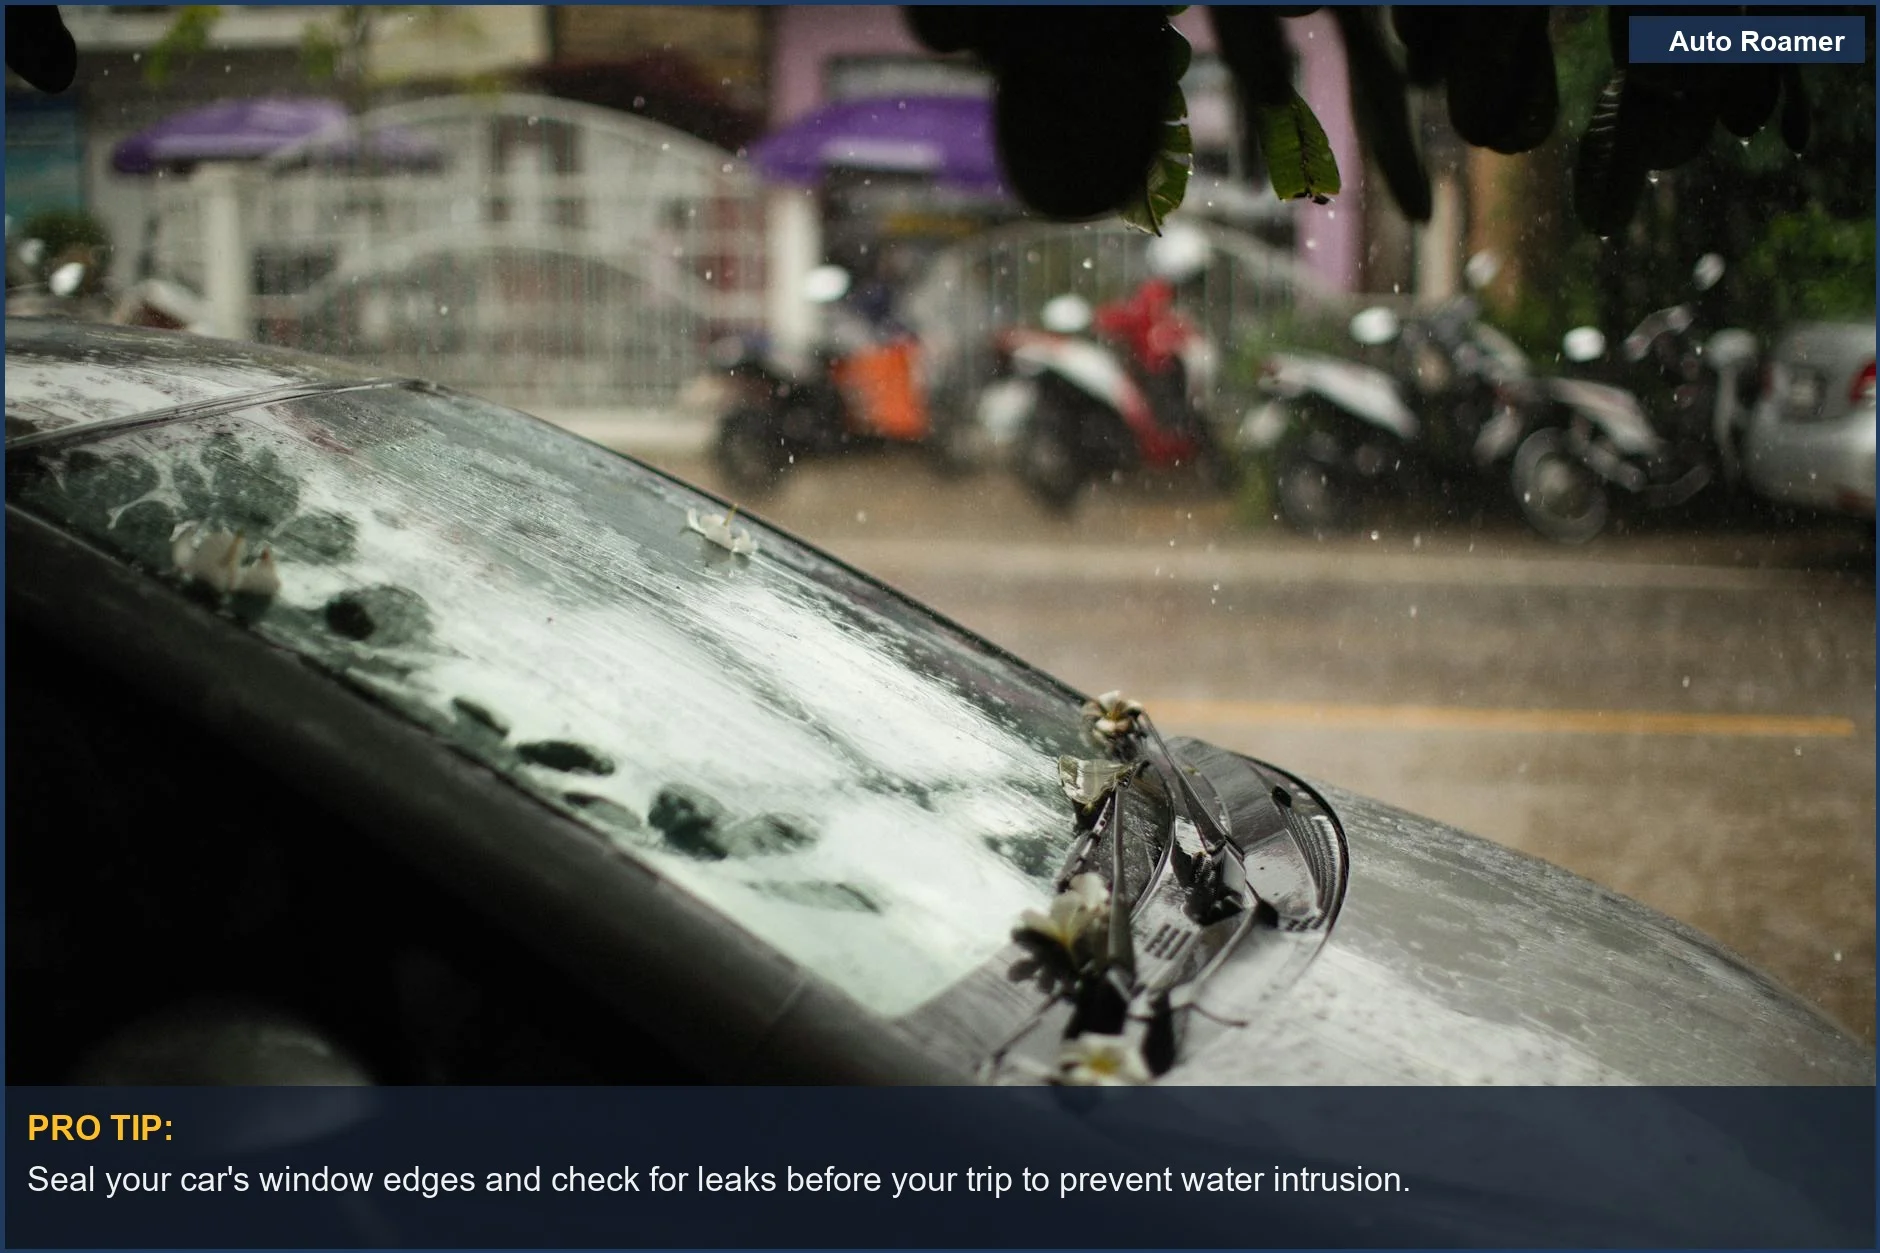
The reality of car camping in the rain hits when your 'waterproof' claims meet actual weather. A Subaru Forester that seems invincible quickly shows its weaknesses. The factory window seals aren't designed for a week of constant moisture, and neither is the carpet.
Condensation is the silent killer. You breathe, you sweat, and that moisture has nowhere to go. It settles on windows, then drips. Then everything feels clammy. This isn't theoretical; it's what happens to a sleeping bag at a campground near Lake Placid, even though no rain gets inside directly. Luno's Highway Handbook talks about comfort, but comfort means dry.
Entry and exit are critical moments. Every time you open a door, you invite rain inside. This is where a simple awning or a well-placed tarp saves your bacon. Trying to cook dinner under a small umbrella at a wet campsite is a lesson learned fast. Brilliant engineering.
| Component | How It Fails | Symptoms | Fix Cost |
| Vehicle Windows | Condensation buildup, dripping | Fogged glass, damp interior, wet gear | $5 (microfiber cloths) |
| Sleeping Bag | Absorbs ambient humidity, loses loft | Feels cold, clammy, less insulation | $12 (fleece liner) |
| Door Seals | Water wicks past, drips inside | Small puddles on floor mats, damp sills | $0 (smart parking) |
| Vehicle Floor | Wet shoes/gear track water in | Soggy carpet, musty smell, mold risk | $15 (rubber floor mats) |
The fix cost column is based on real trial and error. You don't need a fancy dehumidifier. Just simple, practical solutions. A pack of microfiber towels from the dollar store is more effective than any 'car camping specific' condensation absorber.
A common first solution for condensation is just cracking the windows a tiny bit. This worked until the sideways rain started. Then you just get wet. The real move is to have rain guards, which are cheap plastic strips that let you crack your window without water getting in. They're a game-time decision.
How to Handle This
- Park Smart, Not Pretty: A first rainy trip to the Madelyne on the Move recommended spots teaches you to prioritize drainage. Look for the highest, flattest spot in your campsite, not just the one with the best view. Avoid depressions where water can pool. Park in a slight ditch at a state park in Maryland, and by morning the tires can be sitting in 4 inches of water. Nose slightly uphill is still the move.
- Awning Up, ASAP: Before it even drizzles, get your shelter up. A simple tarp strung from your roof rack to a couple of poles or nearby trees creates a dry zone for entry, exit, and cooking. An 8x10 foot tarp from Walmart costs about $18. Wait until the rain starts, and everything gets soaked just setting it up. Feed N Flow emphasizes shelter; they're not wrong.
- Ventilation is Your Best Friend: Crack your windows a tiny bit, especially if you have rain guards. This allows moist air to escape and fresh air to enter, battling condensation. Without rain guards, you'll need to be more strategic, opening them for 10 minutes every hour or so, or just dealing with the drips. This lesson lands after waking up to a sleeping bag feeling like a damp towel.
- Designate a Wet Zone: Pick one area of your car - usually the footwell behind the driver's seat - as the 'wet zone.' This is where muddy shoes, wet jackets, and dripping umbrellas go. Use a plastic bin or even a sturdy garbage bag as a liner. Facebook groups suggest a garbage bag; it works.
- Dry Clothes, Always: Have a dedicated, sealed dry bag for your sleeping clothes. Change into them inside the car, after you've taken off any wet outer layers. Leave your PJs out on a rainy night, and they absorb all the ambient moisture, leaving you chilly and miserable.
- Wipe Down Regularly: Keep a few microfiber towels handy. Wipe down the inside of your windows, door sills, and any other damp surfaces throughout the day and before bed. This is a game-time chore, but it prevents that clammy feeling and keeps mold at bay.
What This Looks Like in Practice
A telling real-world test is a 3-day trip to an Instructables-recommended state park in Oregon. The forecast was 60% chance of rain, which translated to 43 hours of drizzle and downpour.
Scenario 1: Constant Drizzle, 50 degrees F.
- The Setup: Subaru Outback, cheap tarp awning, windows cracked 1 inch with rain guards.
- What Happened: Interior stayed mostly dry, but everything felt slightly damp by day two. Condensation on windows was minimal. Clothes left out absorbed enough moisture to feel cold. Lesson: even light rain creates humidity.
Scenario 2: Heavy Overnight Rain, 40 degrees F.
- The Setup: Toyota RAV4, no awning (rookie mistake), windows fully closed.
- What Happened: Woke up to a completely fogged interior, water dripping from the ceiling. Sleeping bag was noticeably clammy. Clothes inside a plastic bag were still dry. Lesson: condensation is a bigger problem than direct leaks for a sealed car.
Scenario 3: Sideways Rain & Wind, 35 degrees F.
- The Setup: Ford Transit Connect, robust tarp awning tied down tight, windows cracked 0.5 inch with rain guards, fan running low.
- What Happened: Awning blocked most wind-driven rain, allowing good ventilation. Fan helped circulate air, reducing condensation significantly. Interior stayed remarkably dry and comfortable. Columbia Sportswear emphasizes elevated spots; this was critical here.
Scenario 4: Flash Flood Warning, 65 degrees F.
- The Setup: Honda CR-V, parked on a slight rise near a paved road, no awning (packed up quickly).
- What Happened: Torrential rain, but the paved road drained quickly. The elevated parking spot kept water away from the car. The biggest issue was getting in and out without getting soaked. Lesson: sometimes the best gear is a good parking spot and quick decisions.
Mistakes That Cost People
| Mistake | Consequence | The Weekend Warrior's Real-World Experience | The Real Move |
| Parking in a low spot | Water pools around vehicle, wicks up | Waking up in a Civic with tires sitting in 3 inches of standing water at a primitive site in Georgia. Shoes were soaked. | Always park on the highest, flattest ground available. Look for natural drainage paths. |
| Not ventilating | Excessive condensation, damp interior | A sleeping bag can feel like a cold sponge after a night in a sealed SUV in the Smokies. Every surface was damp. | Crack windows with rain guards, even a tiny bit. Use a small battery-powered fan. |
| No entry/exit shelter | Interior gets soaked every time door opens | Trying to cook in a downpour at a campsite in Colorado, the entire back seat got drenched just opening the door for supplies. | Set up a tarp awning over a door or tailgate *before* the rain starts. REI stresses rain gear, but dry entry is key. |
| Wearing wet clothes inside | Increases humidity, chills you faster | After a rainy hike in upstate New York, changing into dry socks but keeping damp pants on is a classic error. The whole car felt humid and cold. | Designate a 'wet zone' for soggy clothes. Change into completely dry layers, even if it's just for driving. |
| Underestimating ground moisture | Gear gets damp from underneath | A backpack placed on the floor mat can be damp on the bottom after a night of rain, even though no water came through the roof. | Use rubber floor mats. Keep gear elevated off the floor if possible. |
| No backup dry clothes | No way to get warm if primary clothes get wet | A last pair of 'dry' sleeping socks can get soaked when a water bottle leaks. Spent the night with cold feet. | Always have one completely sealed, dedicated 'emergency dry outfit' stored in a dry bag. |
These mistakes are all based on real-world screw-ups. What nobody tells beginners is that small errors compound in bad weather. A little dampness turns into shivering. Shivering turns into a miserable night. The honest version: learn from these poor life choices.
Key Takeaways
Car camping in the rain doesn't have to suck. The first few trips are rough, but that's how you learn. It's about smart planning and a few cheap hacks, not a $300 rooftop tent. These are field notes, not some expert's theoretical best practices.
Key Takeaways
- Parking is Priority #1: Find high ground. Avoid puddles. Your dry bubble starts with where you put your wheels. This lesson lands after a Honda Civic becomes a shallow pond. Patrick Air Force Base mentions dry feet, which starts with dry ground.
- Tarp Up Early: A simple $18 tarp deployed before the rain hits creates a crucial dry entry/exit point.
Don't wait until you're already soaked.
- Ventilation Fights Condensation: Crack those windows, even a tiny bit, especially with rain guards. A small fan helps immensely. Otherwise, your car will sweat worse than you do.
- Designate a Wet Zone: Muddy boots and wet jackets have a home. Keep them contained to prevent the entire interior from becoming a swamp.
Plenty of soggy floor mats can attest to this.
- Dry Clothes are Sacred: Always, always have a sealed bag of dry clothes for sleeping. This is non-negotiable for comfort and safety. A $12 fleece liner from Amazon is still a game-changer.
- Wipe Down, Wipe Down, Wipe Down: Microfiber cloths are your best friends for battling internal moisture. A little proactive wiping goes a long way.
Don't let a little rain scare you off. The real move is to embrace the challenge and learn from every drop. A second trip with half the gear can be twice as comfortable.