The Short Version
My first car camping food situation was a disaster at Shenandoah National Park. I packed enough snacks for a small army and crammed them into a flimsy grocery bag. By day two, my chips were dust and my apples were bruised. The honest version: you need smart storage, not just a lot of food.
A decent cooler and some sturdy bins changed everything for me.
I learned this lesson the hard way, spending $15 on soggy sandwiches because my cooler setup was a joke. This isn't about Michelin-star meals; it's about not having mice eat your granola bars or your cheese melt into a goo puddle. Let's talk about making food storage work, without making you buy a $500 Yeti.
The Core Answer
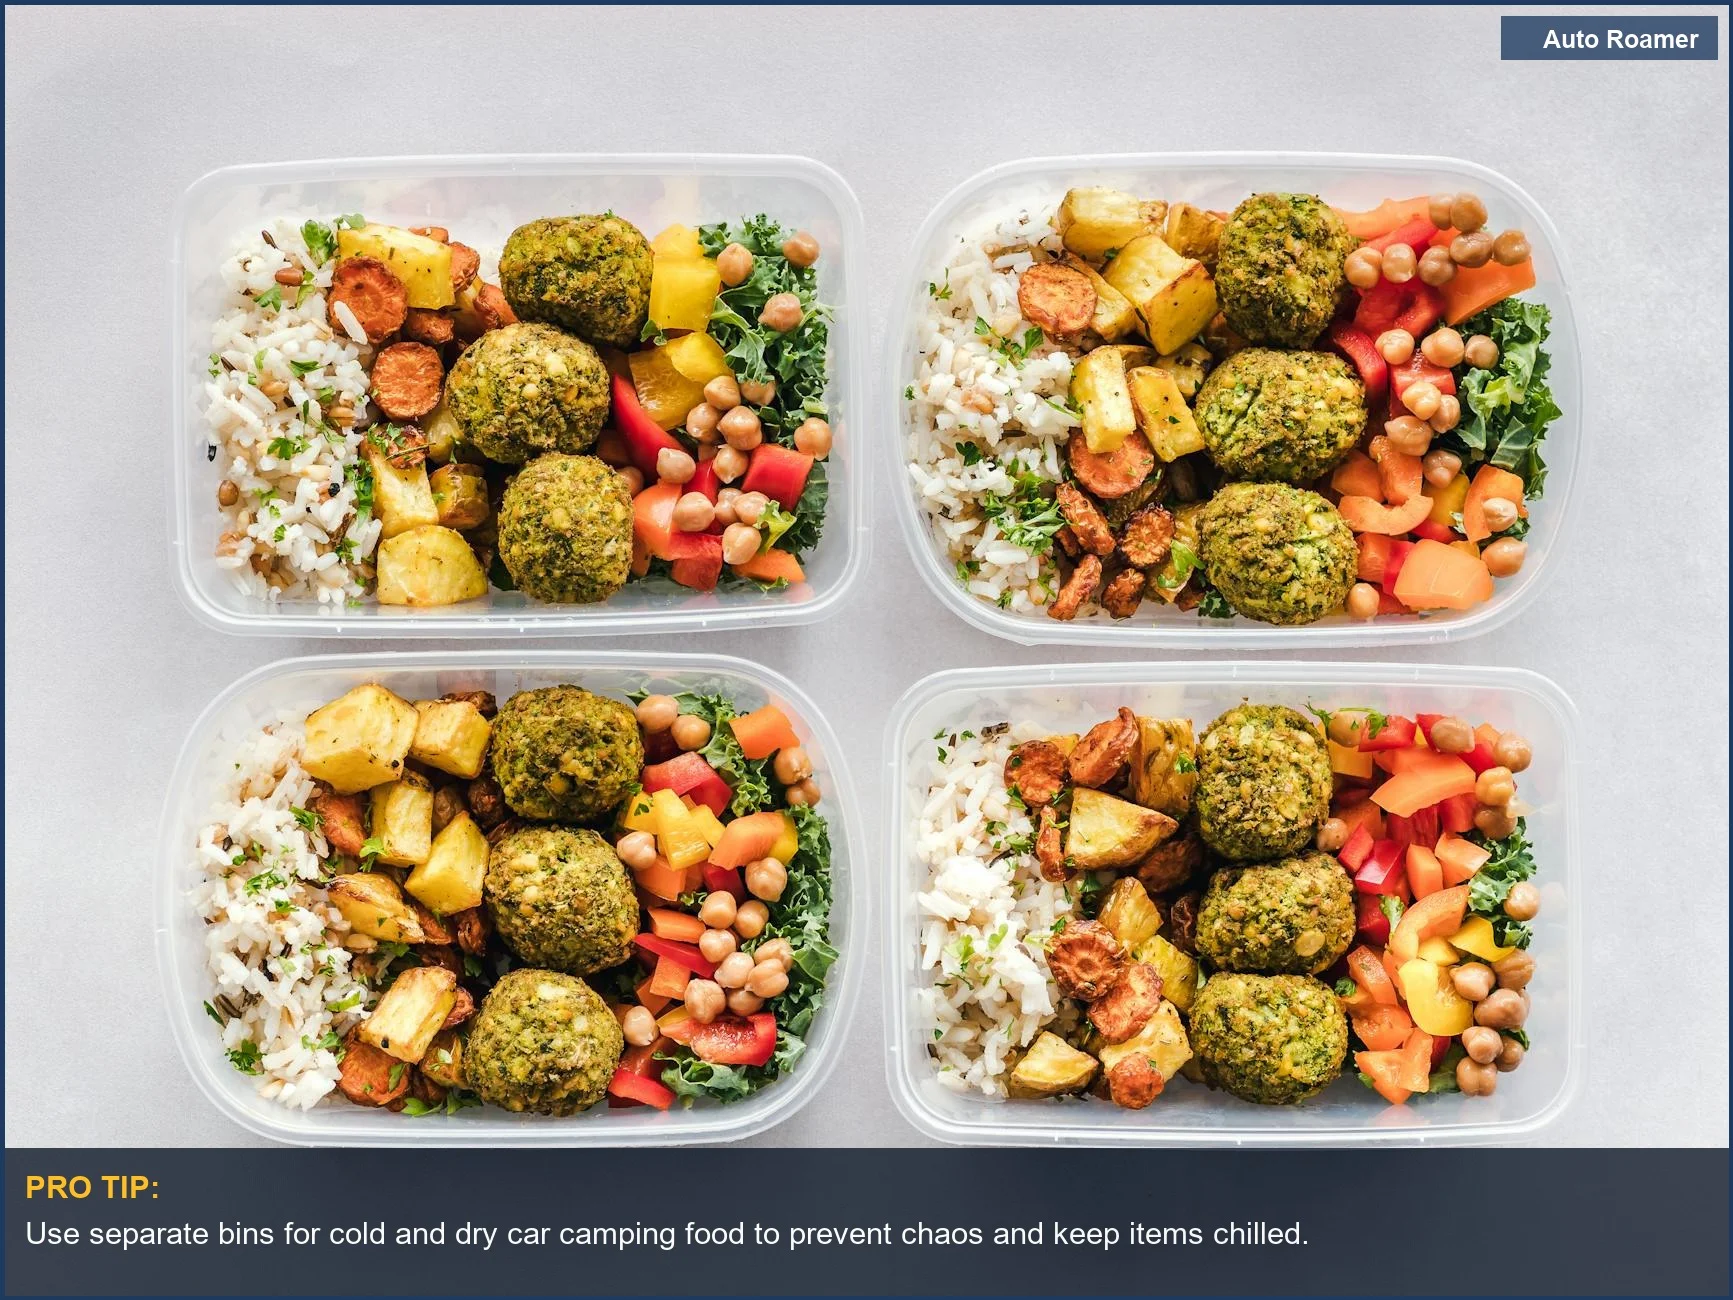
The real move for car camping food storage is a two-bin system: one for cold stuff, one for dry. My first trip, I tried to cram everything into one cooler. Rookie mistake. It was a chaotic mess, and nothing stayed cold for long. Plastic tote for dry goods and an ice chest for the cold stuff is the way to go.
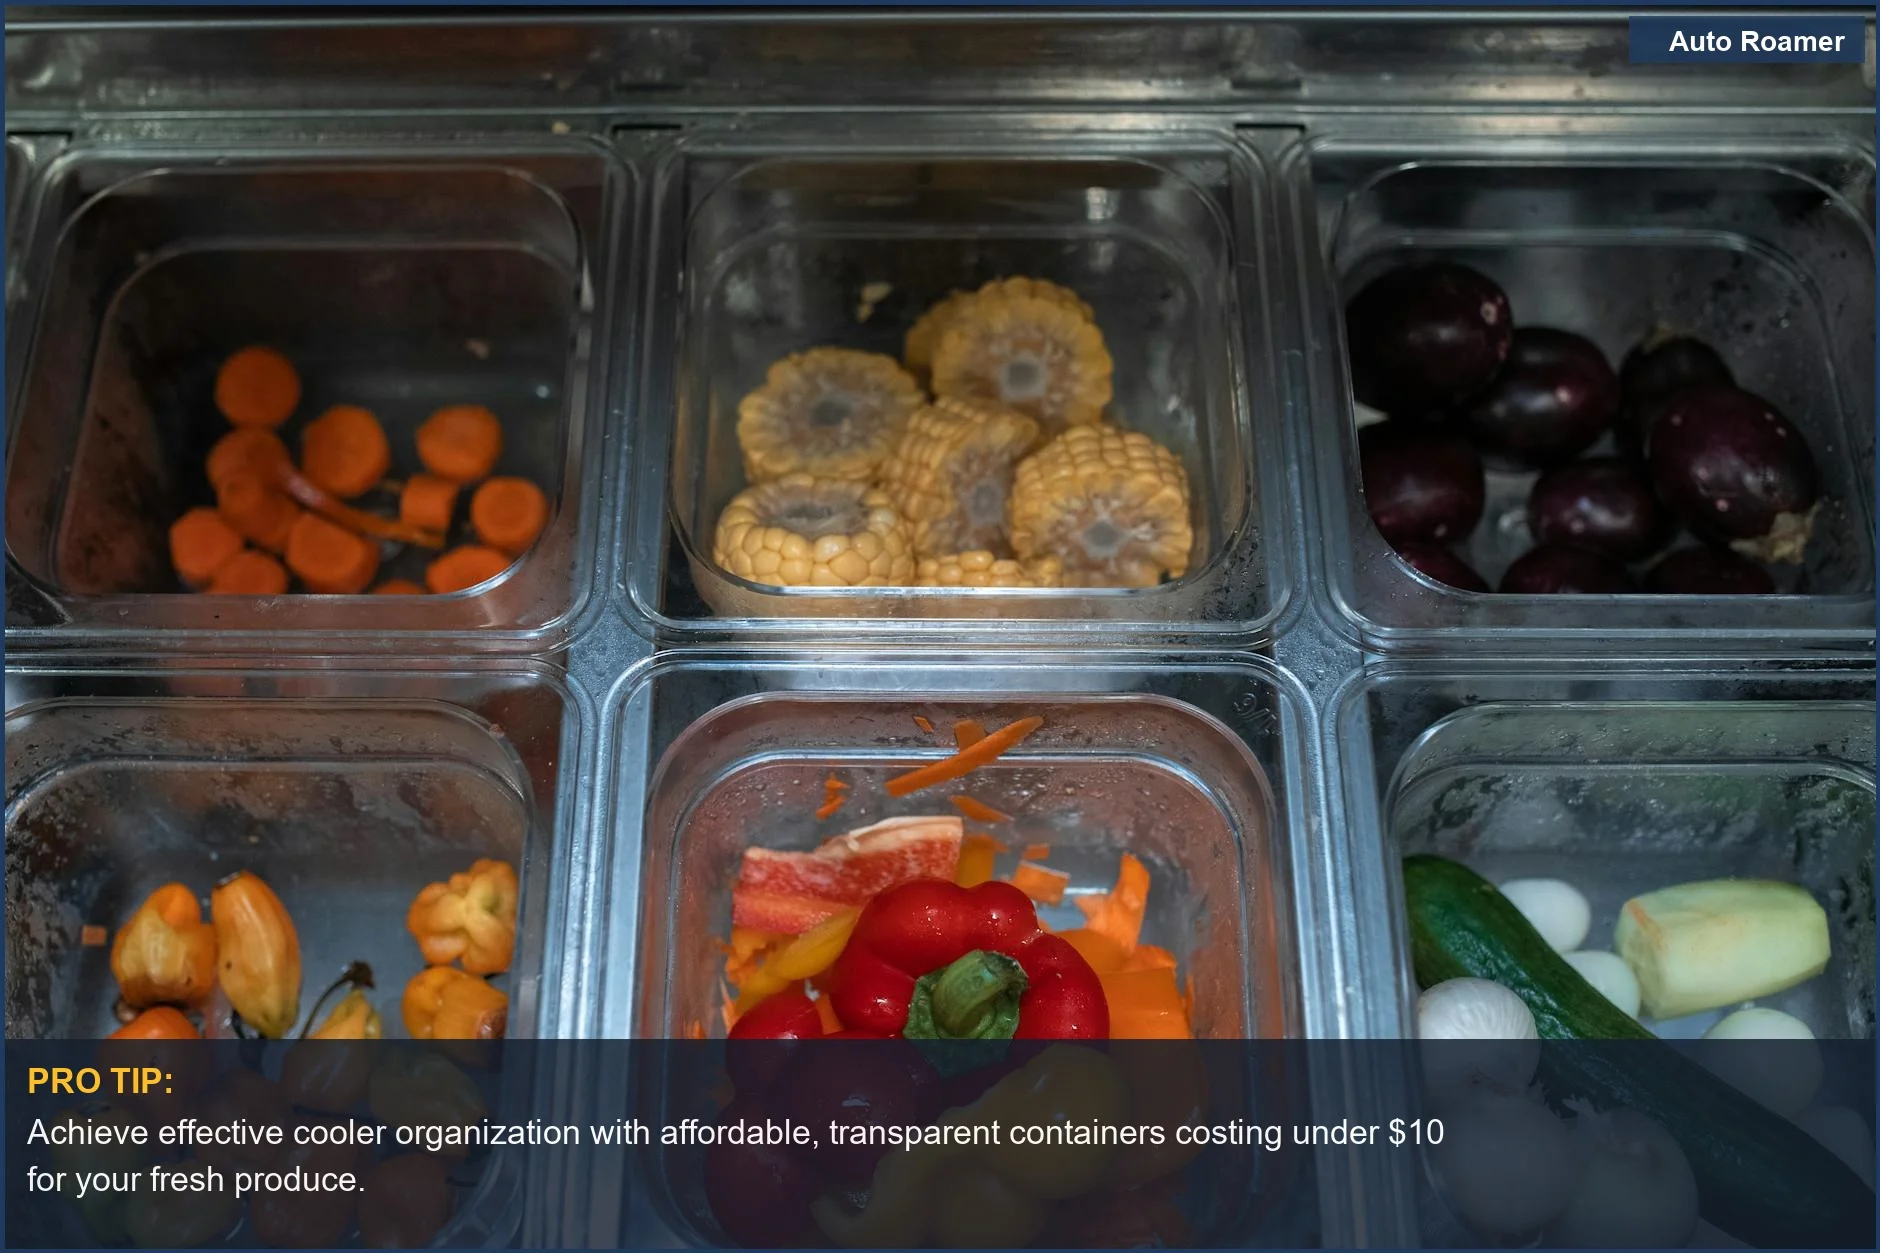
For cold items, a good cooler is key. I started with a cheap $30 one that barely kept ice for 12 hours. Now I use a Coleman Xtreme, which can keep ice for 3-4 days. It cost me $70, and it's worth every penny. For less perishable things like cheese or deli meat, freezer blocks are better than loose ice.
They don't melt into a watery mess that soaks everything.
I learned that putting cardboard boxes directly on the ice makes them soggy. Now, I put those items inside large freezer bags before they go in the cooler. This keeps them dry and prevents leaks. Hide food from sight is also huge. Critters are smart. Don't leave your cooler wide open or your food visible through the car windows.
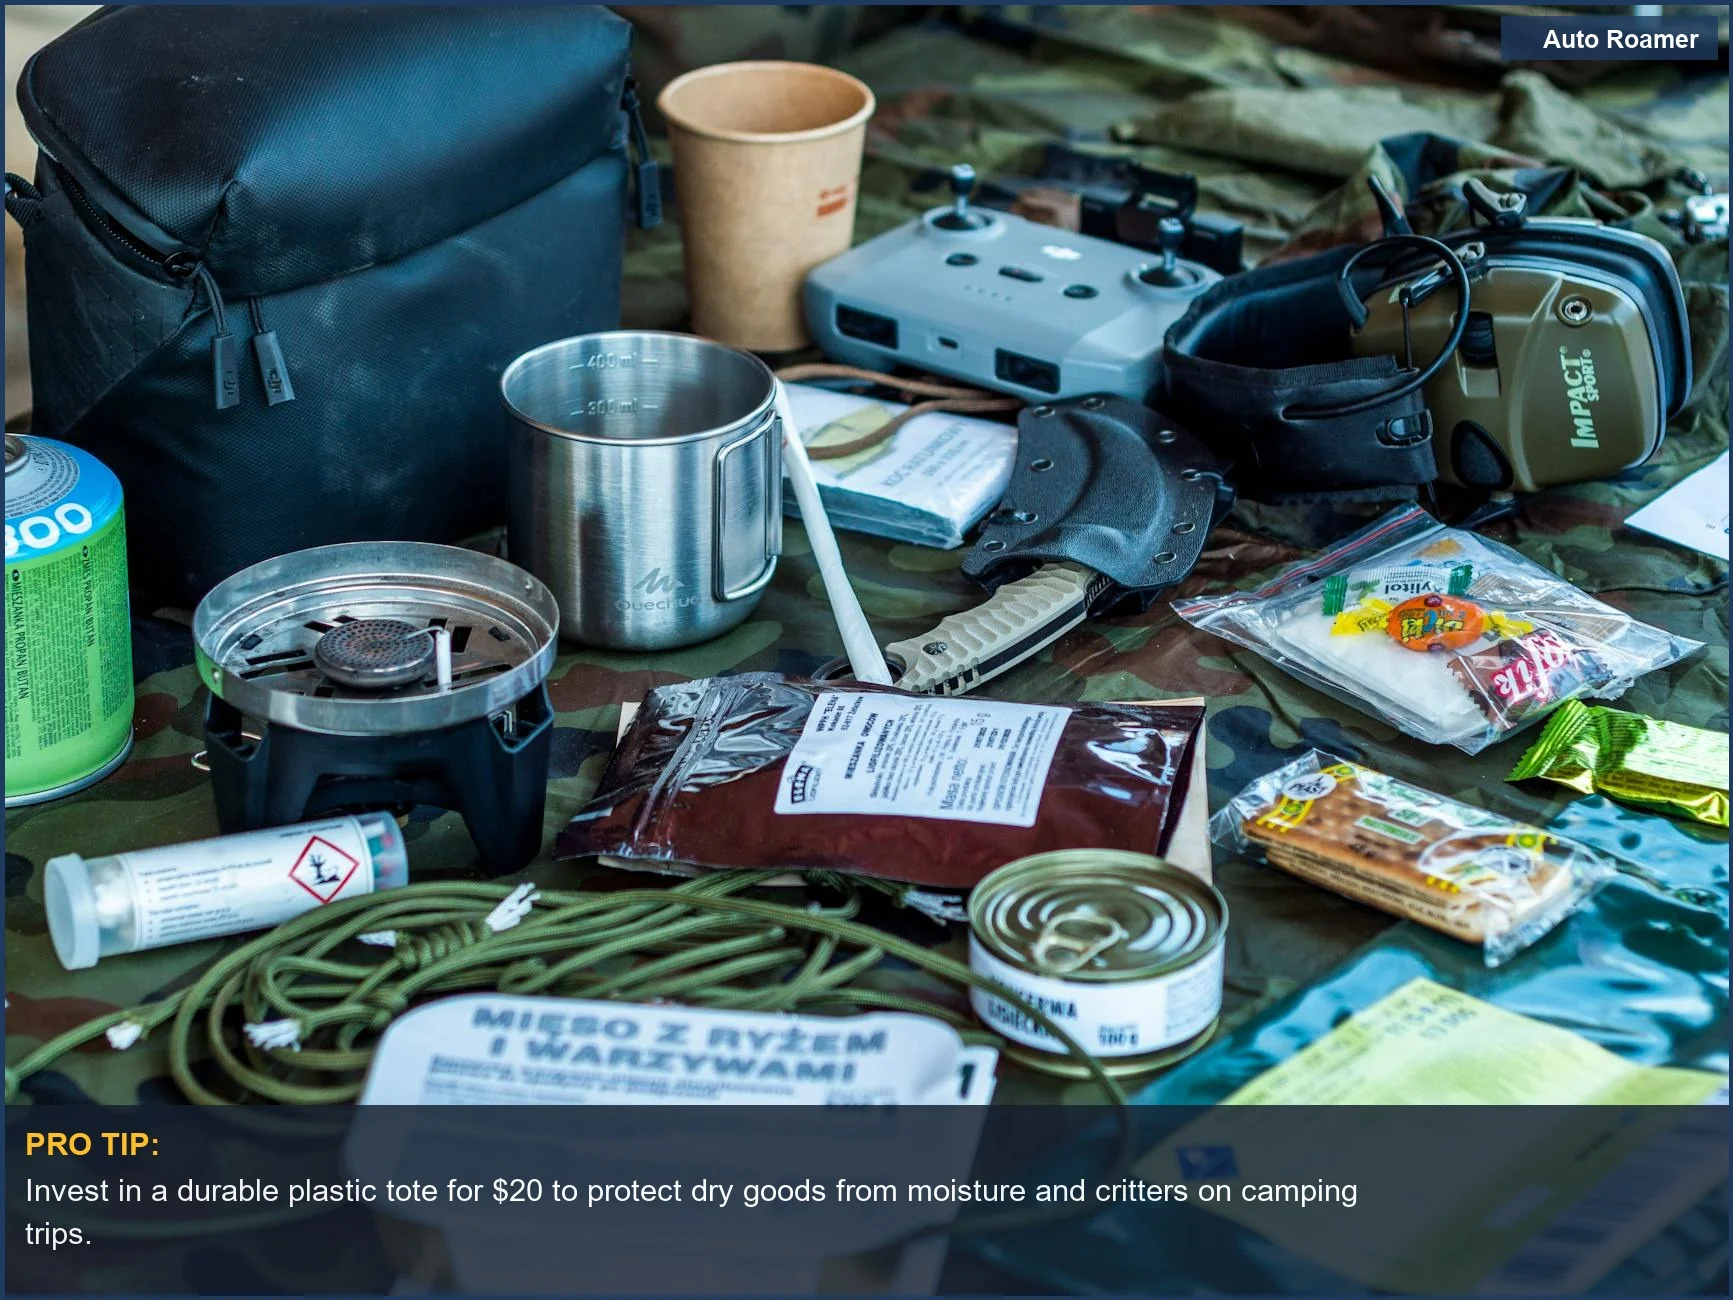
For dry goods, a sturdy plastic tote is your best friend.
I grabbed a $20 bin from Home Depot. It keeps out bugs, dirt, and rain. Inside, I use ziplock freezer bags to separate items like snacks, pasta, and breakfast bars. It makes finding things so much easier.
Don't overpack. My second trip, I packed half the food and twice the organization. It was way more comfortable. The goal is to have what you need, not to replicate your kitchen. Think simple, think durable, think about what actually gets eaten.
Why This Matters for Your Setup
- No More Soggy Sandwiches: My first car camping trip at Big Meadows, I learned the hard way that a flimsy grocery bag isn't a food storage solution. My bread turned into mush. A $20 plastic tote keeps my dry goods safe from moisture and critters. This is where I put all my snacks and any other food that doesn't need to be kept cold.
- Wildlife Avoidance: Leaving food visible is like ringing the dinner bell for raccoons. I learned this at a campground in Pennsylvania when a family of raccoons tried to drag my entire cooler away. Keeping your cooler and food bins out of sight, ideally in your car or under a tarp, is game-time. Hide food from sight is crucial.
- Reduced Food Waste: A well-organized cooler means things stay cold longer. I used to have half my perishables go bad by day two because everything was jumbled. Now, using freezer packs and proper packing, my food lasts. I use a heap of freezer blocks, and it makes a difference.
- Easier Meal Prep: When everything has its place, cooking becomes less of a chore and more of a pleasure. No more digging through a mountain of stuff for that one can of beans. Nest and combine items in your dry bin to save space and time.
Making the Right Choice
Your food storage doesn't need to be fancy to be effective. A $70 cooler and a $20 plastic bin are more than enough for most weekend trips. You don't need the top-of-the-line, $500 coolers to keep your food fresh. Gear essentials for food storage are pretty straightforward.
The real move is to pack smart. Use freezer bags to keep things dry and organized inside your cooler and bins.
This simple step saved my bacon (literally) on a trip where it rained for two days straight. Zip lock freezer bags are a lifesaver.
Don't get bogged down by expert gear lists. Start with the basics: a decent cooler, a sturdy dry bin, and some good bags. You'll figure out what works best for you as you go. My second trip had half the gear and was twice as comfortable.

